• Home
  • Contact
    • About
  • Resources
    • Disclosure
  • Privacy
  • Shop
    • Bloglovin
    • Email
    • Facebook
    • Instagram
    • Pinterest
    • Twitter

A Shade Of Teal

  • Blog
  • DIY
    • Crafts
    • Shopping Guides
    • Gift Baskets
    • Furniture Makeovers
  • Home & Decor
    • Home Projects
    • Home Decor
    • Seasonal Decor
    • Parties
    • One Room Challenge
  • Design
    • Printables
    • Design Boards
    • Color Series
    • Weekly Fav’s Wednesday
  • Life
    • Family & Kids
    • Food
    • Clean & Organize
    • Pets
    • Technology
  • Disney
  • Cricut

Home Projects Kitchen One Room Challenge

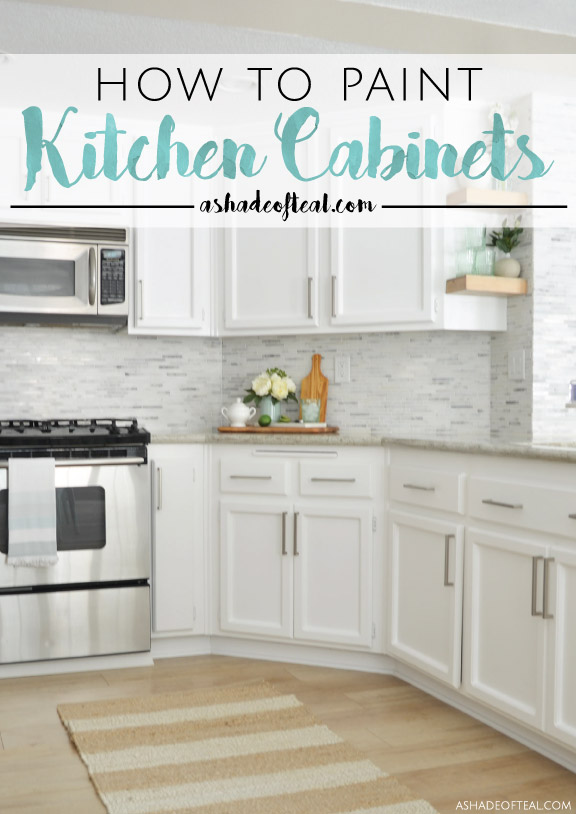
How to Repaint Kitchen Cabinets

(This post is done in collaboration with Hickory Hardware, Dunn-Edwards, and HomeRight  This post may also include affiliate links. All opinions and comments are 100% mine, I only promote products I believe in!)

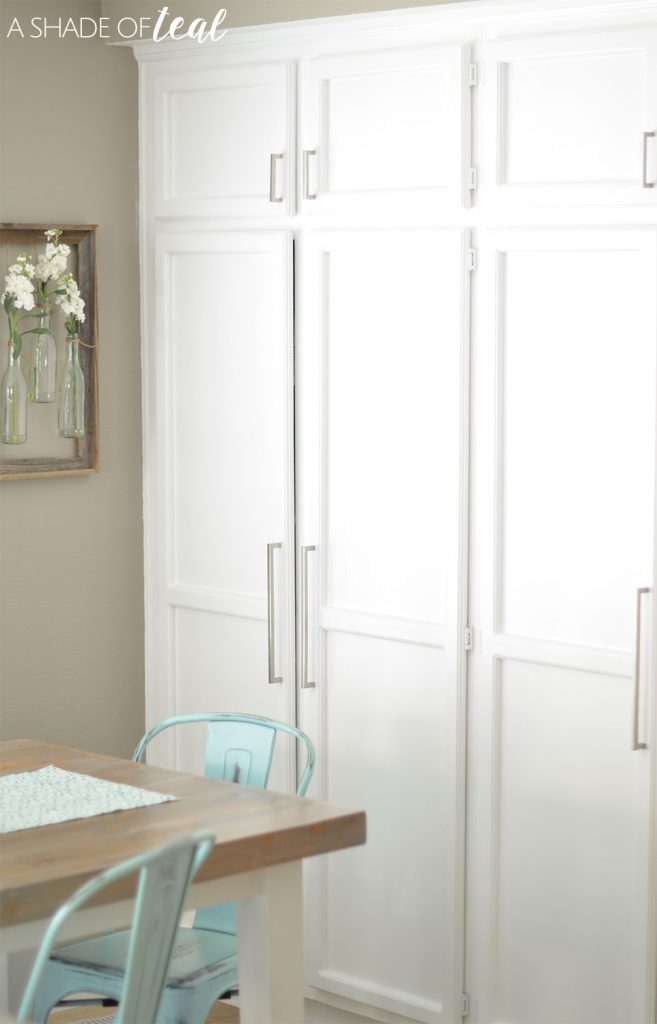
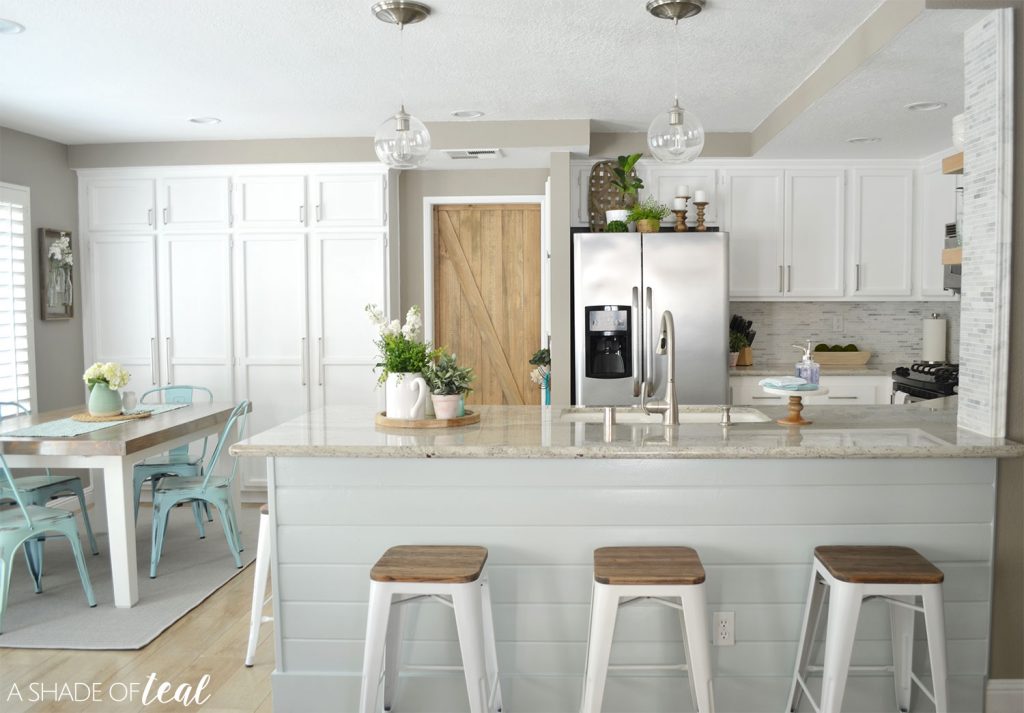
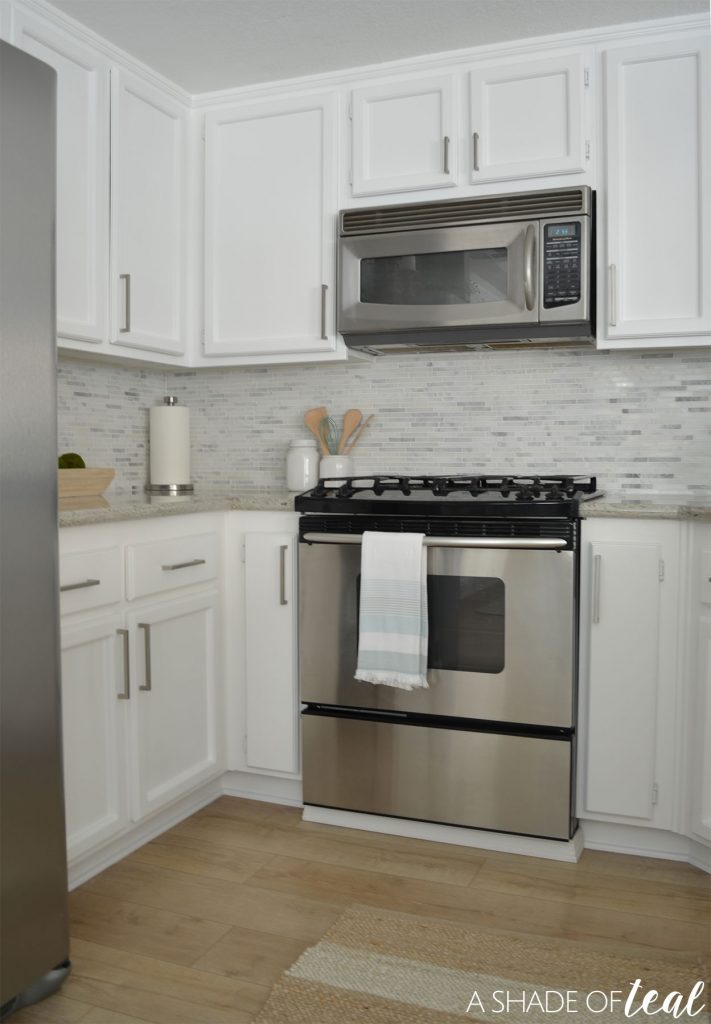
I’m absolutely loving my new kitchen! It’s been a long time coming and I’m ecstatic to be complete. With each week of the makeover compacted with work I haven’t been able to share how I repainted my cabinets. YES, I said repaint!

When we 1st bought our home we painted the cabinets white, the only problem was that I used the wrong paint and it was chipping and wearing away. So it was a necessity to redo them for this project.

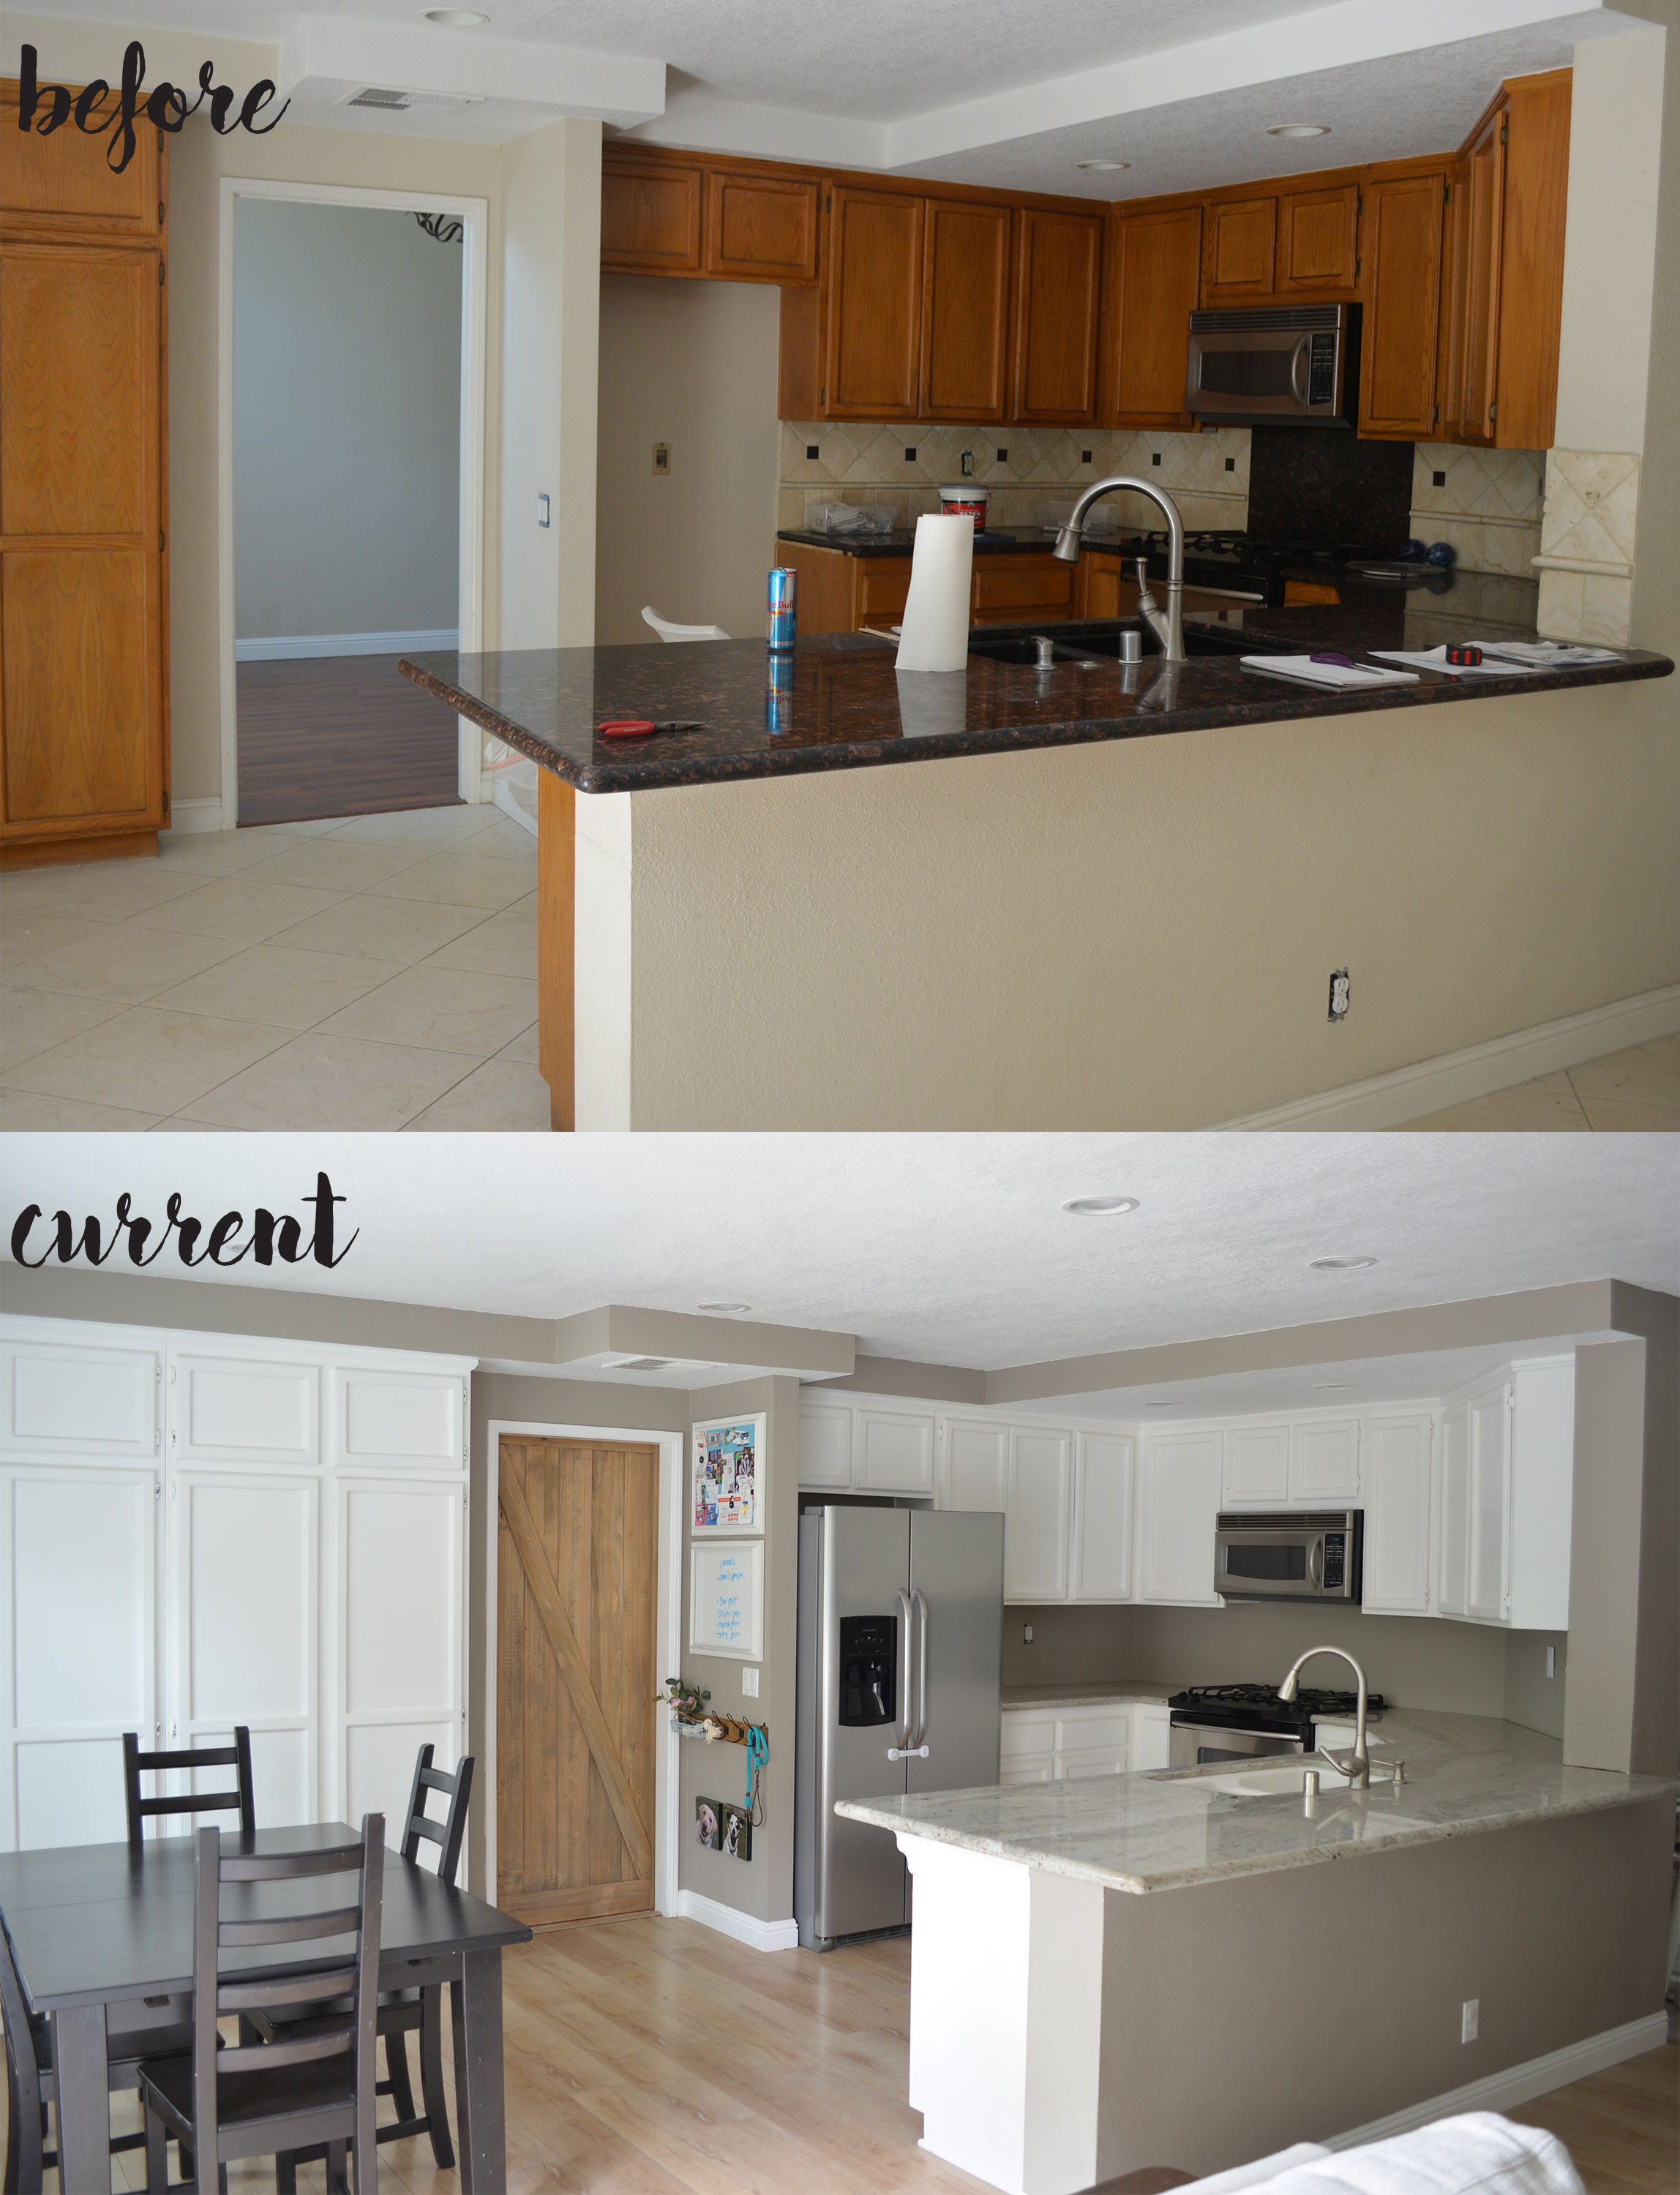
You can see below our home at day 1 then after we first painted the cabinets white.

From a far they look okay, but up close they were bad. We also ripped out the old backsplash, installed new granite, new faucet, new floors, and new wall paint. But that’s where we stopped. Now, 3 years later I was ready to tackle my kitchen the right way!

So here’s how I repainted my cabinets.

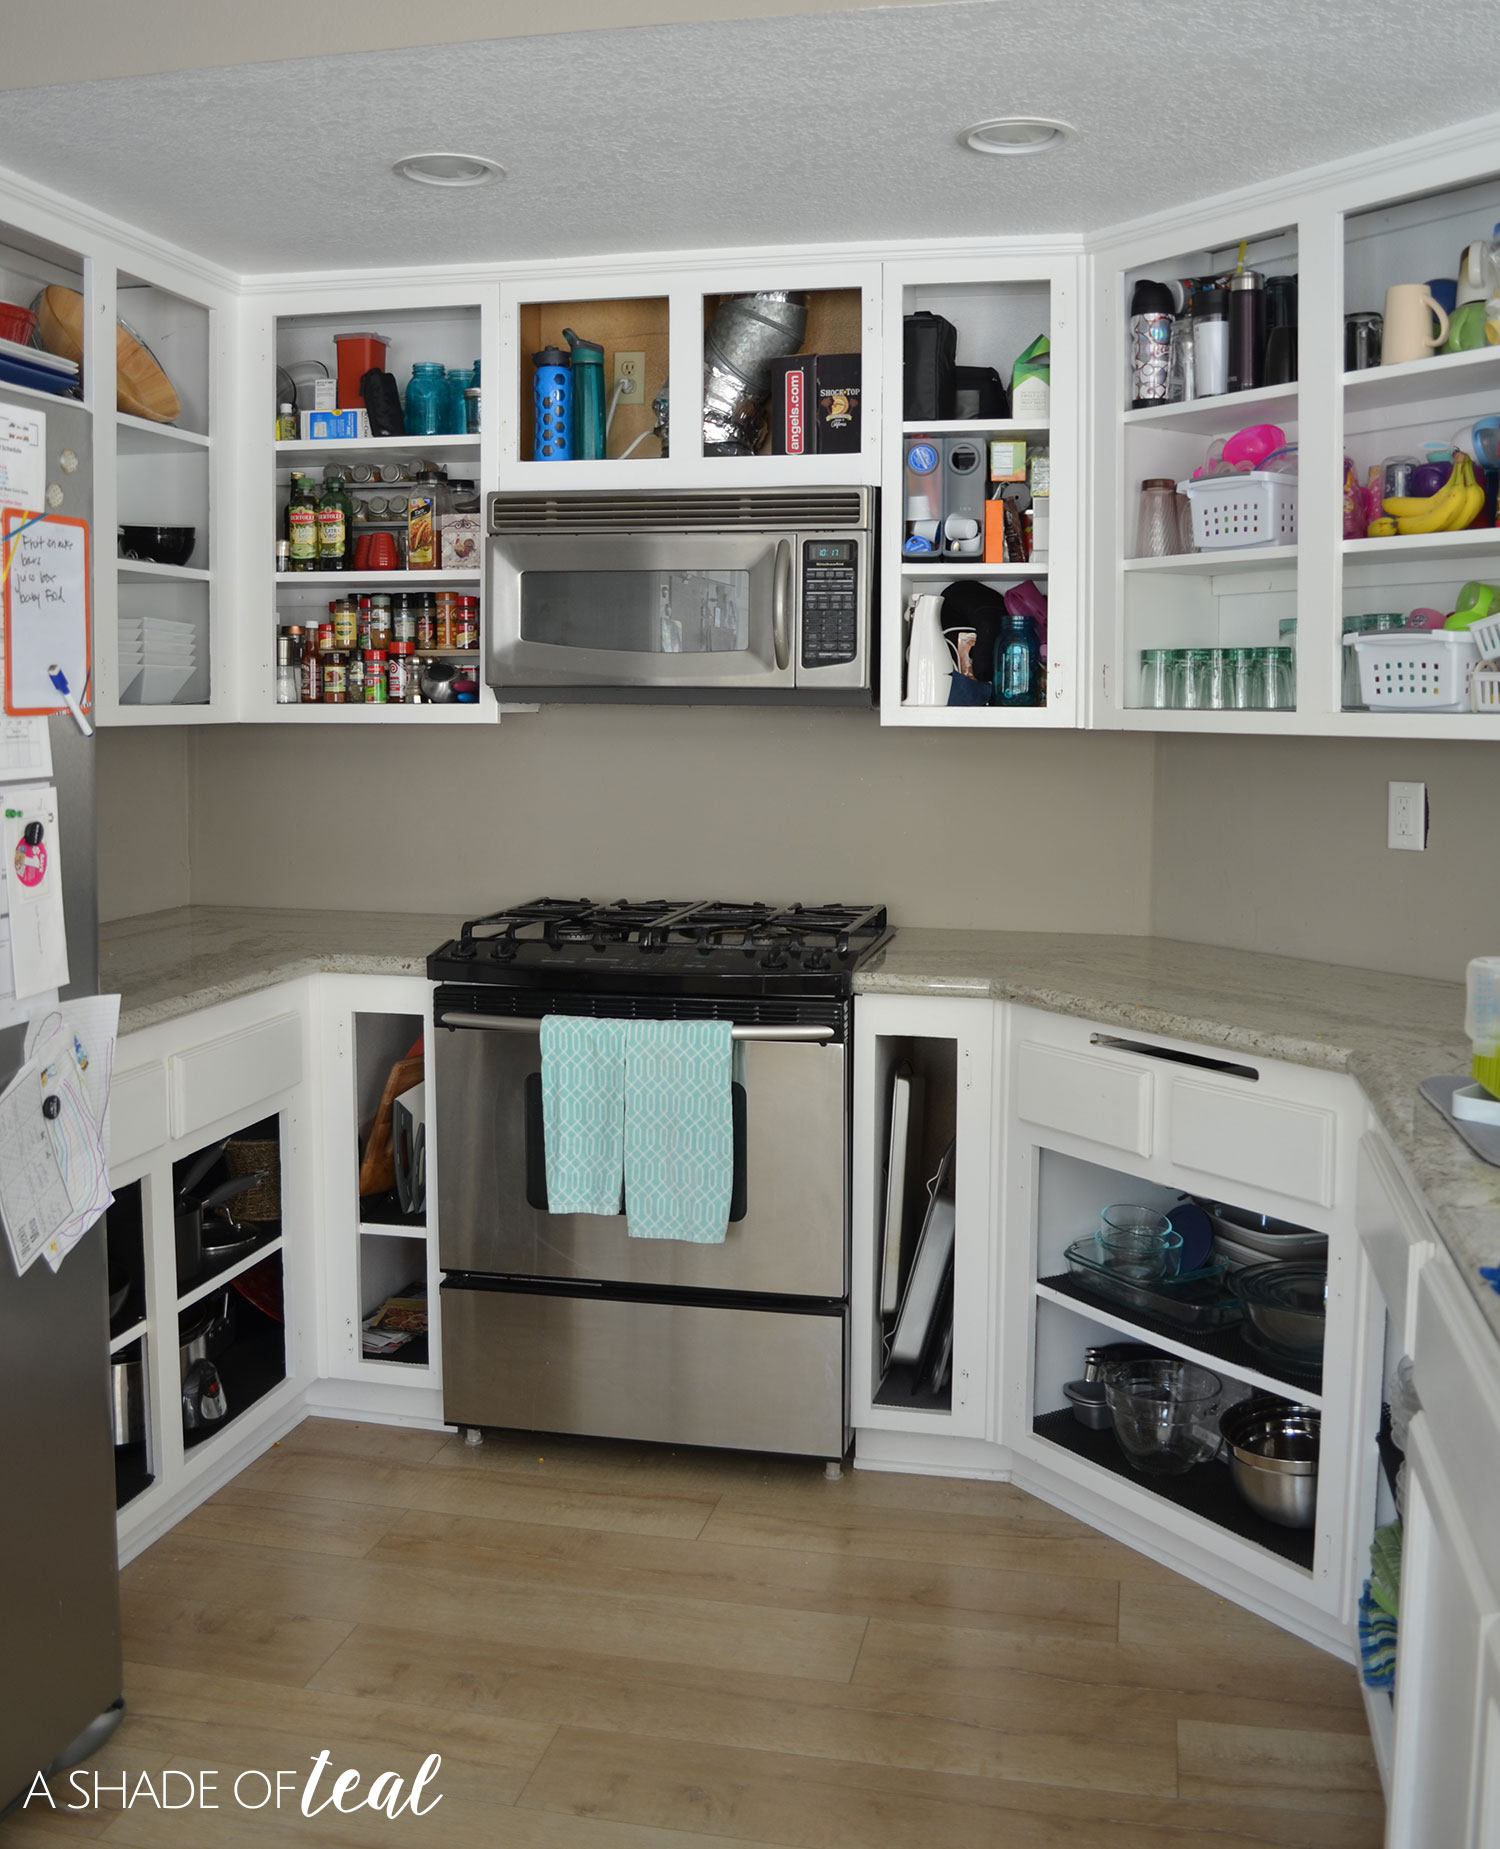
Step 1 // I removed all the door fronts from the cabinet base.

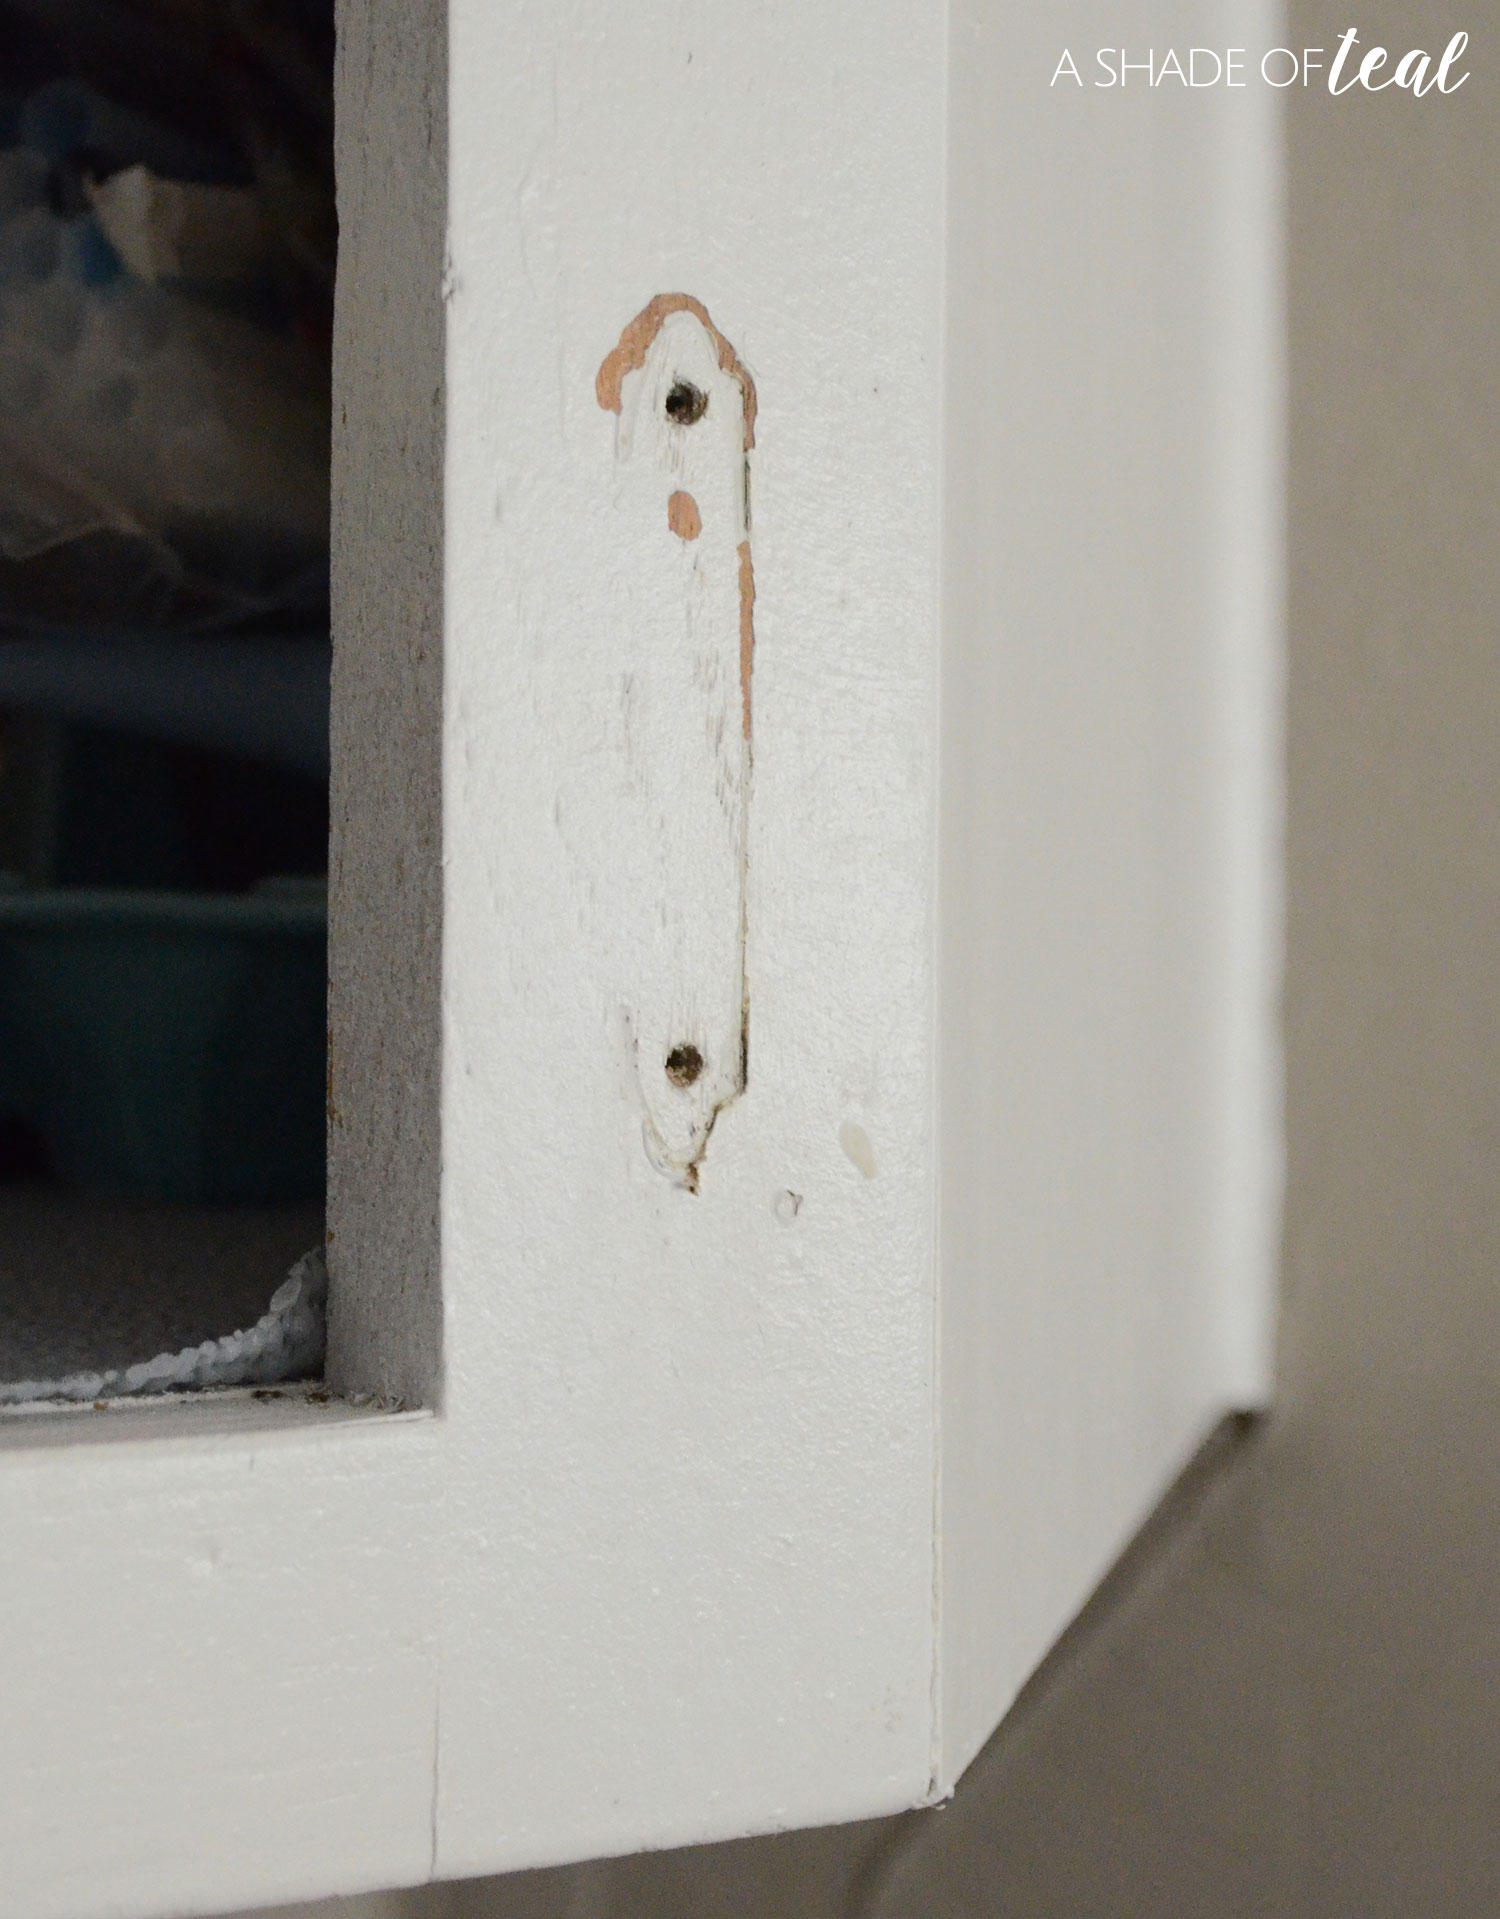
Step 2 // I cleaned the base & doors. Then re-caulked in the joints and spackled any holes including the old hinge holes since I would be installing new hinges.

Step 3 // Then I lightly sanded both the base and doors using 220 grit sandpaper.

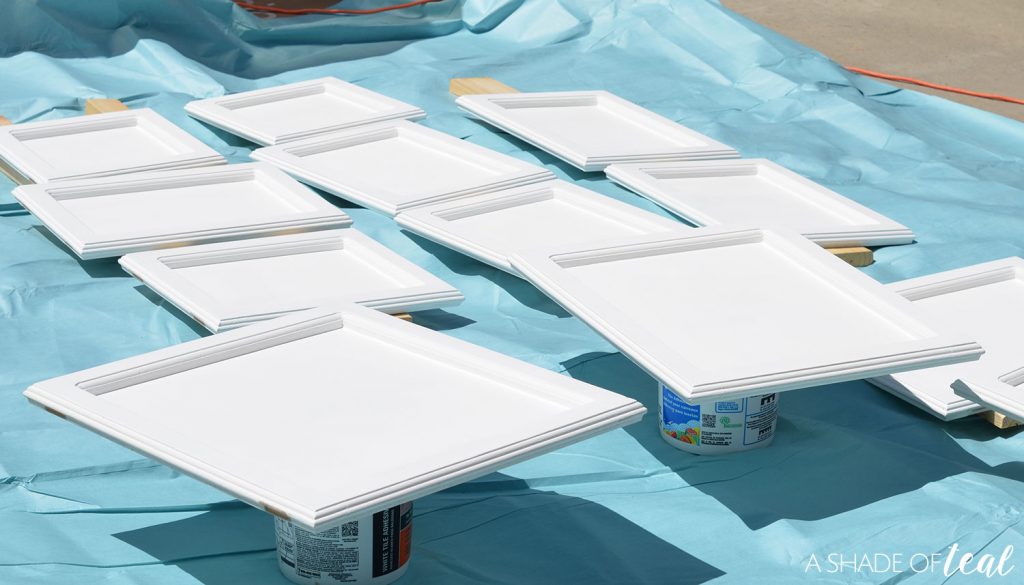
Step 4 // Next I dusted everything off and prepped my backyard to spray everything. I ended up making my own make shift spray tent since the Spray Shelter from HomeRight was back ordered. But it would have been so much faster and easier using their tent! This shelter is pretty amazing!

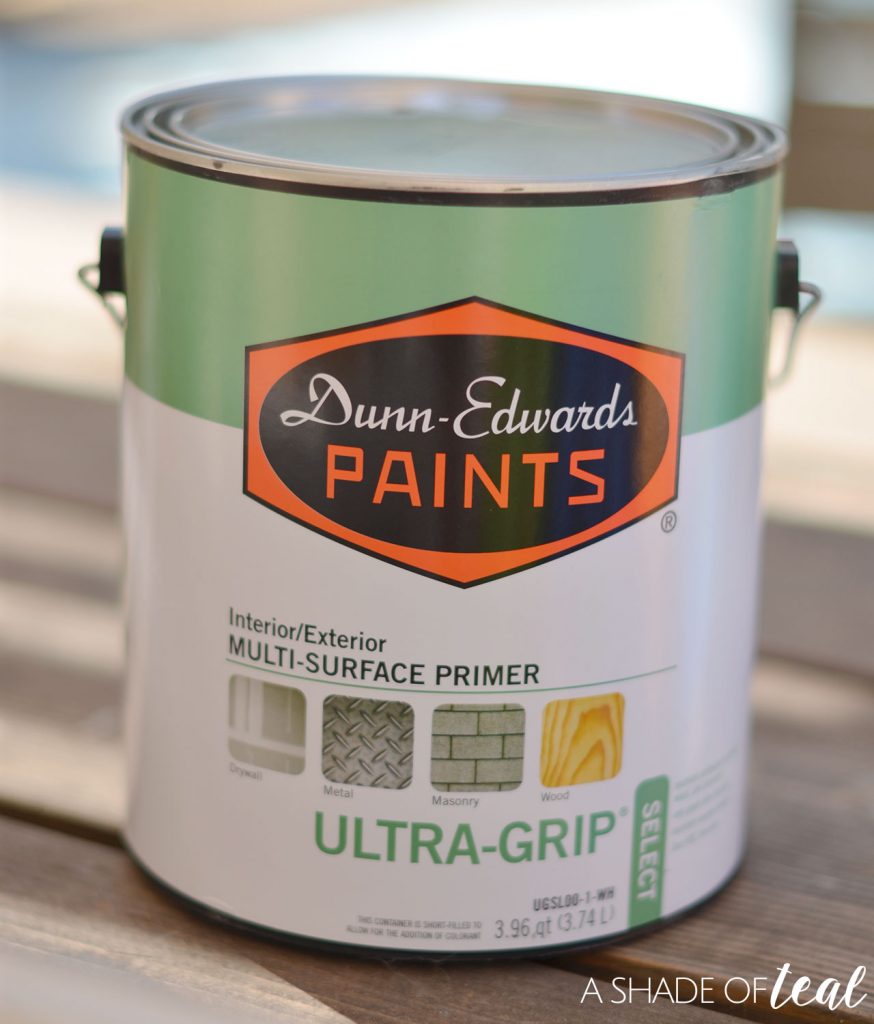
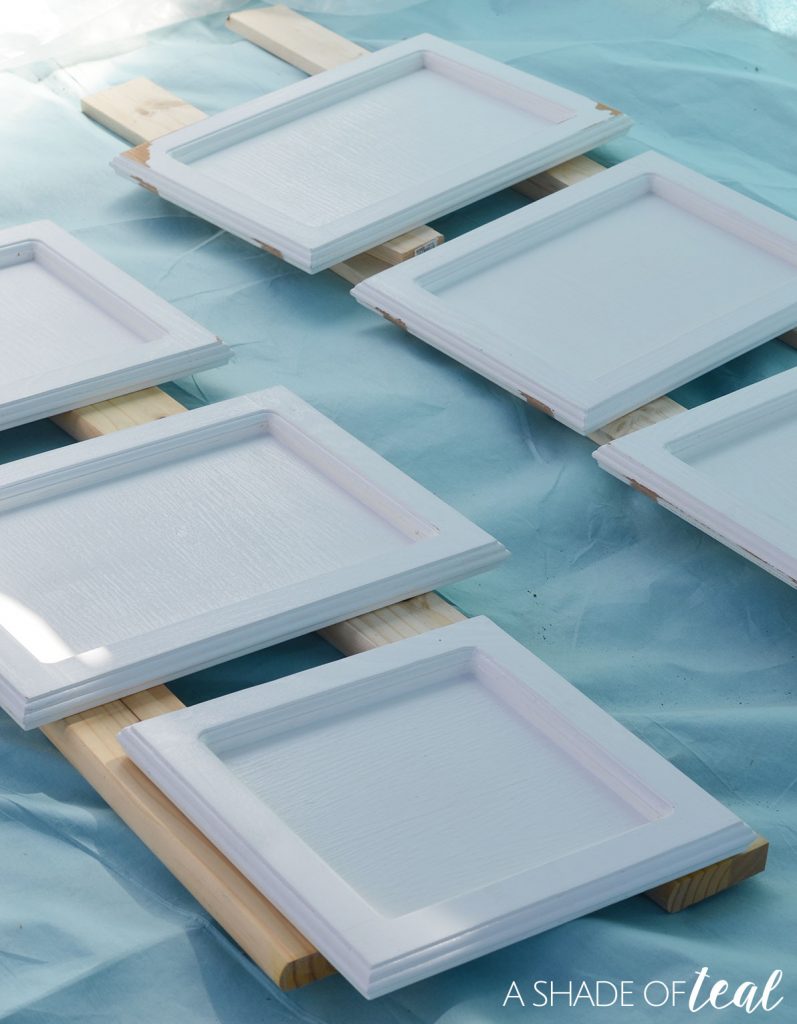
Step 5 // I started off priming all the doors and the cabinet base. I used Dunn-Edwards ULTRA-GRIP® Select Primer. I hand painted the base but I sprayed the cabinet doors.

To spray the doors I used HomeRights Finish Max Sprayer. It’s the perfect hand held spray gun that gets the job done! Plus, it’s light weight and easy to clean when your done.

Step 6 // After the primer dried on everything, I wiped it all down with a tack cloth.

Step 7 // Next, I sprayed the 1st coat of Paint on the doors. I started by spraying the back, or the inside of the cabinet doors. I used Dunn-Edwards Cool December (DEW383) in semi-gloss in their ARISTOSHIELD® line. It’s the perfect bright white.

I allowed everything to dry outside for the suggested amount of time. Then, I applied the 1st coat to the front. Again, letting everything dry, I finally applied 1 more coat to the front. So, in the end the doors got 1 coat primer, 1 coat paint on the back, and 2 coats paint on the front.

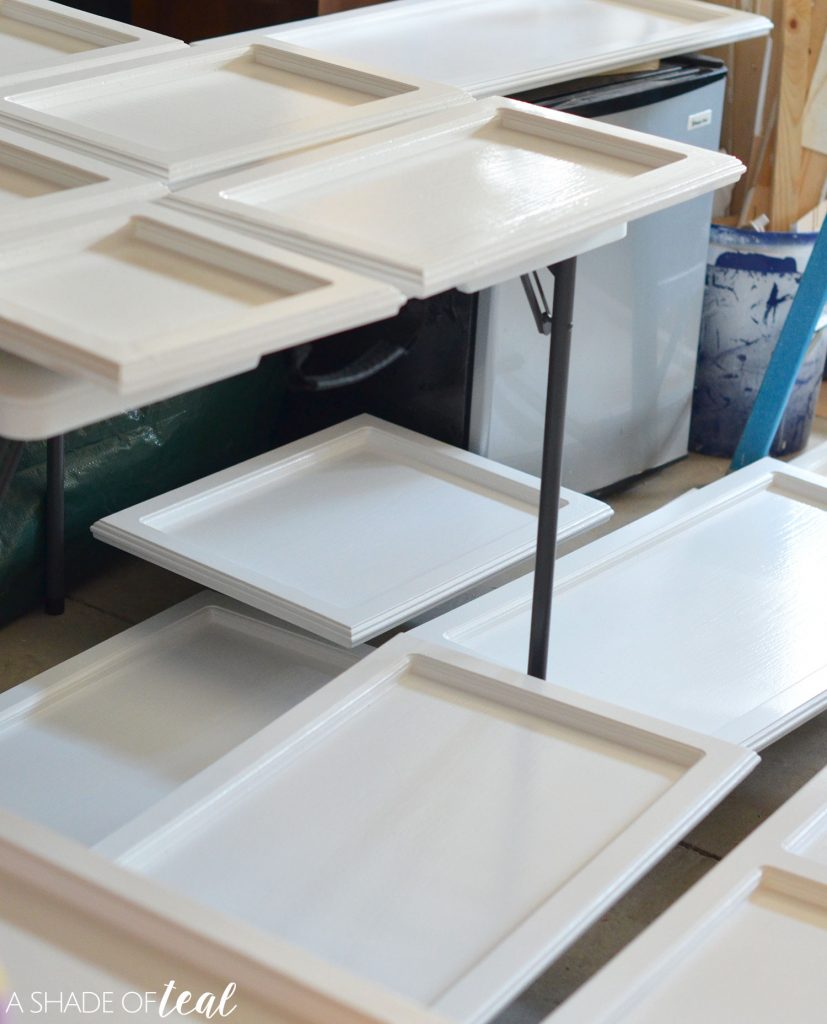
Step 8 // At the end of the day I moved all the doors into my garage to sit and REALLY dry for about 2 days.

During this period I finished painting the cabinet base with a coat of the paint.

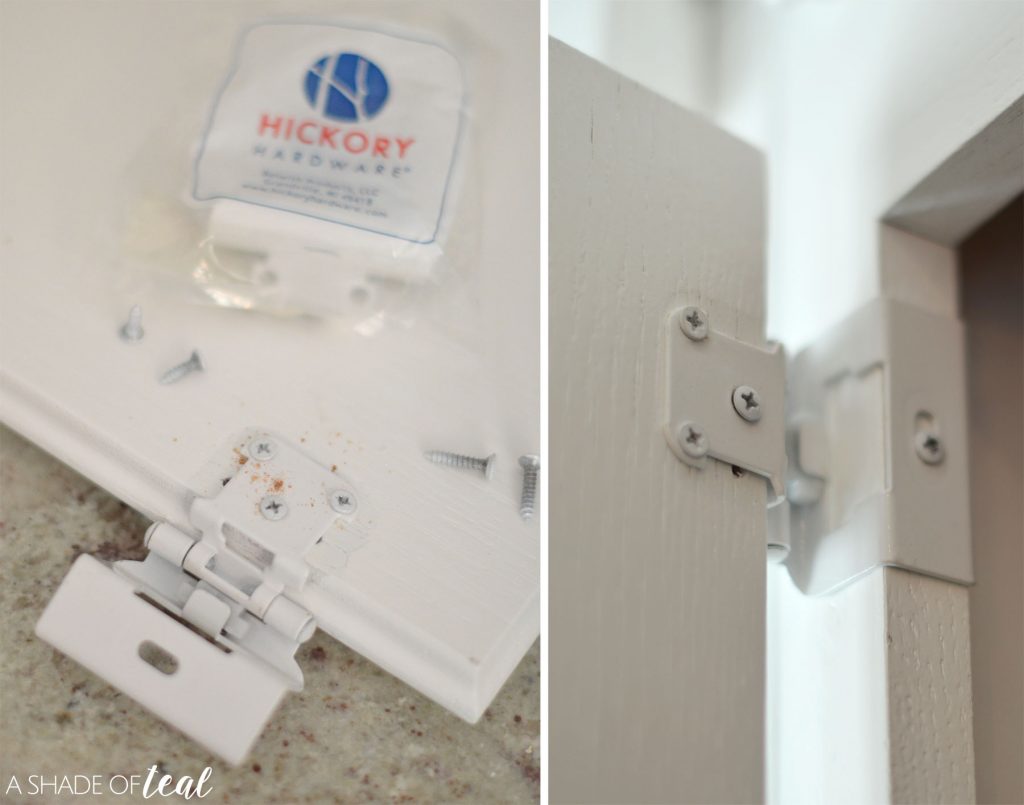
Step 9 // Time to put it all back together. My original hardware was your standard exposed hinges. But the 1st time I painted my cabinets I painted over them and they did NOT hold up. This was the worst part of our cabinets before. So, with this makeover I really wanted concealed hinges. Unfortunately, how my cabinets were built this would of been a huge task to make it happen. So I went with the next best option and used Hickory Hardware Semi-Concealed Full Wrap Hinge in white.
https://ashadeofteal.com/wp-admin/post.php?post=9712&action=edit
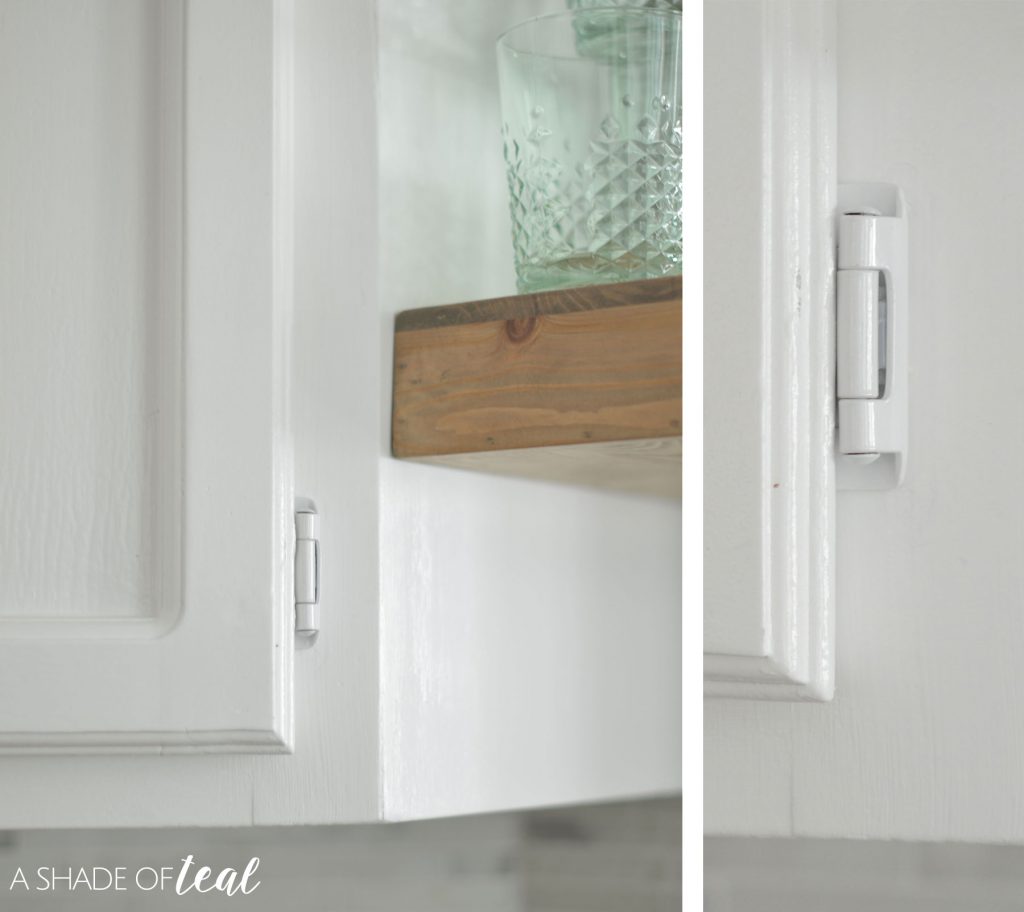
They did take some time to install, especially when it came to hanging them back on the cabinet base, but well worth the time. For one thing they look so much better and finished, then to top it off the white blends perfectly with my cabinet color.

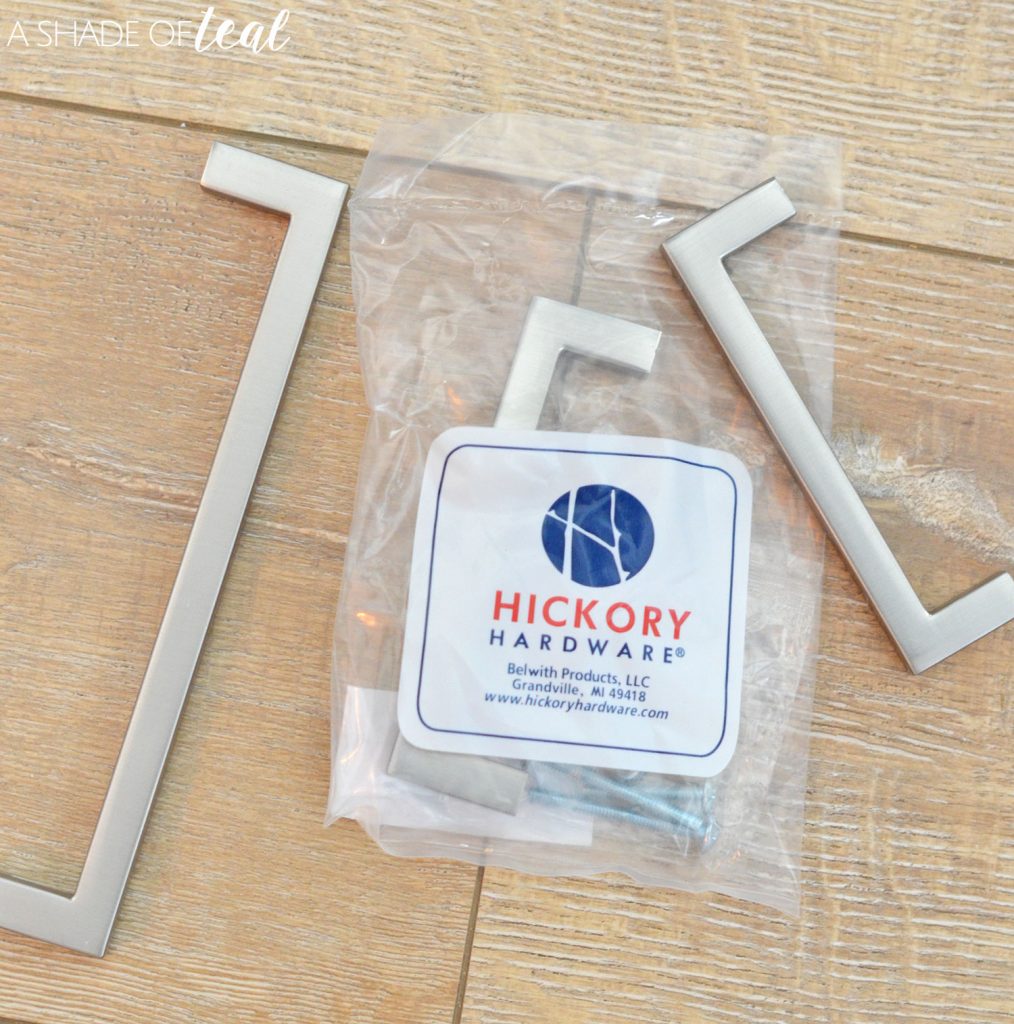
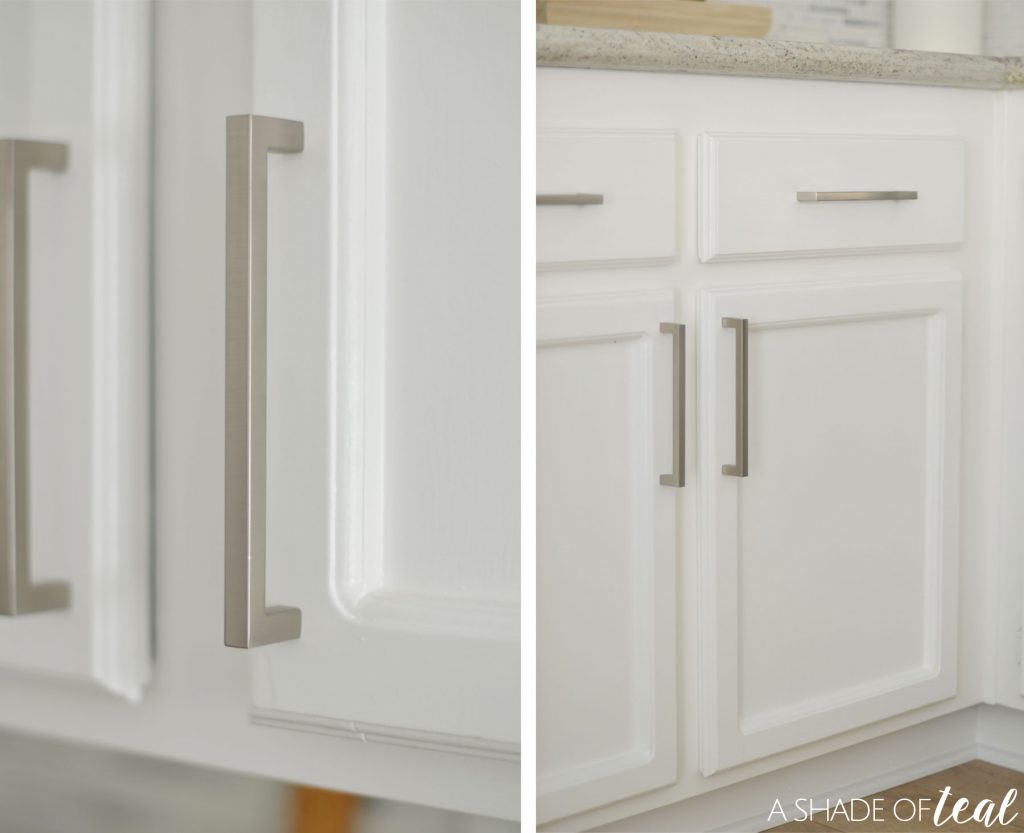
Step 10 // Once the hinges were complete I moved on to the hardware. Ahh, the final step! Again I used Hickory Hardware and added their Skylight line of pulls in Stainless Steel.

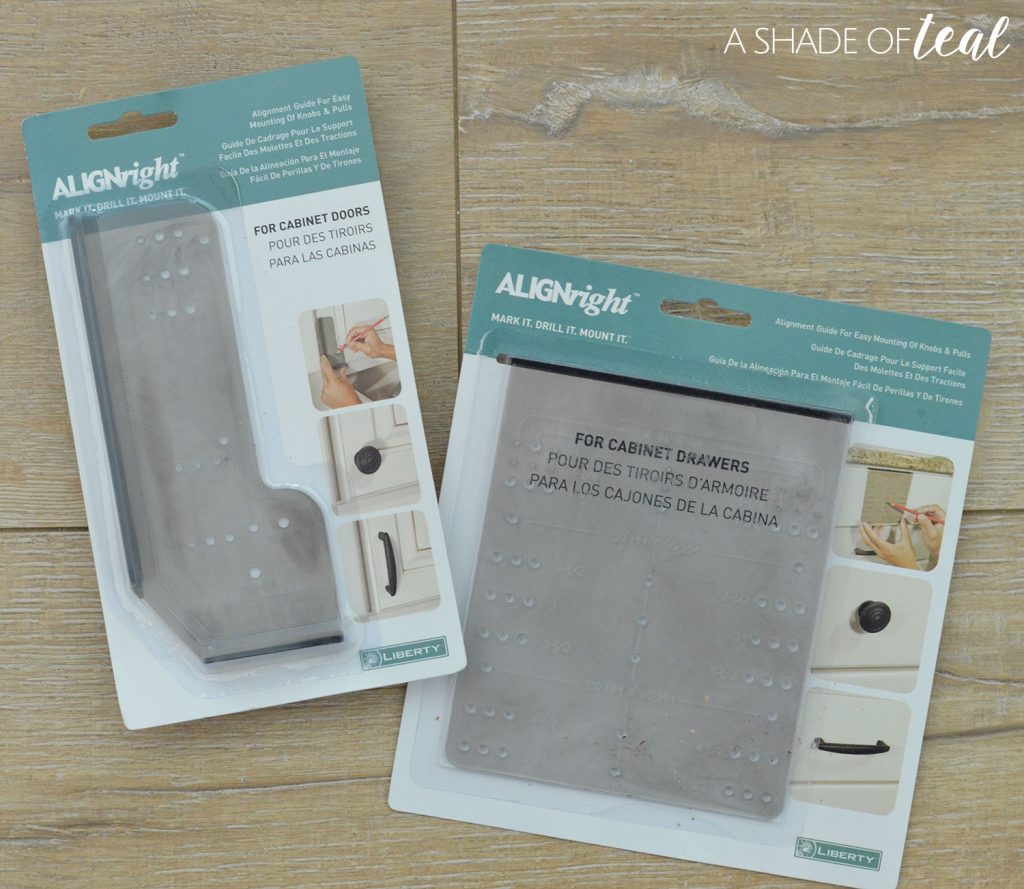
To mount everything I purchased these templates. In all honesty, I only used them half the time since some of my pulls were too long.

But here is the breakdown for the pulls:

  • Cabinet Pulls, Hickory Hardware 160mm Skylight pull in Stainless Steel
  • Small Upper Cabinet Pulls, Hickory Hardware 96mm Skylight pull in Stainless Steel
  • Cupboard Pulls, Hickory Hardware 12″ Skylight pull in Stainless Steel

Again, this did take some time (about 1 day of work) but well well worth it!

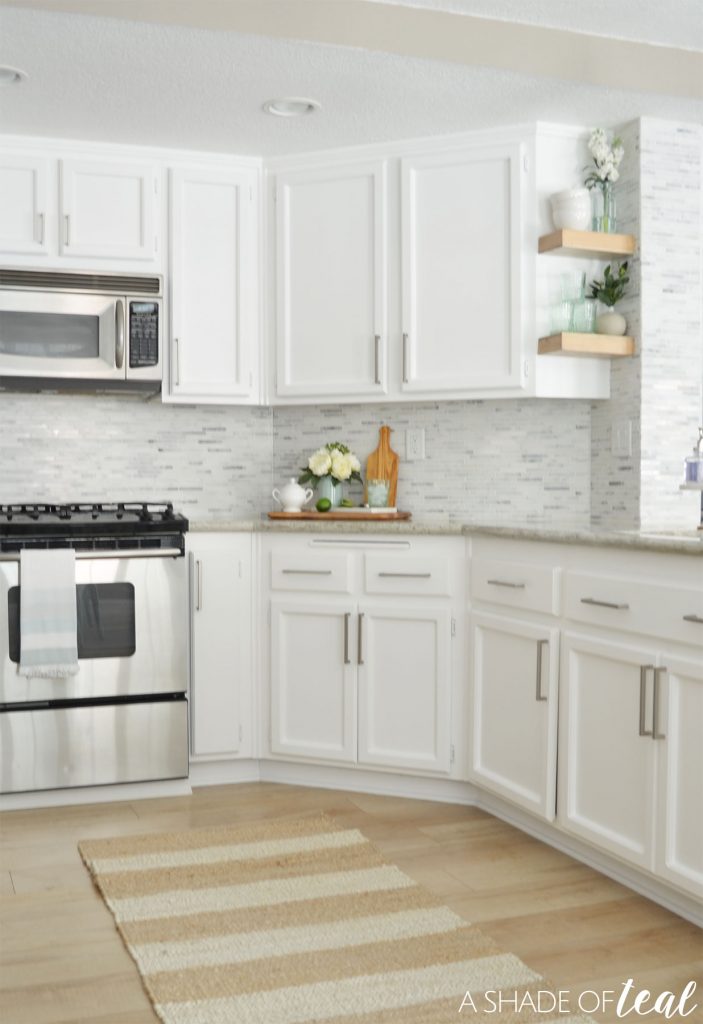
I was so excited and relieved once I installed that last piece of hardware! My cabinets are complete and look 100x better than before.

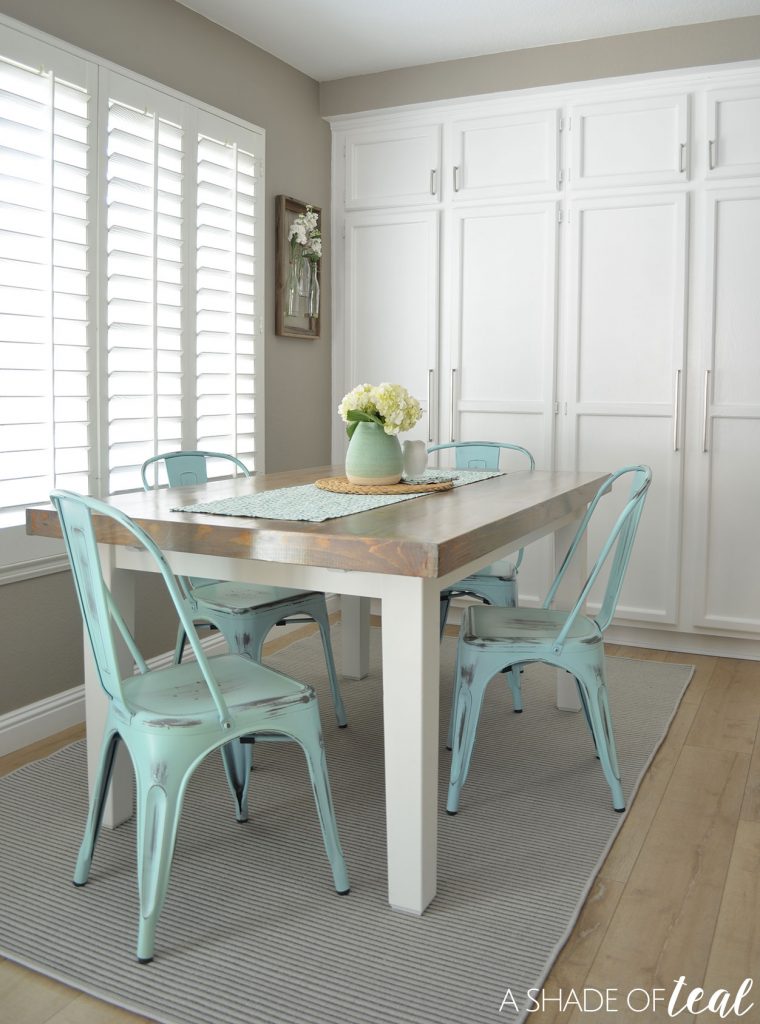
Here’s more after pictures.

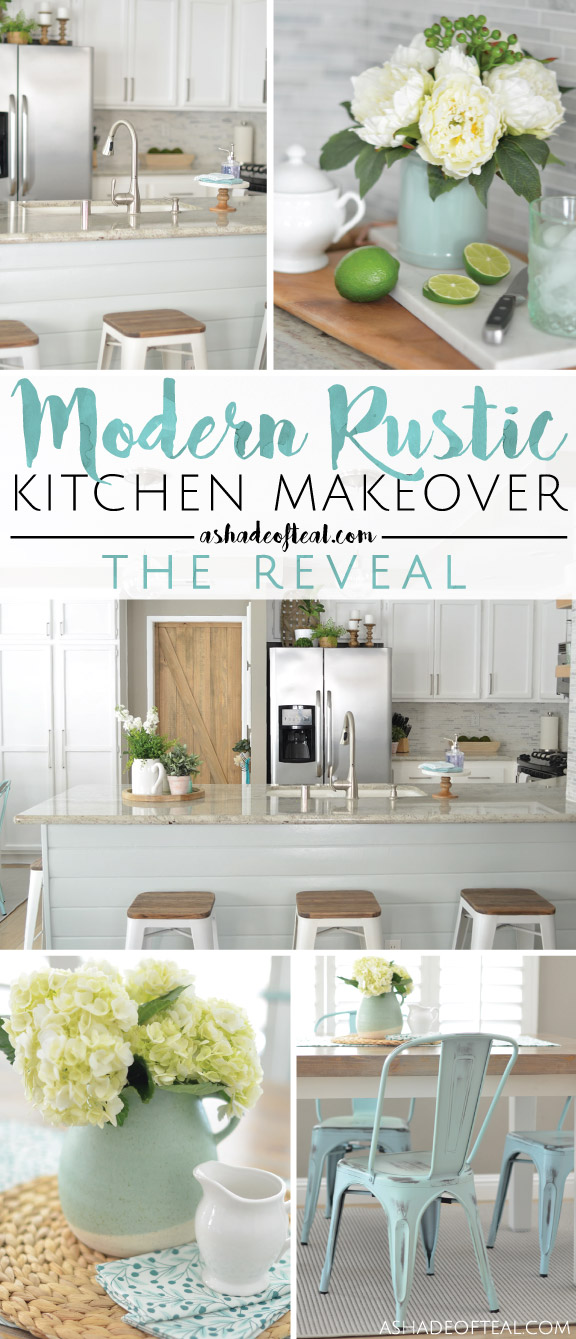
If you want to catch my entire Kitchen makover, find all the previous posts here. Including the reveal.

Modern Rustic Kitchen Makeover:
Week 1- The Plan || Week 2- Inspiration || Week 3- Progress
Week 4- Backsplash || Week 5- Lighting || Week 6- The Reveal

Or check out the Reveal here:

Enjoy!

Enjoy!Save

Save

Save

Save

Save

Save

Save

Save

Save

Save

Save

Save

Save

Save

Save

Save

Save

Save

Save

Save

Save

Save

Save

Save

Save

Save

Save

Save

Save

Save

Save

Save

Save

Save

Save

Save

Save

Save

Save

Save

Save

Save

Save

Save

Save

Save

Save

Save

Save

Save

Save

Save

Save

Save

Save

Save

Save


5 Comments

About Katy

Hello! I'm a wife, mother to 3 little ones, D.I.Y. enthusiast, and lover of all things creative! A Shade of Teal is my place to share my love of design, home renovation, family life, and of course Teal! Enjoy!

You might also like

Blanket Ladder Refresh
DIY- Geo Wine Rack to Shelf
Modern Rustic Fireplace Makeover: How to Add Shiplap
Kitchen Table Update with KILZ®
« How to Make a Flower Pot from a Coffee Bag
Fruit Infused Water, How to get your little one to drink more water! »

Comments

  1. Julie Briones says

    May 17, 2017 at 2:12 pm

    Great tutorial, Katy. Did you find the sprayer easy to clean?

    I have several projects I want to use the HR sprayer on. My biggest issue is, I don’t have a place to set up my shelter. I will need to transfer my projects to my sister’s house and do them there (I live in a wee apartment that has no patio, etc.) The only other option would be to do it in the greenbelt area just outside My Wee Abode. Not sure how silly that would look! Anyways… it will happen, soon!

    Reply
    • Katy says

      May 17, 2017 at 2:17 pm

      I would probably use the green belt! Haha. But if you have a garage, that could be an area as well. Good luck!

      Reply
      • Katy says

        May 17, 2017 at 2:19 pm

        Oh, and yes. It was super easy to clean, especially after using it all day. It cleaned up super quick.

        Reply
      • Julie Briones says

        May 17, 2017 at 2:32 pm

        I *don’t* have a garage that is available to me. My living situation is unique, but I love it! 😉

        Reply
  2. Tess says

    November 8, 2021 at 5:49 pm

    Hi! Getting ready to paint a built in entertainment center with Dunn Edwards Aristoshield. What tip did you use with your homeright and did you need to thin the paint? If so, how much? I will be rolling/brushing the boxes, any advice?

    Reply

Leave a Reply to Julie Briones Cancel reply

Your email address will not be published. Required fields are marked *

Welcome!

I’m Katy- wife, mother to 3 little ones, D.I.Y. enthusiast, and lover of all things creative! A Shade of Teal is my place to share my love of design, home renovation, family life, and of course Teal! Read More…

Looking for Something?

Stay Updated! Get all the latest straight to your inbox!

Archives

If you’re currently looking into new flooring fo If you’re currently looking into new flooring for your home then you may have come across the term “Resilient Flooring.” #AD I’m sure you’re wondering what’s that? Or do I even need it? Well… I’m here to share everything to know about Resilient Flooring, and why you should consider it for your next home update.

Learn everything you need to know about Resilient Flooring and why we choose it for our home. More on the blog today
(Link in Profile) ☝️ or
>>> https://bit.ly/3as6Vjv
•
Or Visit & follow @ResponsibleFloors to learn more!
•
#flooring #homedesign #homeinspo #homereno #ashadeofteal #lifestyleblog #lifestyleblogger #homeideas #diy #diyblogger #interiordesign #homeblogger
#AD 💜 My craft room doesn’t get the best ligh #AD 💜 My craft room doesn’t get the best light, & every time I need to weed detailed Vinyl or Paper I have to move to a different room to get the best lighting. Well, those days are done for me since I have the all NEW @cricut Bright 360!!!

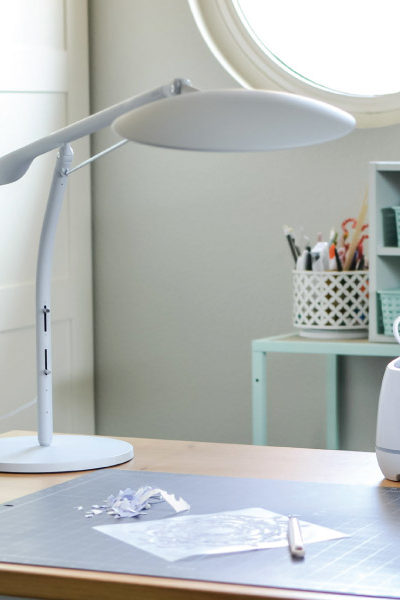
I'm sure you're wondering what is that?!? Well, if you're an avid crafter then you know how important lightning is and Cricut just introduced it's NEW Cricut Bright™ 360, the Ultimate LED Table Lamp!

No more straining your eyes to weed out vinyl, with the Cricut Bright 360 comfortably see every detail. 
💜
Check out everything you need to know on the blog, or Link in profile ☝️
https://bit.ly/3sVlC4P
💜
#cricutmade #ashadeofteal #diyblogger #diyblog #Cricut #Explore3 #Maker3 #ilovecricut #cricutcreations #cricutmachine #gettingcrafty #gettingcreative
#cricutbright360 #bright360
After I left the 9-5 behind and started my own bus After I left the 9-5 behind and started my own business I’ve never stopped looking for ways to help keep me on track with work. #AD Finding time to work while caring for my kids never gets easy, but with the help of some amazing products, I find being organized and motivated that much easier.

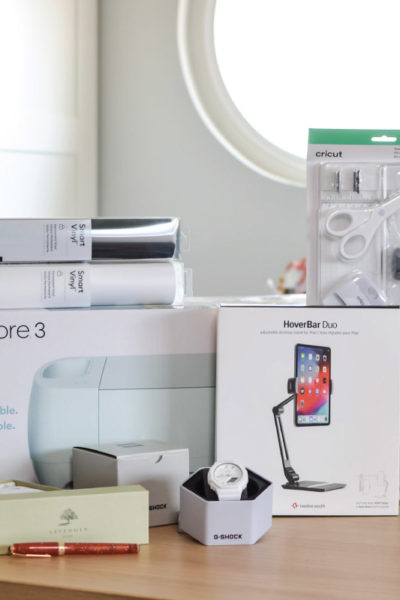
With the help of @babbleboxxofficial, @Levenger, @cricut, @gshockwomen,and @twelvesouth, check out my Ultimate list of Office Products that Every SHEBOSS Needs!
•
Check out the product list here:
https://bit.ly/3wMmtHO
or on the blog today (Link in Profile) ☝️
& Swipe right to see more.
•
#SheBossBBxx #Levenger #penlife #penaddicts #greatgiftidea #cricut #cricutmade #gshockwomen #GMAS2100 #TwelveSouth #HoverBarDuo
Another Holiday Gift Guide and this time it’s al Another Holiday Gift Guide and this time it’s all about our pups! #AD If you’re looking for more gift ideas for your pets that isn’t the typical toy, treat, or new bed, then I have the perfect solution for you, @DoggieDailies 🐾

Doggie Dailies offer everything from Advanced Calming Chews, Skin & Coat Soft Chews, to Digestive Support Bone Broth Boost. 🐾
•
Learn more with my Holiday Pet Gift Guide with Doggie Dailies!
here: https://bit.ly/3IwVfZc
or on the blog today (Link in Profile) ☝️
•
#DoggieDailies @babbleboxxofficial
Follow on Instagram

Sharing Permissions

This blog, including all text, images, and other content, is the property of A Shade of Teal (unless otherwise noted). Use of entire posts; whether verbatim or paraphrased, is not acceptable. Photographs may not be altered or edited, including watermarks. Please contact for permission to use photos, including but not limited to images, text, or other content on this site.

You might also like

What’s Resilient Flooring? Plus, Why We Choose It.

What’s Resilient Flooring? Plus, Why We Choose It.

Cricut Bright 360: Everything you need to know!

Cricut Bright 360: Everything you need to know!

The Ultimate Office Products that Every SHEBOSS Needs!

The Ultimate Office Products that Every SHEBOSS Needs!

New Year, New Storage Around the Home

New Year, New Storage Around the Home

Valentine’s Day Decor & Gifts

Valentine’s Day Decor & Gifts

Copyright © 2012-2025 · A Shade Of Teal · Divine theme, Logo and Theme Customization By A Shade Of Teal Design

This site uses cookies & by continuing to browse this site, you're agreeing to our use of cookies. Learn more here.