CRICUT DIY: HOW TO CUSTOMIZE A KIDS LAP TRAY. LEARN HOW TO CUSTOMIZE A KIDS LAP TRAY USING THE CRICUT EXPLORER AIR 2 & REMOVABLE VINYL.
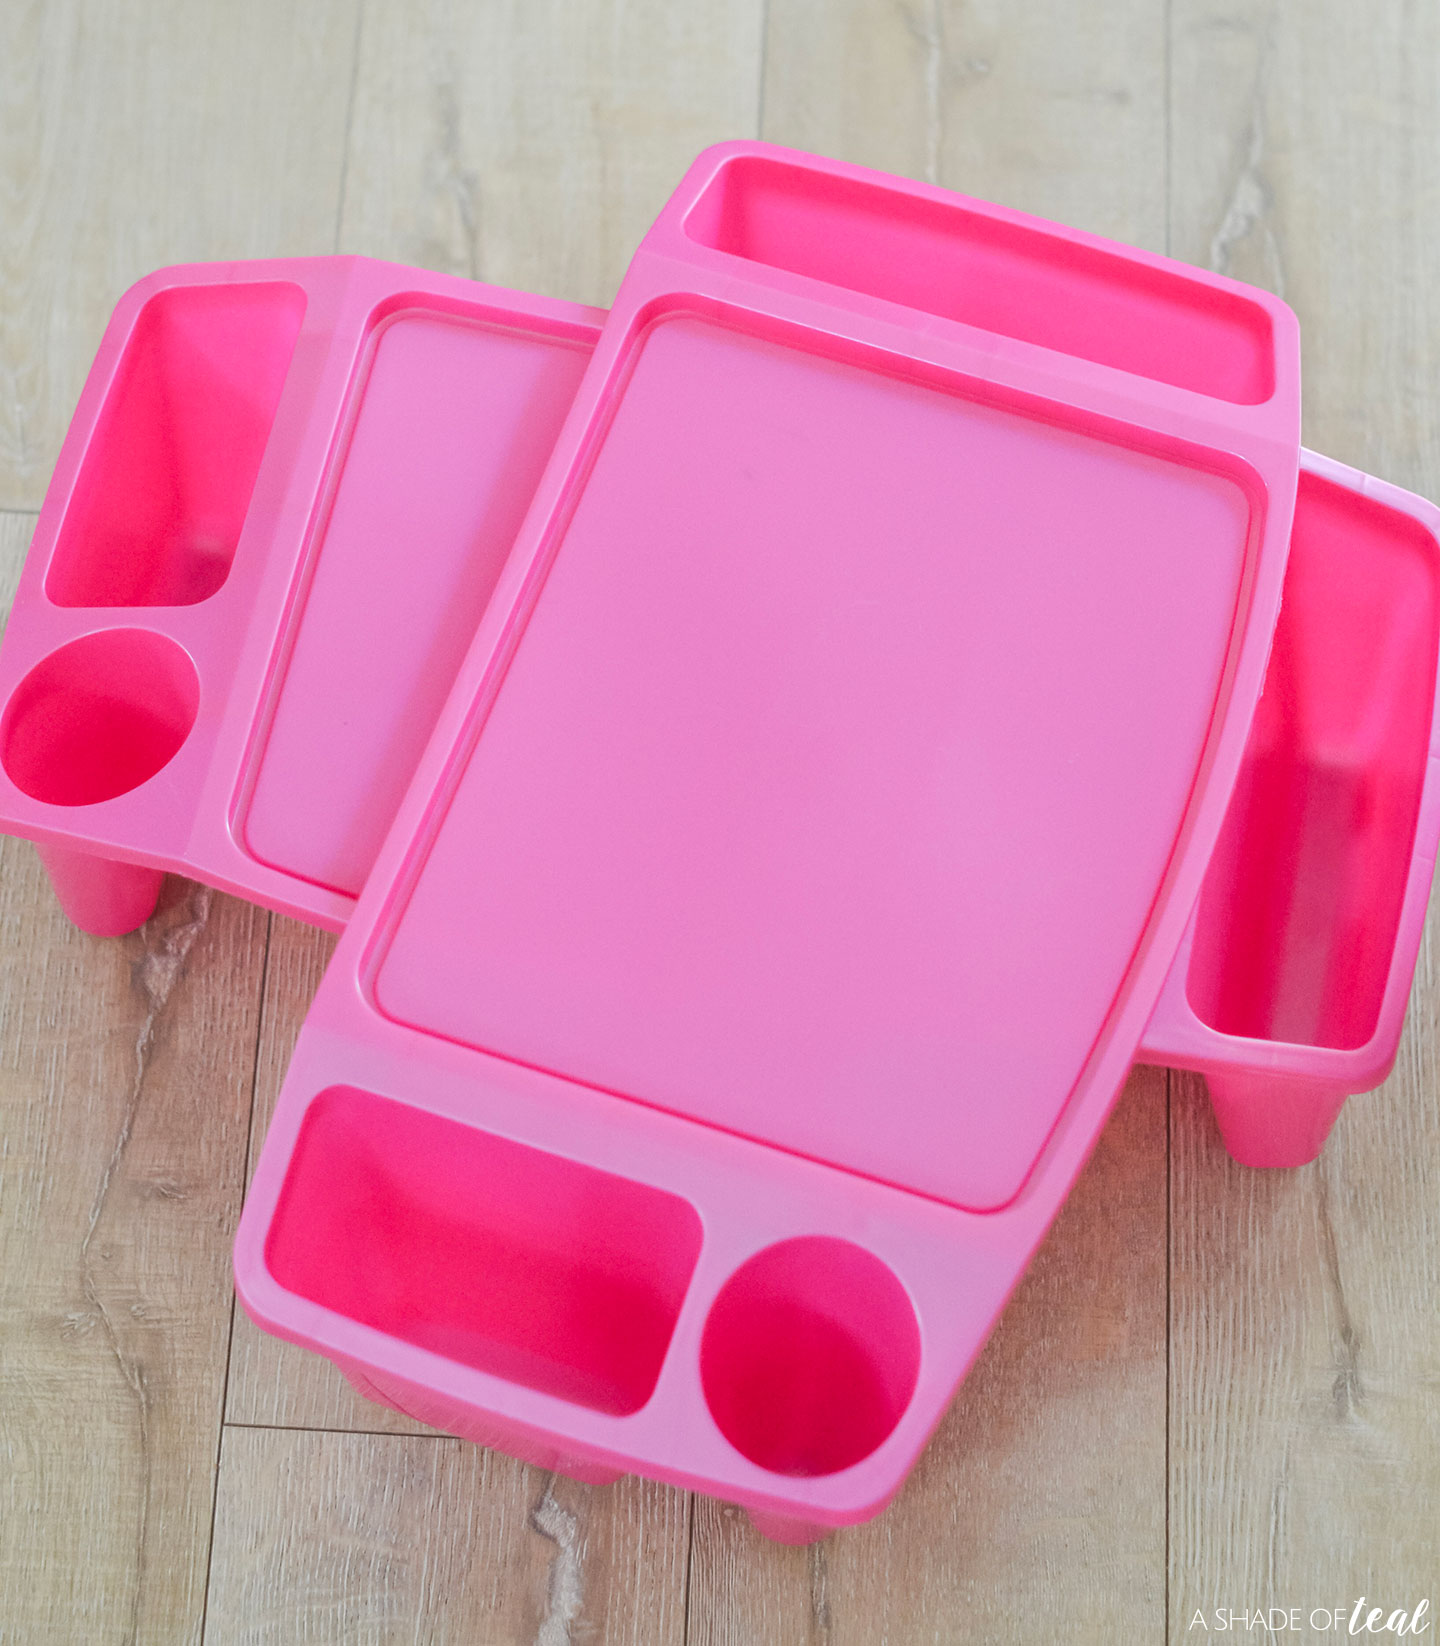
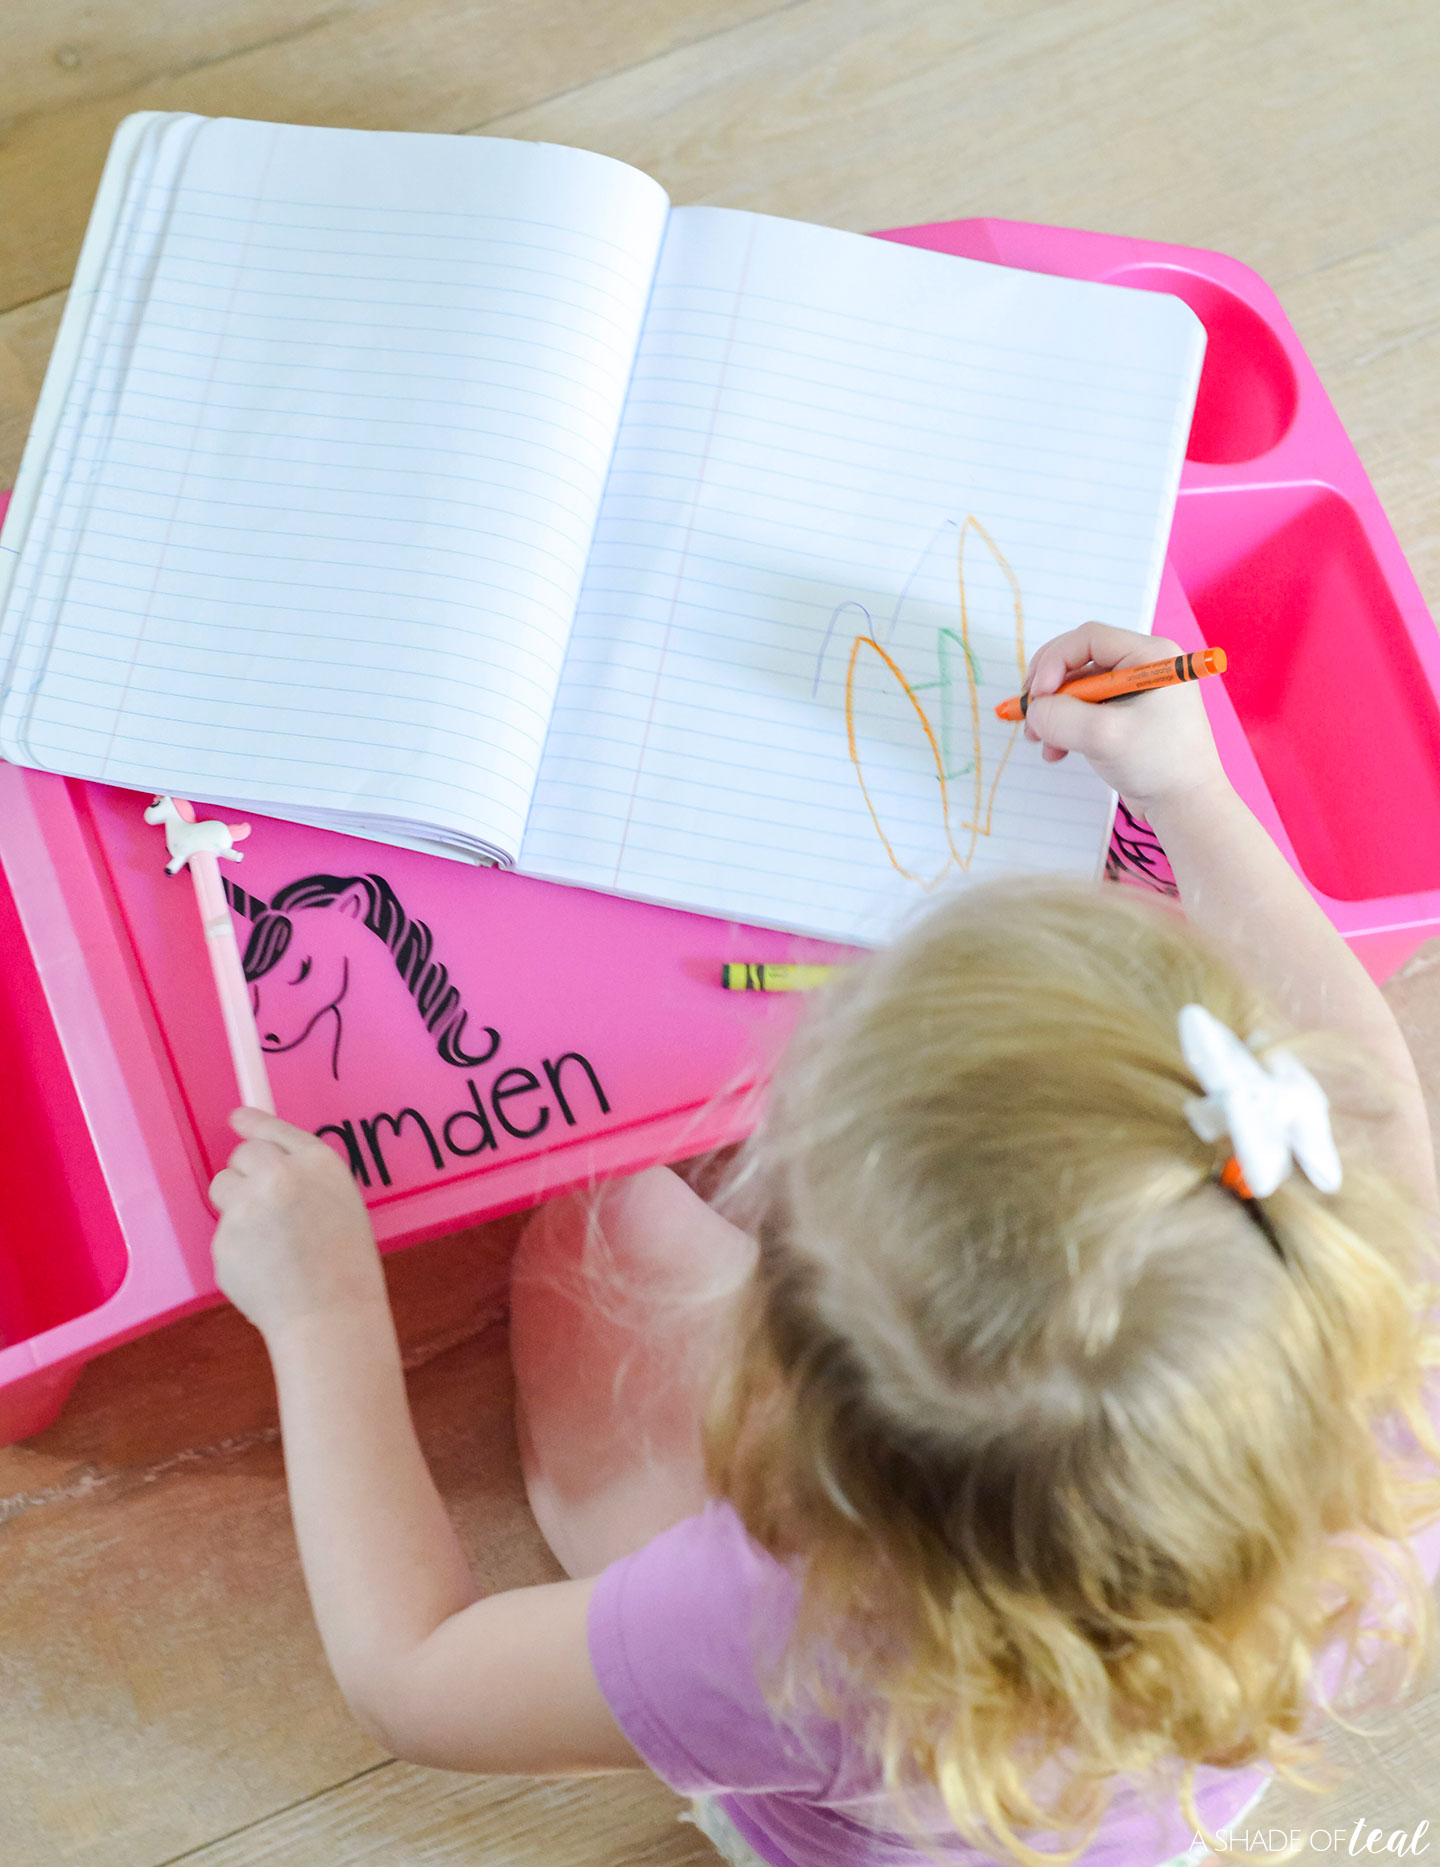
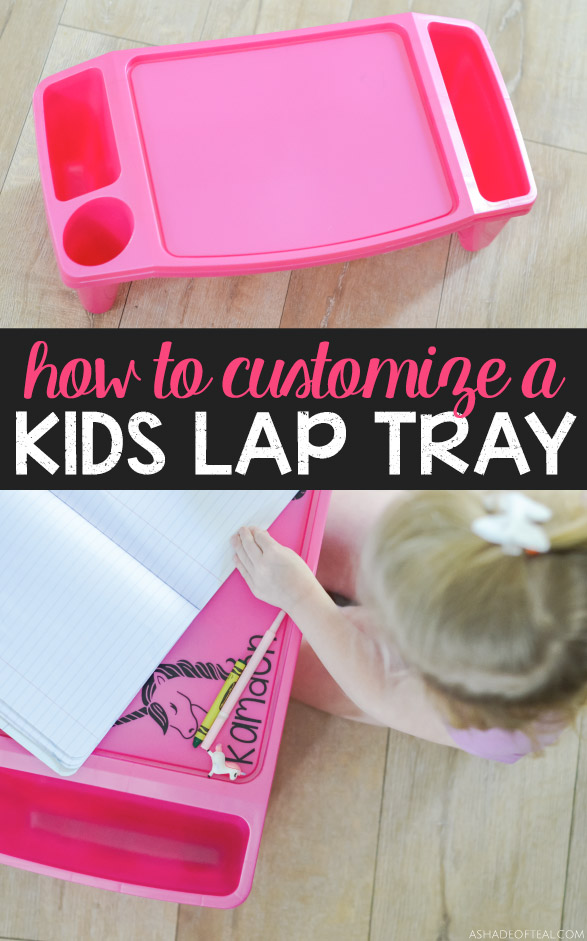
My girls love to color and craft, and as much as I would love for them to only do it at the table, they always find a way to setup their coloring space in our family room. So, to keep their coloring items more organized (and honestly off the floor) I picked up a couple of these colorful lap trays.
(This post may include affiliate links. If you buy something I receive a small commission of your purchase. Thanks for supporting A Shade of Teal! I only share products I truly love!)
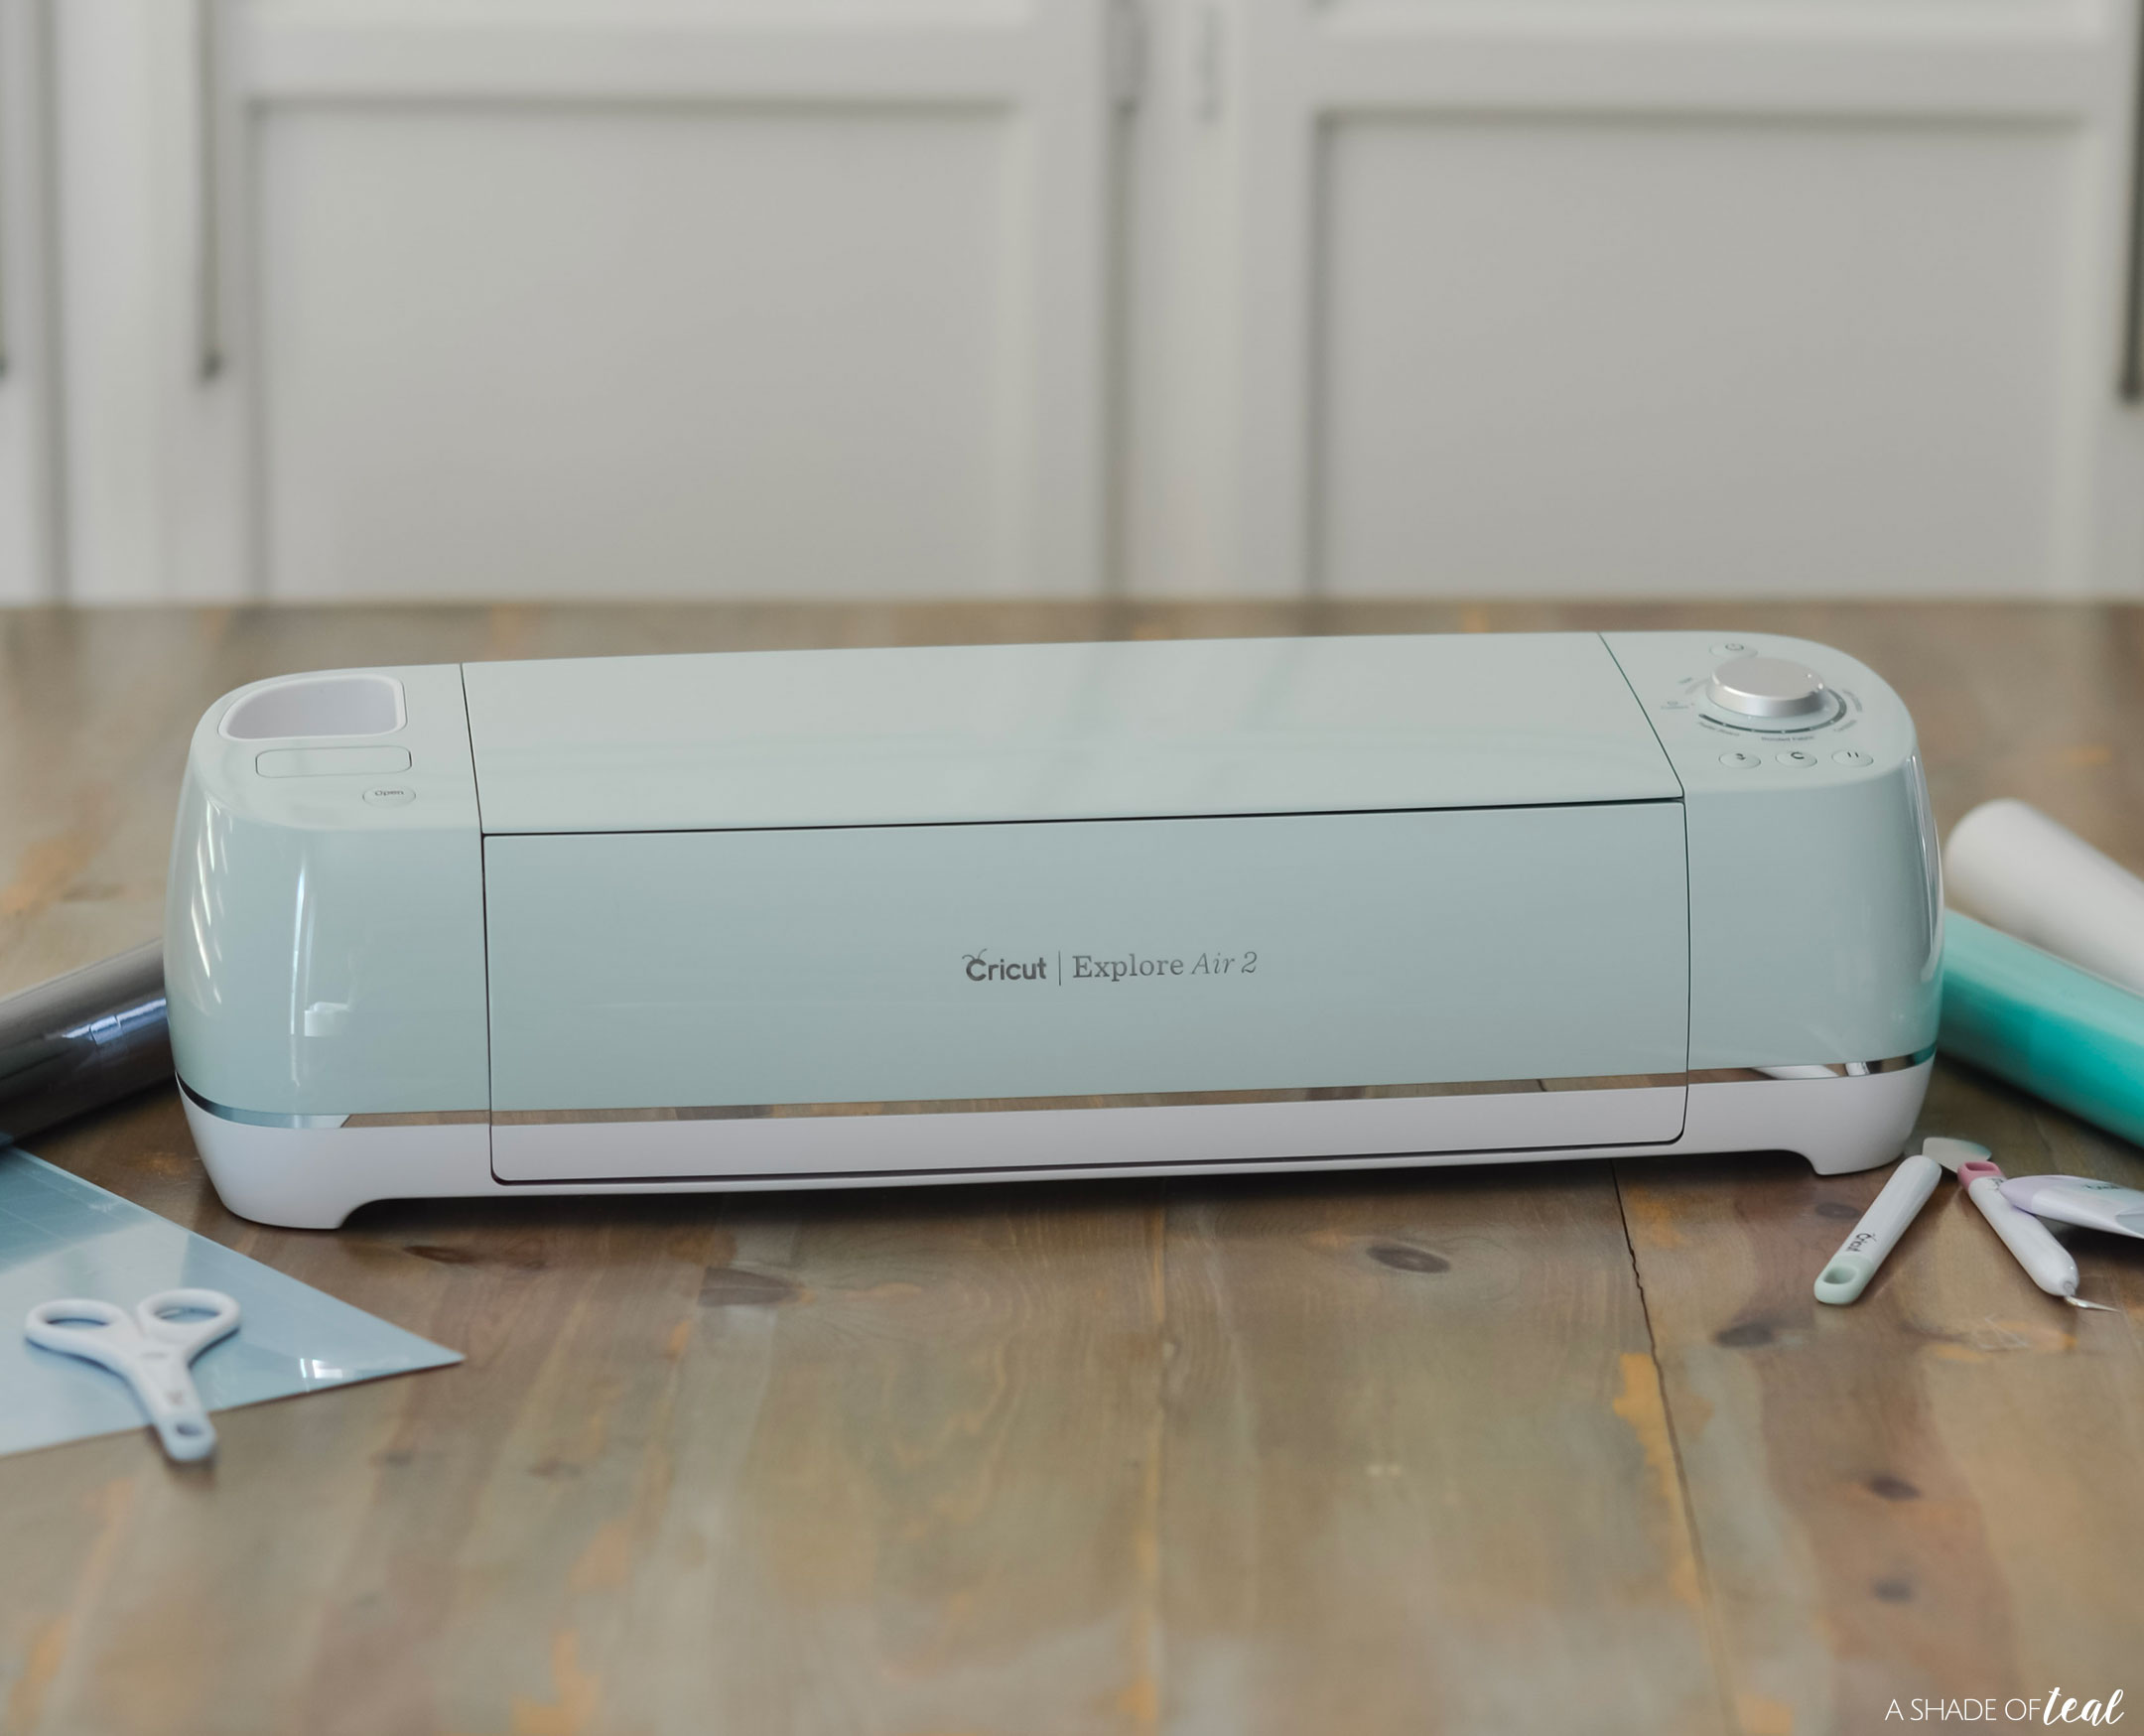
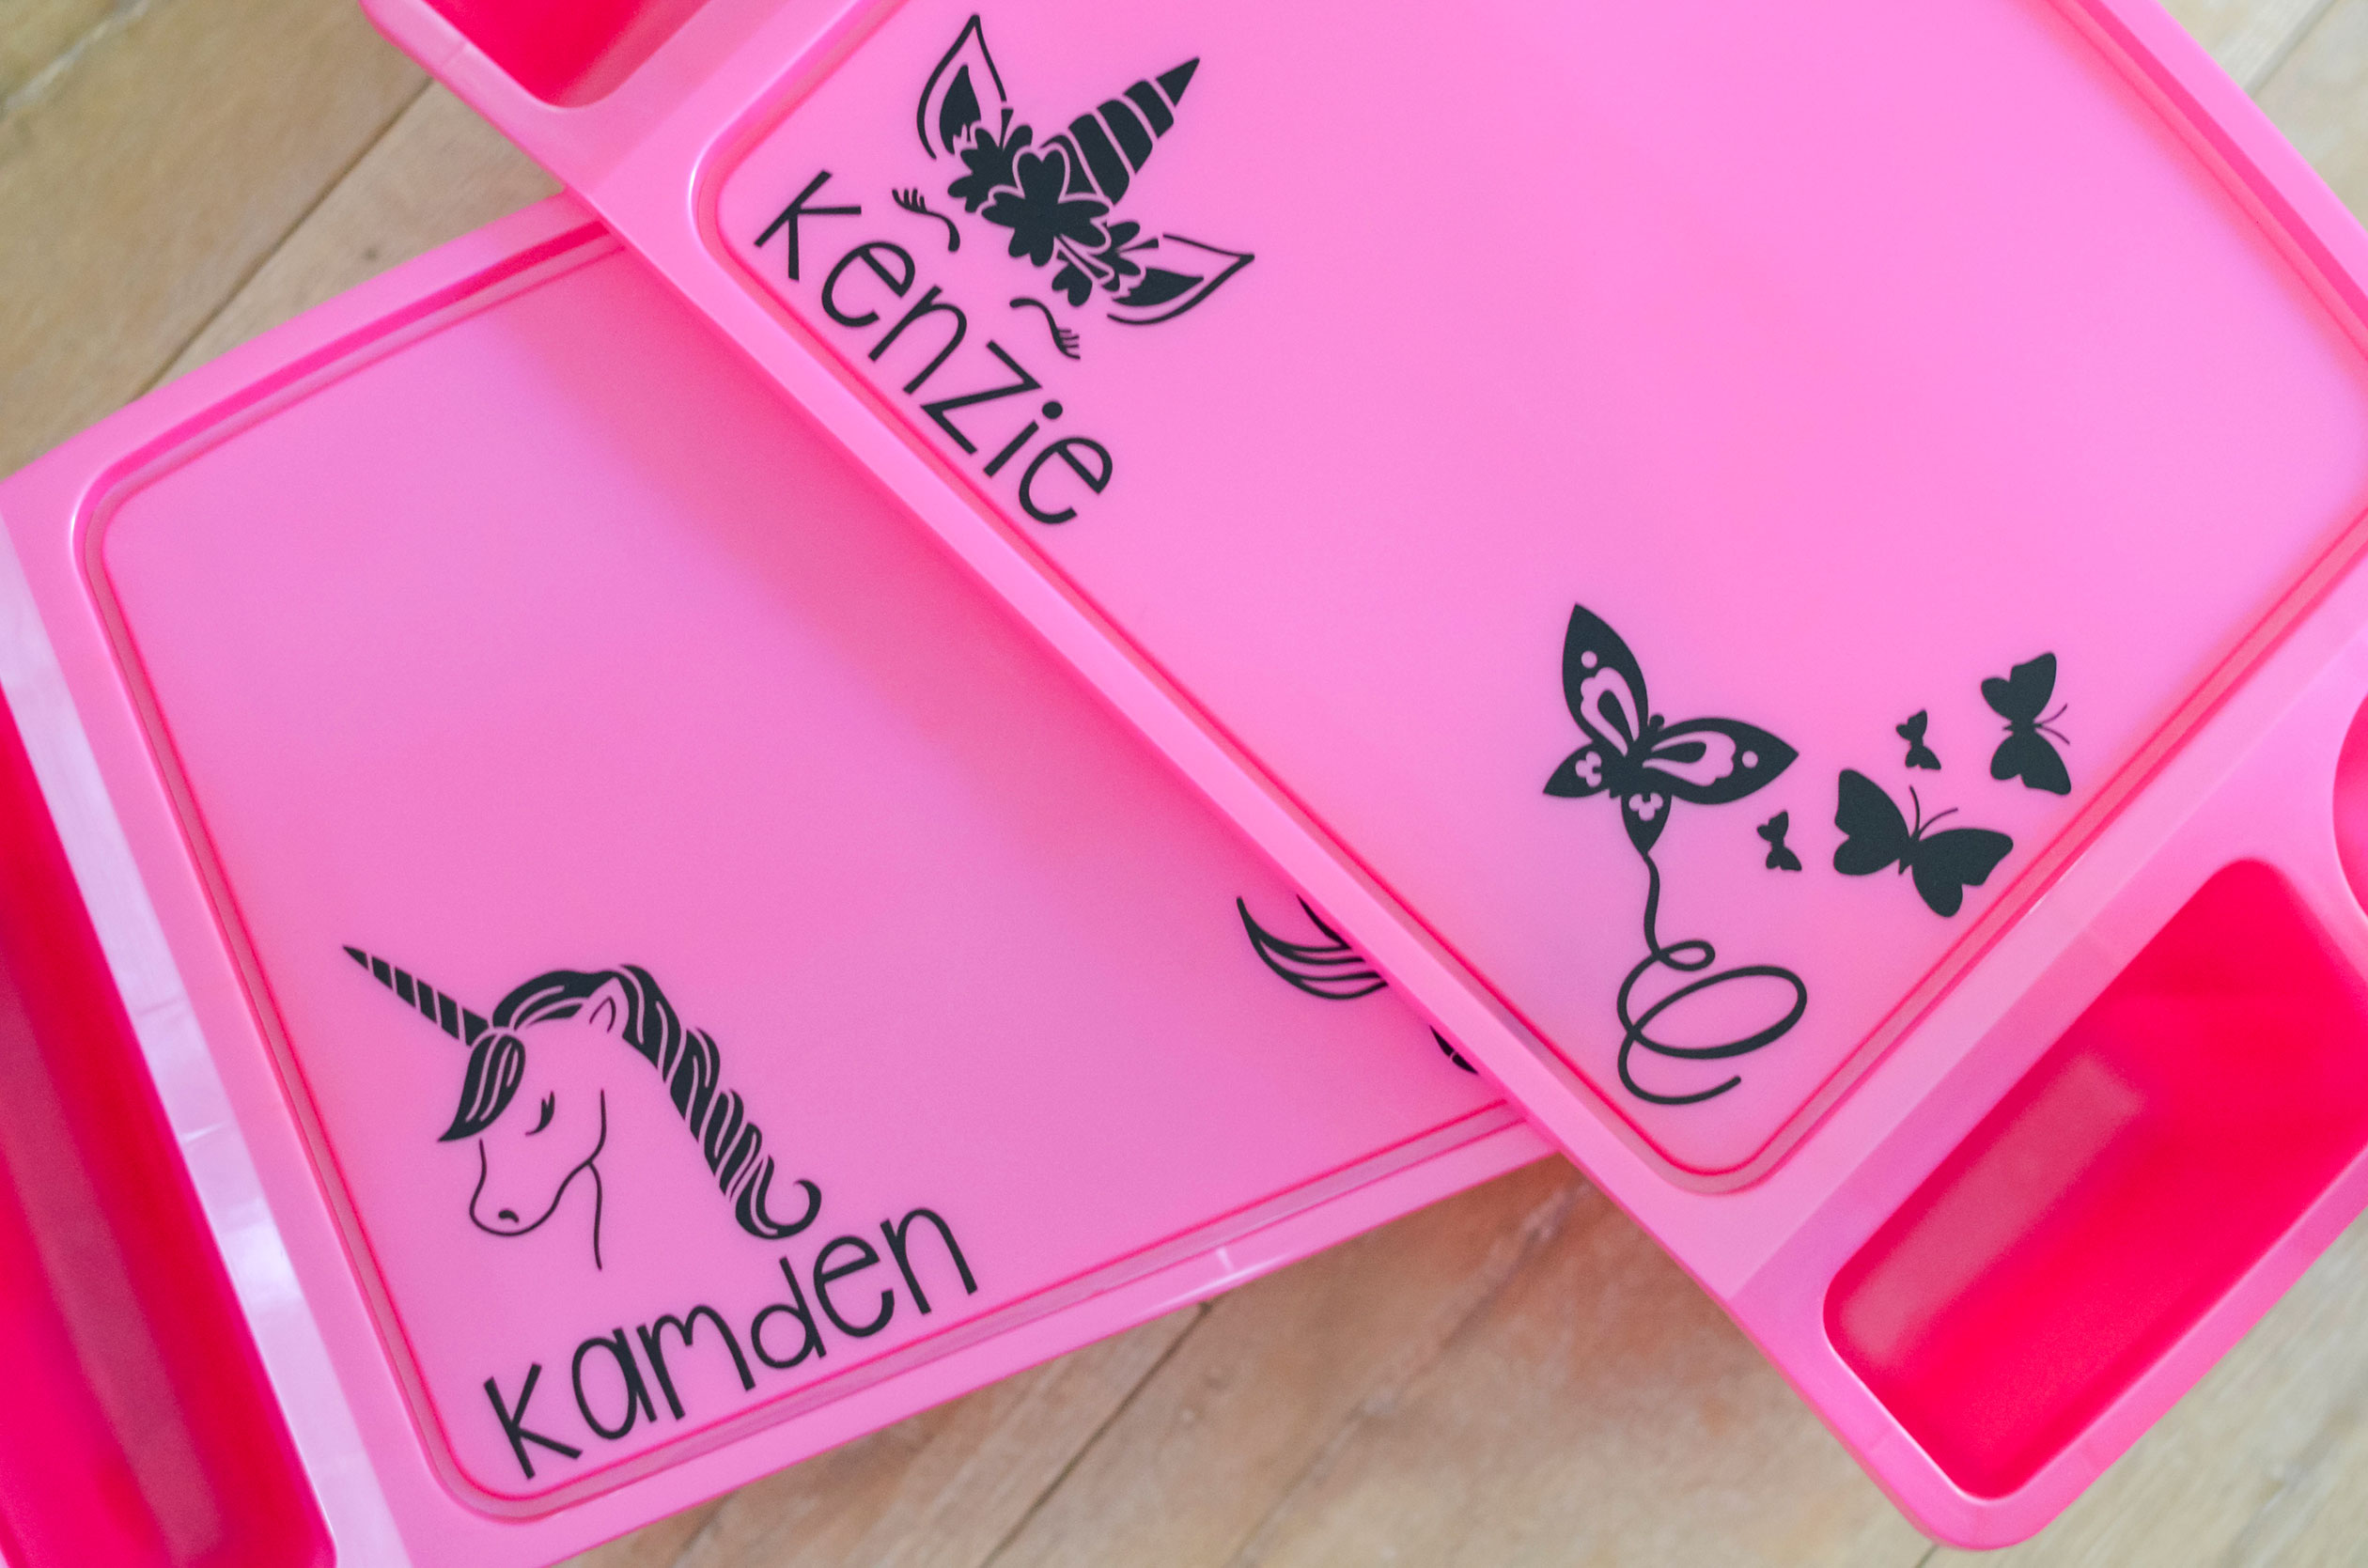
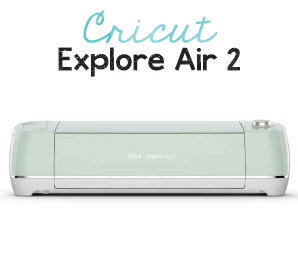
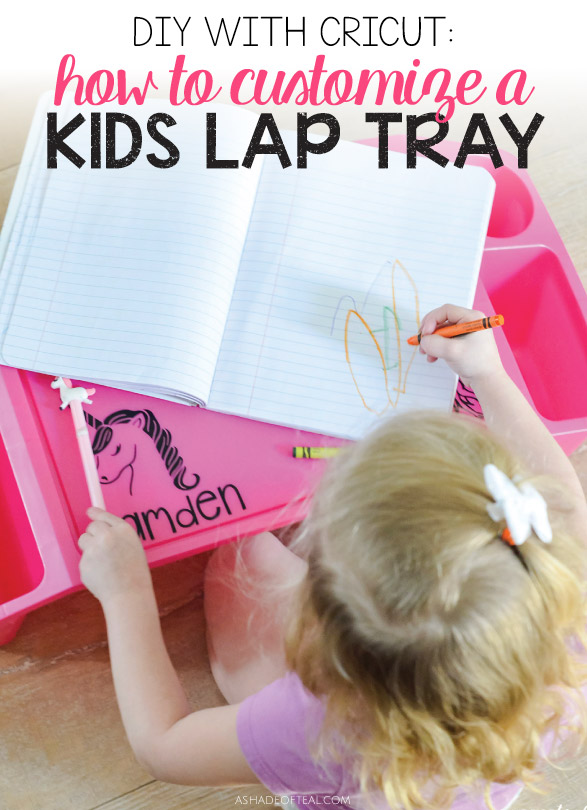
But as you can imagine, plain pink was not enough for my girls, they wanted to decorate them. So I got our my new Cricut Explore Air 2 and cut up some cute designs and their names and quickly customized my kids lap trays.
Ready to customize your kids lap tray? Here’s what you’ll need.
Materials Needed:
Here’s How to Customize A Kids Lap Tray!
All my art is from Cricut Access, if you haven’t already signed up I suggest you do. It’s amazing how many graphics you get to use.
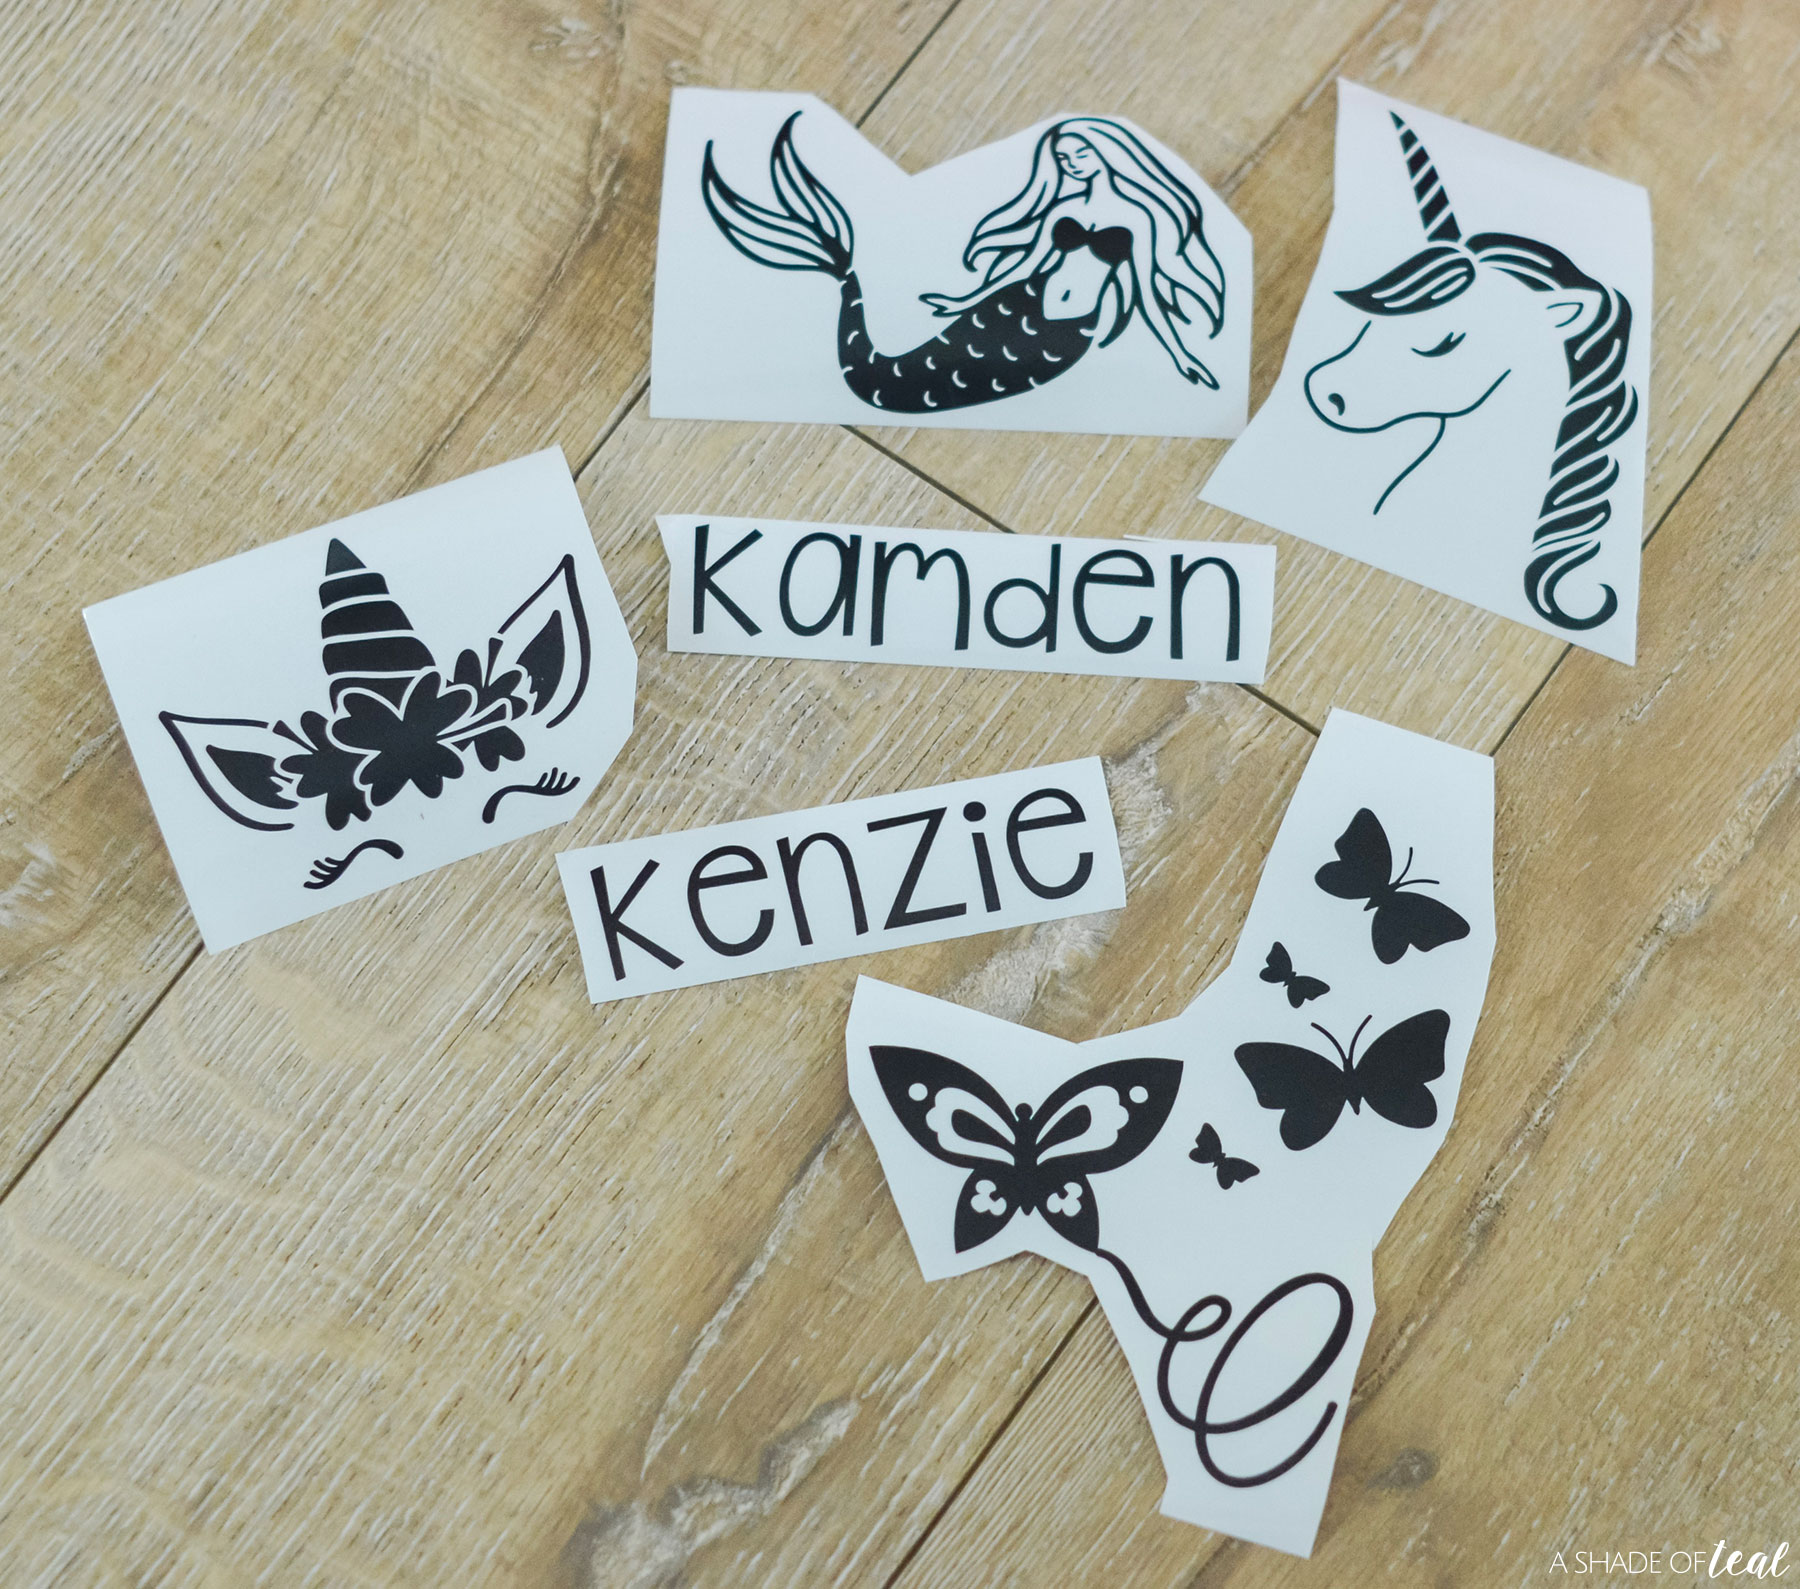
Step 1 || Find art you and your little one likes from Cricut Access, or upload your own designs. For their names I used the text feature with “KG Shake it Off” font. Next, size accordingly to how large or small you want it.
Step 2 || Prep your mat with Black removable Vinyl and follow the prompts on Design Space to cut.
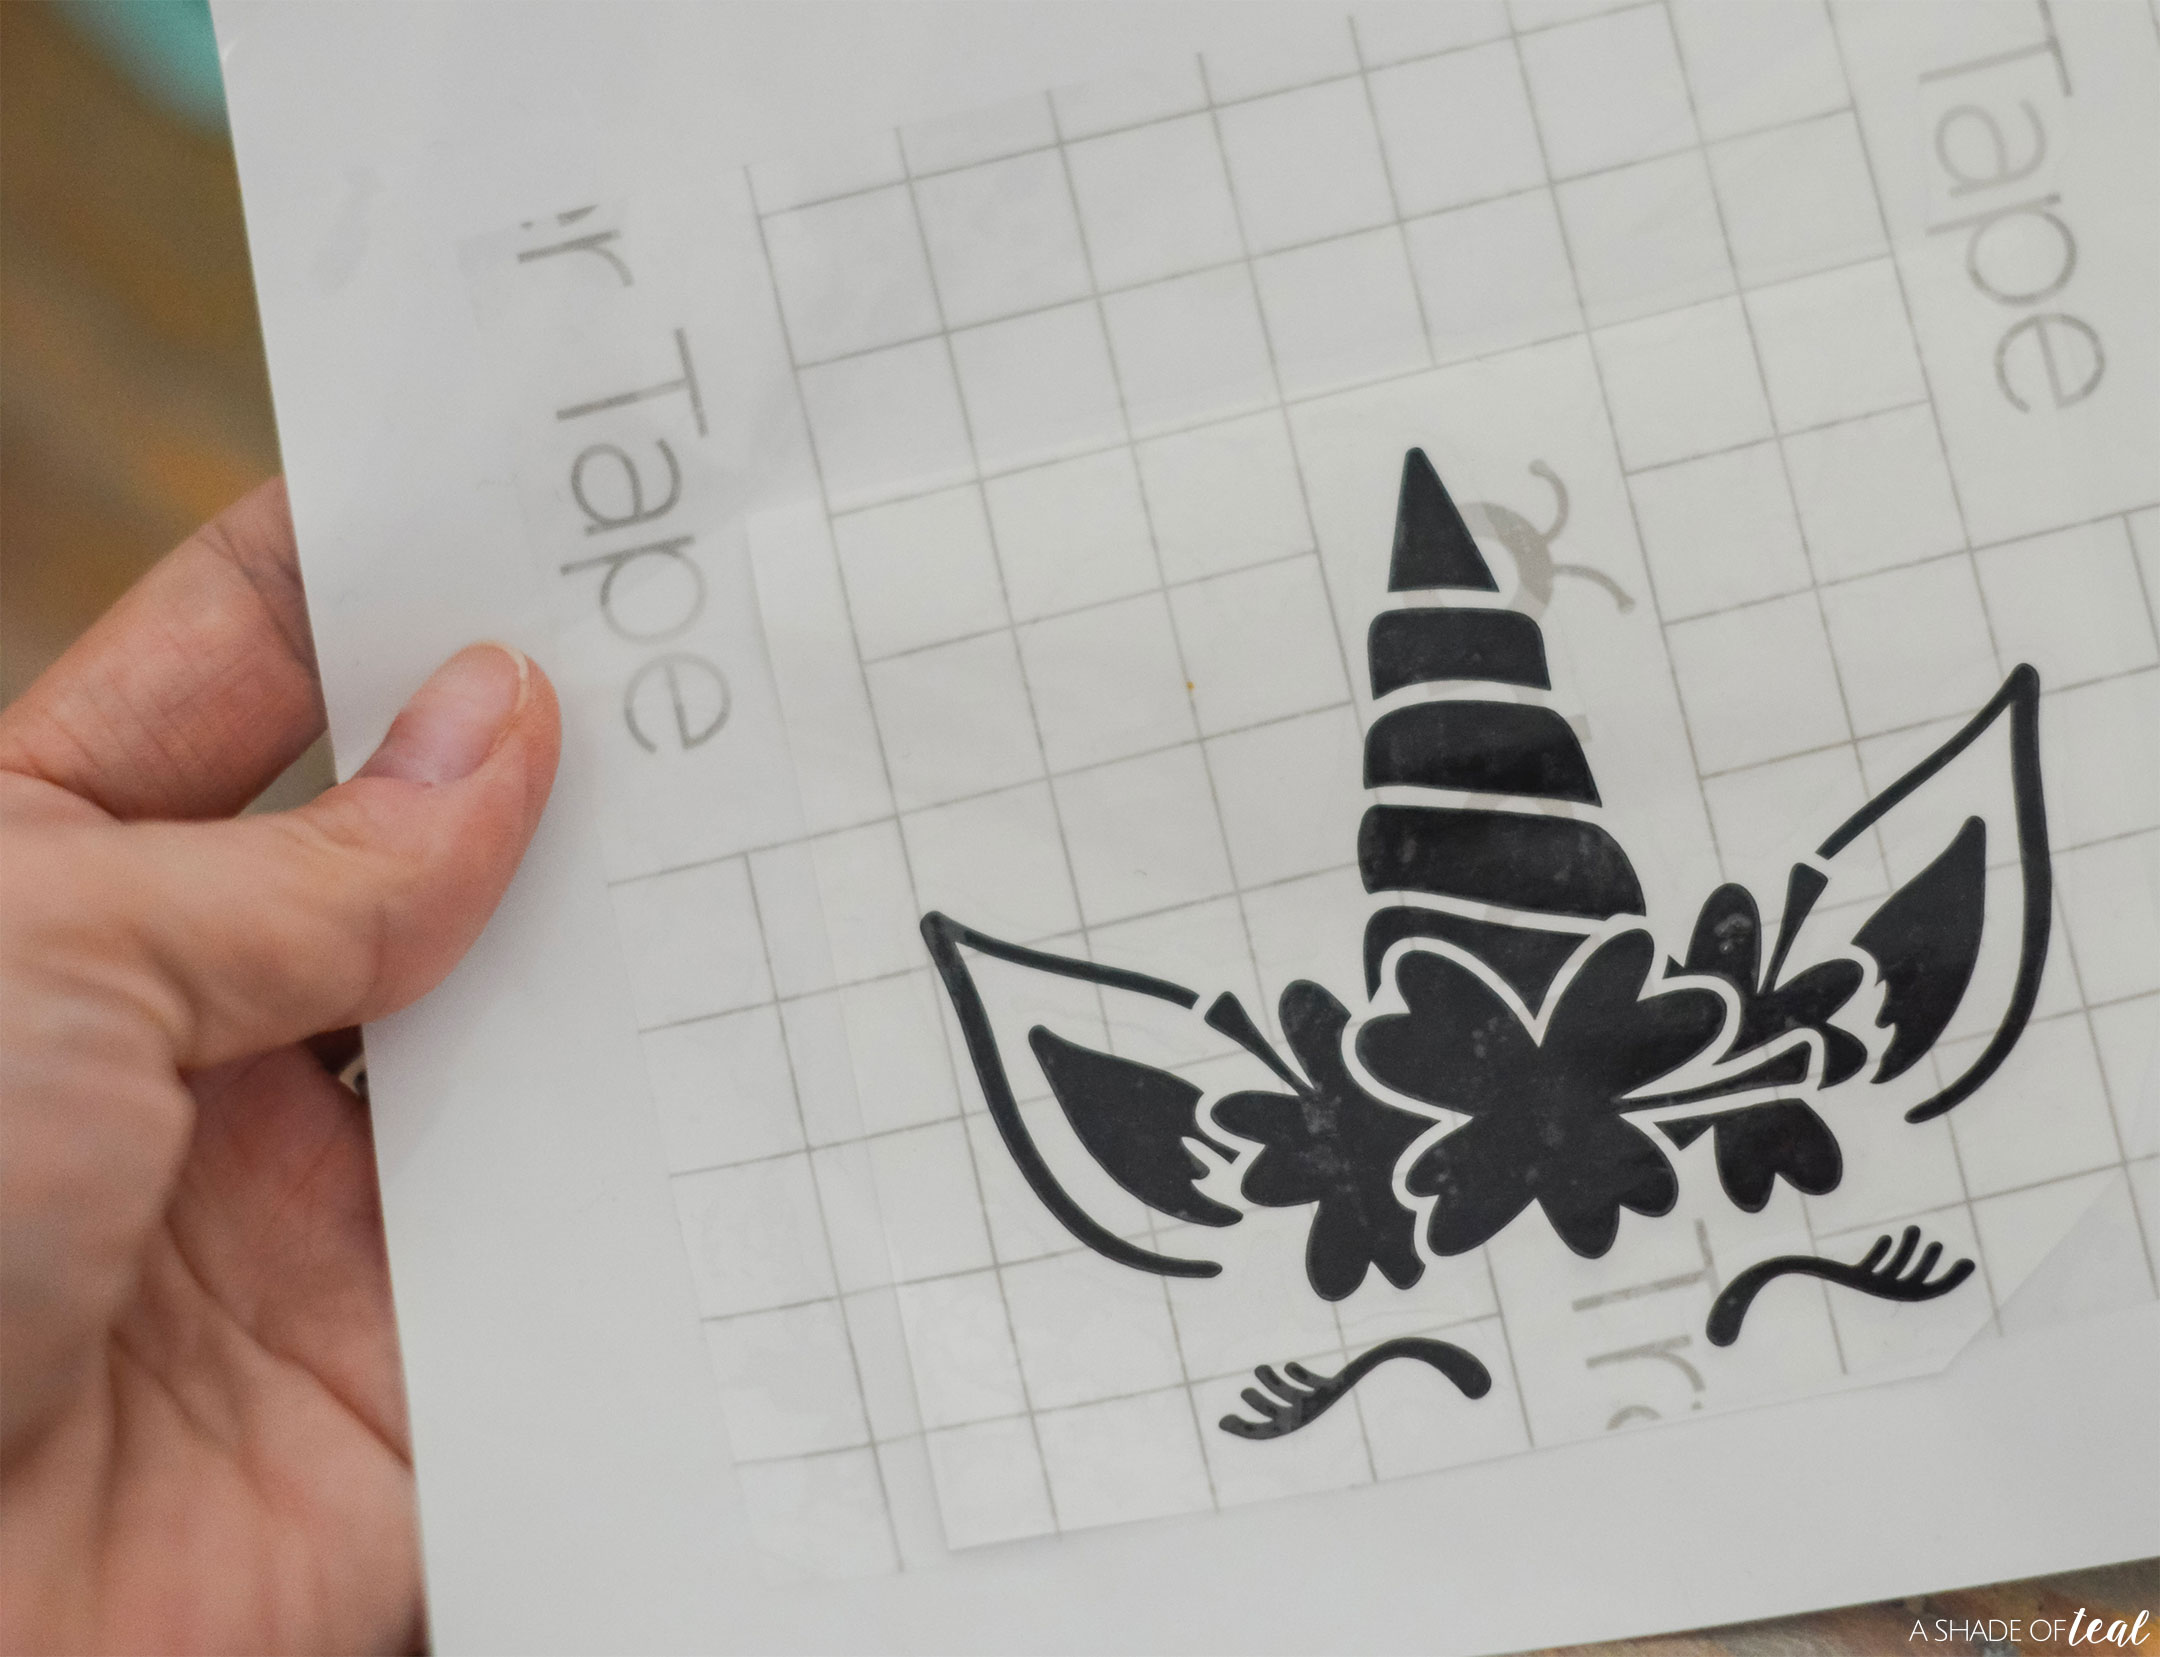
Step 3 || After the Vinyl has been cut, weed the art.
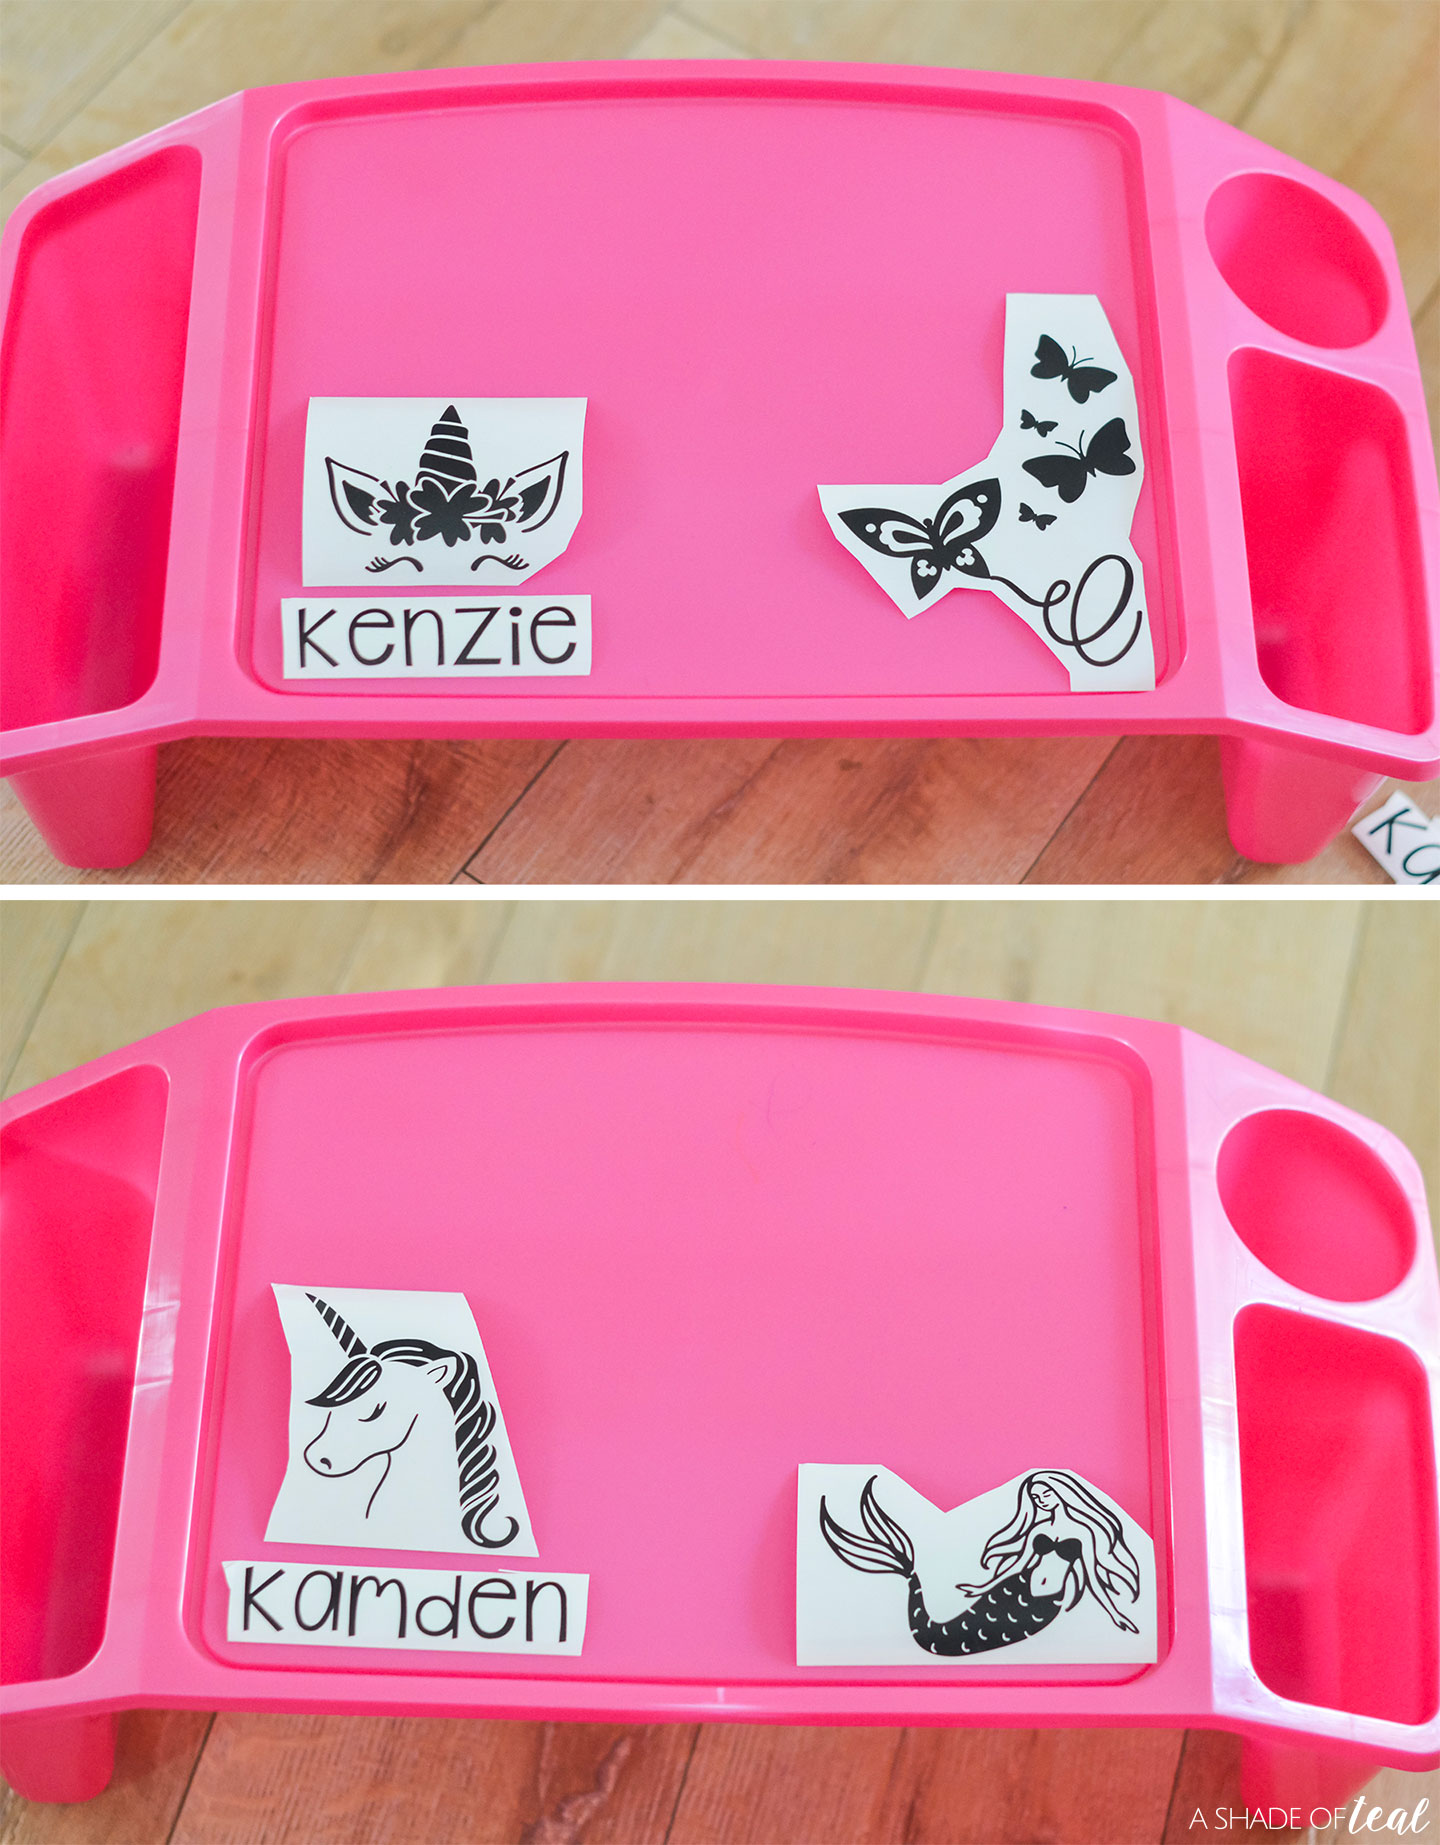
Step 4 || Next, figure out your placement.
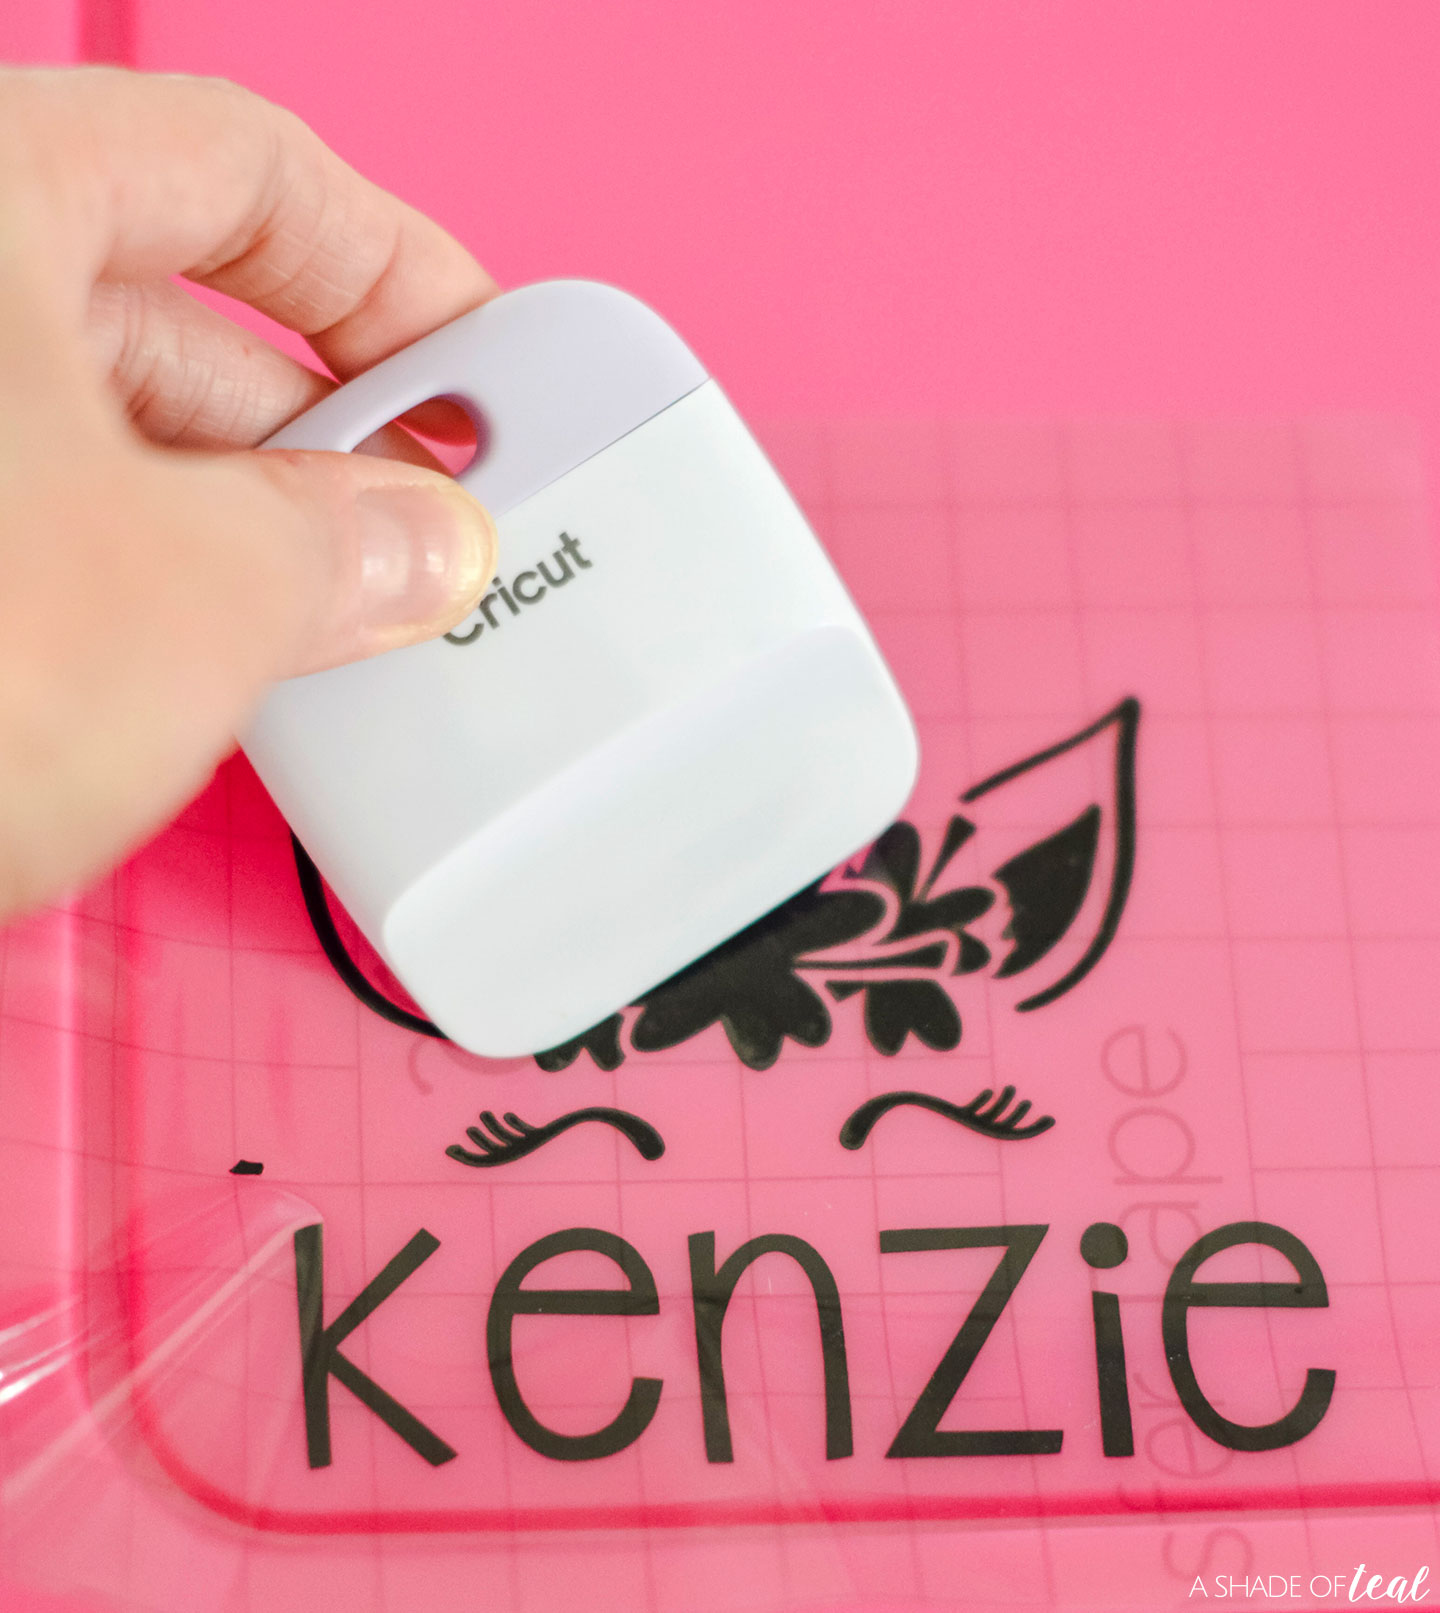
Step 5 || After you get your little ones approval go ahead and use Cricut Transfer Tape to transfer the deign.
Step 6 || Finally, transfer the designs to the tray, and you’re done!
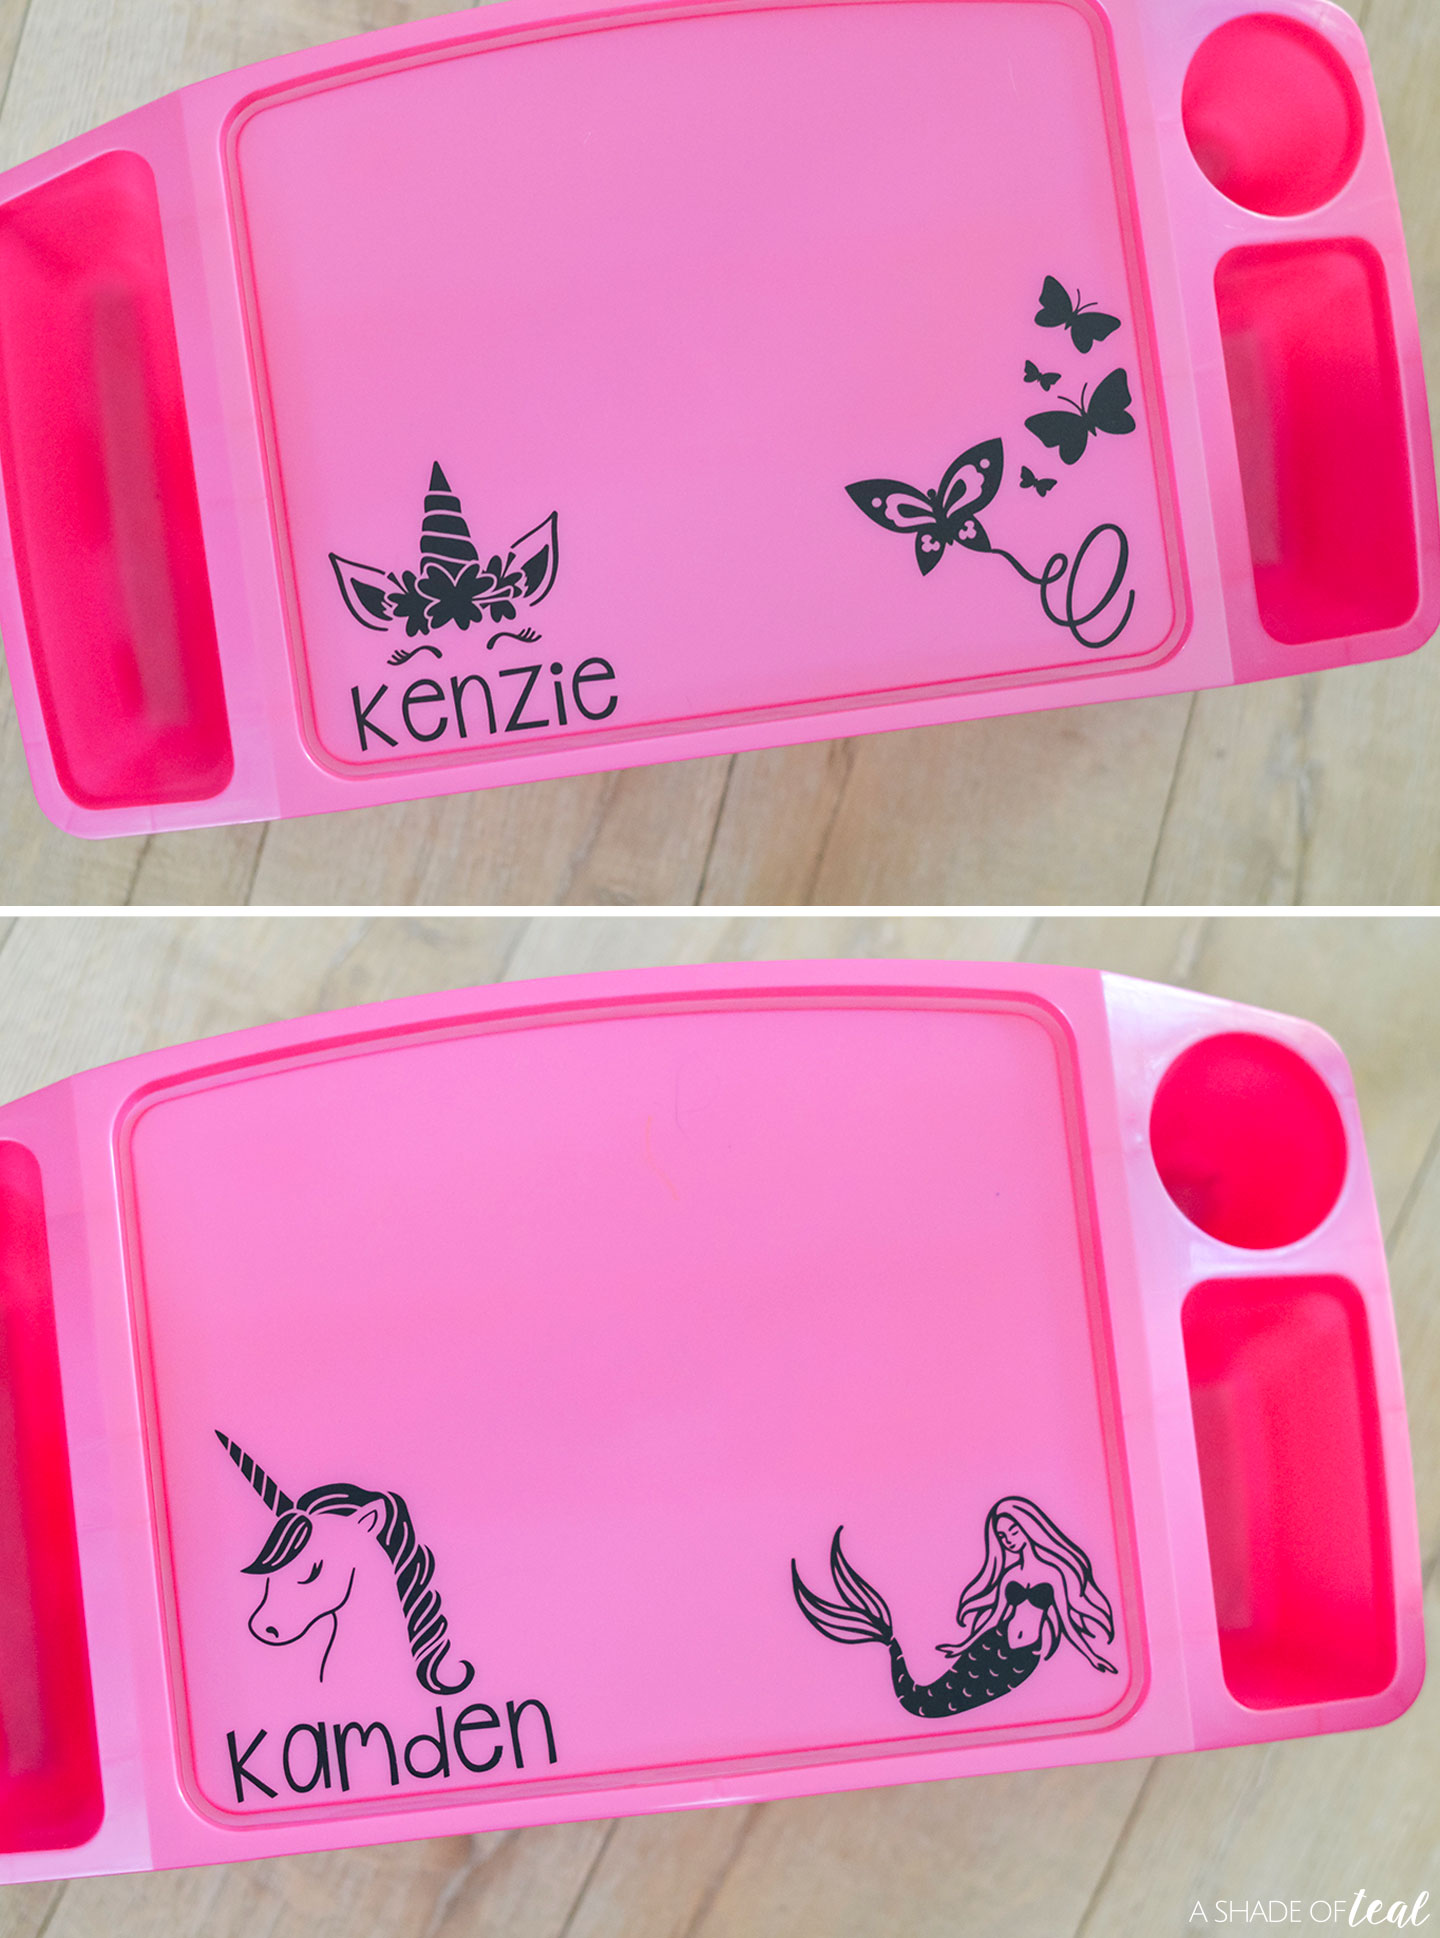
Here’s the end result to this incredibly simple and quick Cricut DIY.
That’s it! A simple way to customize your kids Lap Tray! Check out more Cricut inspiration and projects here.
Don’t have Cricut product yet? Shop here!
I hope you found this project easy to follow. Enjoy!



if72qo
jgvyu2