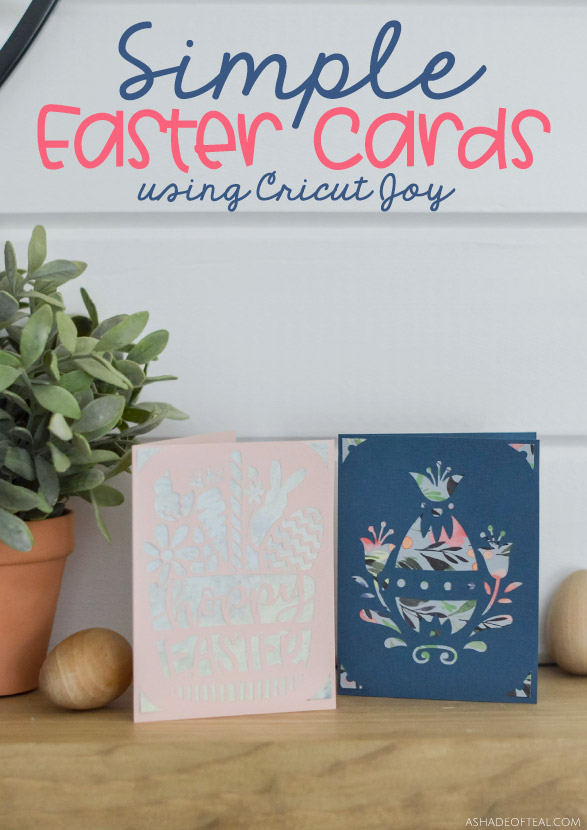
CRICUT DIY: SIMPLE EASTER CARDS USING CRICUT JOY. LEARN HOW TO MAKE THESE READY-TO-MAKE EASTER CARDS USING ART FROM CRICUT ACCESS.
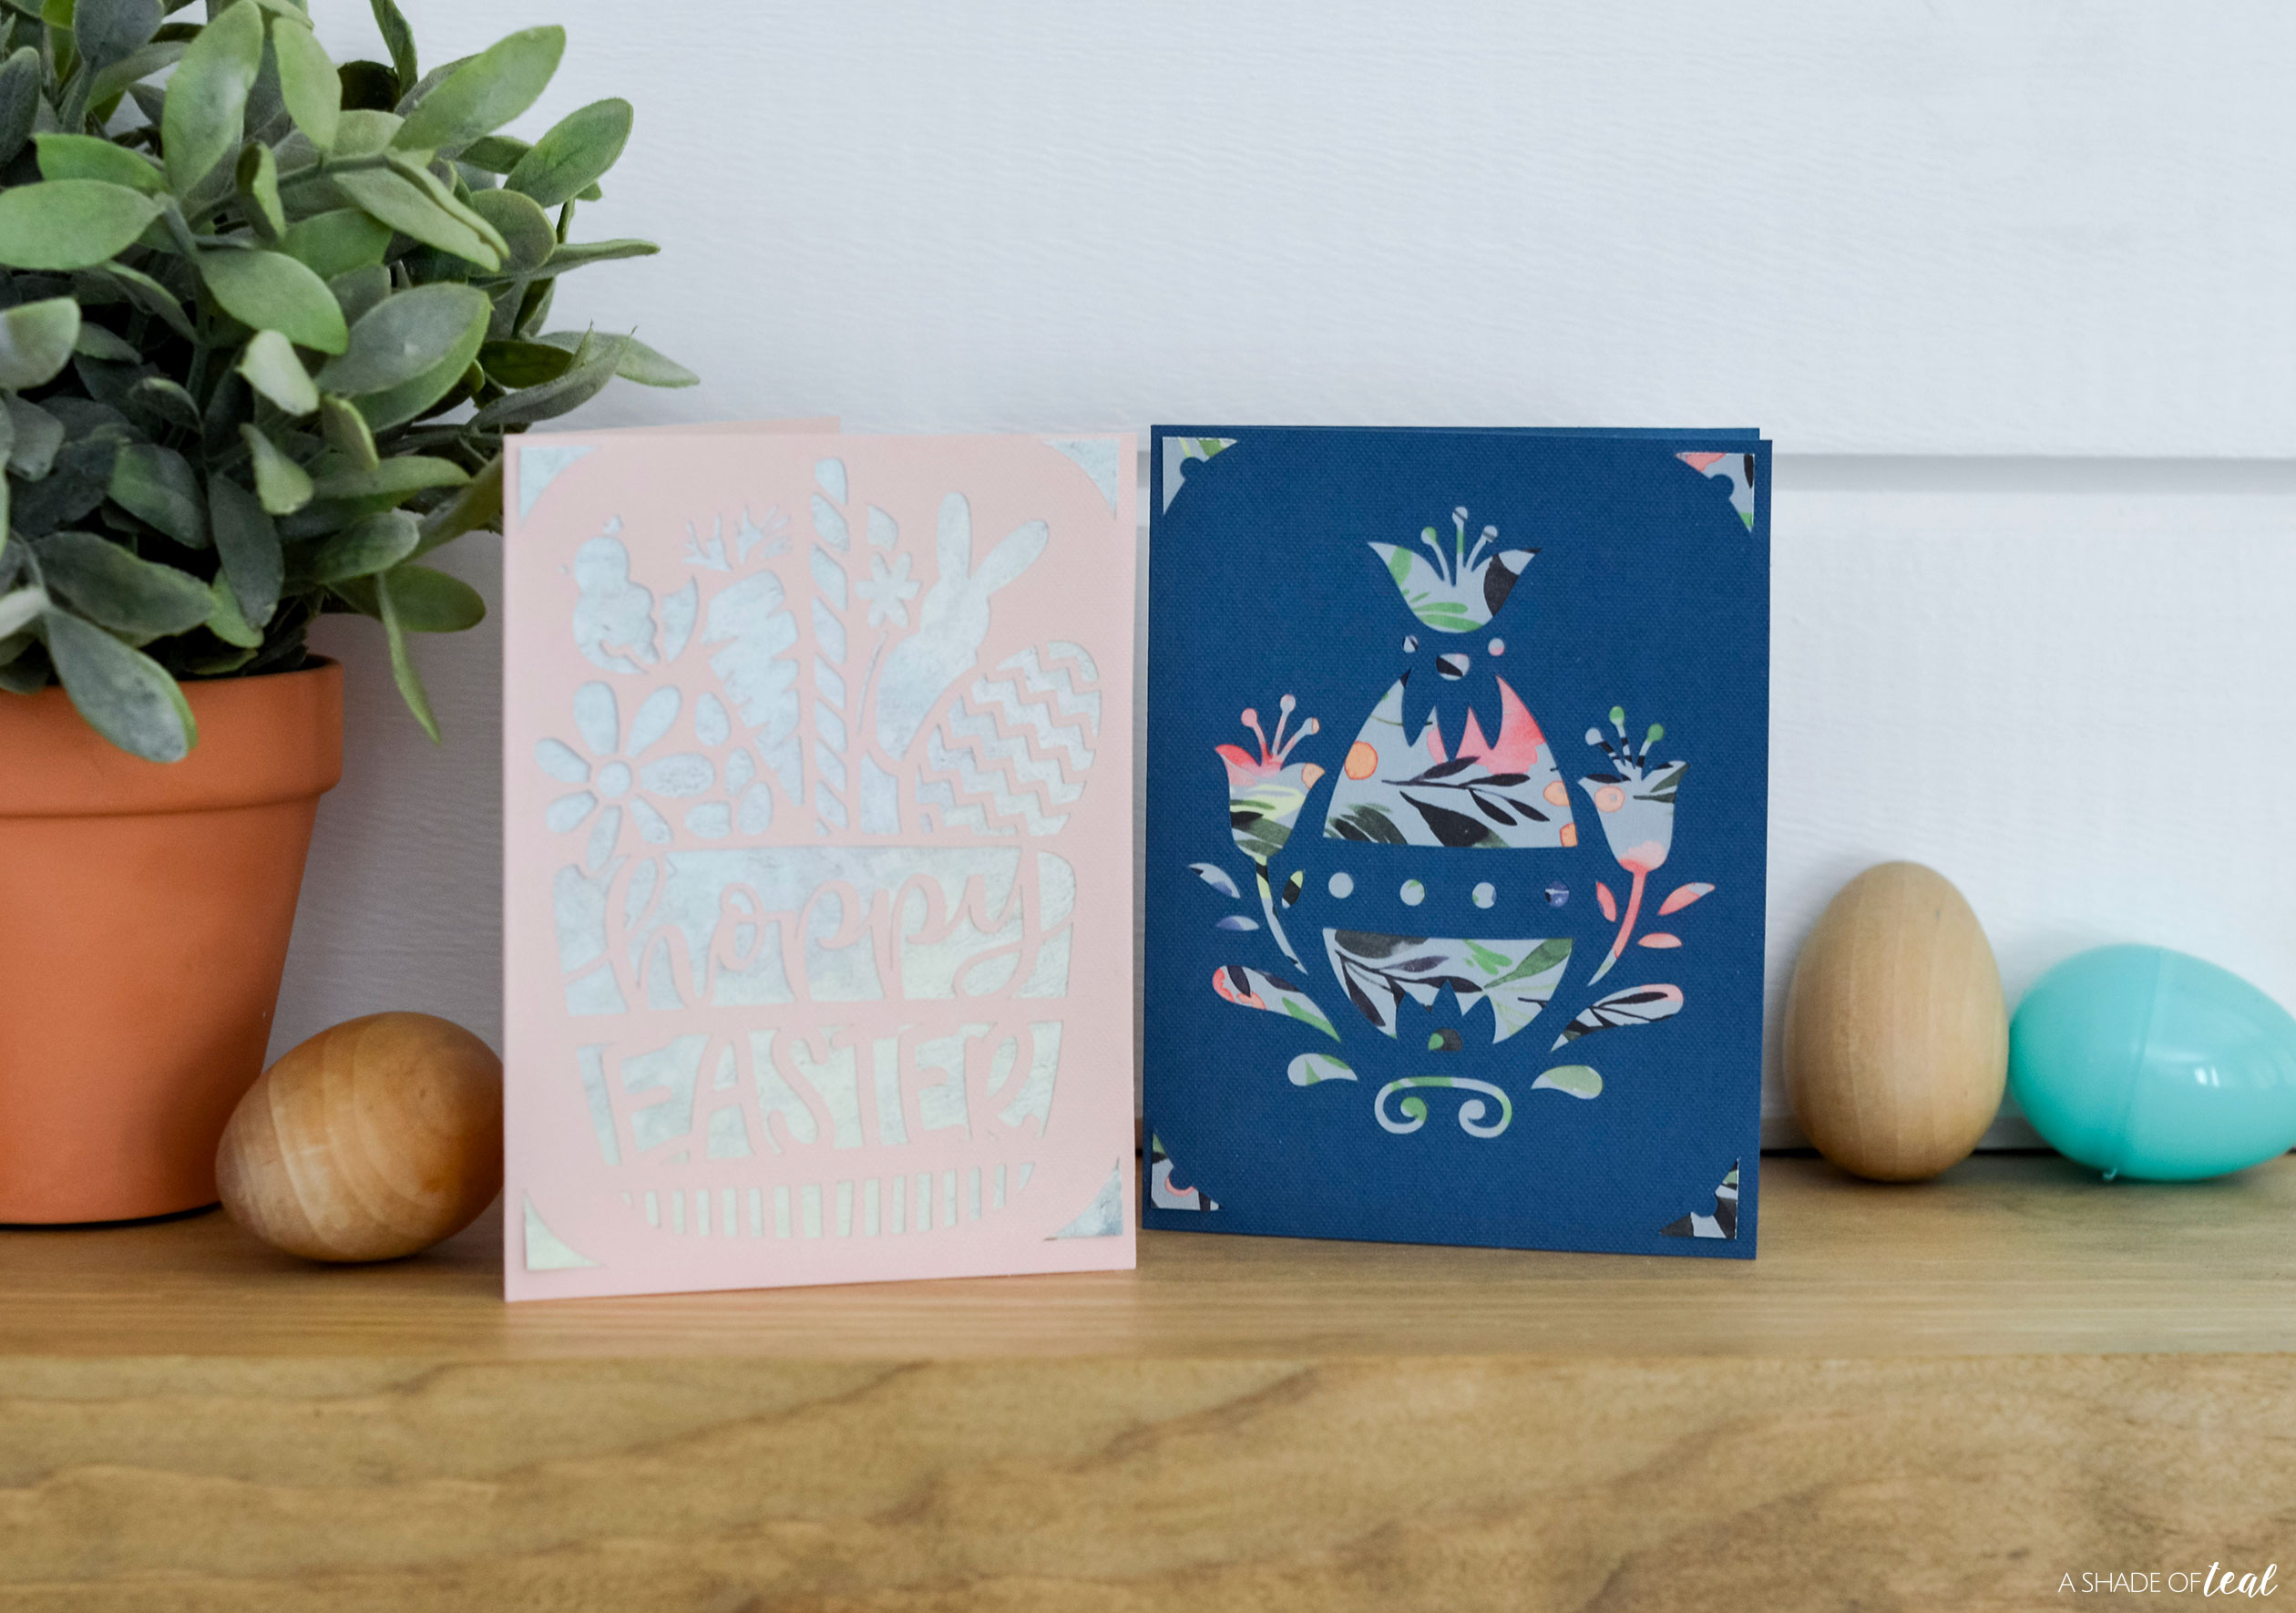
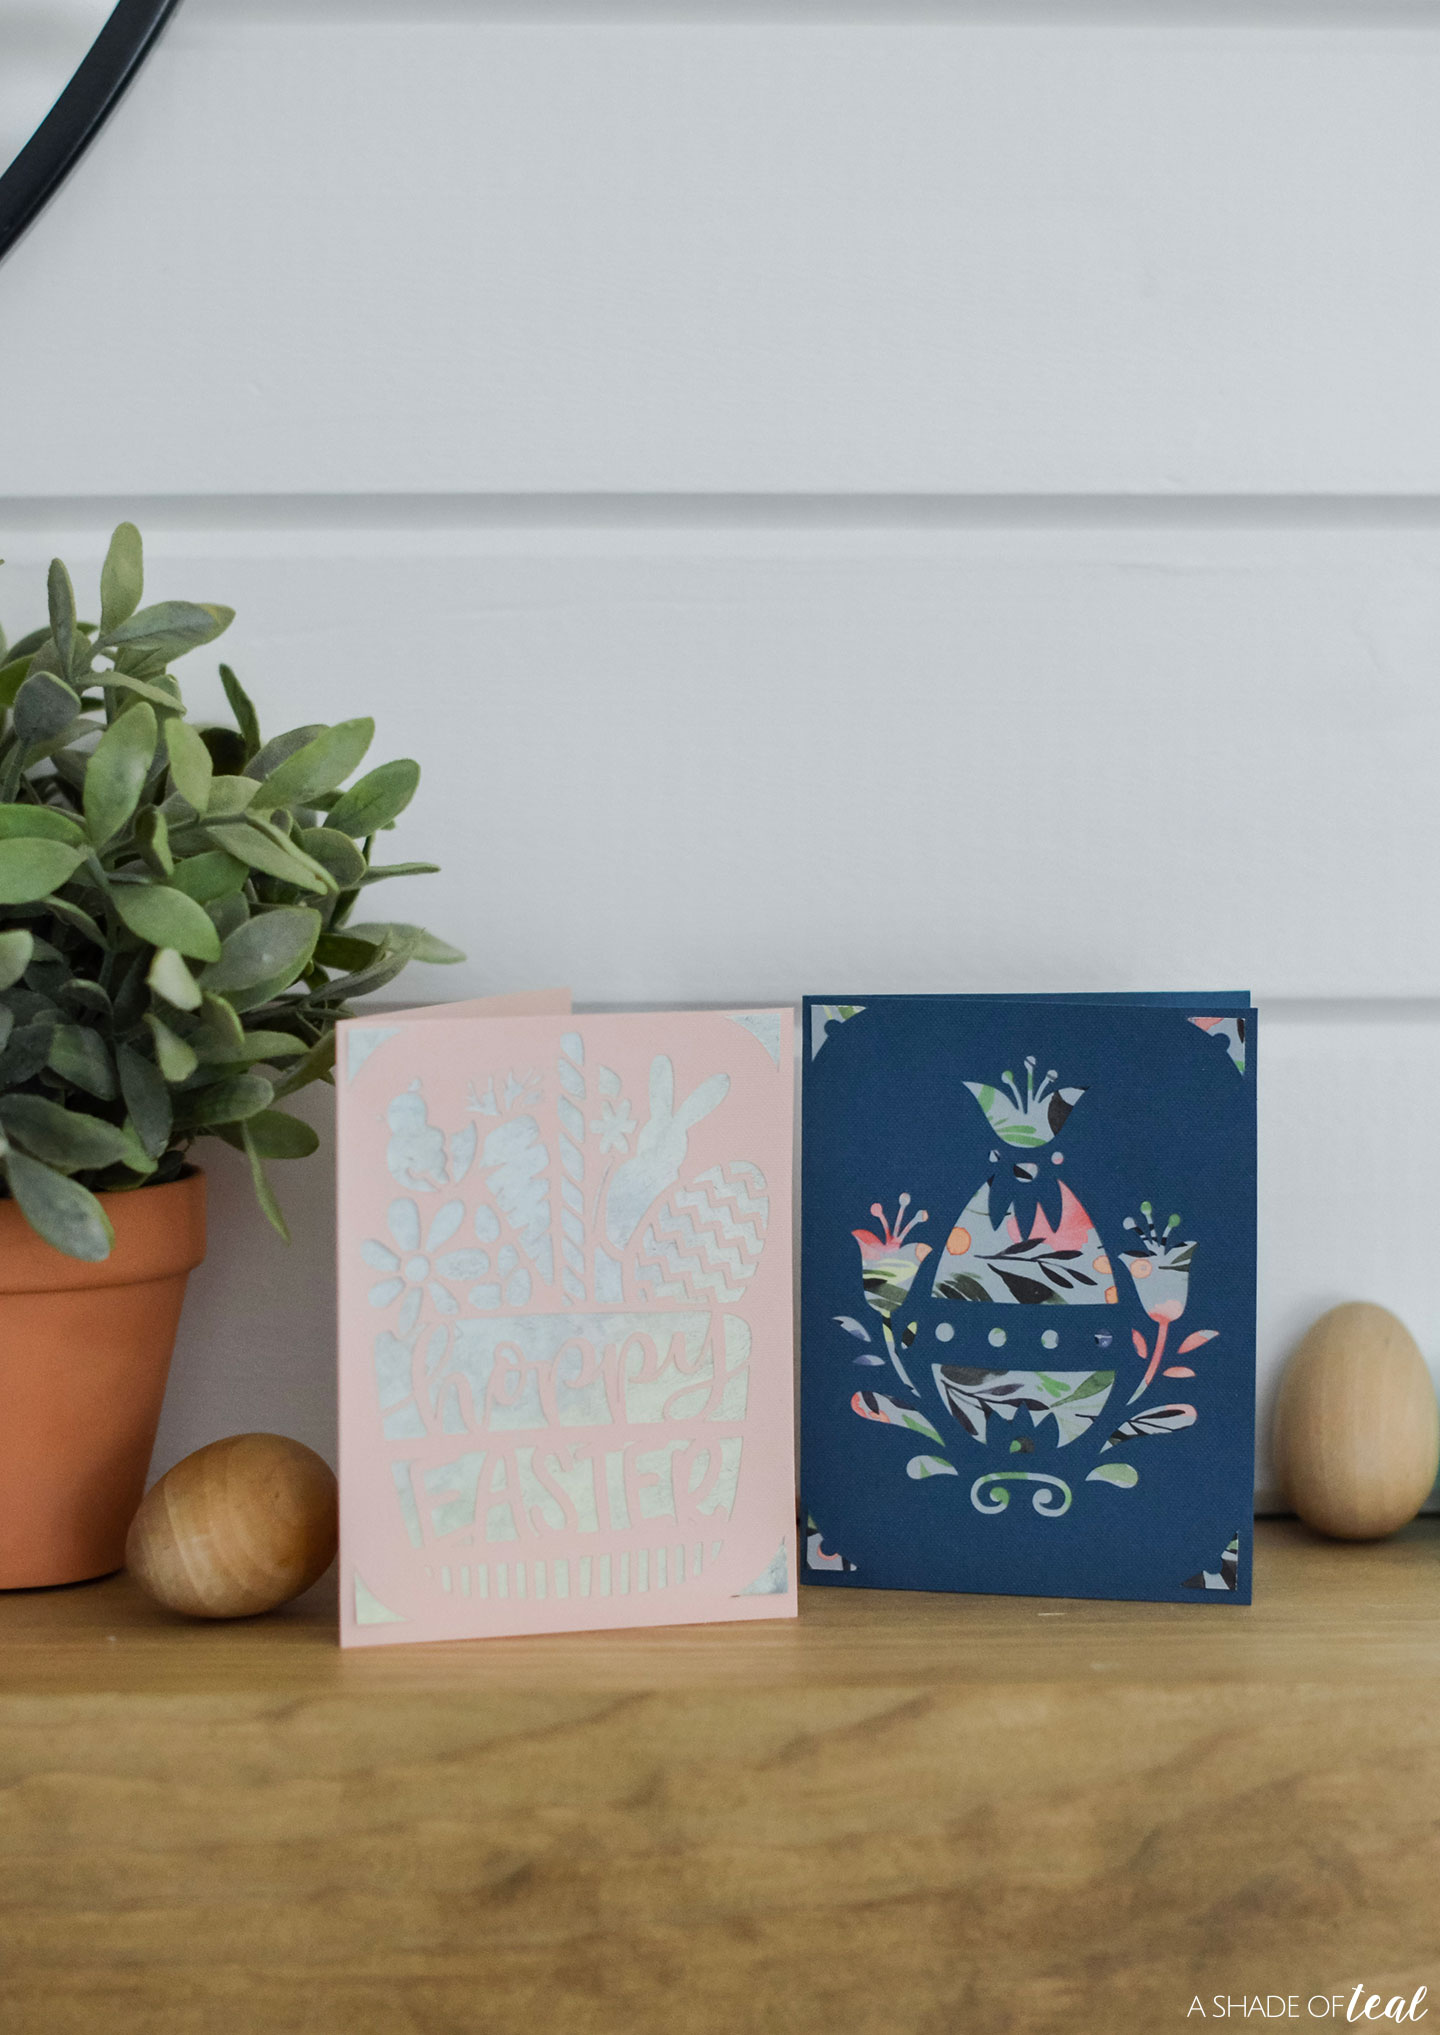
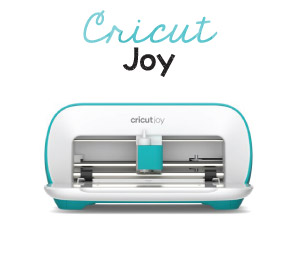
Just in time for Easter, I recently made these Simple Easter Cards with my new Cricut Joy. Both of these cards were ready‑to‑make projects from Cricut Access. If you have Cricut Joy and love to made cards, then you need to get the Card Mat. The mat makes it so much easier to make cards, especially the ready‑to‑make cards in Cricut Access.
(This post may include affiliate links. If you buy something I receive a small commission of your purchase. Thanks for supporting A Shade of Teal! I only share products I truly love!)
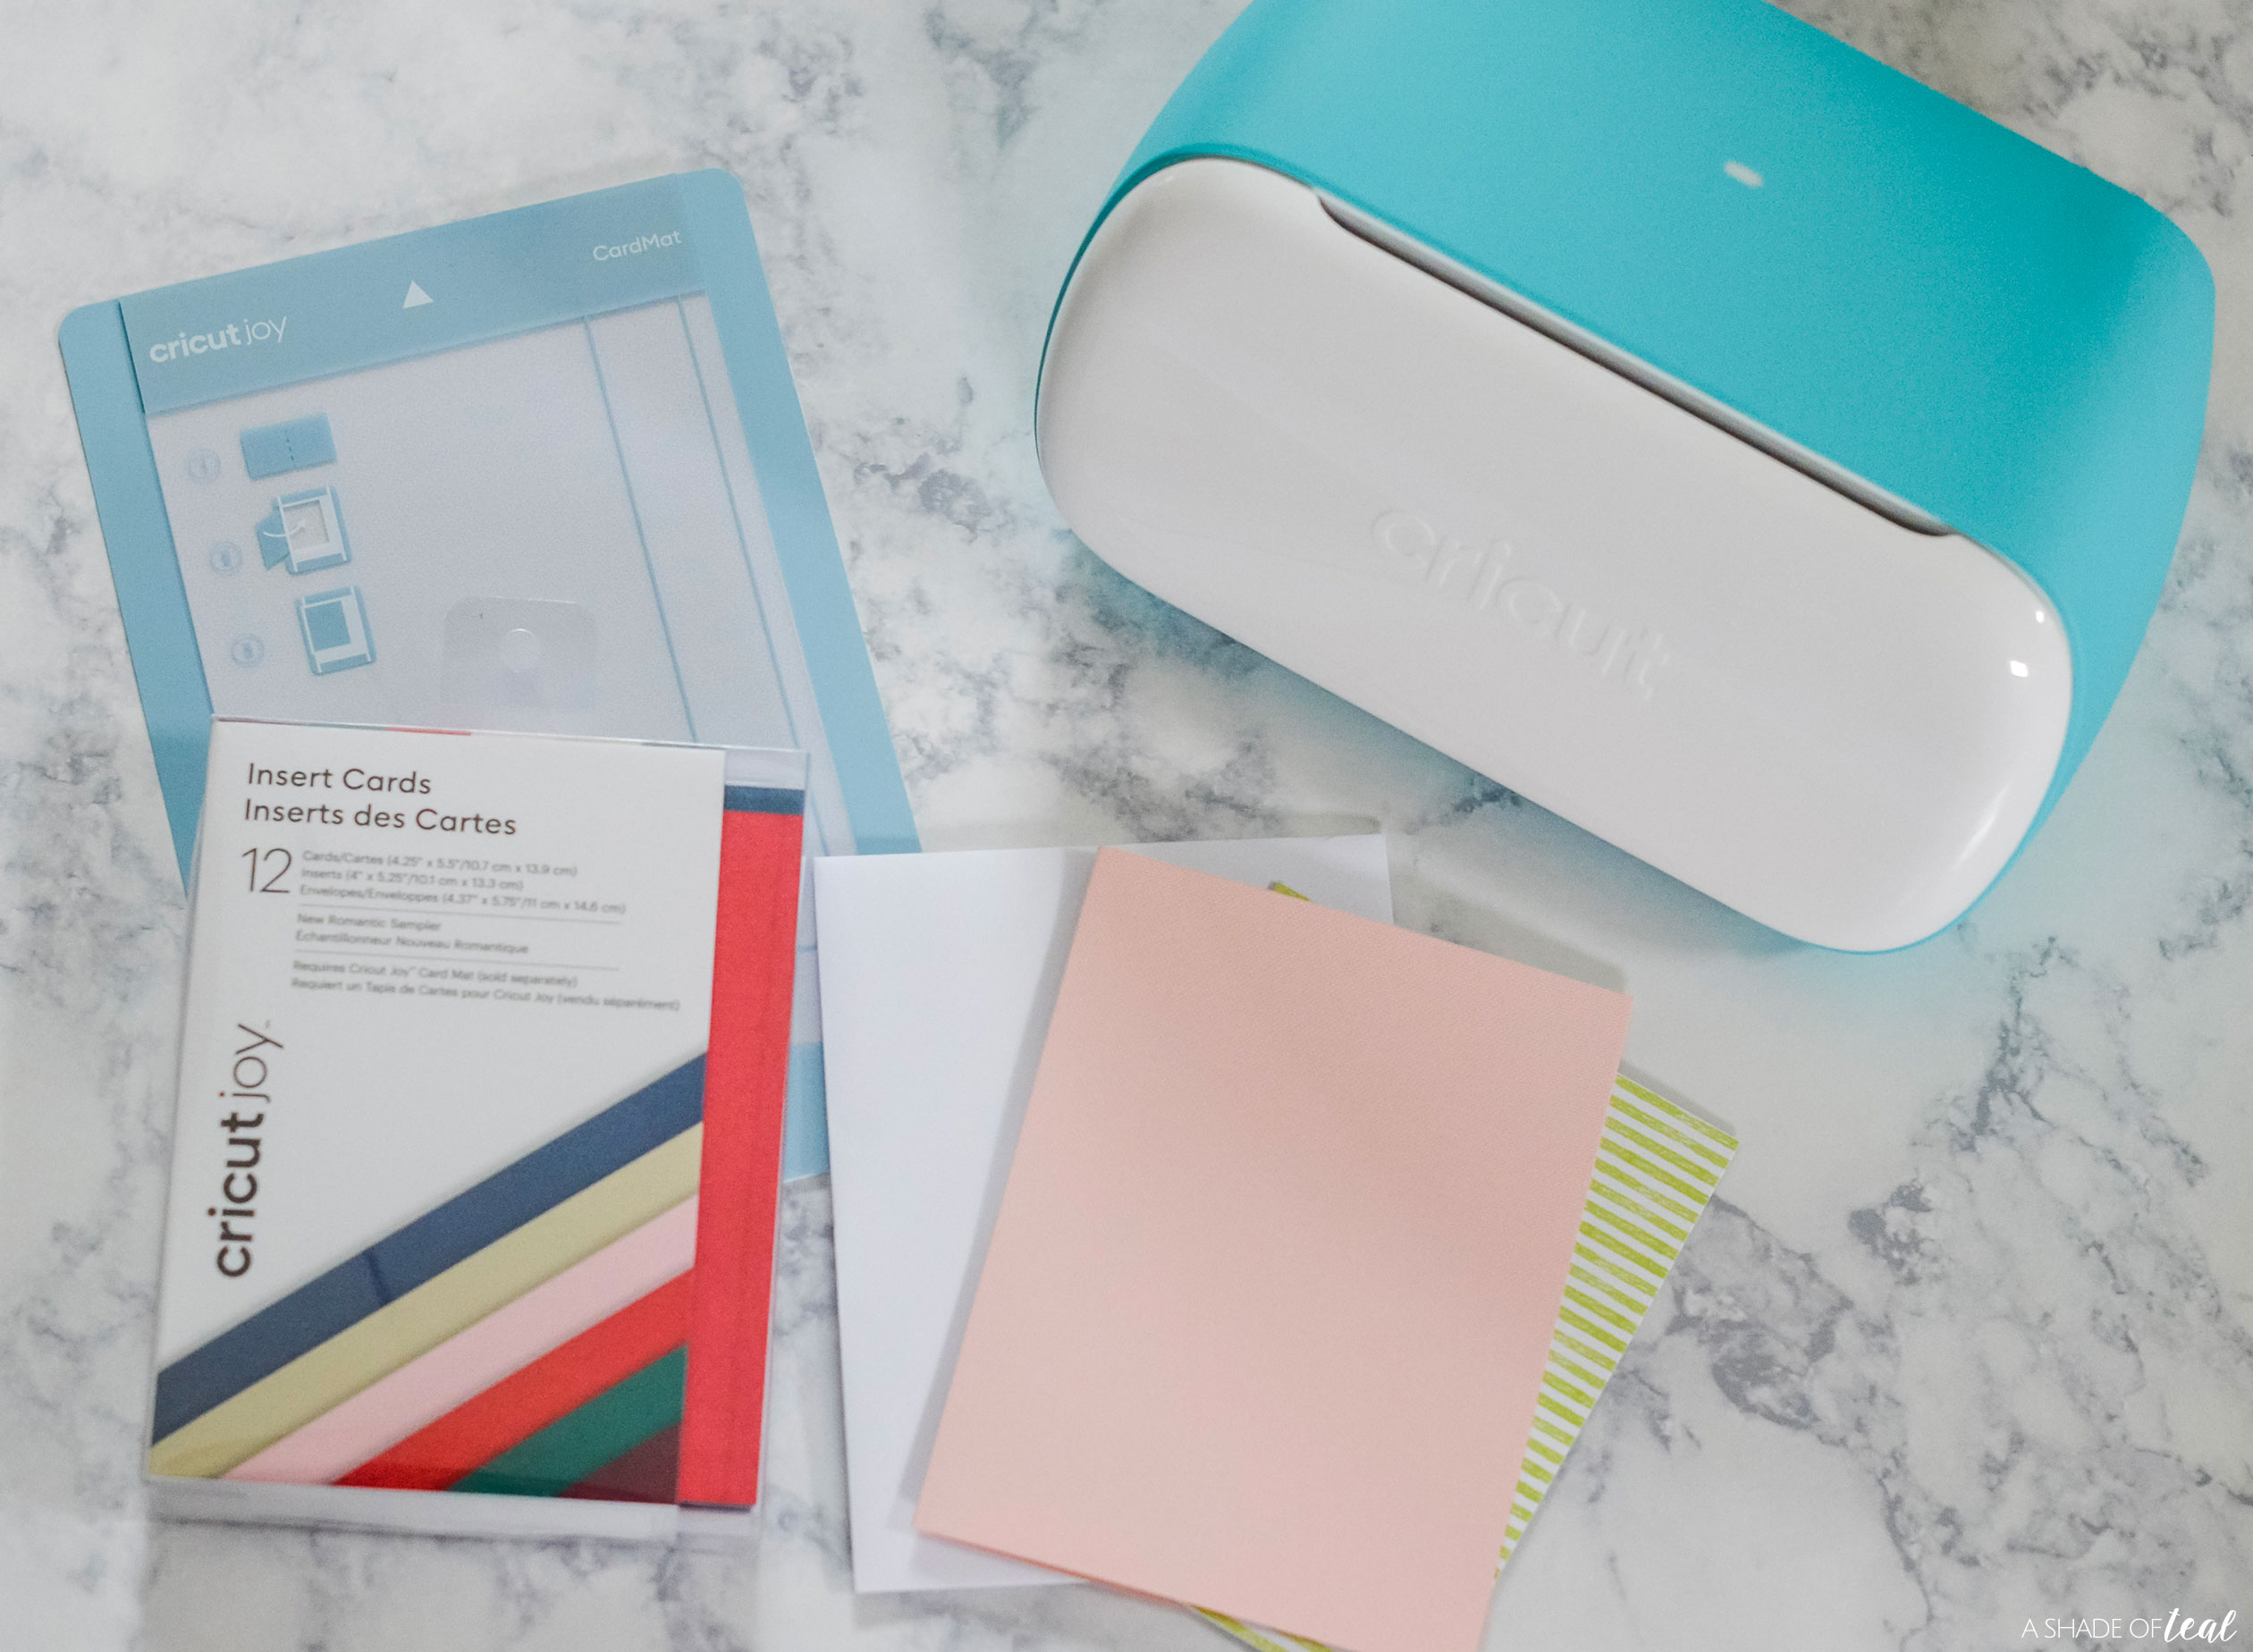
Here’s what you’ll need to make these Easter Cards.
Materials Needed:
- Cricut Joy Card Mat
- Cricut Joy Insert Cards
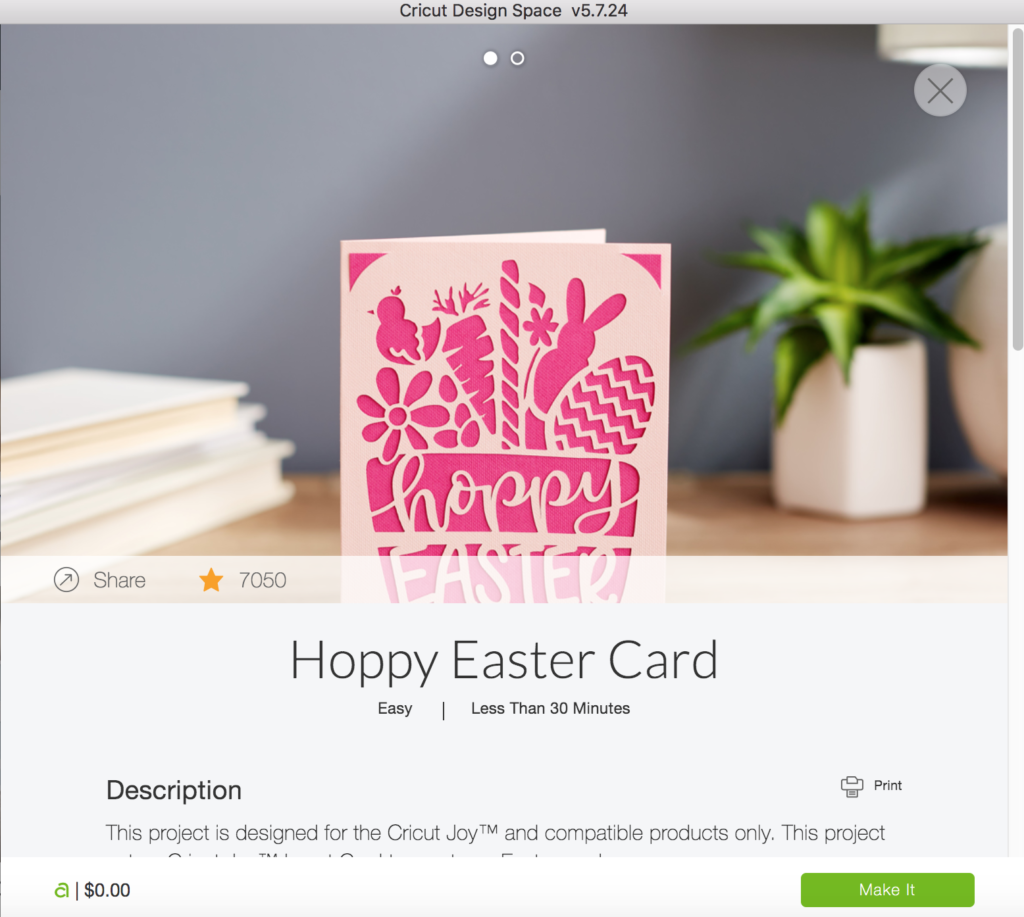
- Hoppy Easter Card Art
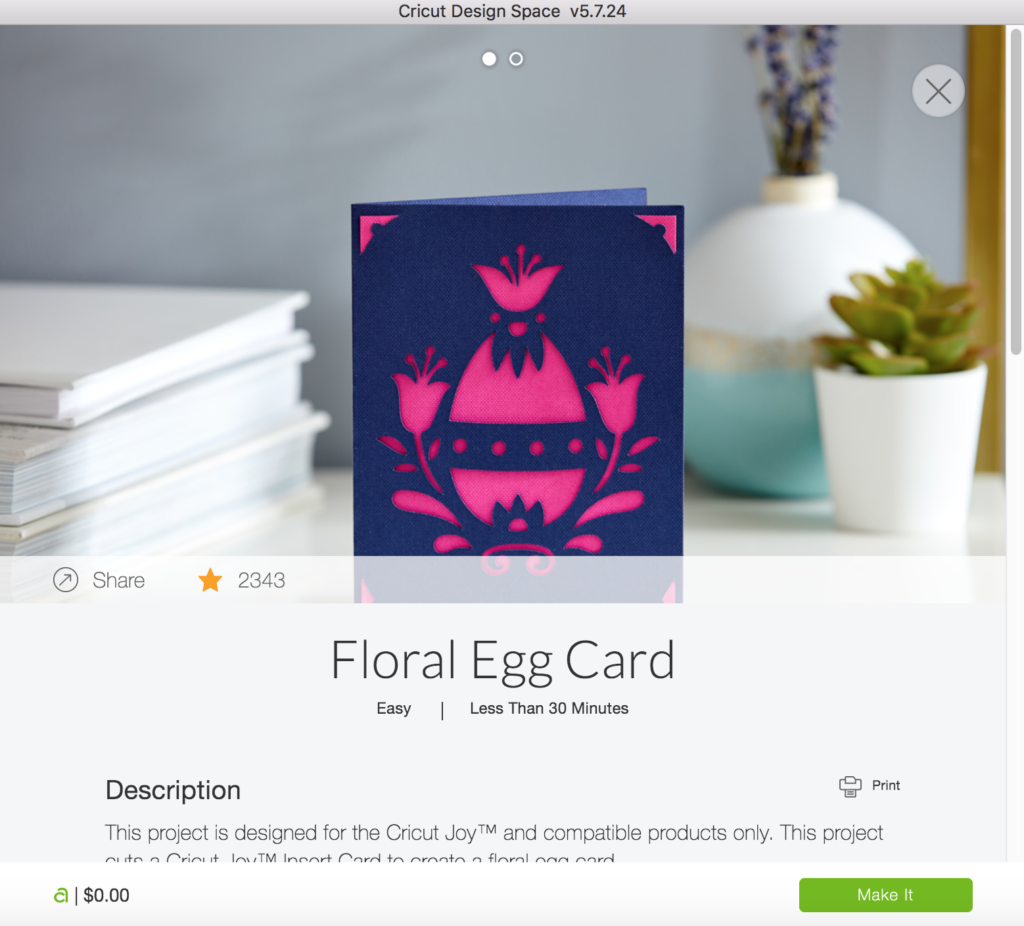
- Floral Egg Card Art
- Cricut Joy
- Starter Tool Set
Shop:
Here’s How to make these Easter Cards!
Step 1 || The art and complete project is from Cricut Design Space, you’ll need to either purchase it or if you have Cricut Access then you’re good to go. Click the links above to get the art.
(And if you haven’t already signed up for Cricut Access, I suggest you do. You get access to tons of graphics and art elements to create your own designs. Check out Cricut Access HERE.)
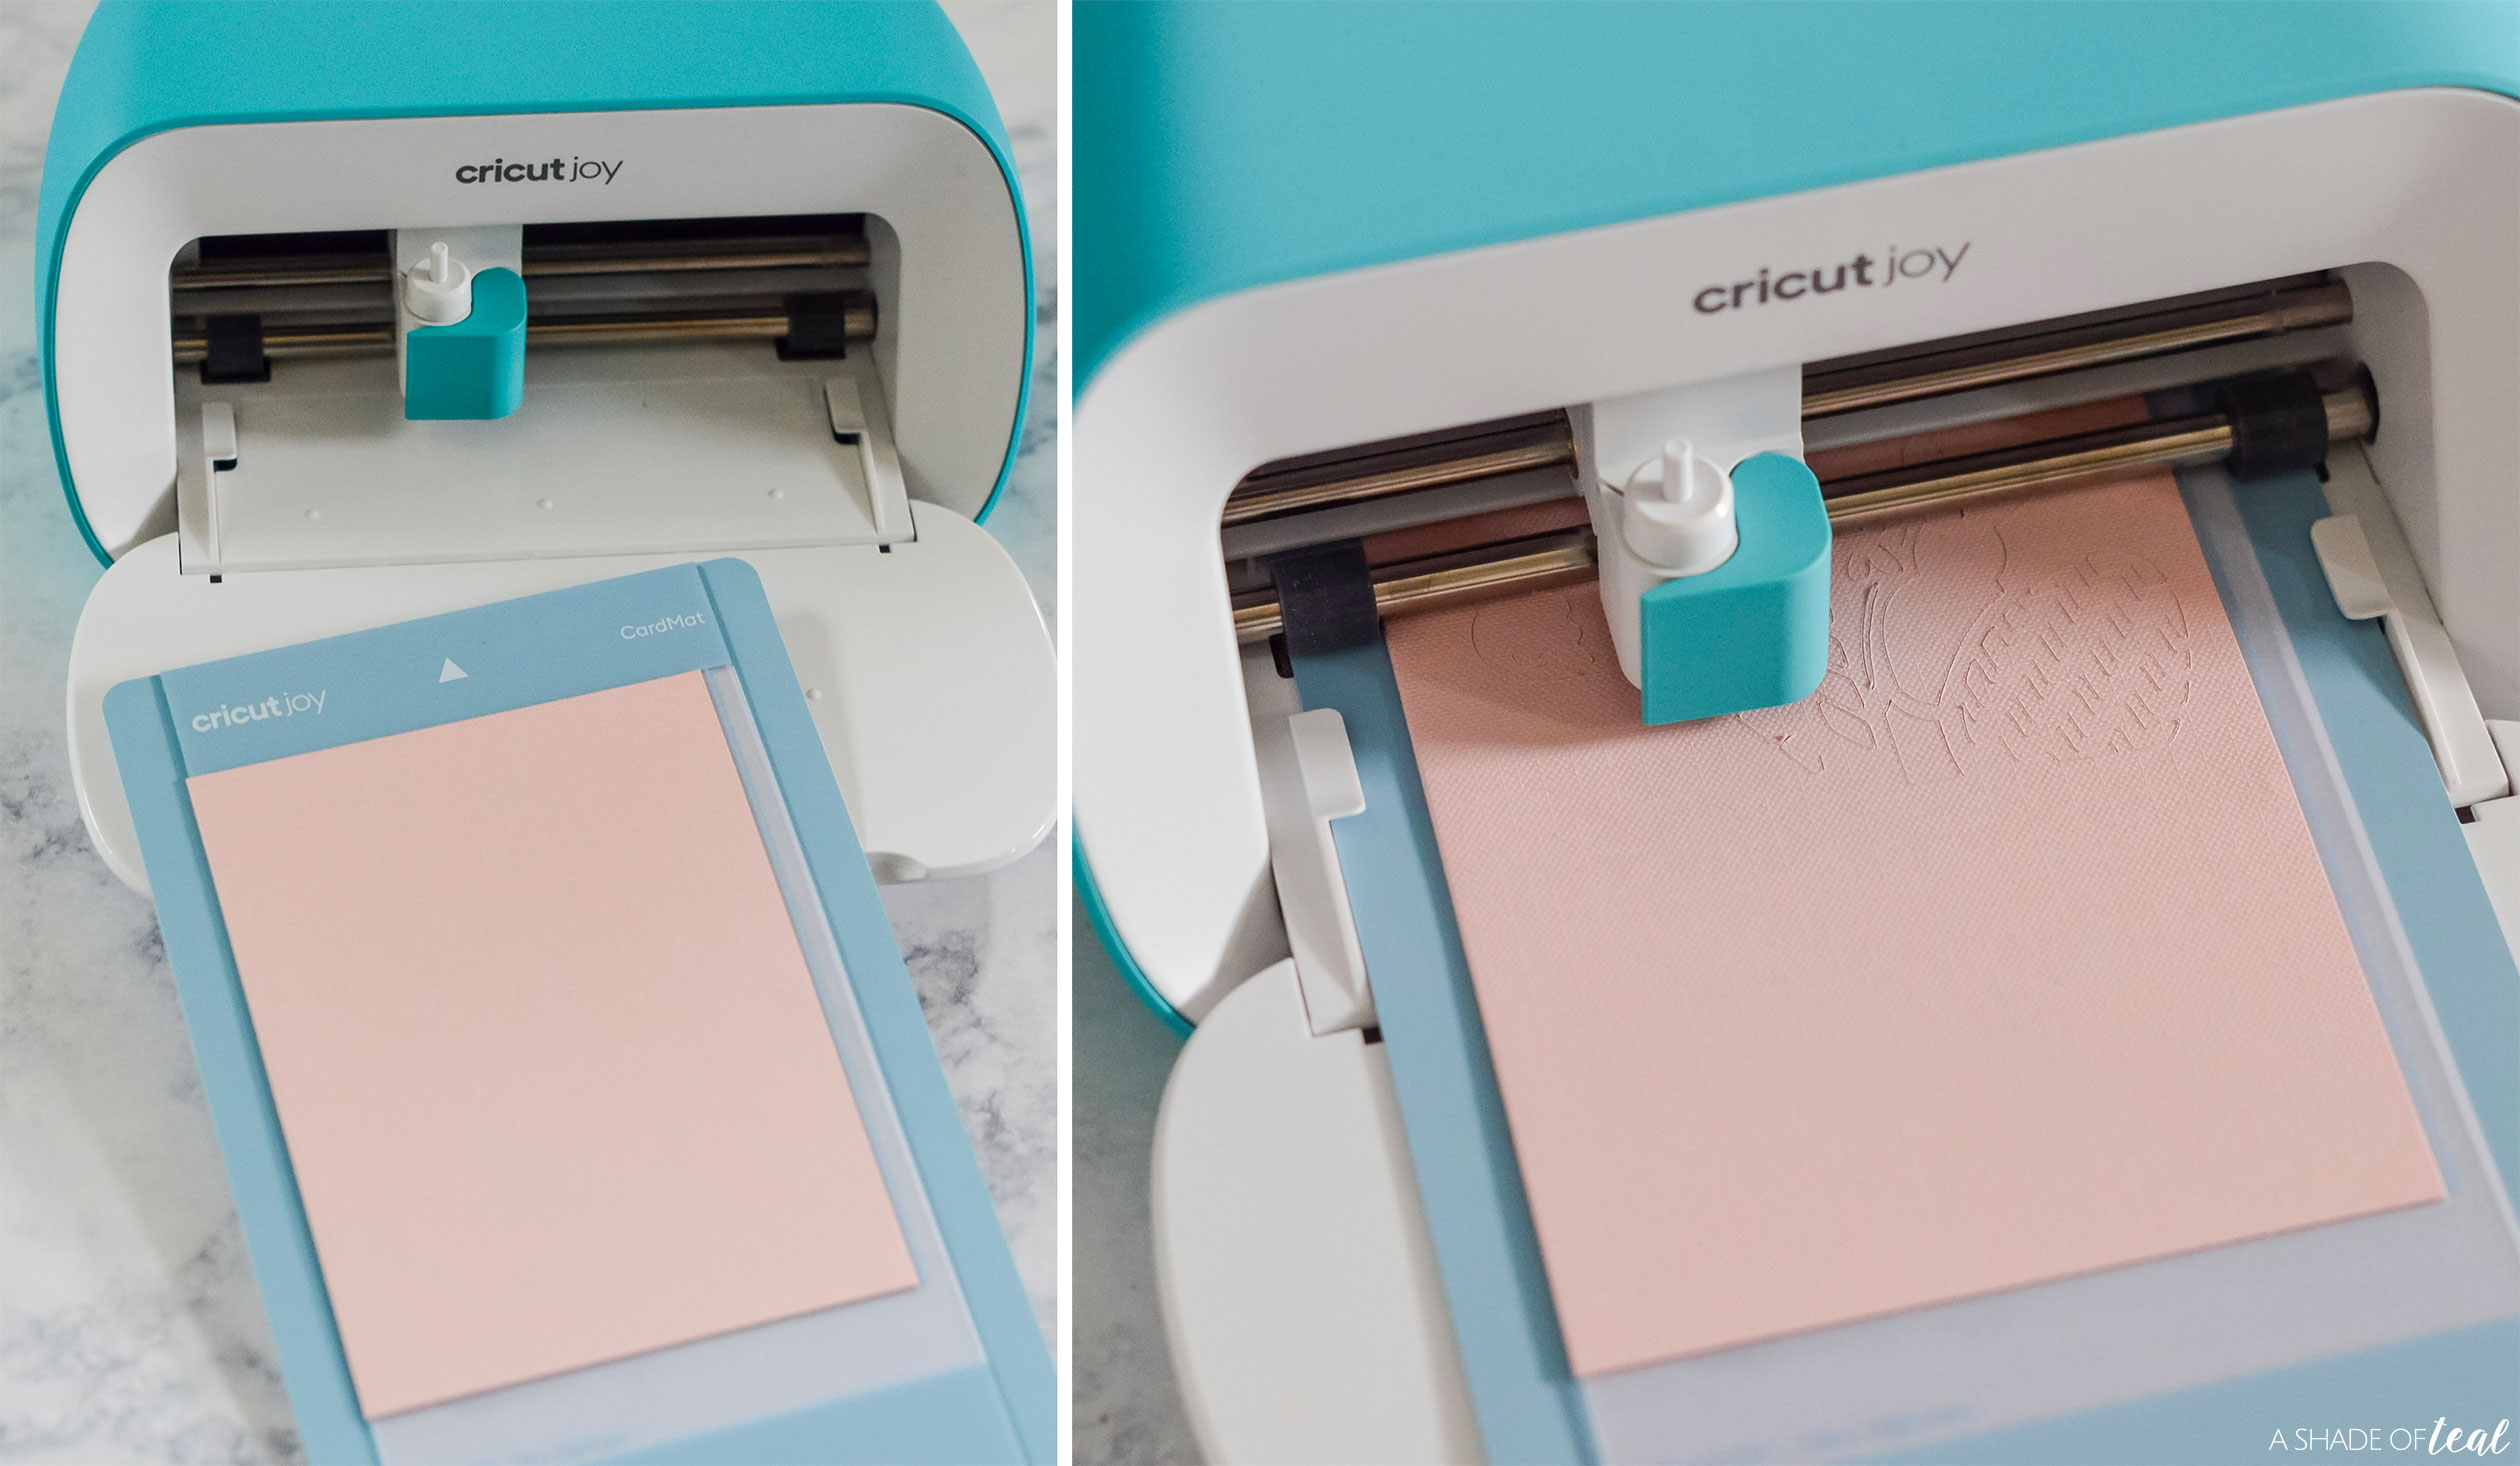
Step 2 || Place your card on your Cricut Card Mat.
Step 3 || Then, follow the prompts on Design Space to start cutting.
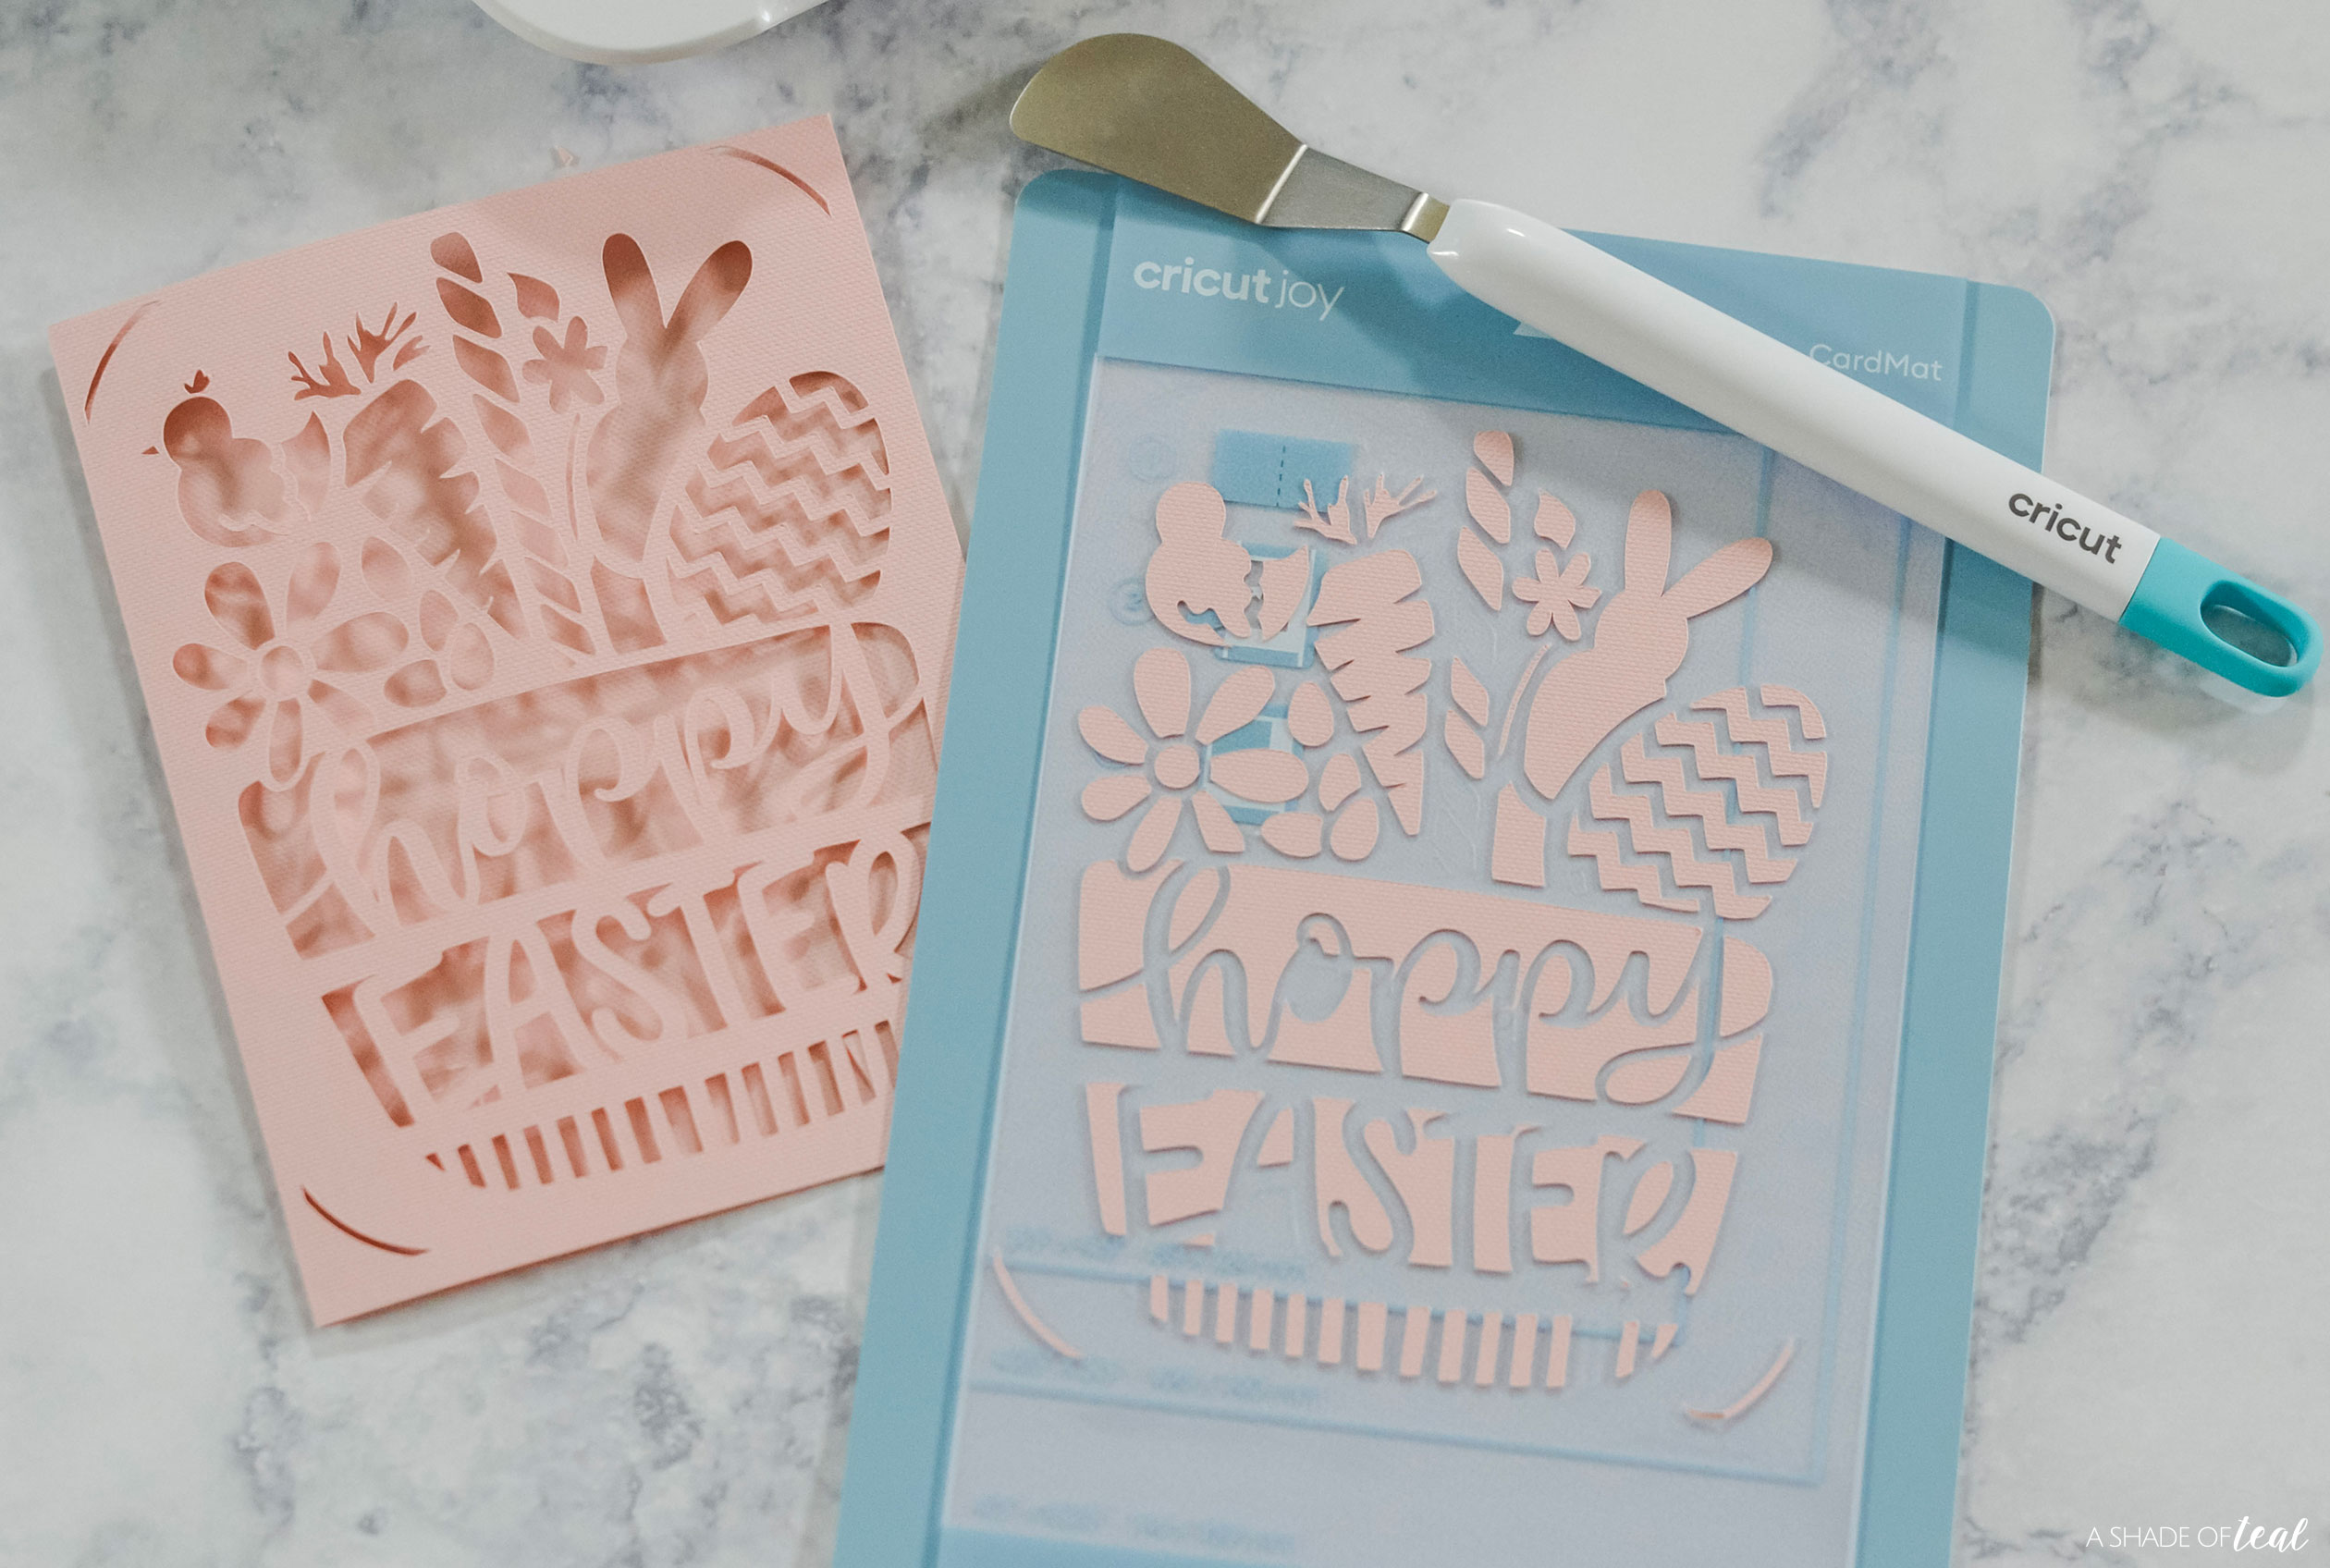
Step 4 || After the card is cut, remove it from the mat.
Step 5 || Next, use a Spatula tool to remove the excess card stock from the mat.
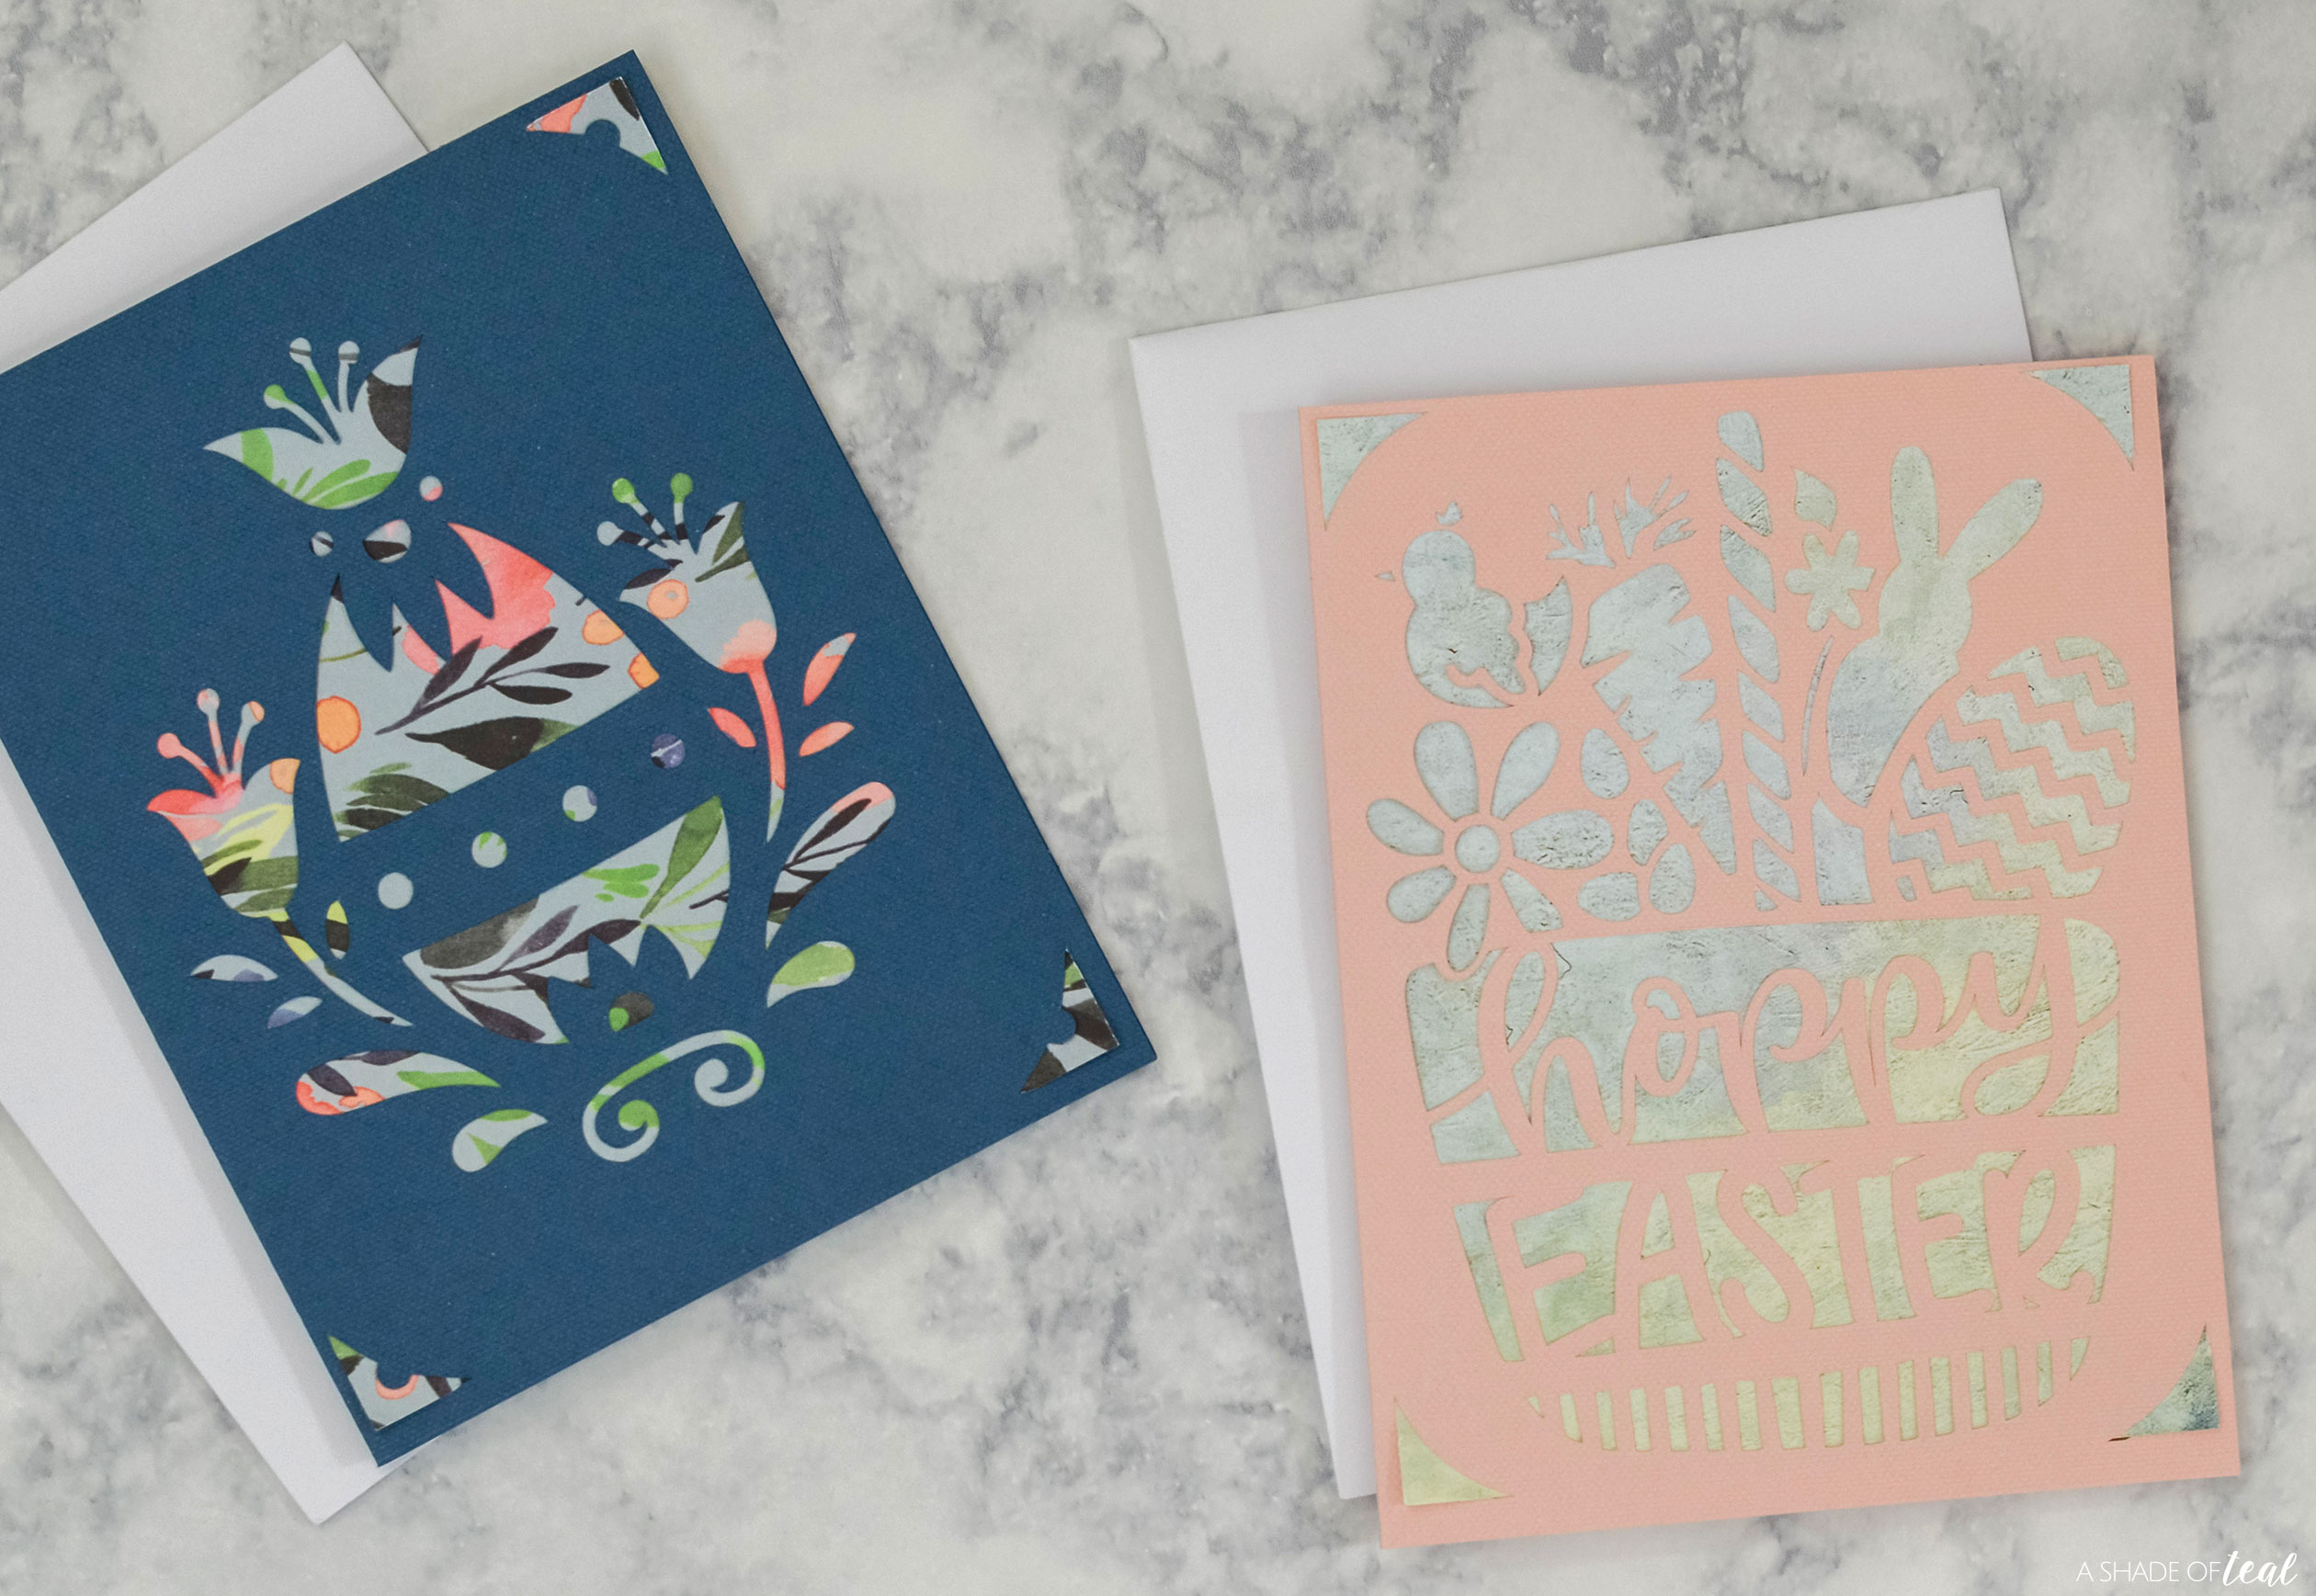
Step 6 || Finally, add the card insert and your done! Another final step you can do (which is optional), is to glue the insert against the card.
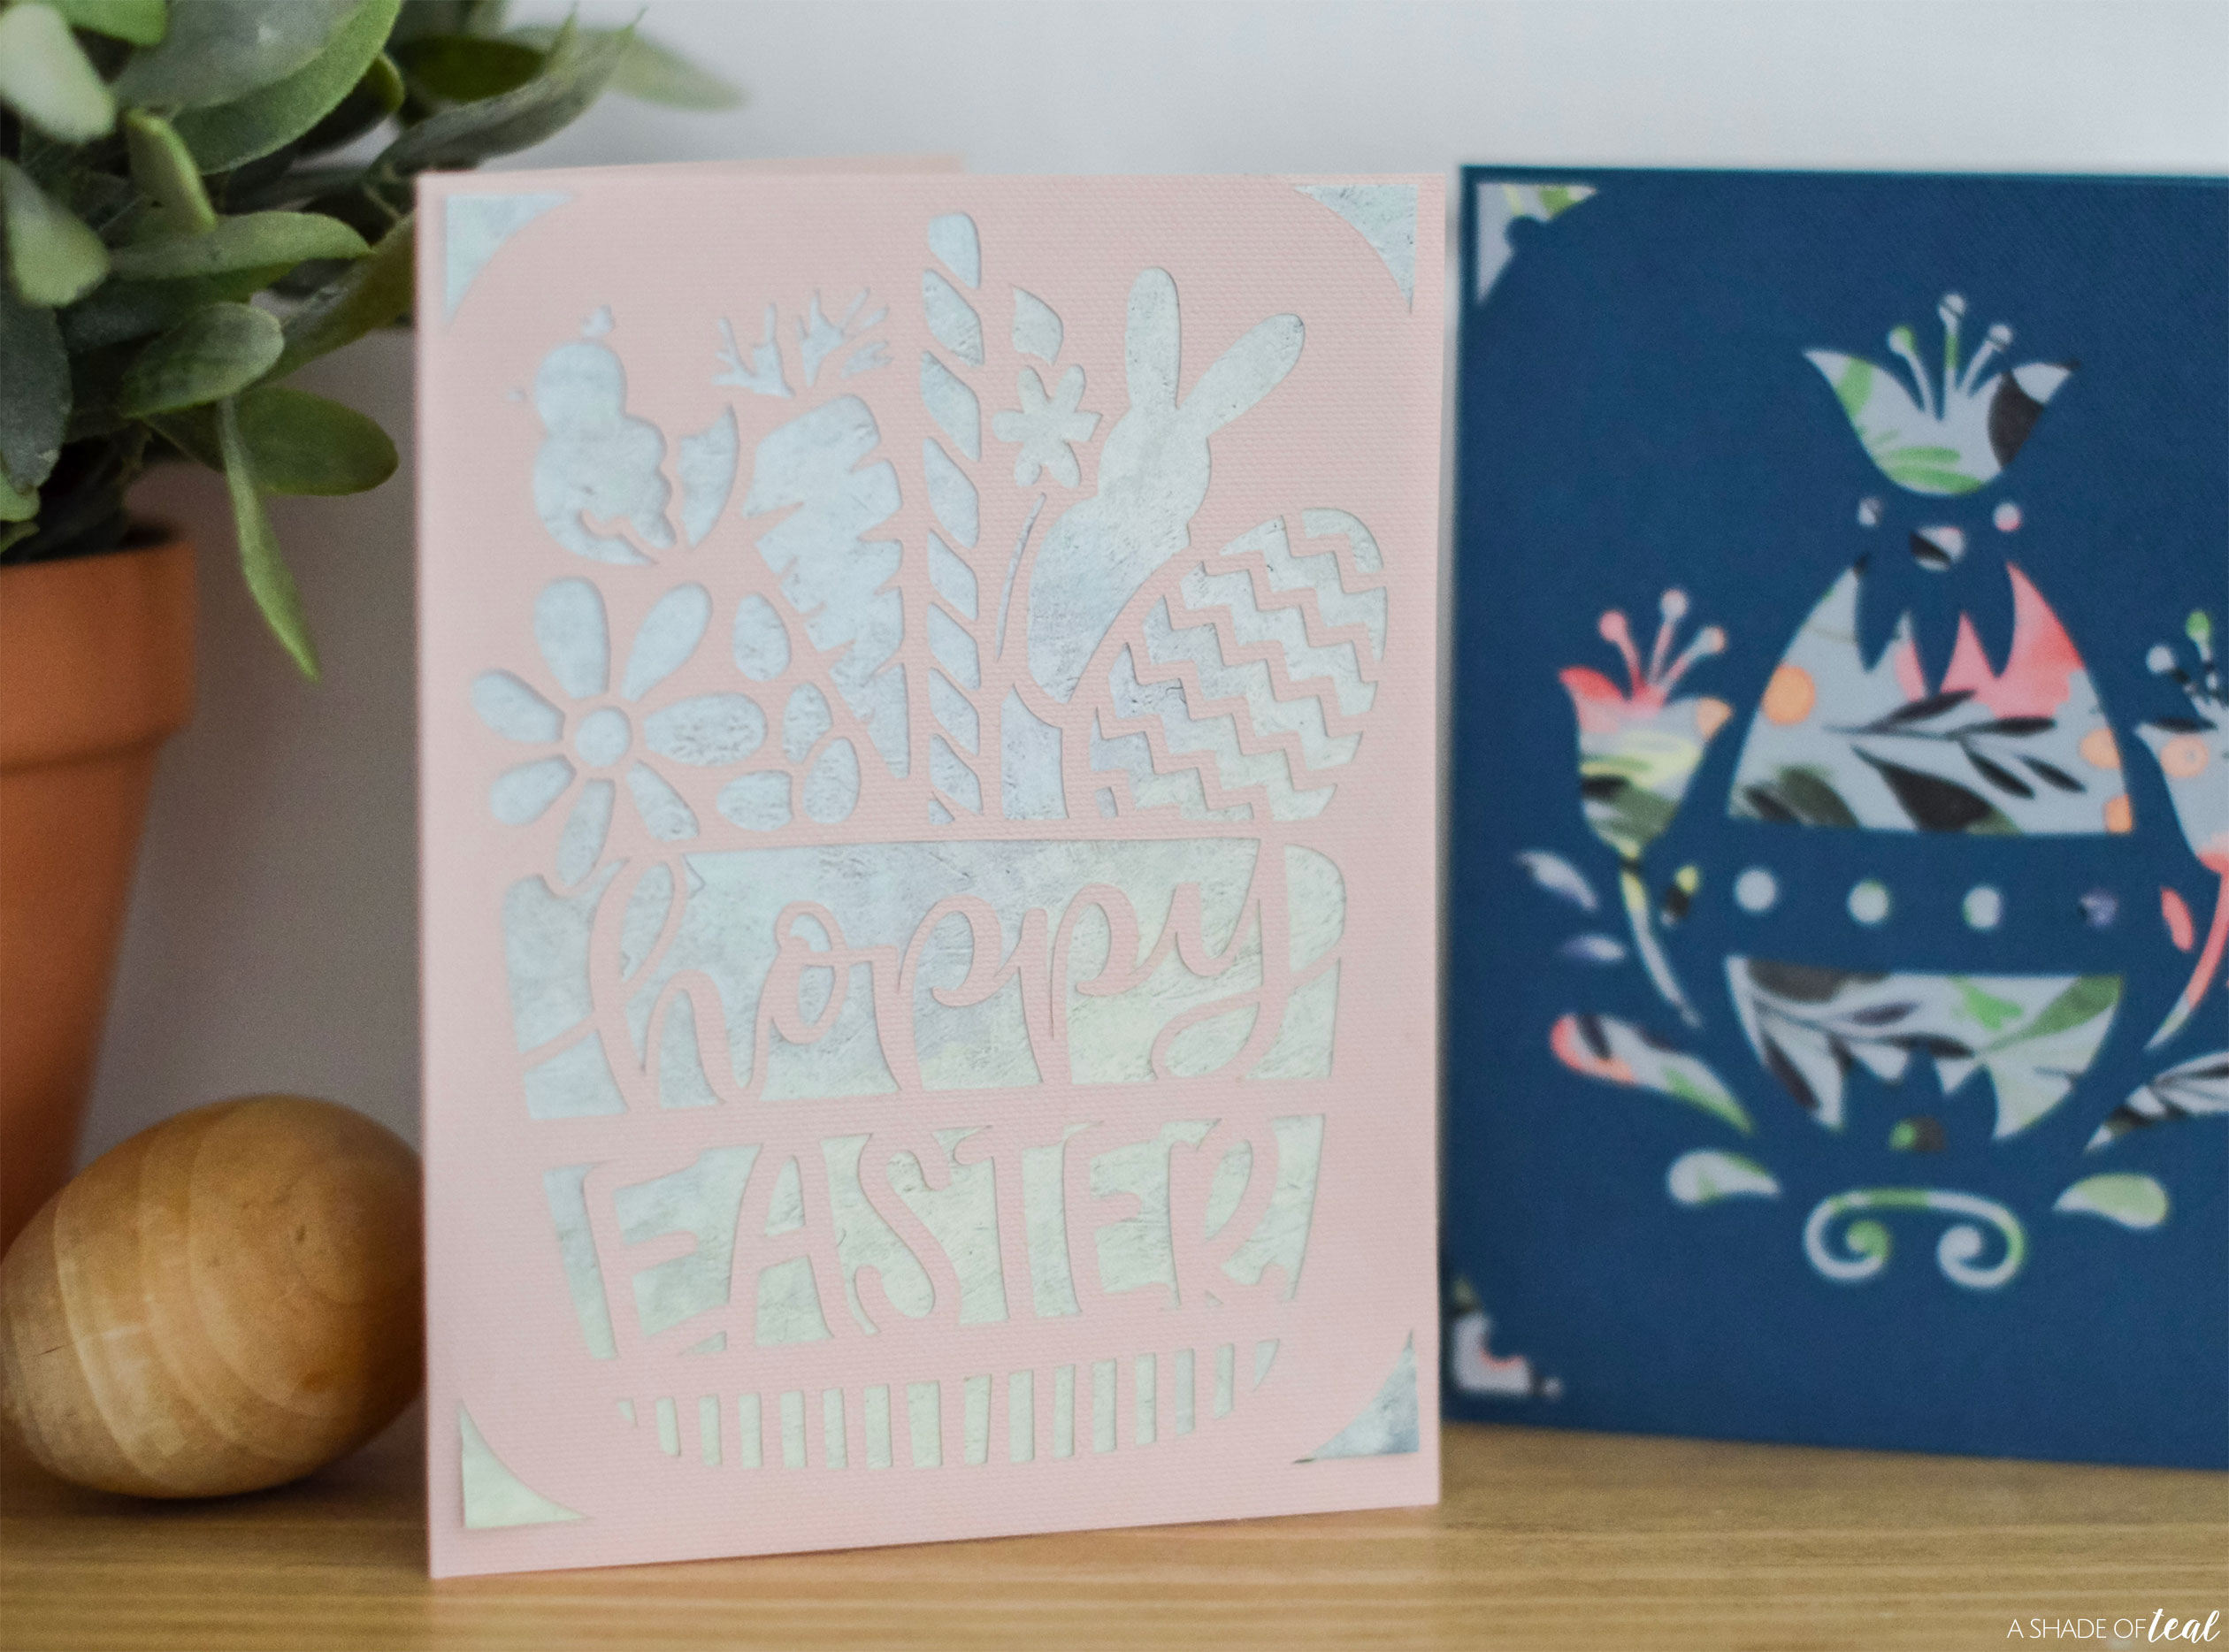
Here’s more of these Simple Easter Cards.
Make sure to stay tuned for more simple craft projects that you can make with supplies you already have on hand. And check out more of my Cricut inspiration and projects here.
Don’t have Cricut product yet? Shop here!
Happy crafting, enjoy!





Leave a Reply