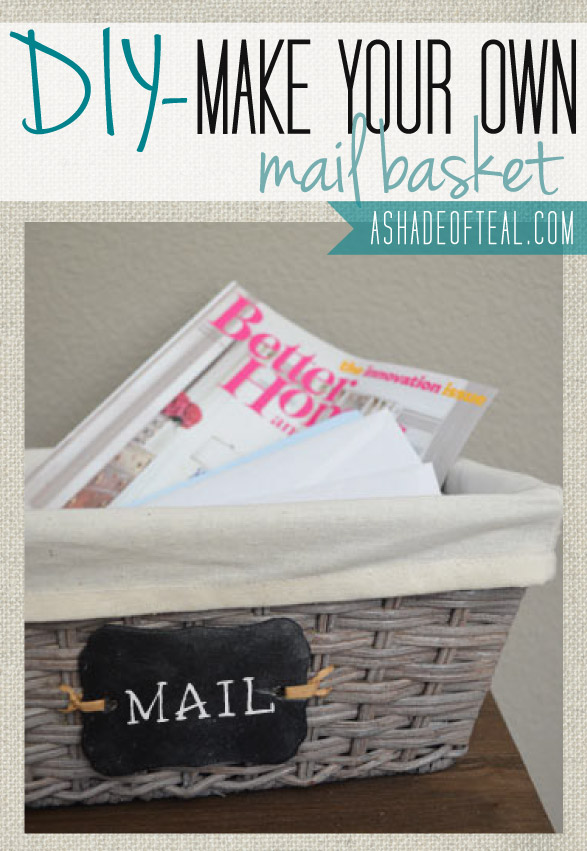
 Lately our counters have been overwhelmed with clutter. I tend to have a habit of making piles. To my husband its clutter, to me its organized piles. But, it was starting to get crazy…Especially the mail! I would start a new pile for every time I got the mail. That made me realize we need some sort of basket or bin to throw it all in. So, I started shopping around but really didn’t find too many options I liked and that was reasonably priced; it is just a mail bin!
Here was my favorite options, all found on One Kings Lane.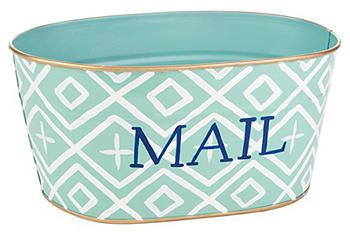 Aqua Mail Tub, One Kings Lane
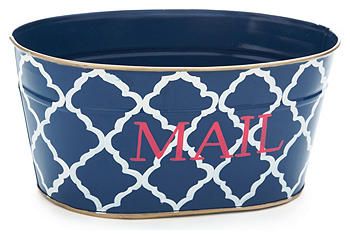 Navy Mail Tub, One Kings Lane
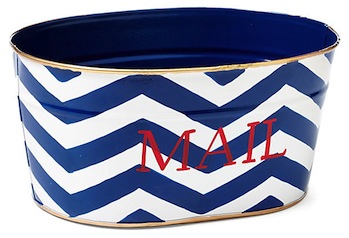 Navy Chevron Mail Tub, One Kings Lane
I love them all, but spending $25 just seemed like too much. So…I decided made my own.
I found this basket at Target on clearance for $8.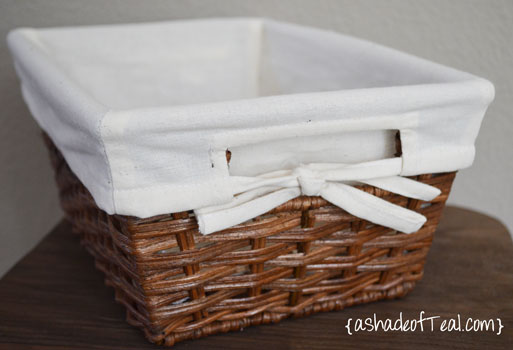
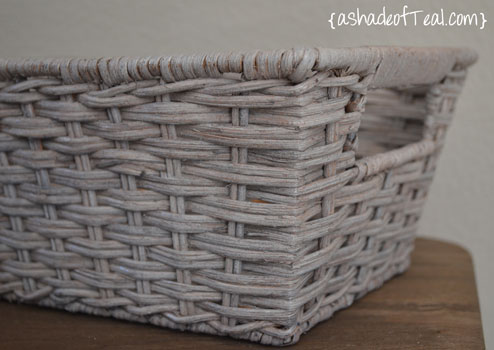
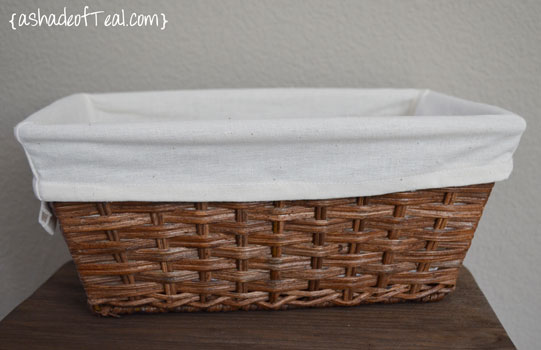 I took off the liner and stained the basket grey using Minwax Wood Stain in “Classic Gray 271”. You can also use paint, I just thought using stain might make it look more original. Also, you can see the details and high/lows of the basket color. Paint would completely cover the details of the rattan; which isn’t bad, just not what I was looking for in this project.
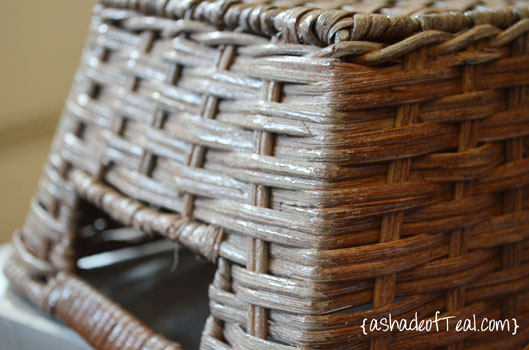
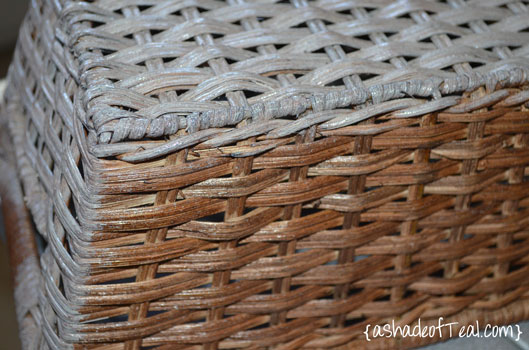 After staining the entire basket I let it dry overnight.
Meanwhile, I found these cutout wood pieces at Michaels for 29¢. They had so many different options that I now have too many ideas for new projects!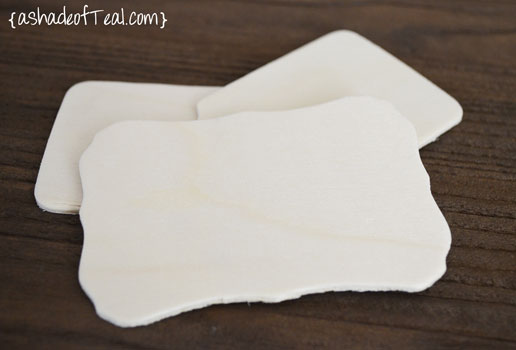
I wanted to make a mini chalkboard out of it so I spray painted it with Valspar Chalkboard Paint, found at Lowes.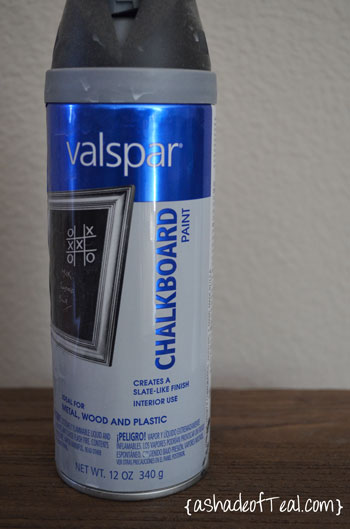
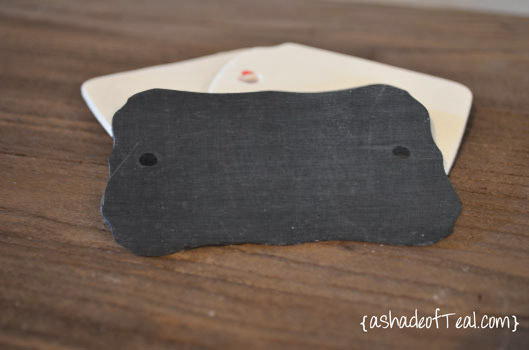
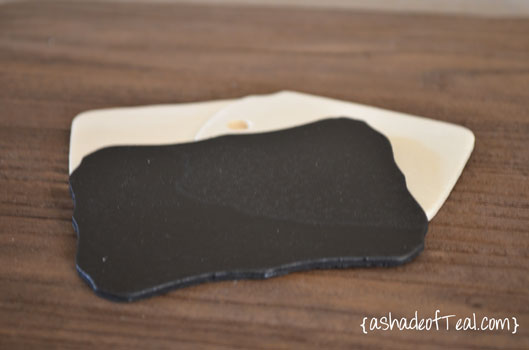 Then I used my drill gun to cut 1/4″ holes in each side. Don’t forget to condition the chalk board, for some reason I always do this.
 The next day the basket was dried and looked like this.
 I then added the chalkboard to the side.
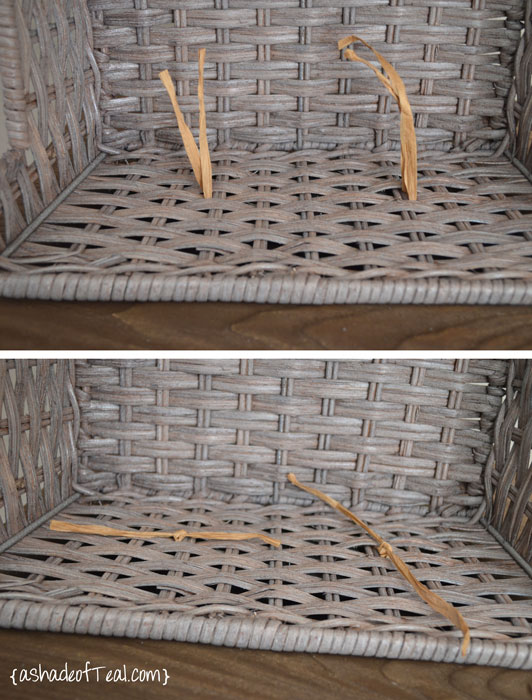
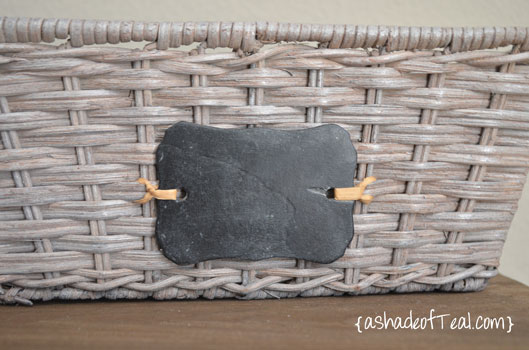 I used Natural raffia that I already has lying around, and tied each side. Then I wove the raffia through the back and tied each side again. Like this.
 Now to draw “MAIL” onto the chalkboard. I actually printed out this font then traced it onto the chalkboard.
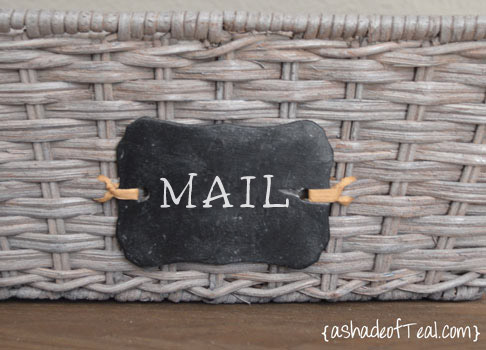 Add the liner back and that’s it! I now have a Mail Basket for $9.00
(Most of the supplies I already had).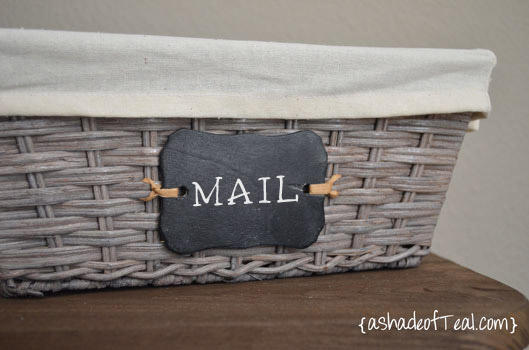
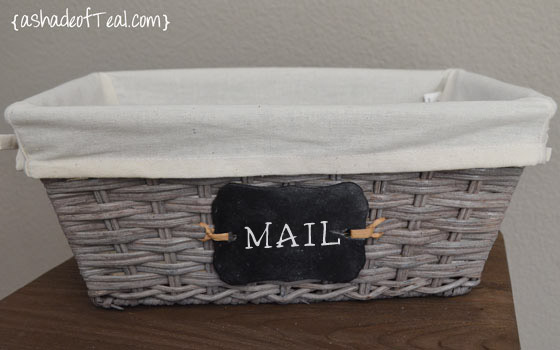
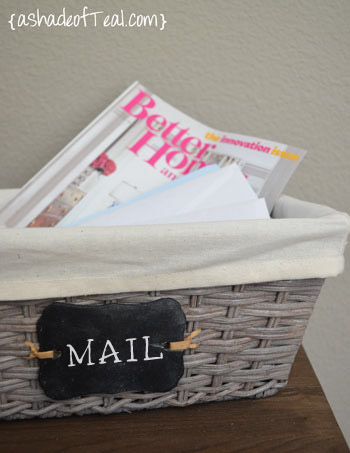
Enjoy!



Fantastic! Simple yet Stylish! Love it. Thank You for sharing. 🙂
Thanks Chrissy!
How many coats of the classic grey stain did you use? I am trying to stain my ikea baskets and don’t feel that it’s giving me that grey look with 2 coats…
I might have done 3 coats, but they were heavy coats where I didn’t wipe the stain off.
Thank you so much. Was this the same process you used for your ikea Kallax baskets? That stain is just so watery and not penetrating. Thank you again
Yes, I believe so. It’s been awhile since I did this project, but I do remember leaving the stain on like painting and letting it almost completely dry in-between coats.
Awesome! I will give that a try. Thank you for your step by steps. My new baby room looks amazing!!!