This is a sponsored conversation written by me on behalf of Cricut. The opinions and text are all mine.
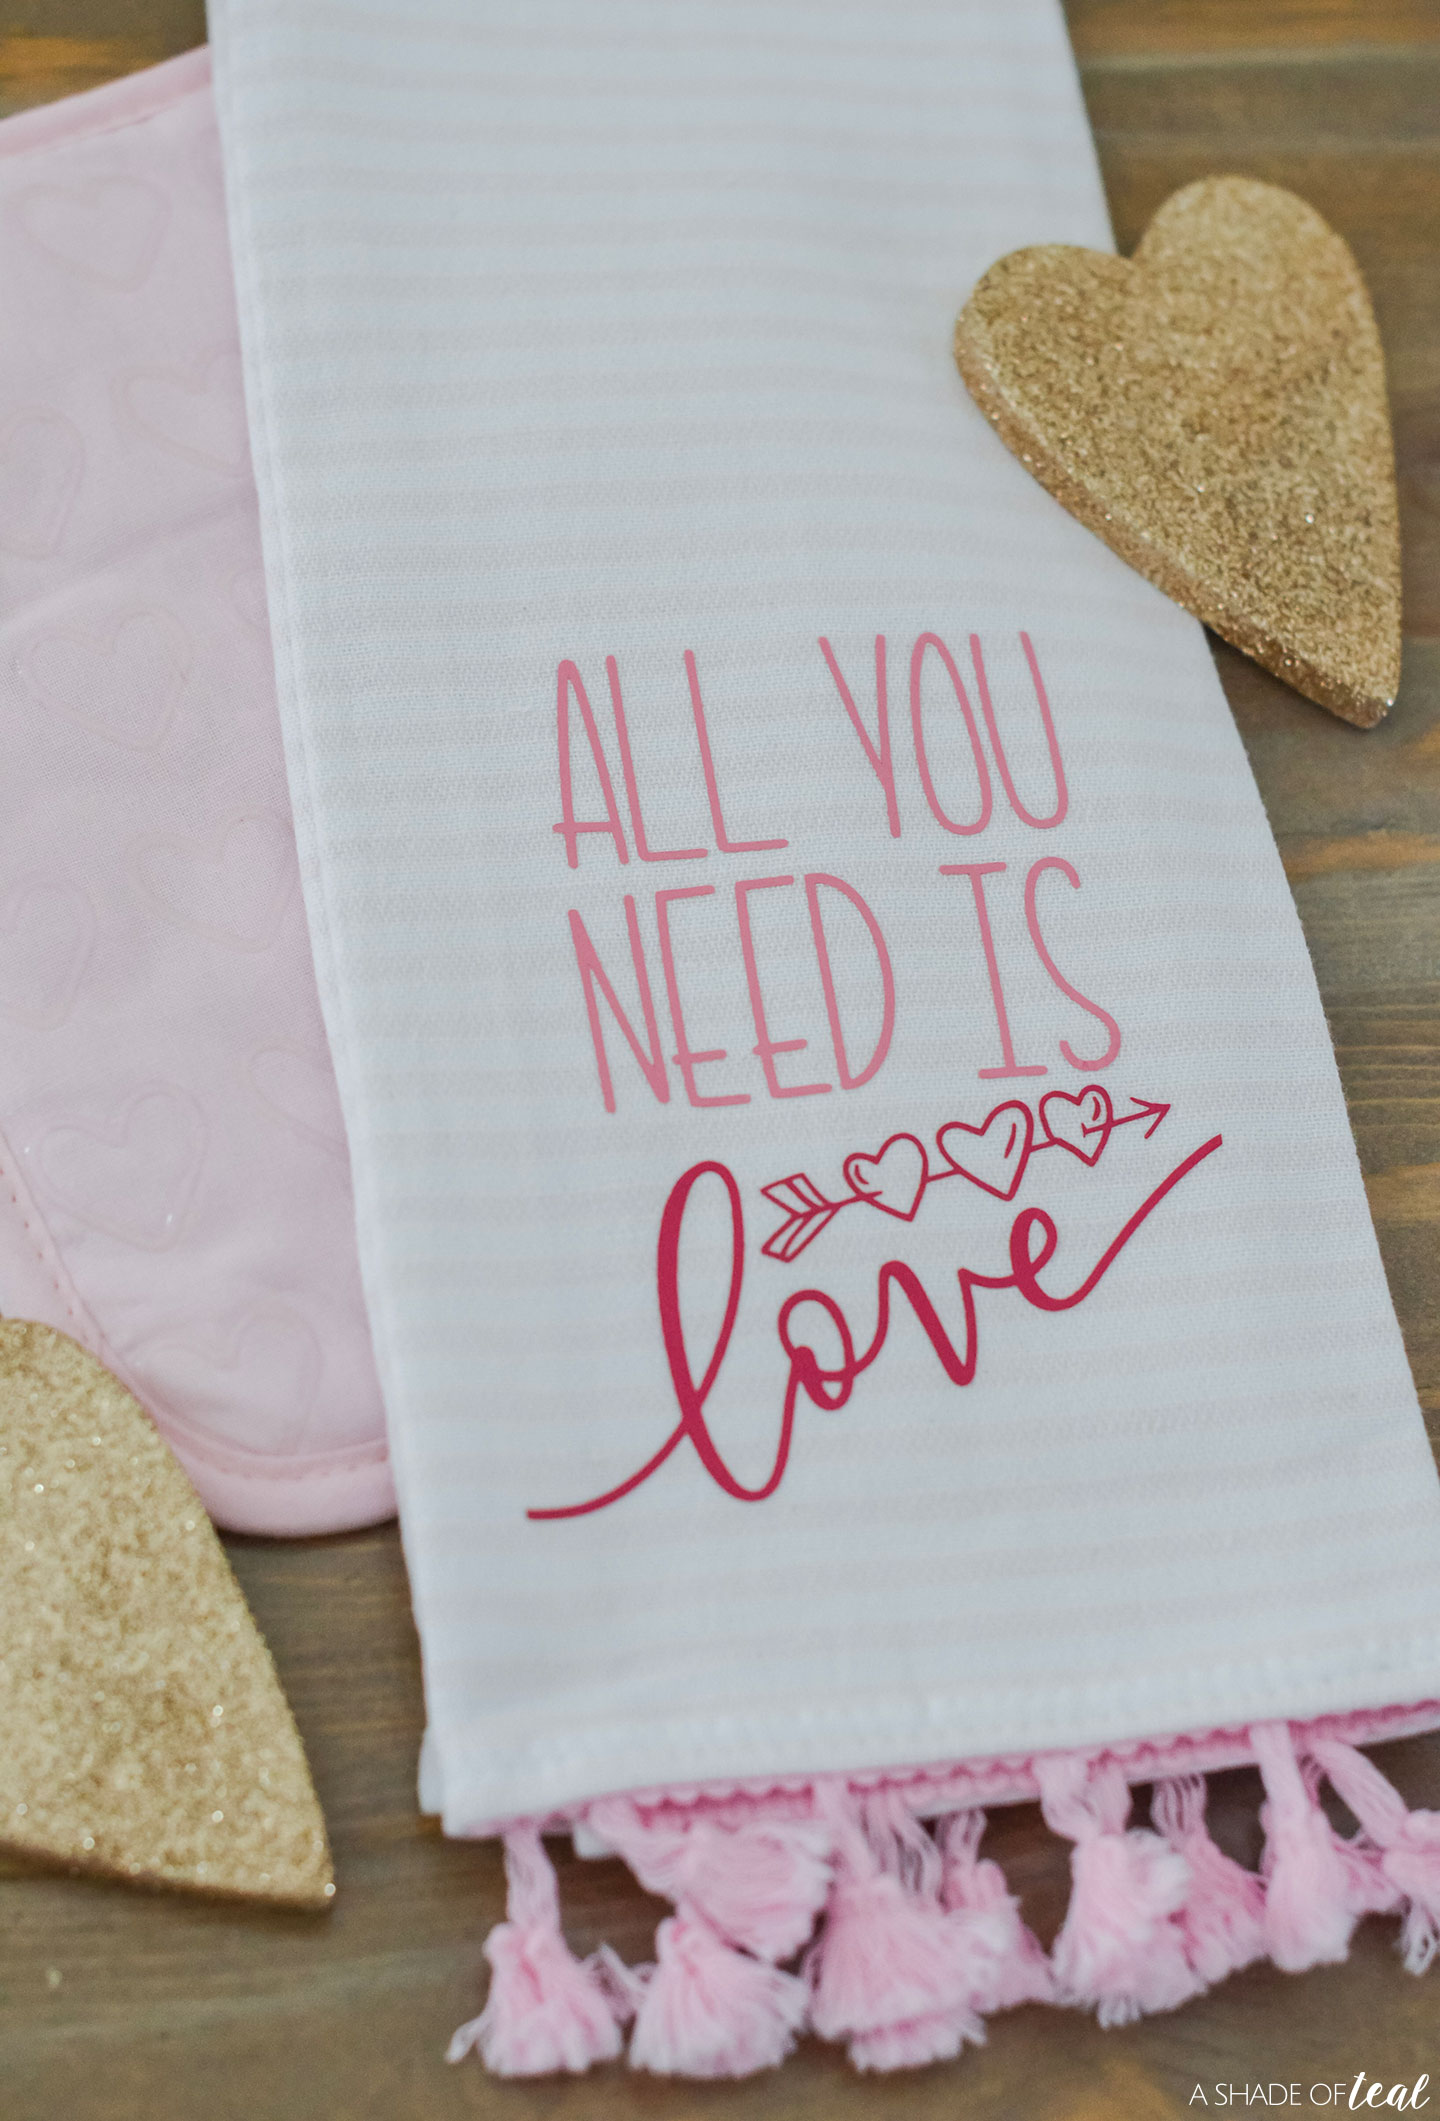
NEW TO CRICUT? THEN YOU’LL LOVE THIS SIMPLE TUTORIAL ON HOW TO USE CRICUT IRON-ON VINYL WITH THE CRICUT EASYPRESS 2. PLUS, MAKE THIS VALENTINE’S DAY ALL YOU NEED IS LOVE KITCHEN TOWEL!
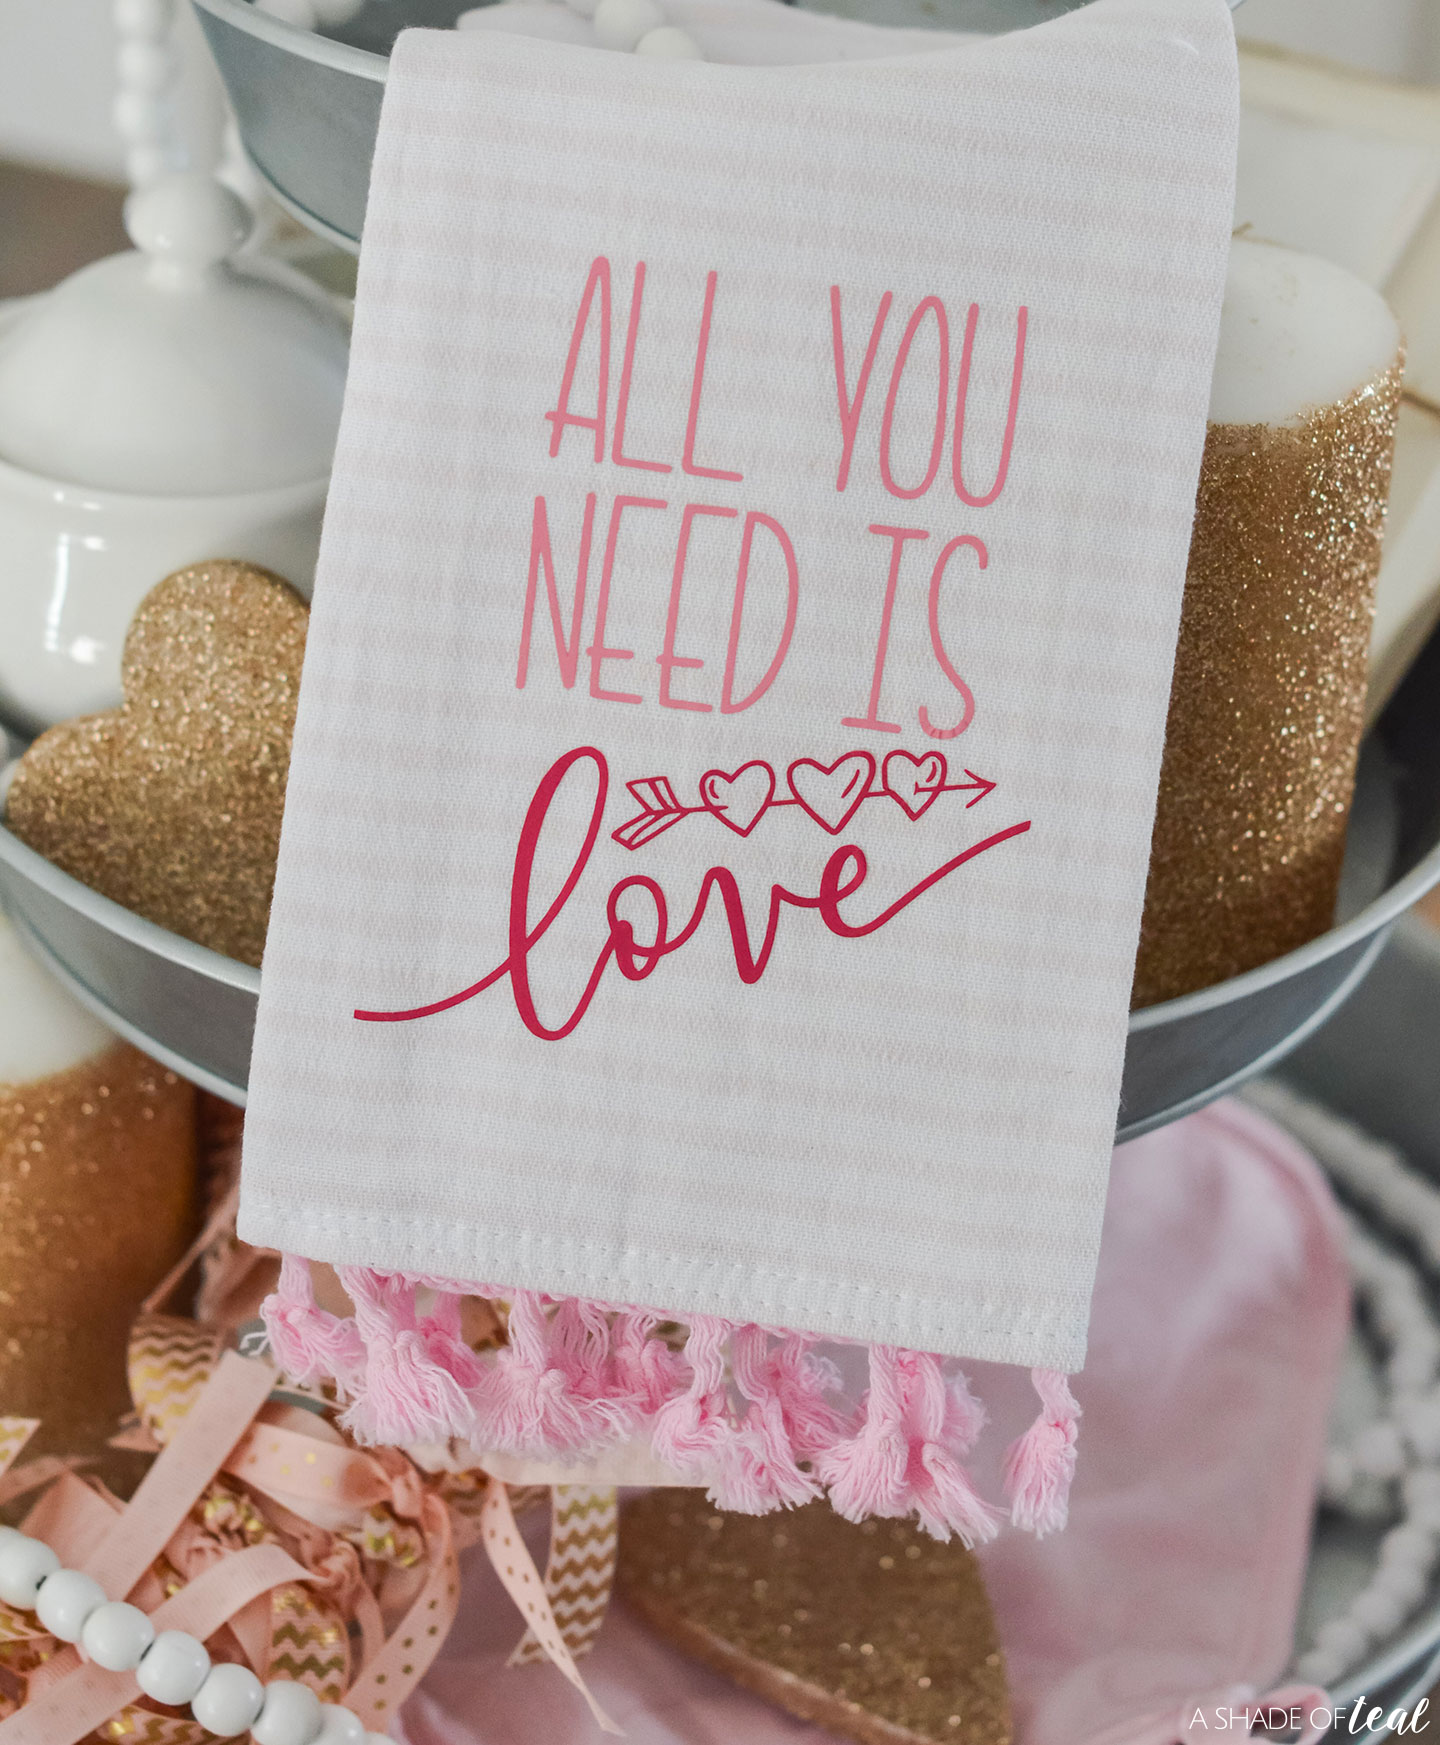
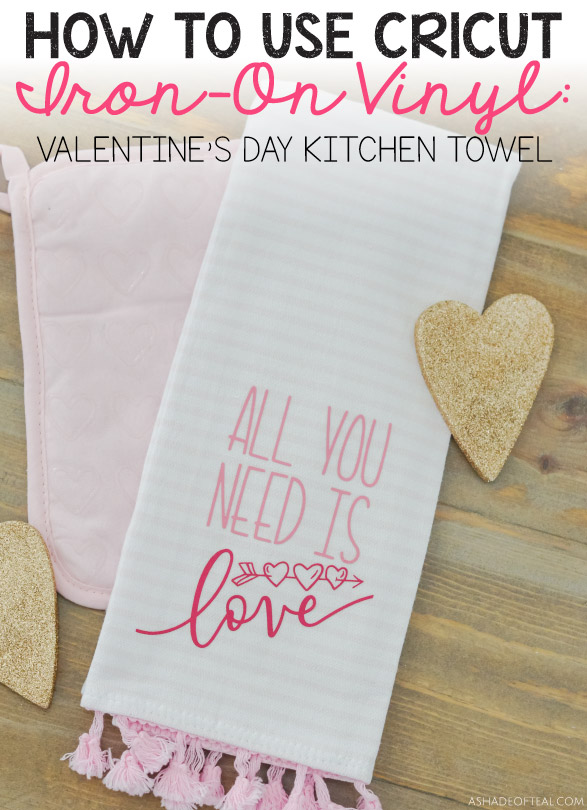
Did you just get a new Cricut Explore Air 2 or Cricut EasyPress 2 and not sure how to use it? Don’t let either be intimidating. By starting with simple small projects, you’ll be a master at it in no time! And to help get you started I’m sharing a simple Valentine’s Day project with this All You Need is Love Kitchen Towel!
It’s the perfect starter project to get you more comfortable on how to use Cricut Iron-On Vinyl with the Cricut EasyPress 2.
As you may or may not know, there are several types of Vinyl (Removable, Permanent, Iron-On). Each are best used in different situations. But when it comes to adding vinyl to items like shirts, pillows, towels, etc… you’ll then want Iron-On Vinyl.
And with Iron-On Vinyl comes several options as well; Everyday, Glitter, Holographic, Foil, etc… You’ll quickly learn you’ll need to follow a couple extra steps when working with any type of Iron-On. Read on to see just exactly how to use Cricut Iron-On Vinyl.
To make this All You Need is Love Valentine’s Day Kitchen Towel? Here’s what you’ll need.
Materials Needed:
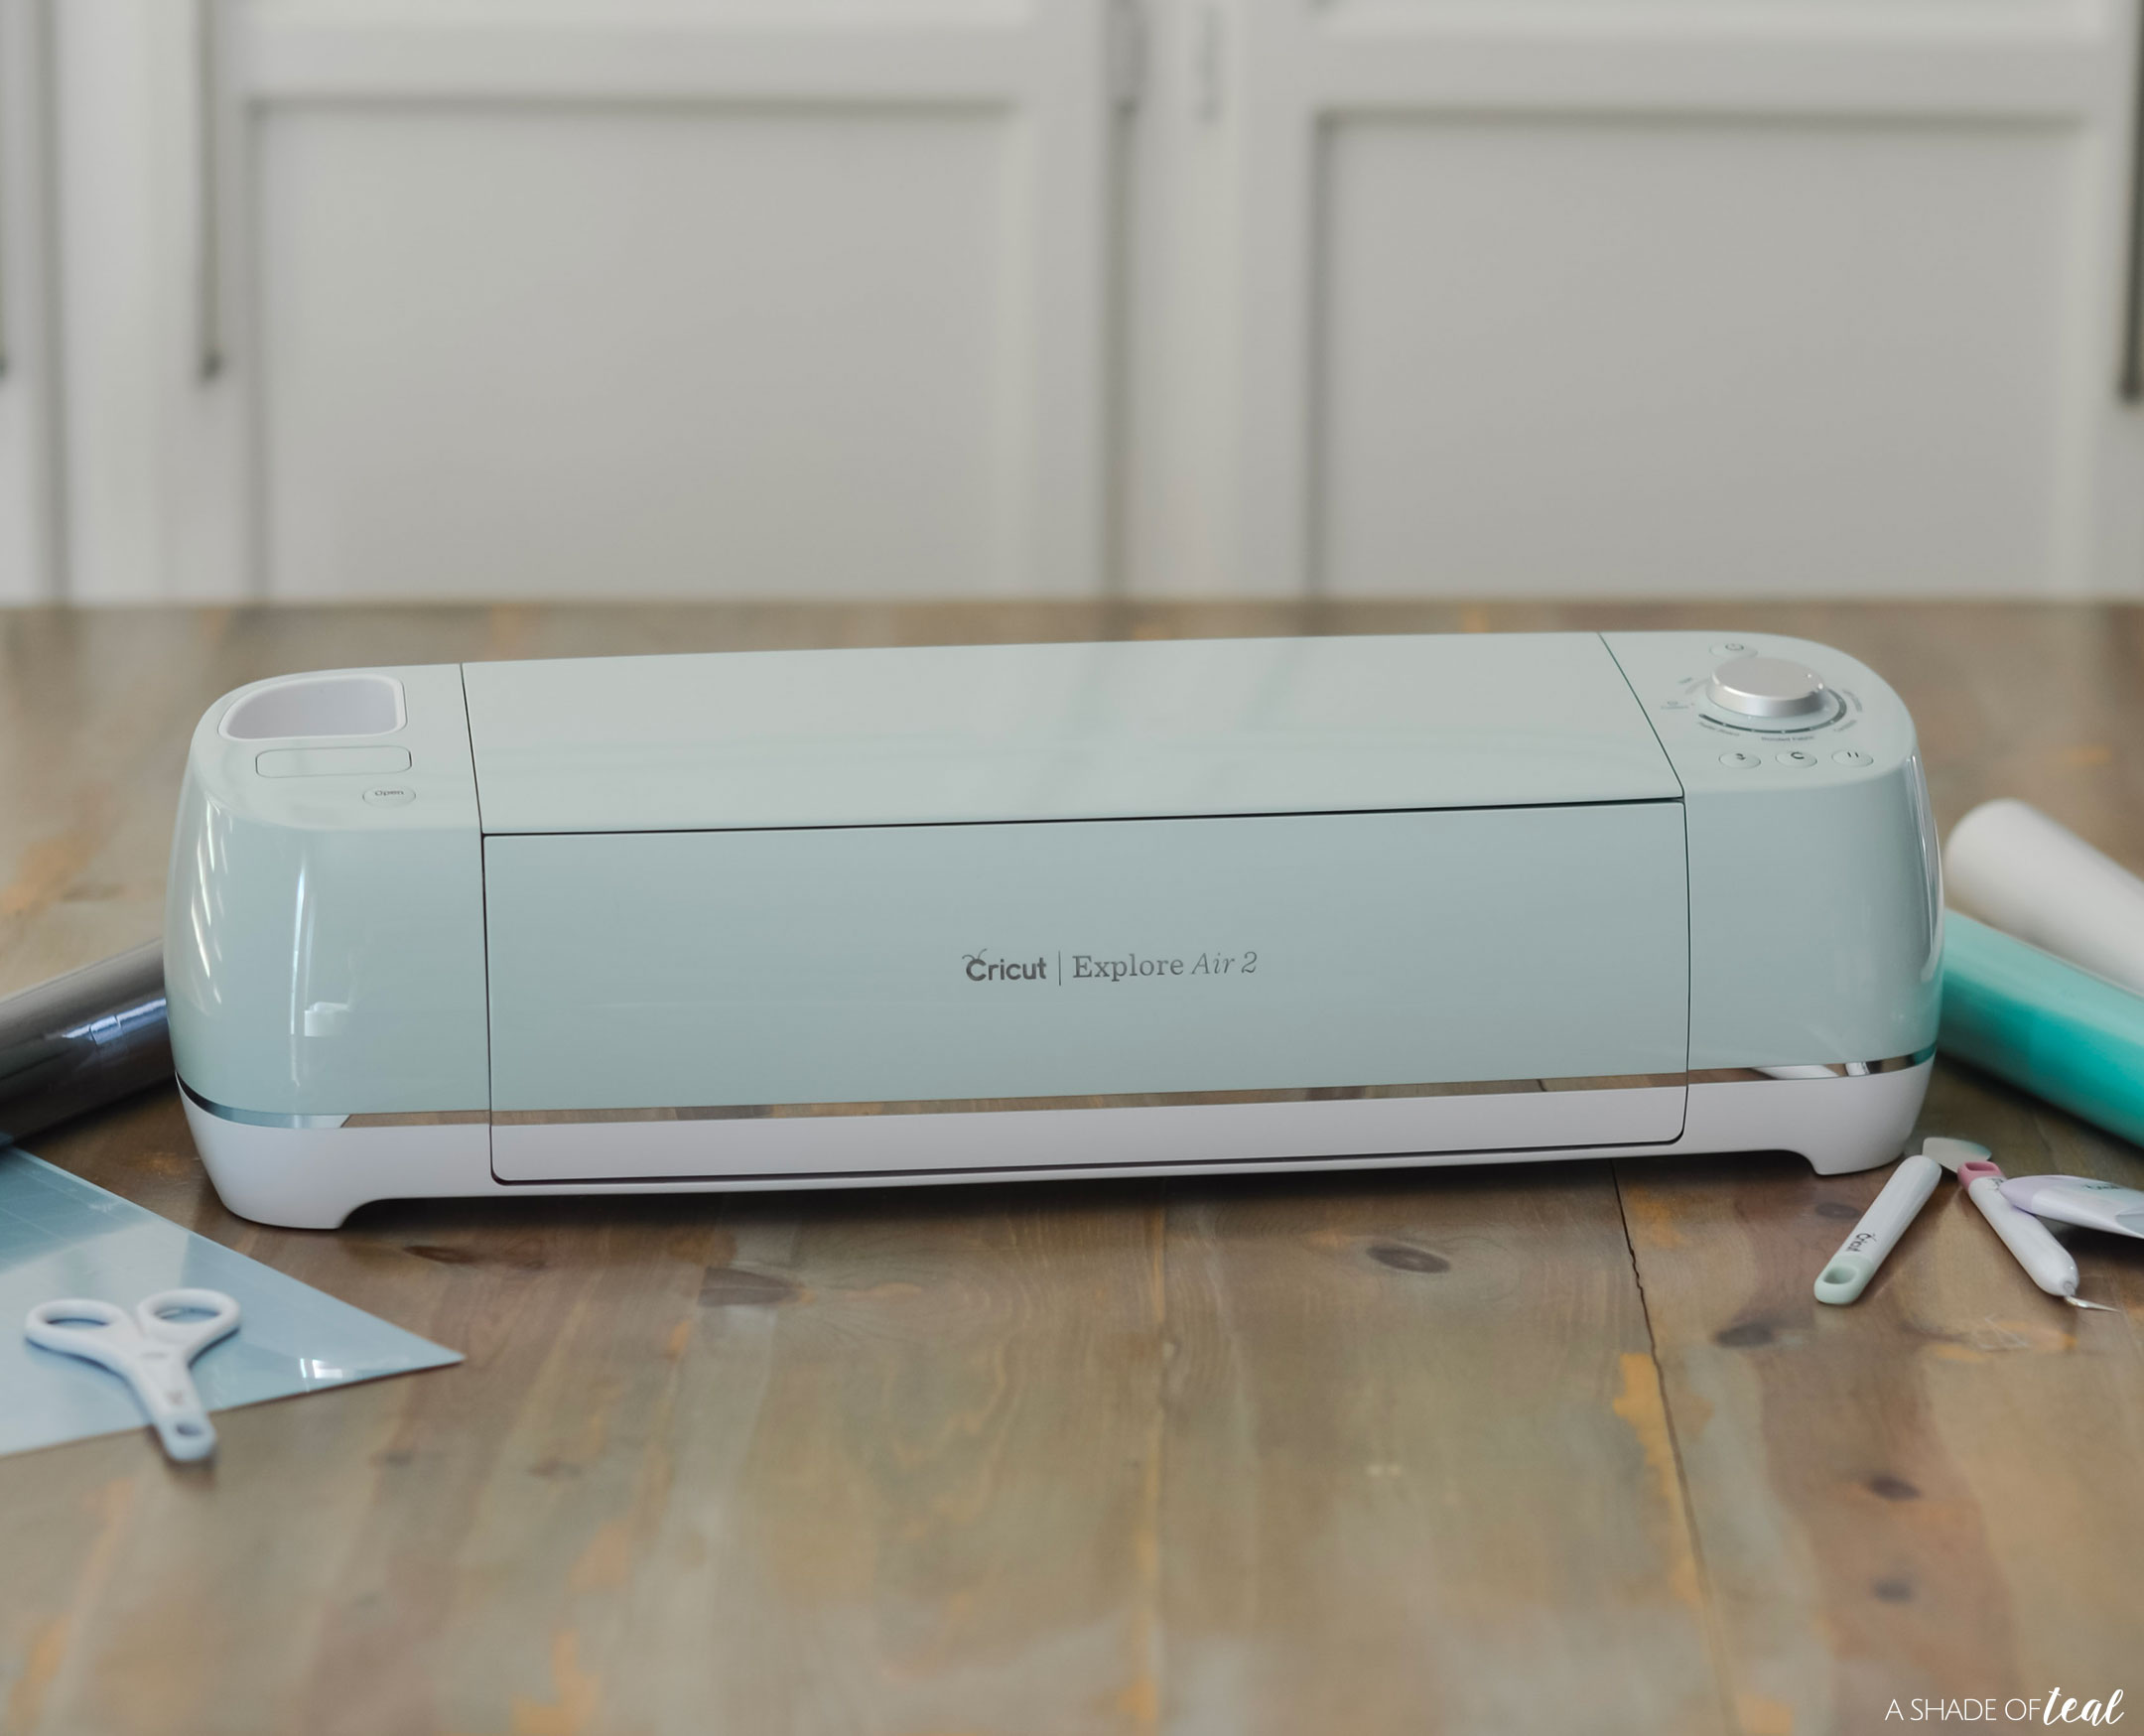
- Cricut Explore Air 2
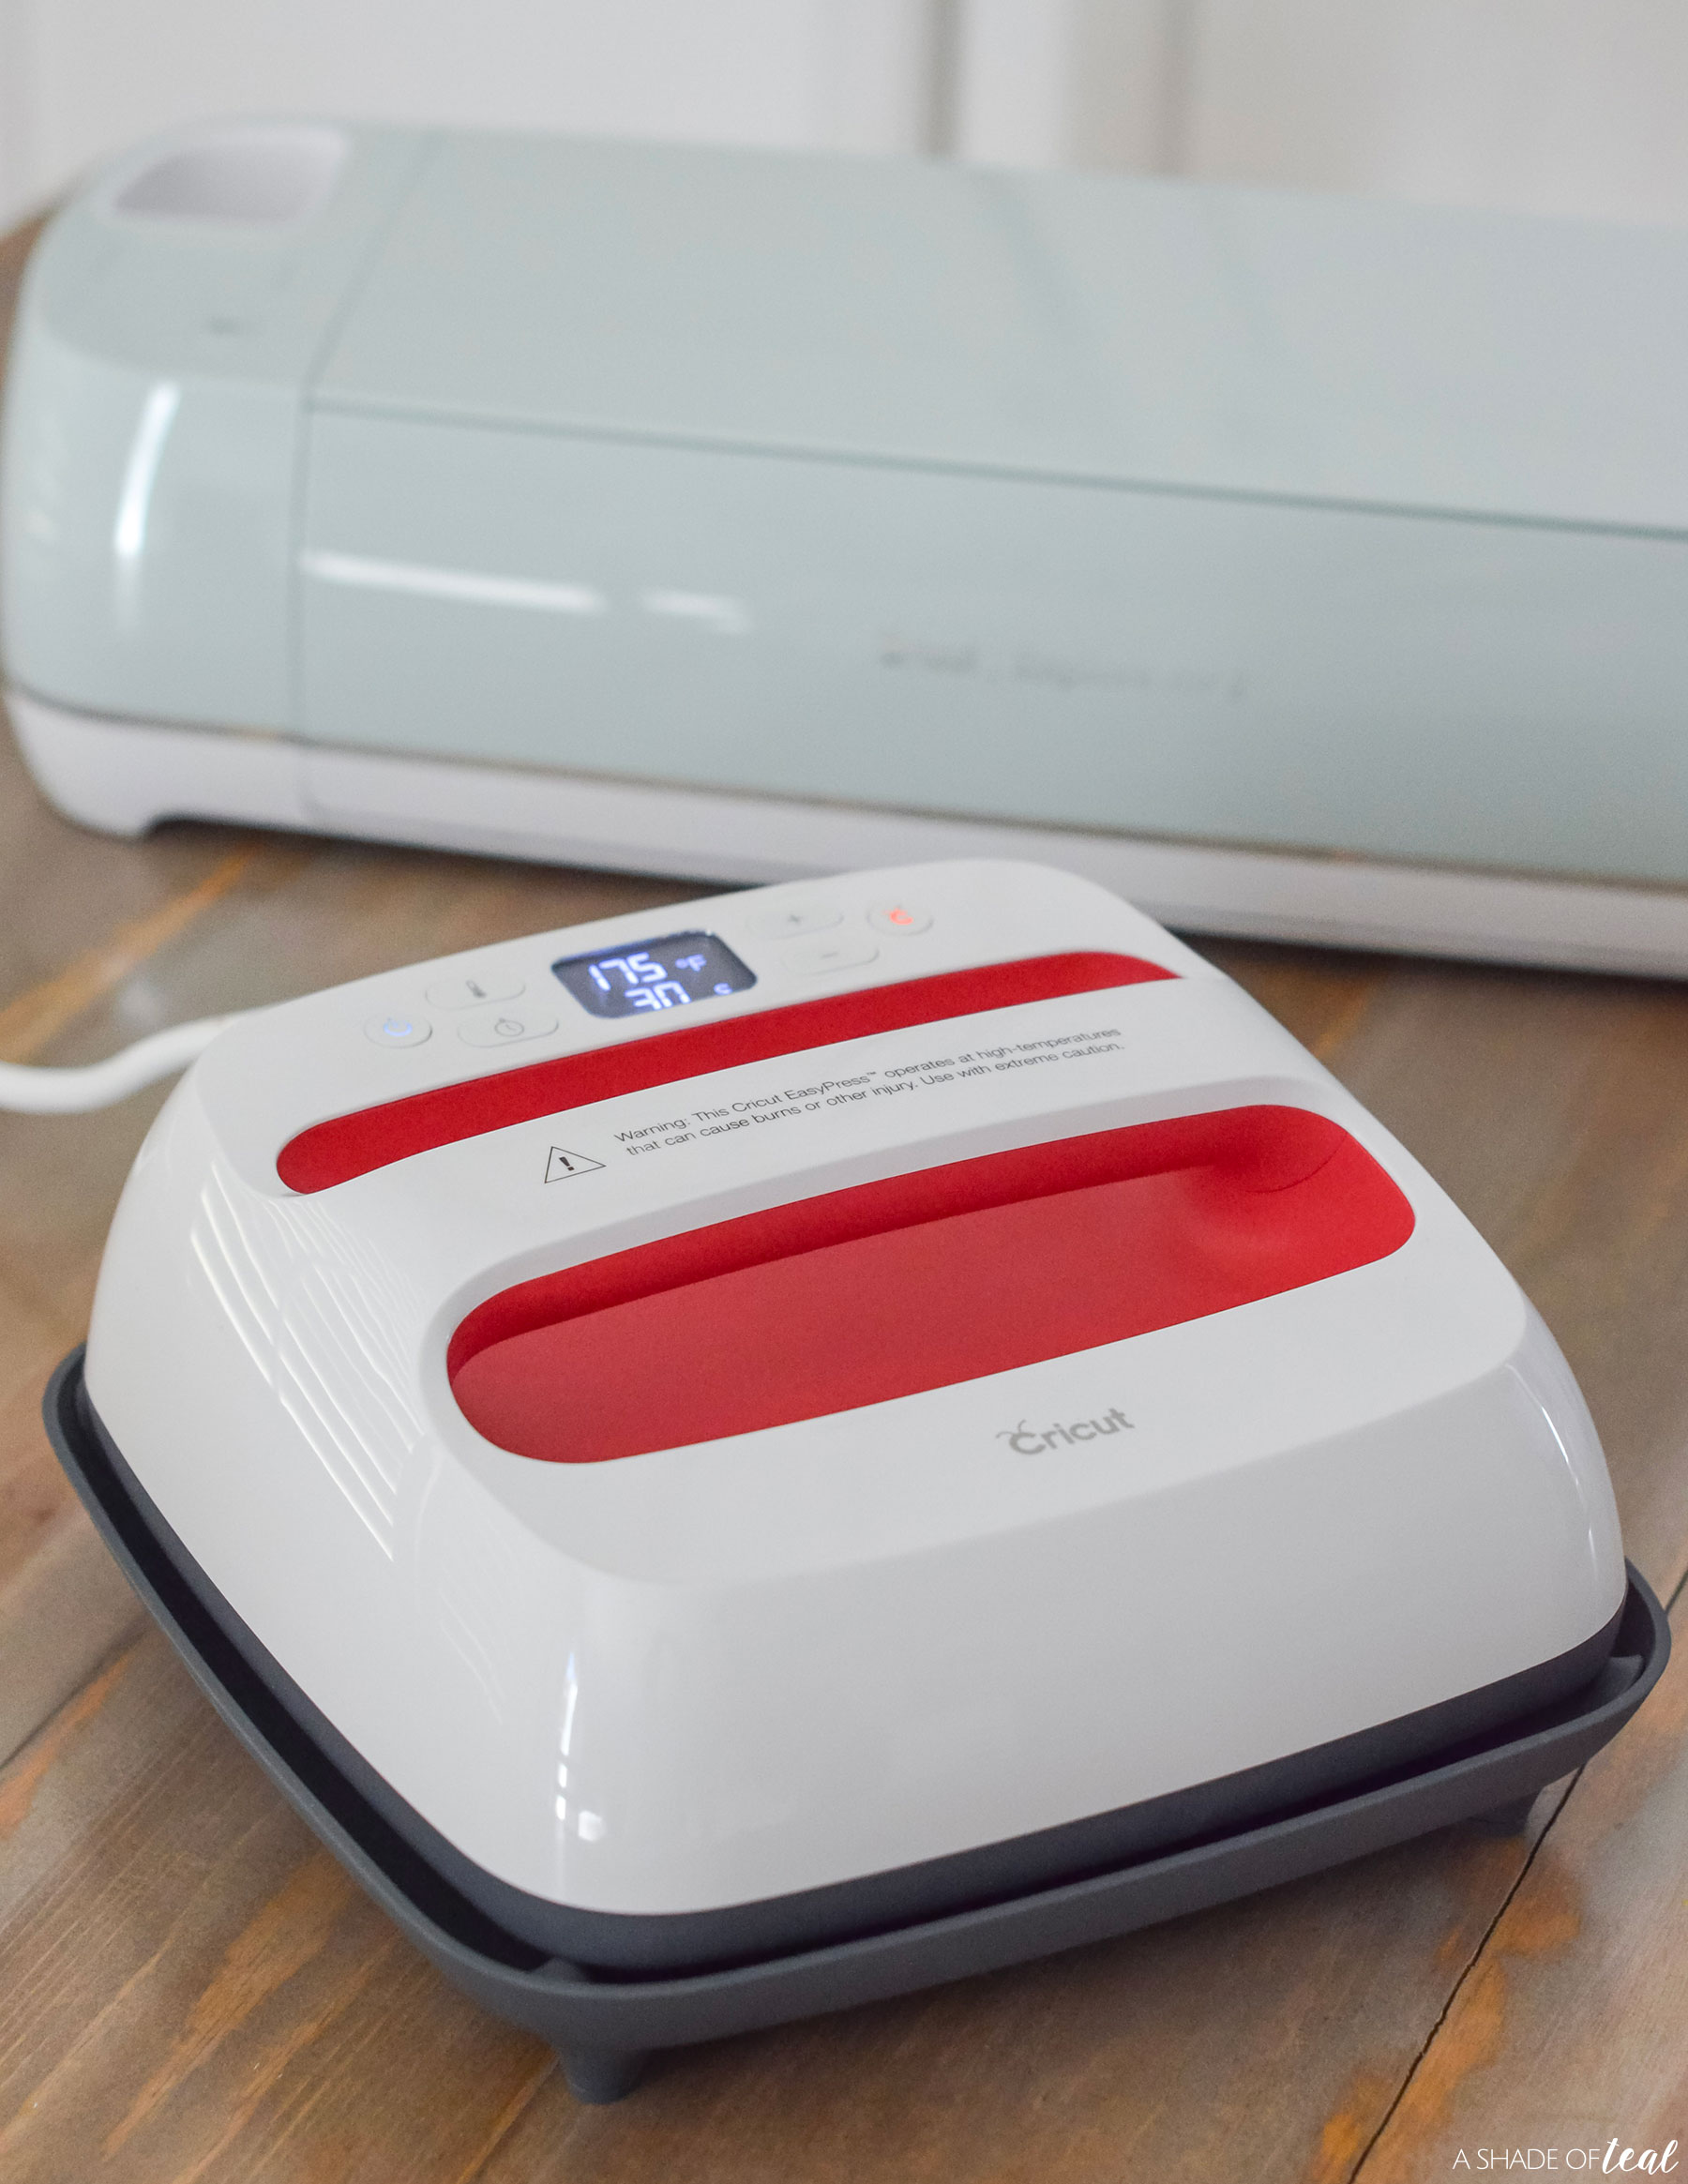
- Cricut EasyPress 2
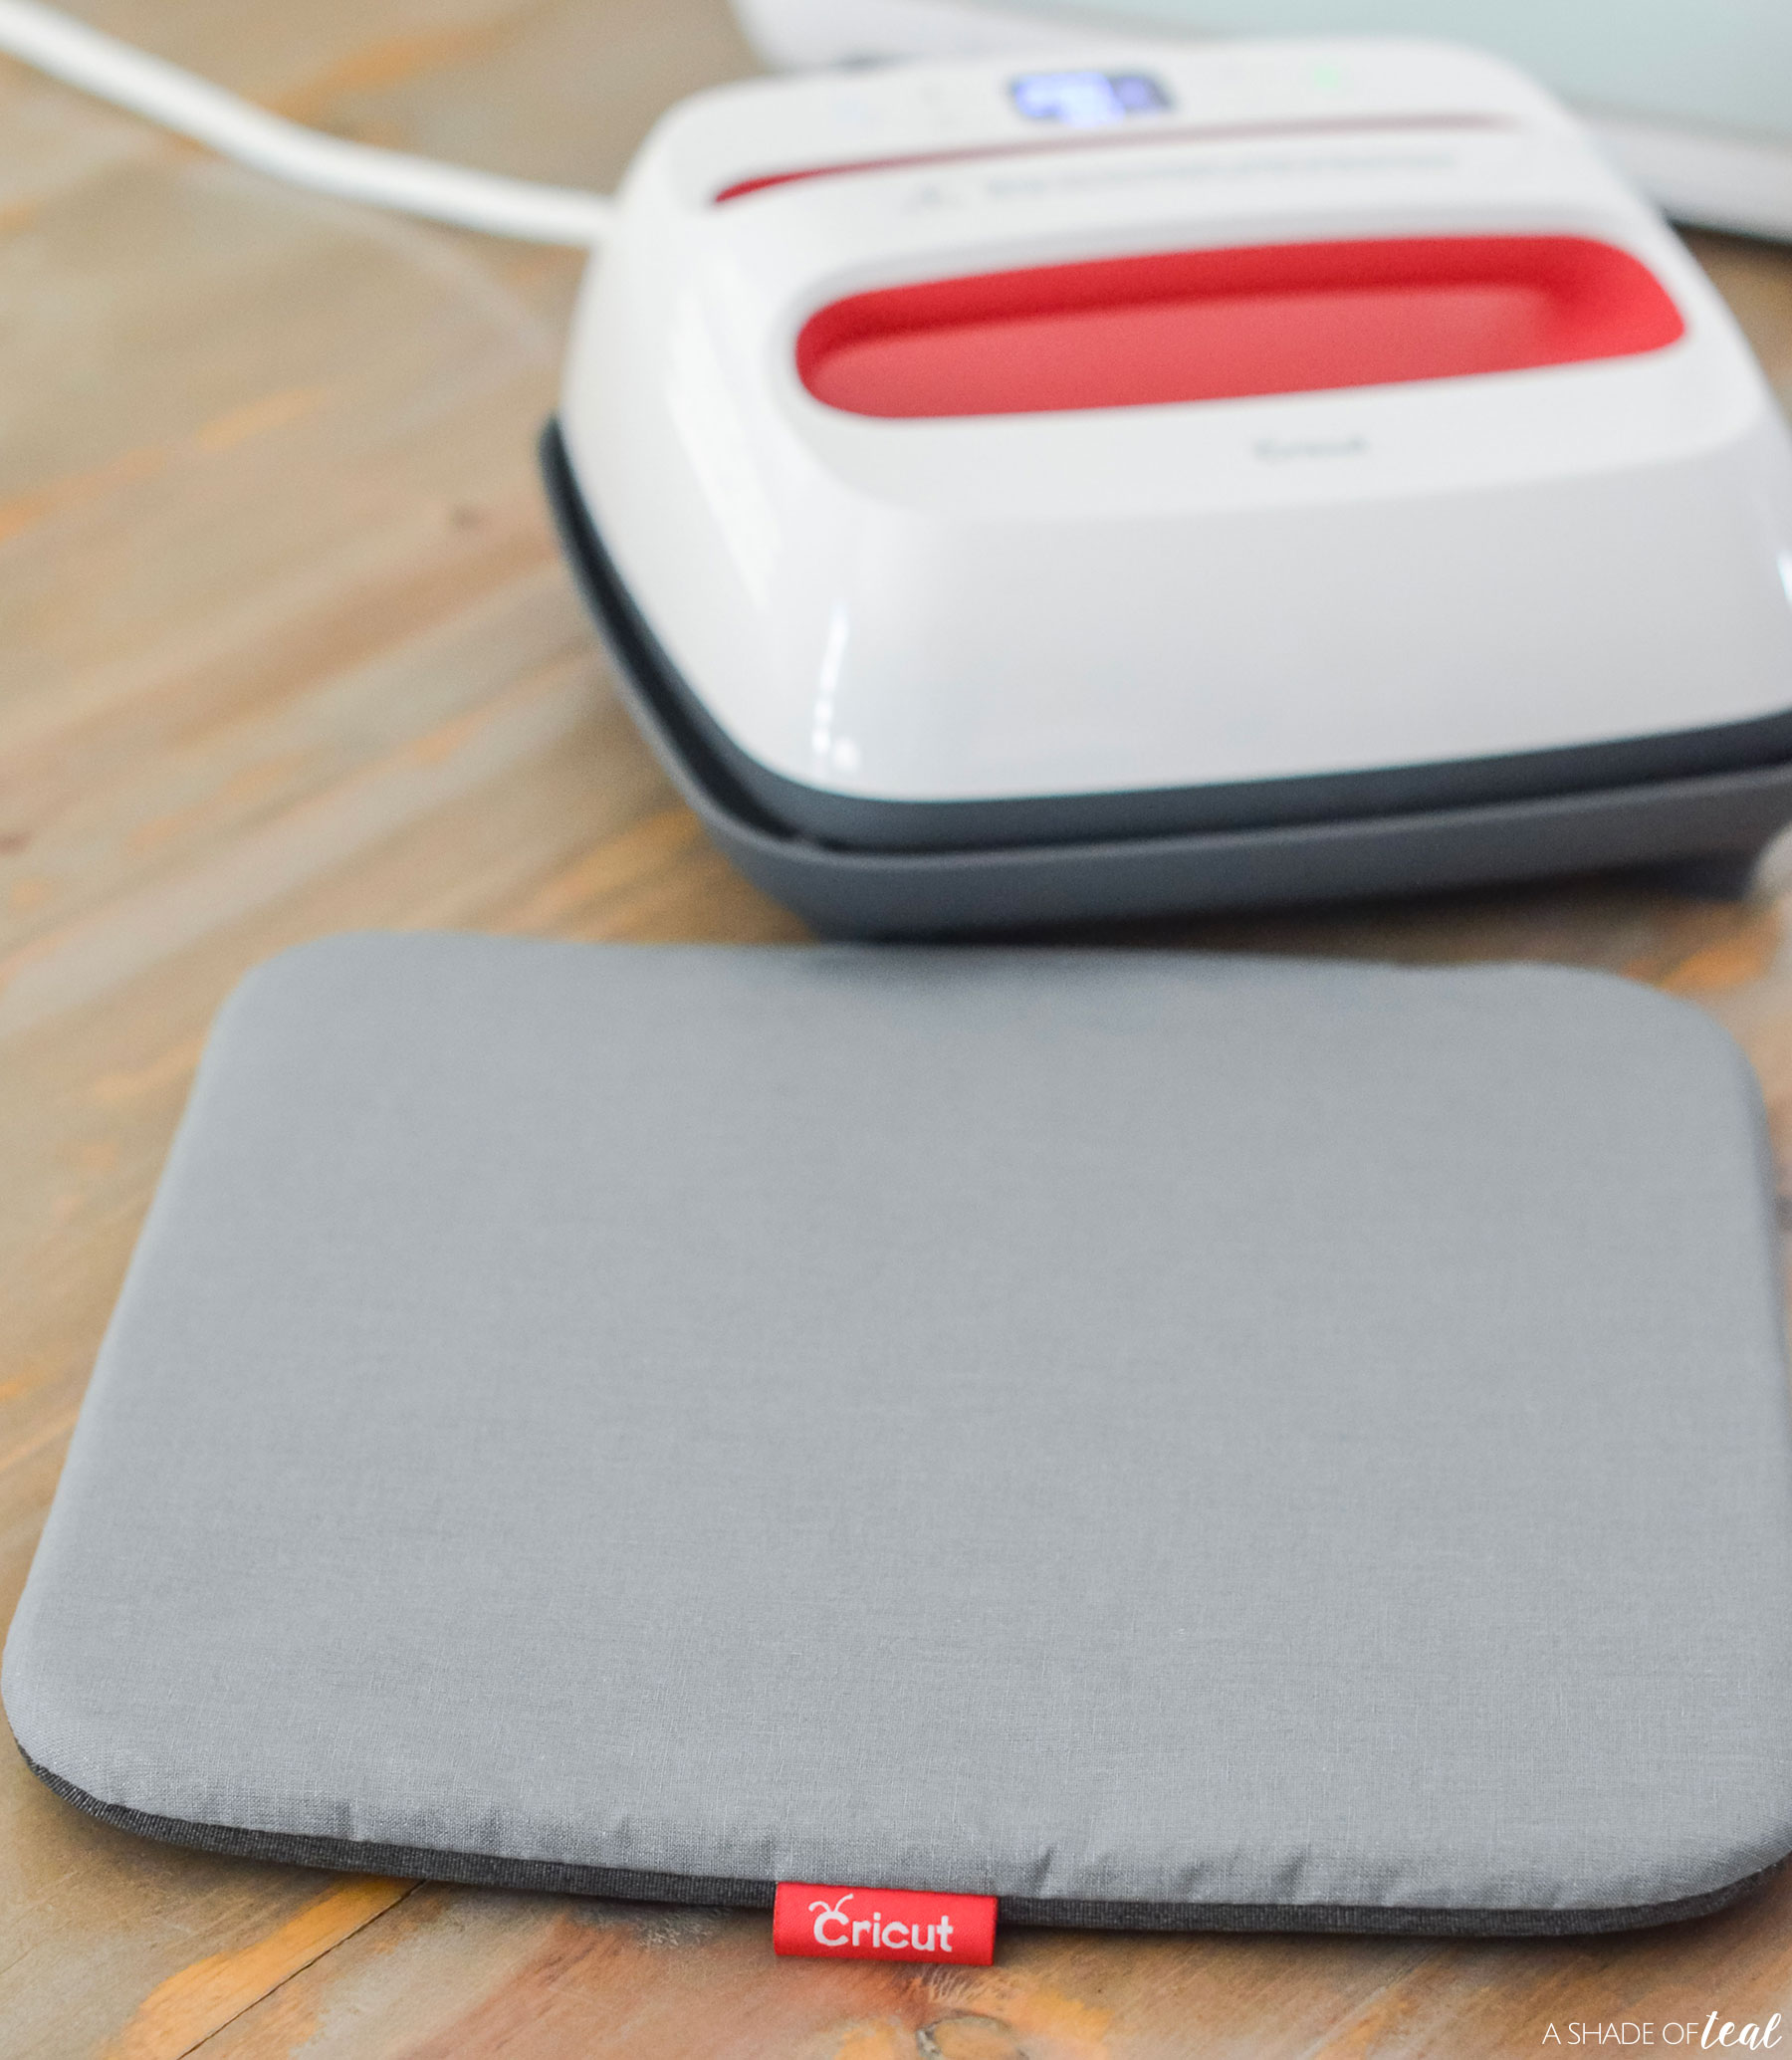
- Cricut EasyPress Mat
- All You Need is Love Art
- Pink & Raspberry Everyday Iron-On Vinyl
- Pink Stripe Kitchen Towel (mine’s from Target’s Dollar Spot)
- Essential Tool Set
Here’s How to Make this Valentine’s Day All You Need is Love Kitchen Towel!
To get started you’ll need to open up this project within Cricut Design Space. If you haven’t set that up yet, make sure to before anything else. Then, click the link below to open the art.
>>> Get this Valentine’s Day “All You Need is Love” Art Here <<<
Next, follow the prompts within Design Space by clicking “Make It”.
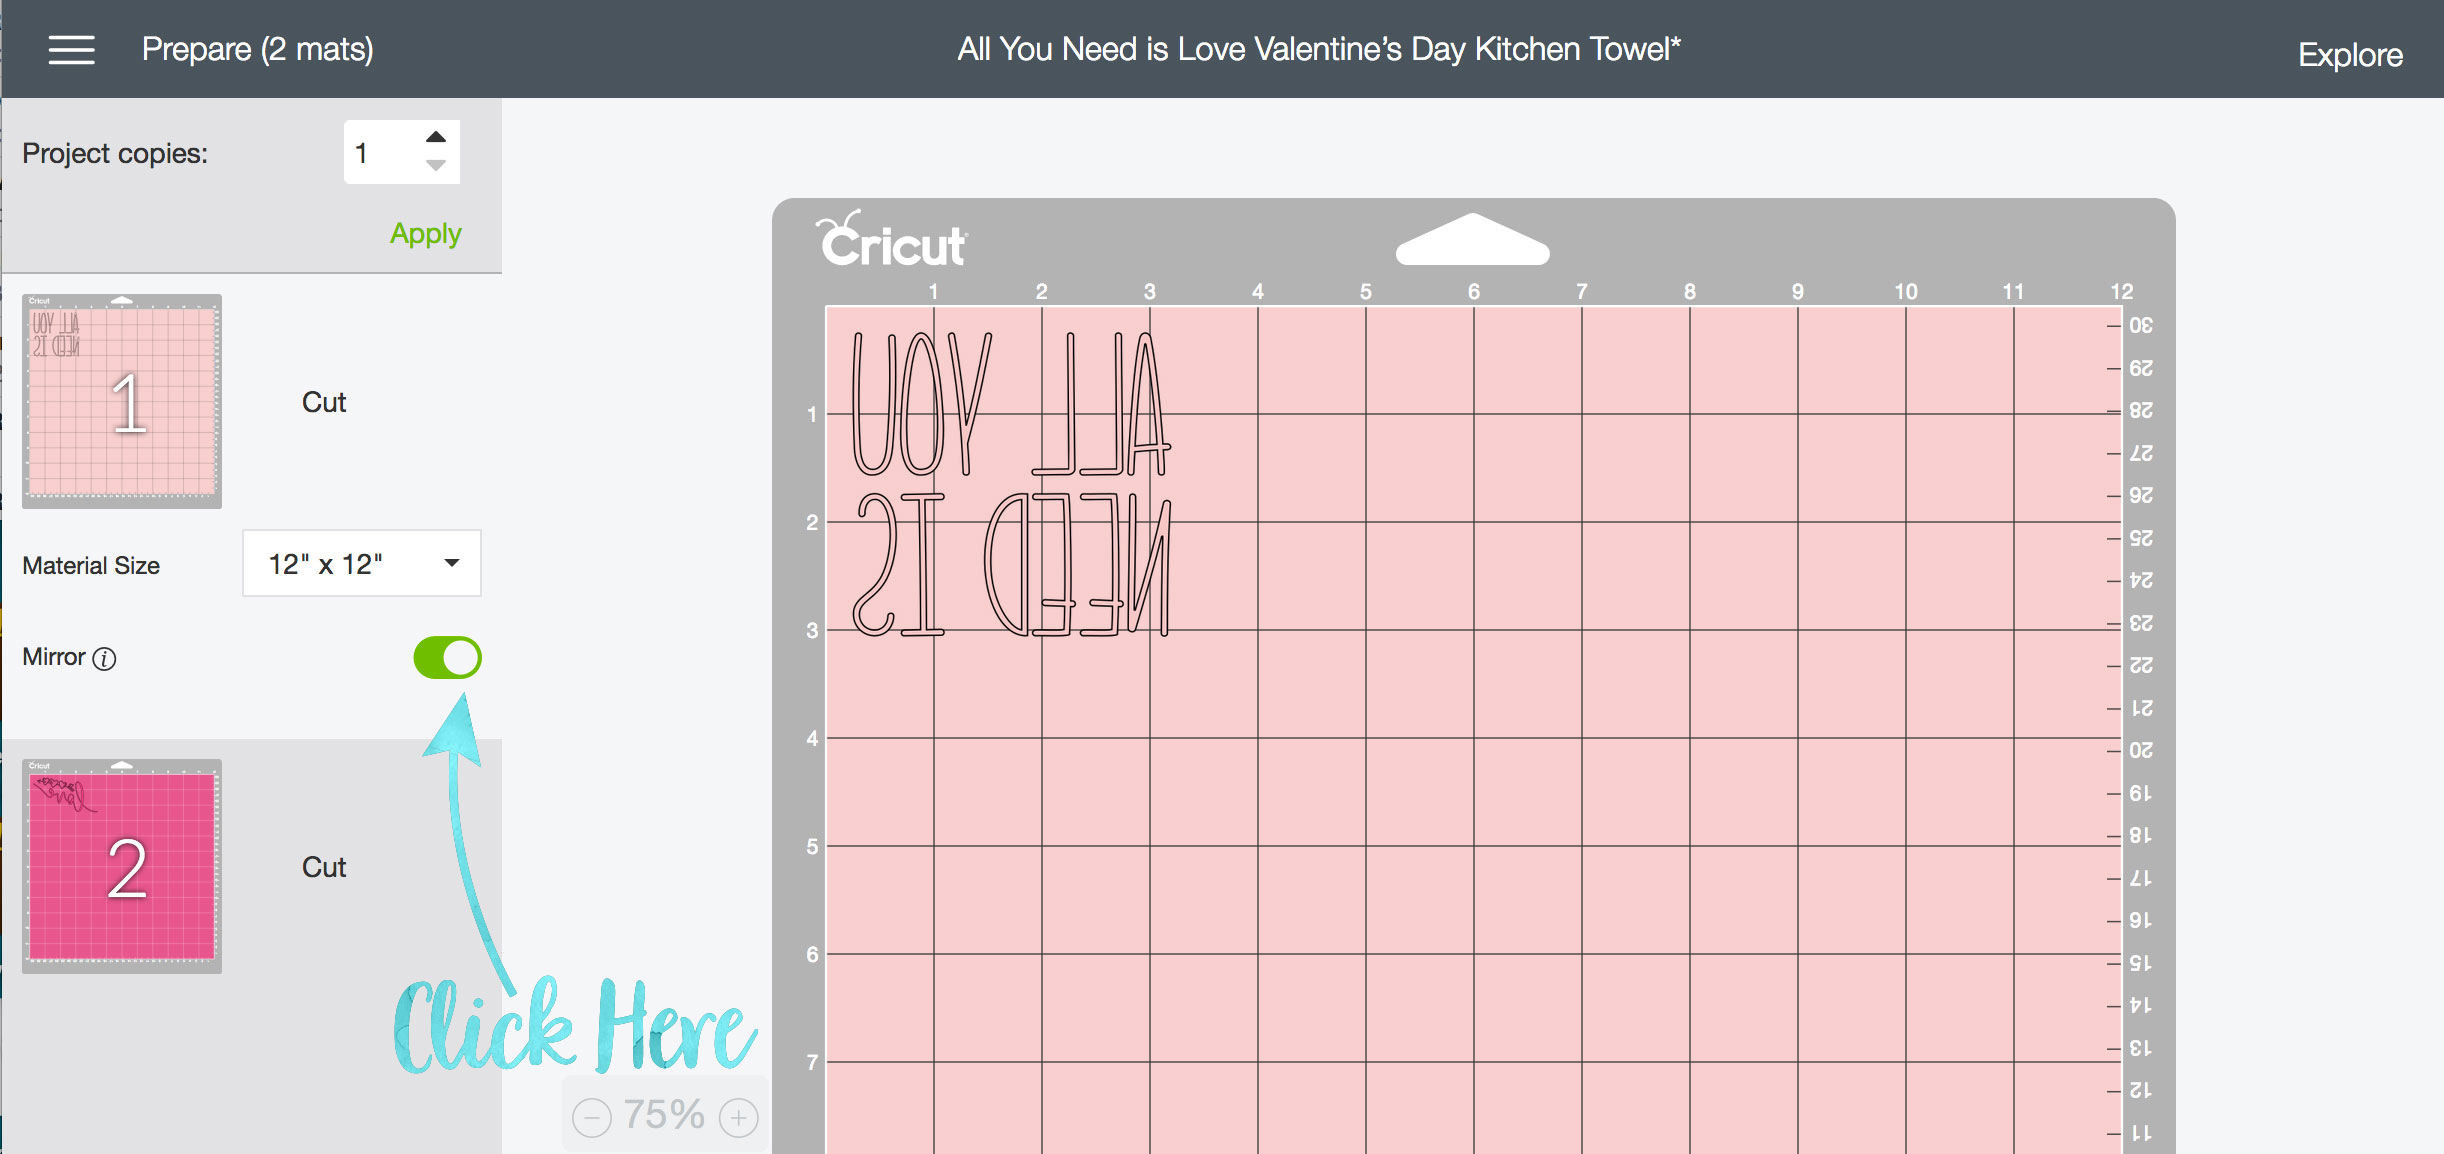
Step 1 || The first, and most important extra step when it comes to Iron-On Vinyl is to click the “Mirror” button before you cut. Make sure to do this for all mats.
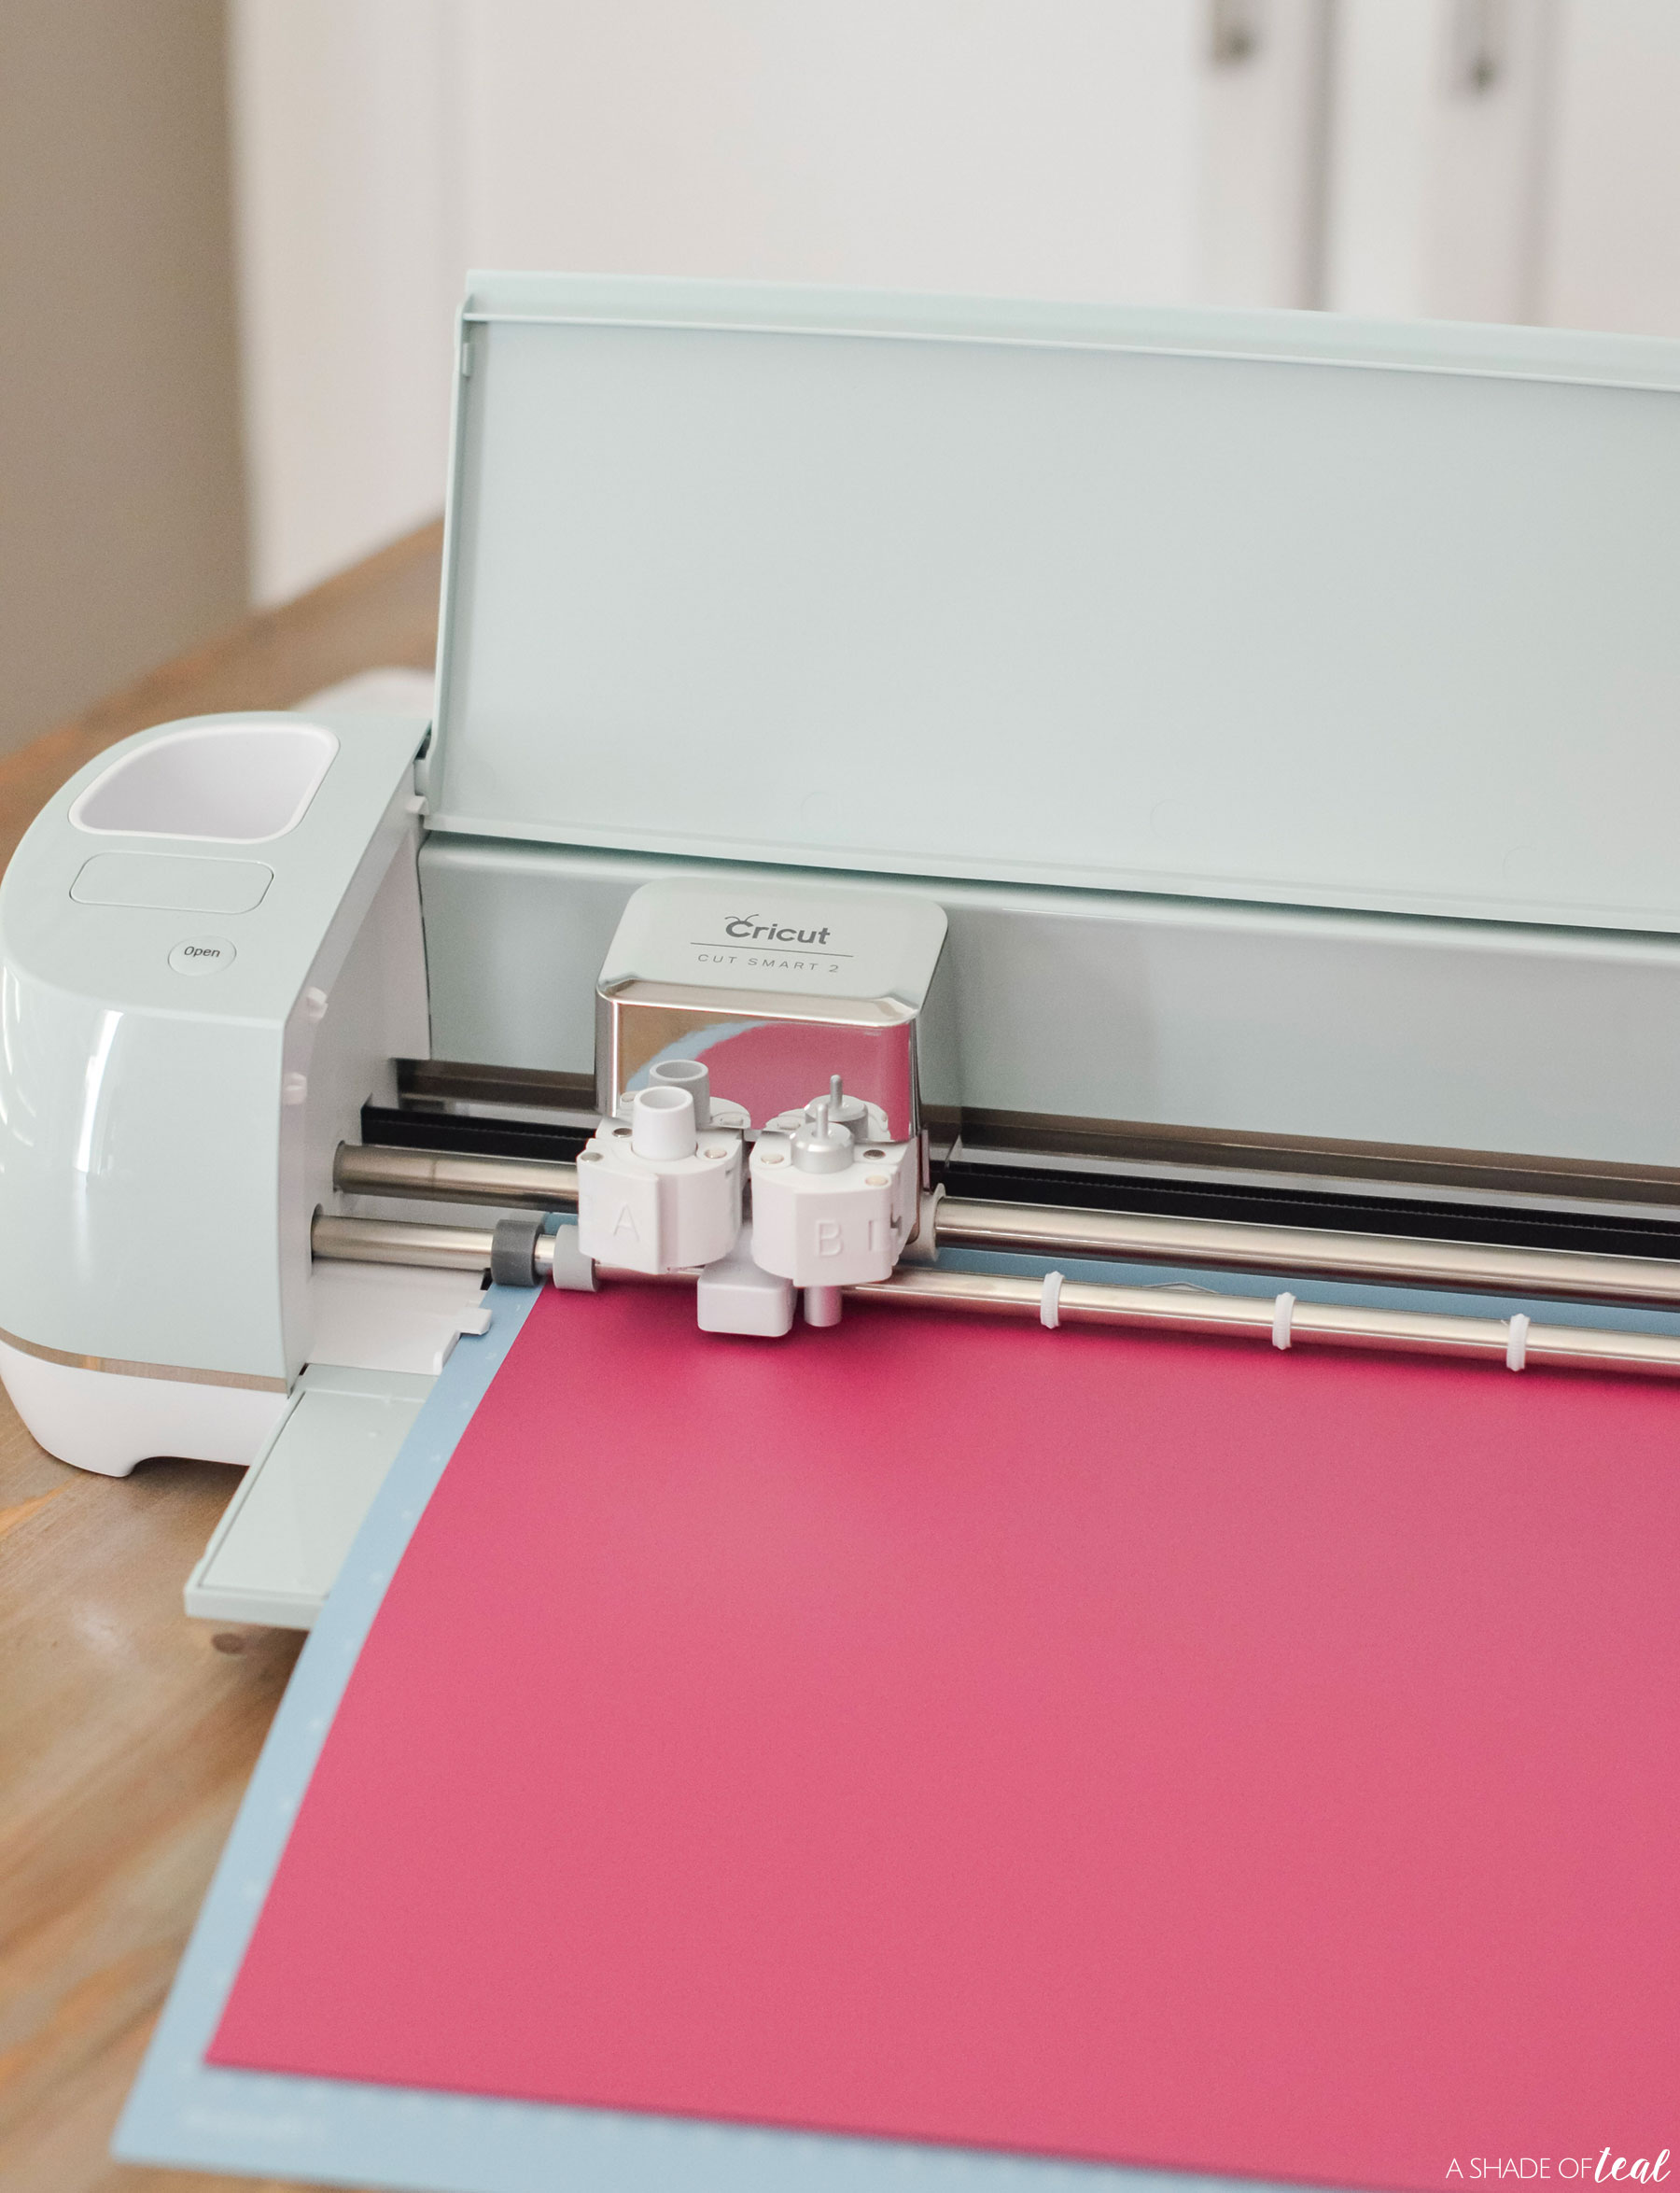
Step 2 || Next, add the first sheet (Pink) of Iron-On to your mat. The 2nd most important step when it comes to working with Iron-On is to apply the Iron-On shiny side down. Then load it into the machine and cut.
Step 3 || Repeat the same steps with the Raspberry sheet of vinyl.
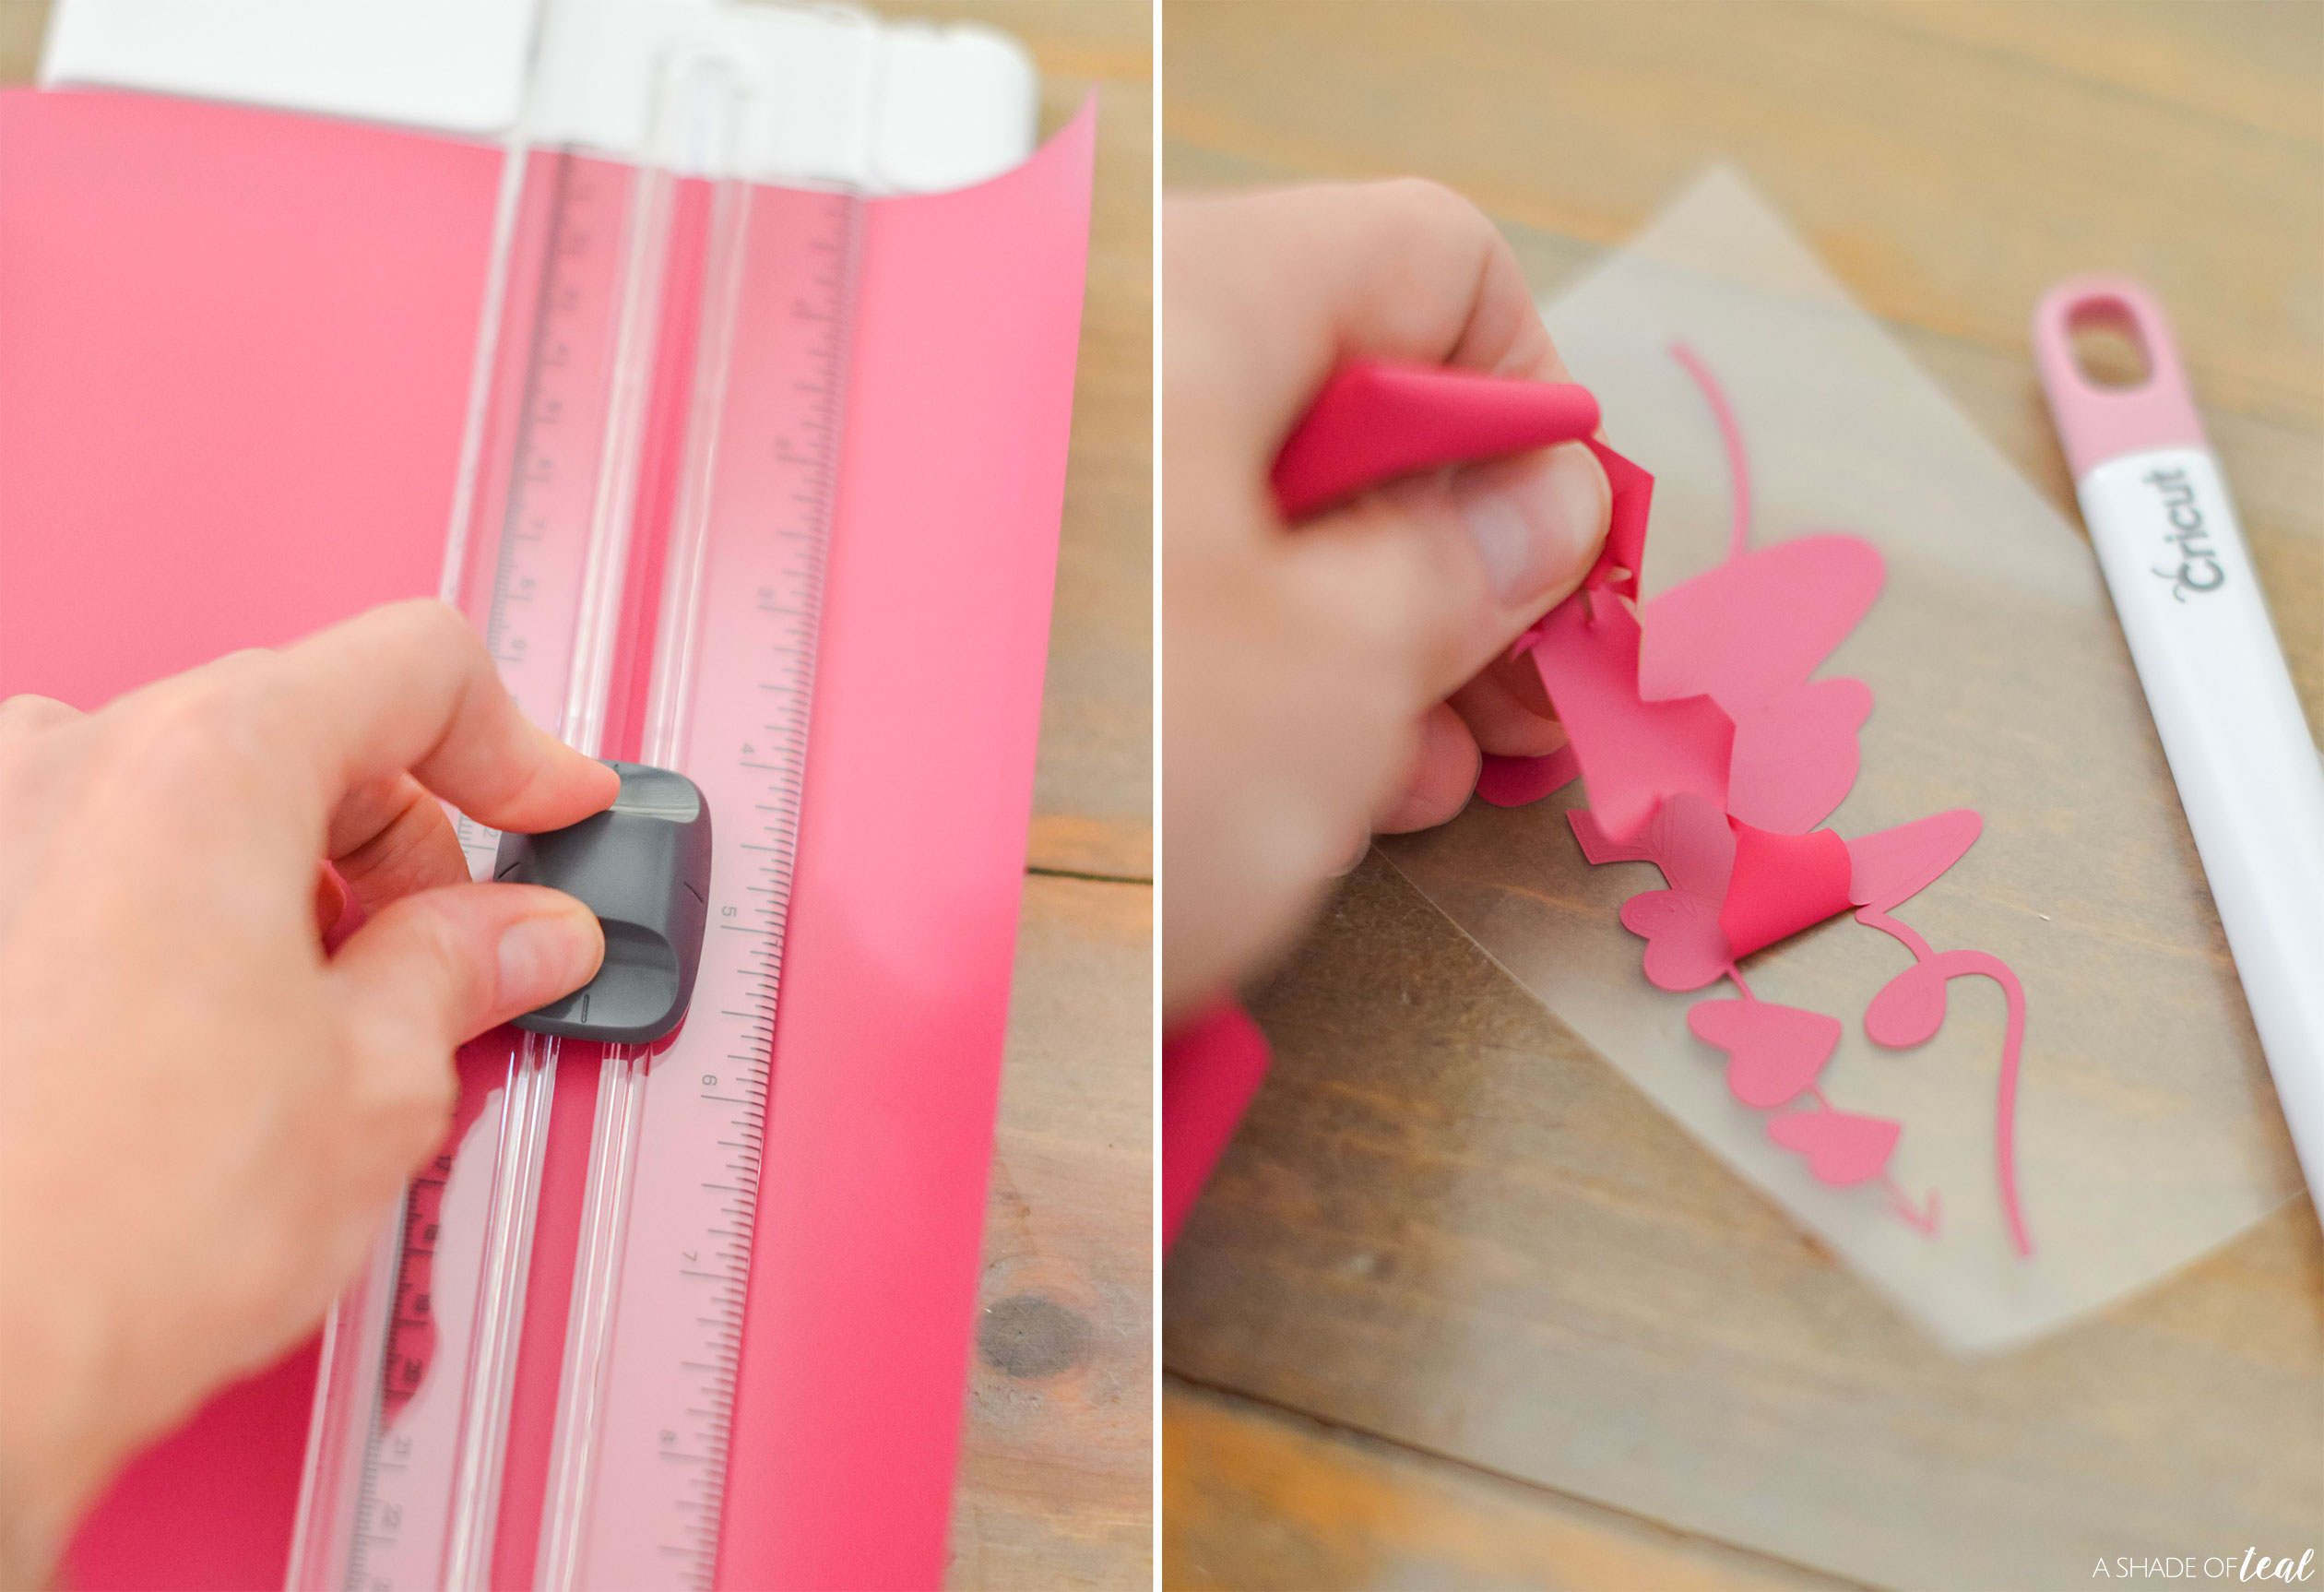
Step 4 || Next, using your Portable Trimmer, trim down the Vinyl.
Step 5 || Then start weeding.You’ll notice Iron-On is much easier to weed than removable or permanent Vinyl. I typically weed the inner parts first with removable or permanent Vinyl, but with Iron-On it’s much easier to weed the surrounding area first.
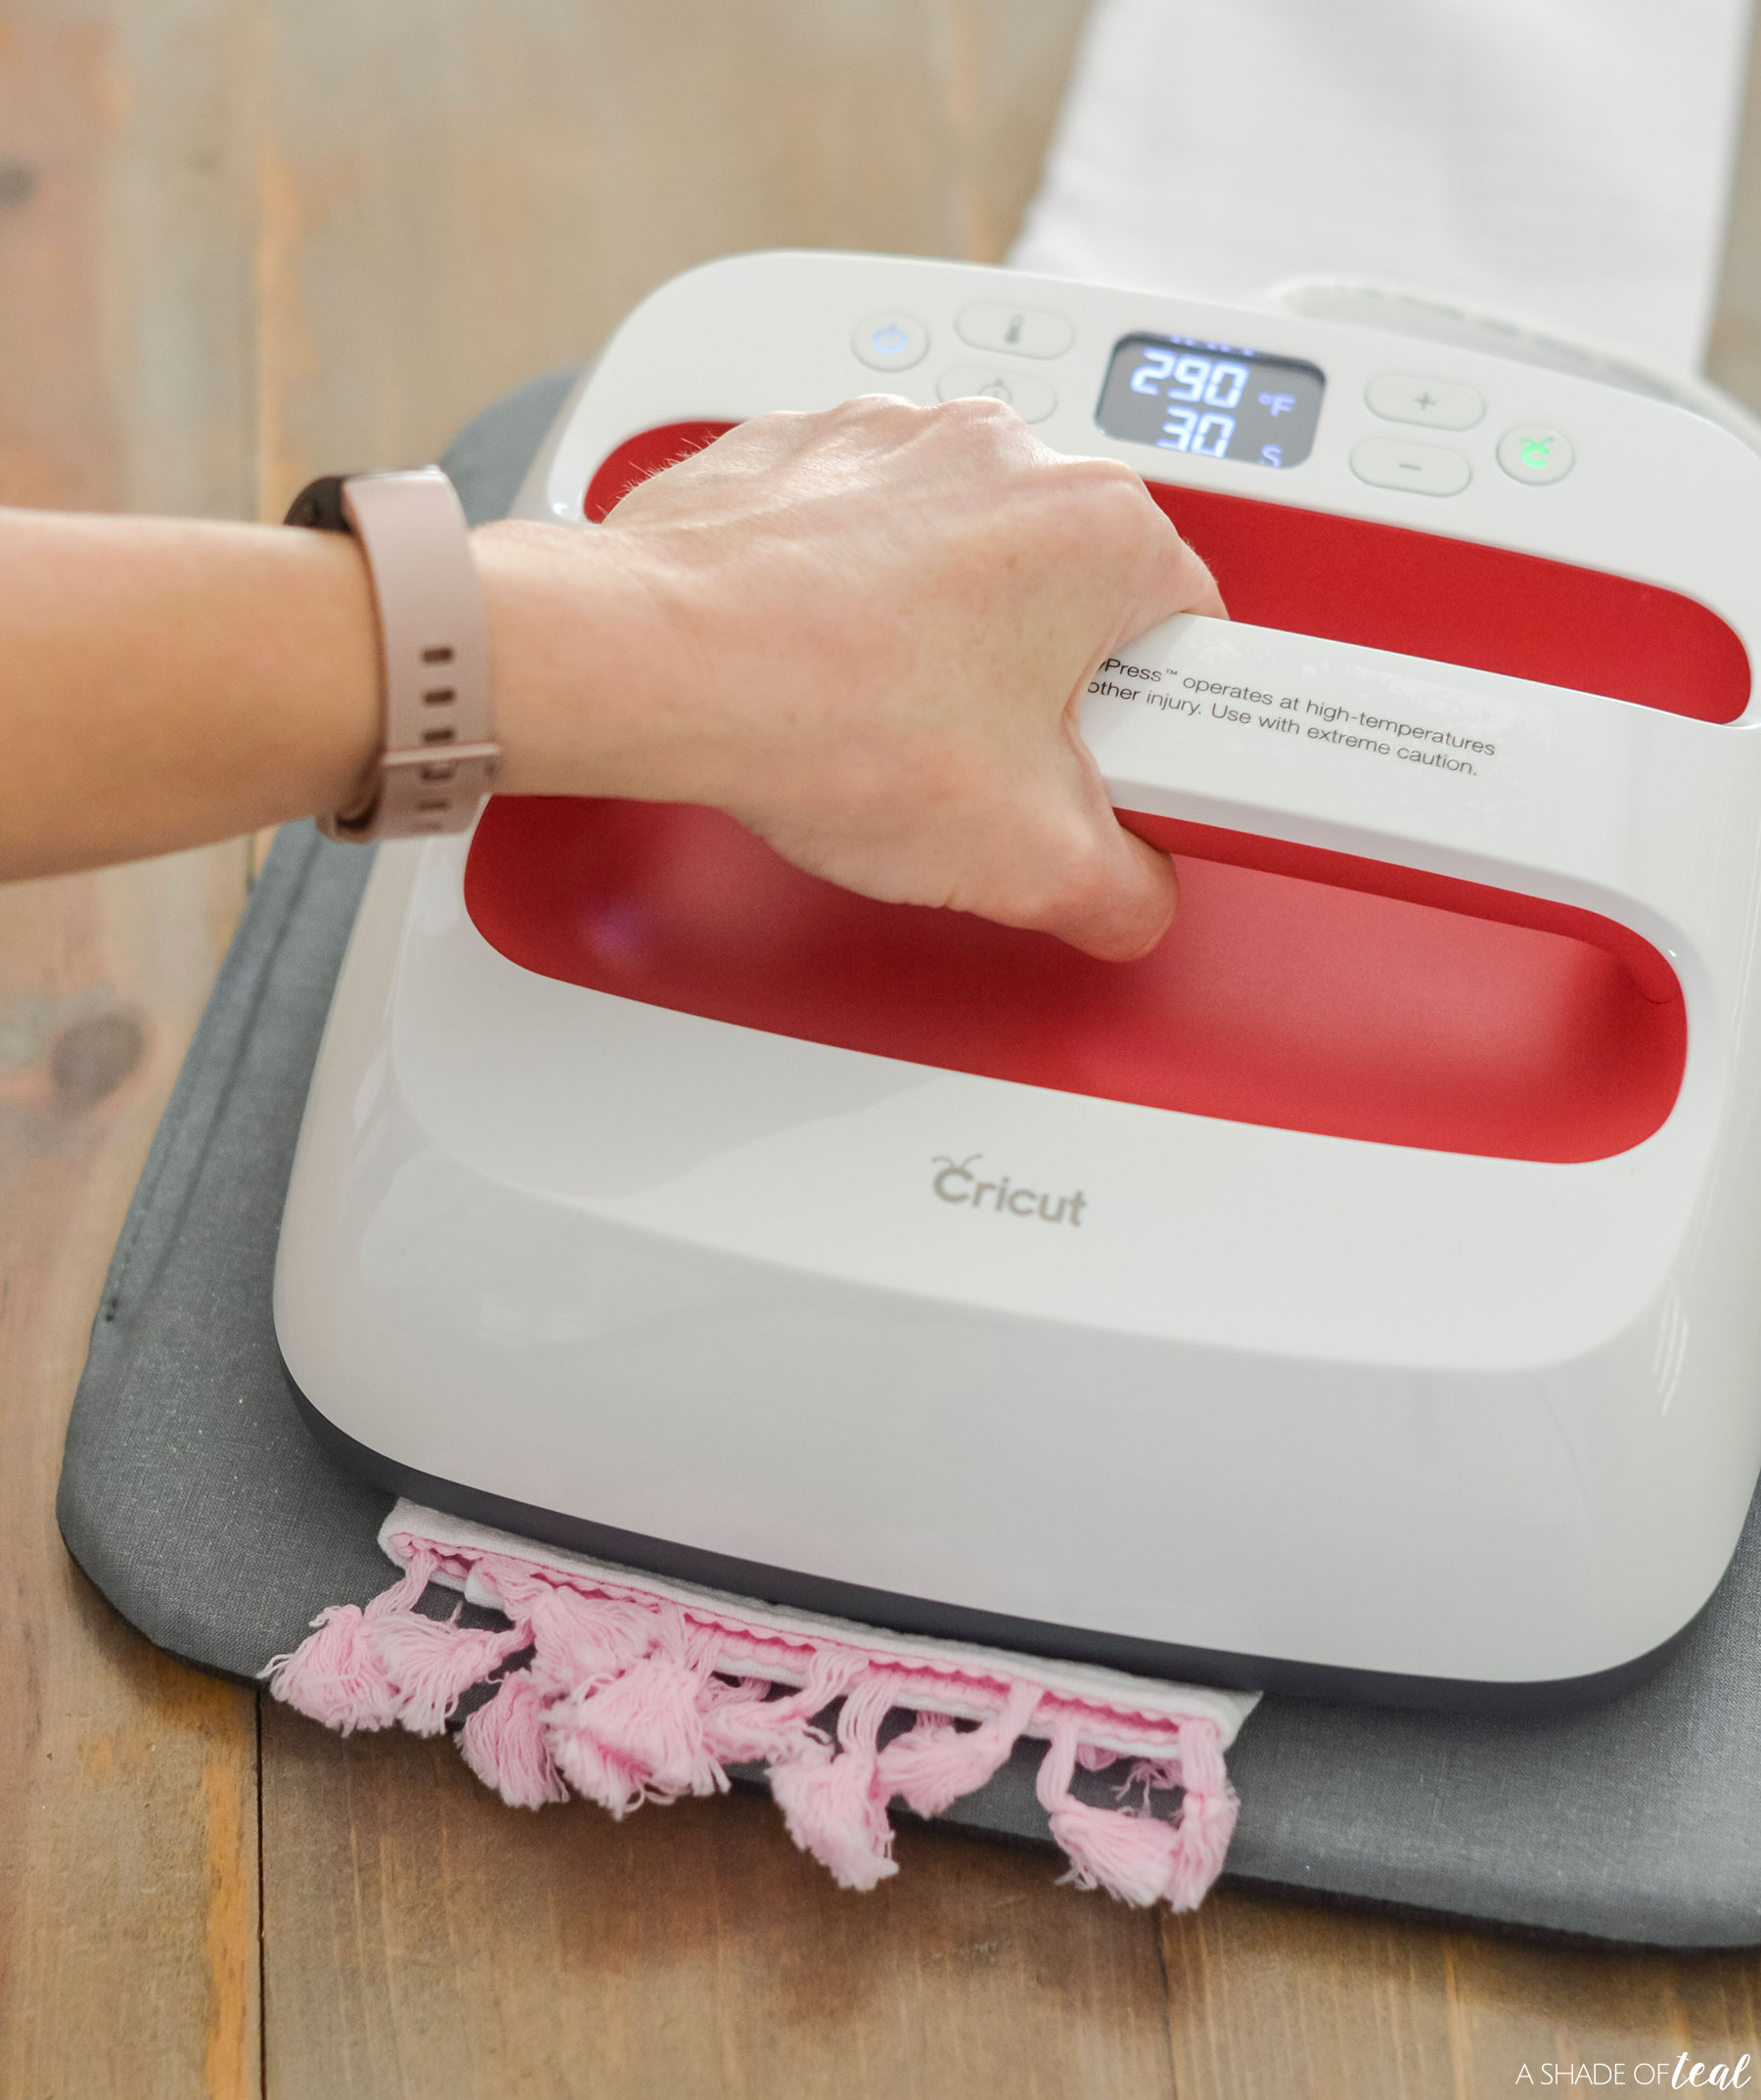
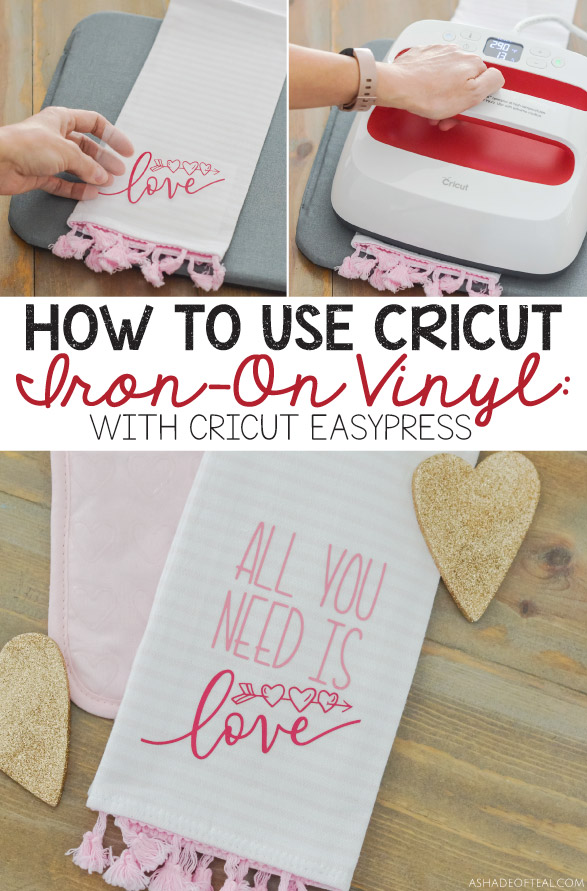
Step 6 || Next, prepare your Cricut EasyPress 2. You’ll want to turn it on, set the temperature & time based on your fabric & type of Vinyl, and wait for the beep that it’s ready.
Not sure what temperature or Time to set?
Remember that the temperature, time, and pressure vary by base material AND iron-on type. Before starting a new project, it’s always best to confirm time and temperature settings. A great place to do that is here >>> Cricut Heat Guide
Step 7 || Once, the Cricut EasyPress 2 is ready, prepare your towel by pressing it first.
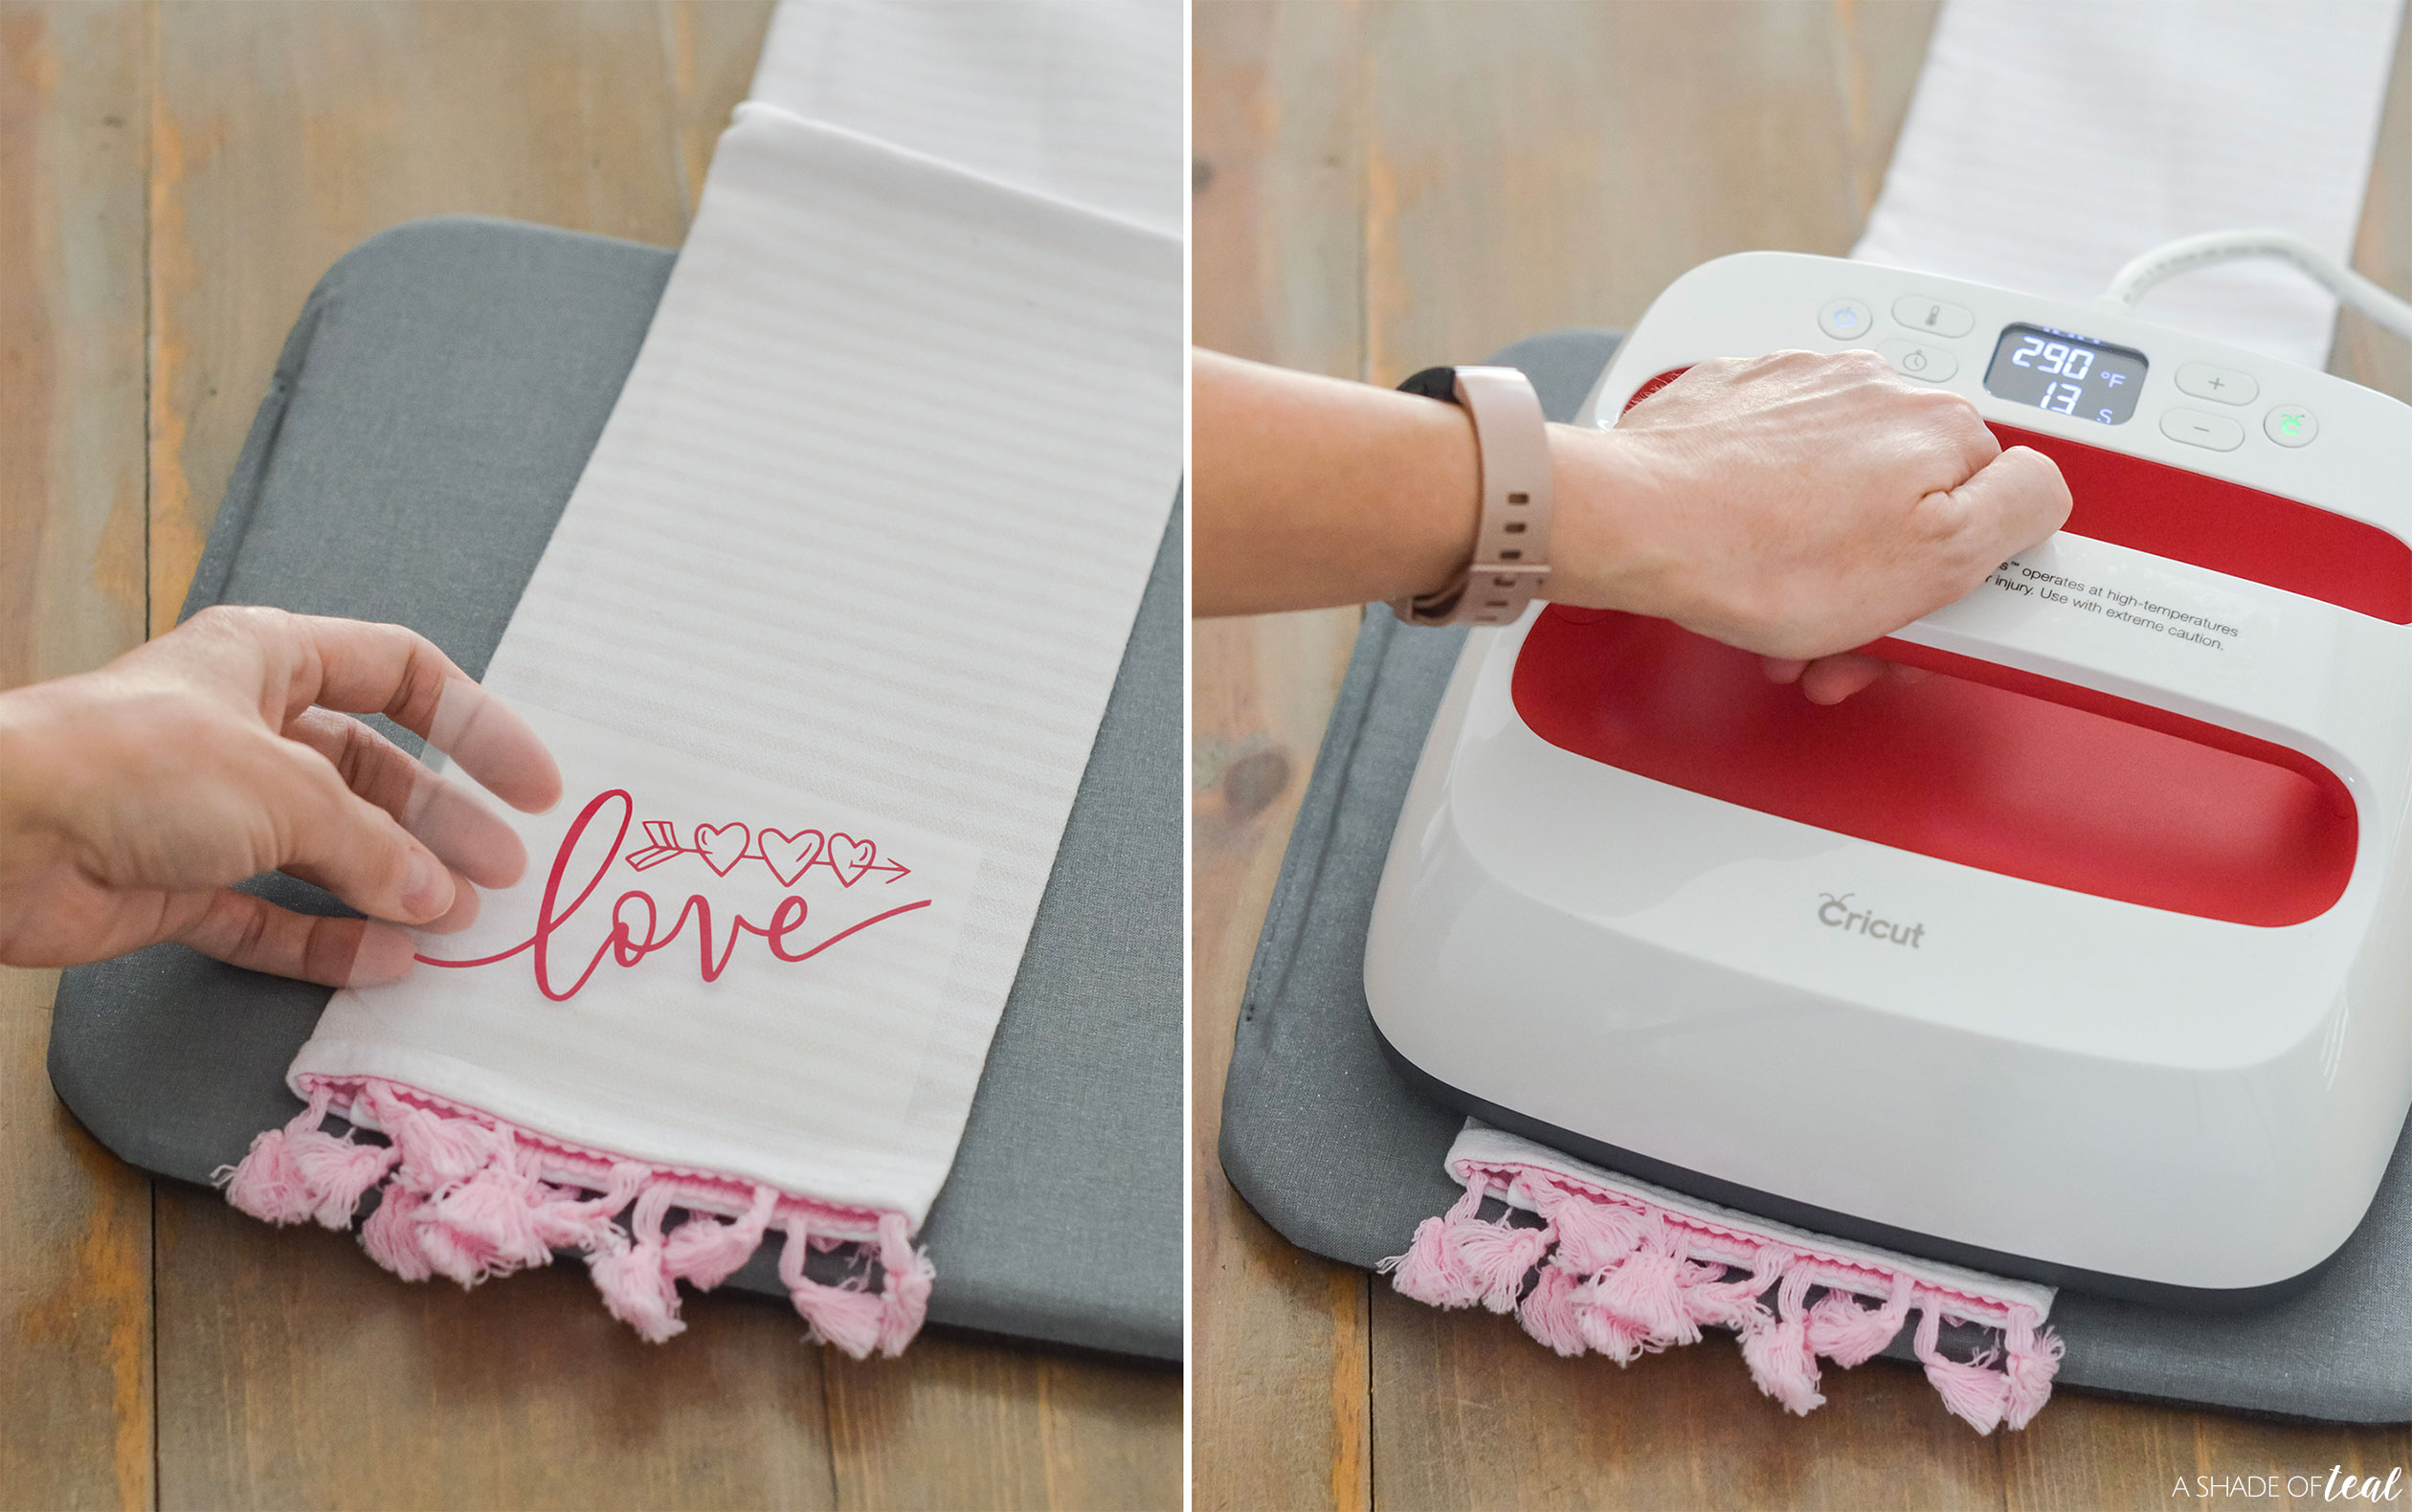
Step 8 || Next, place the Raspberry Iron-On in position. Then press applying slight pressure for the given time. Again, make sure to follow time & temp based on your fabric and type of Iron-On.
Step 9 || Next, flip the towel over and apply the press again for 15 seconds to the back of the towel.
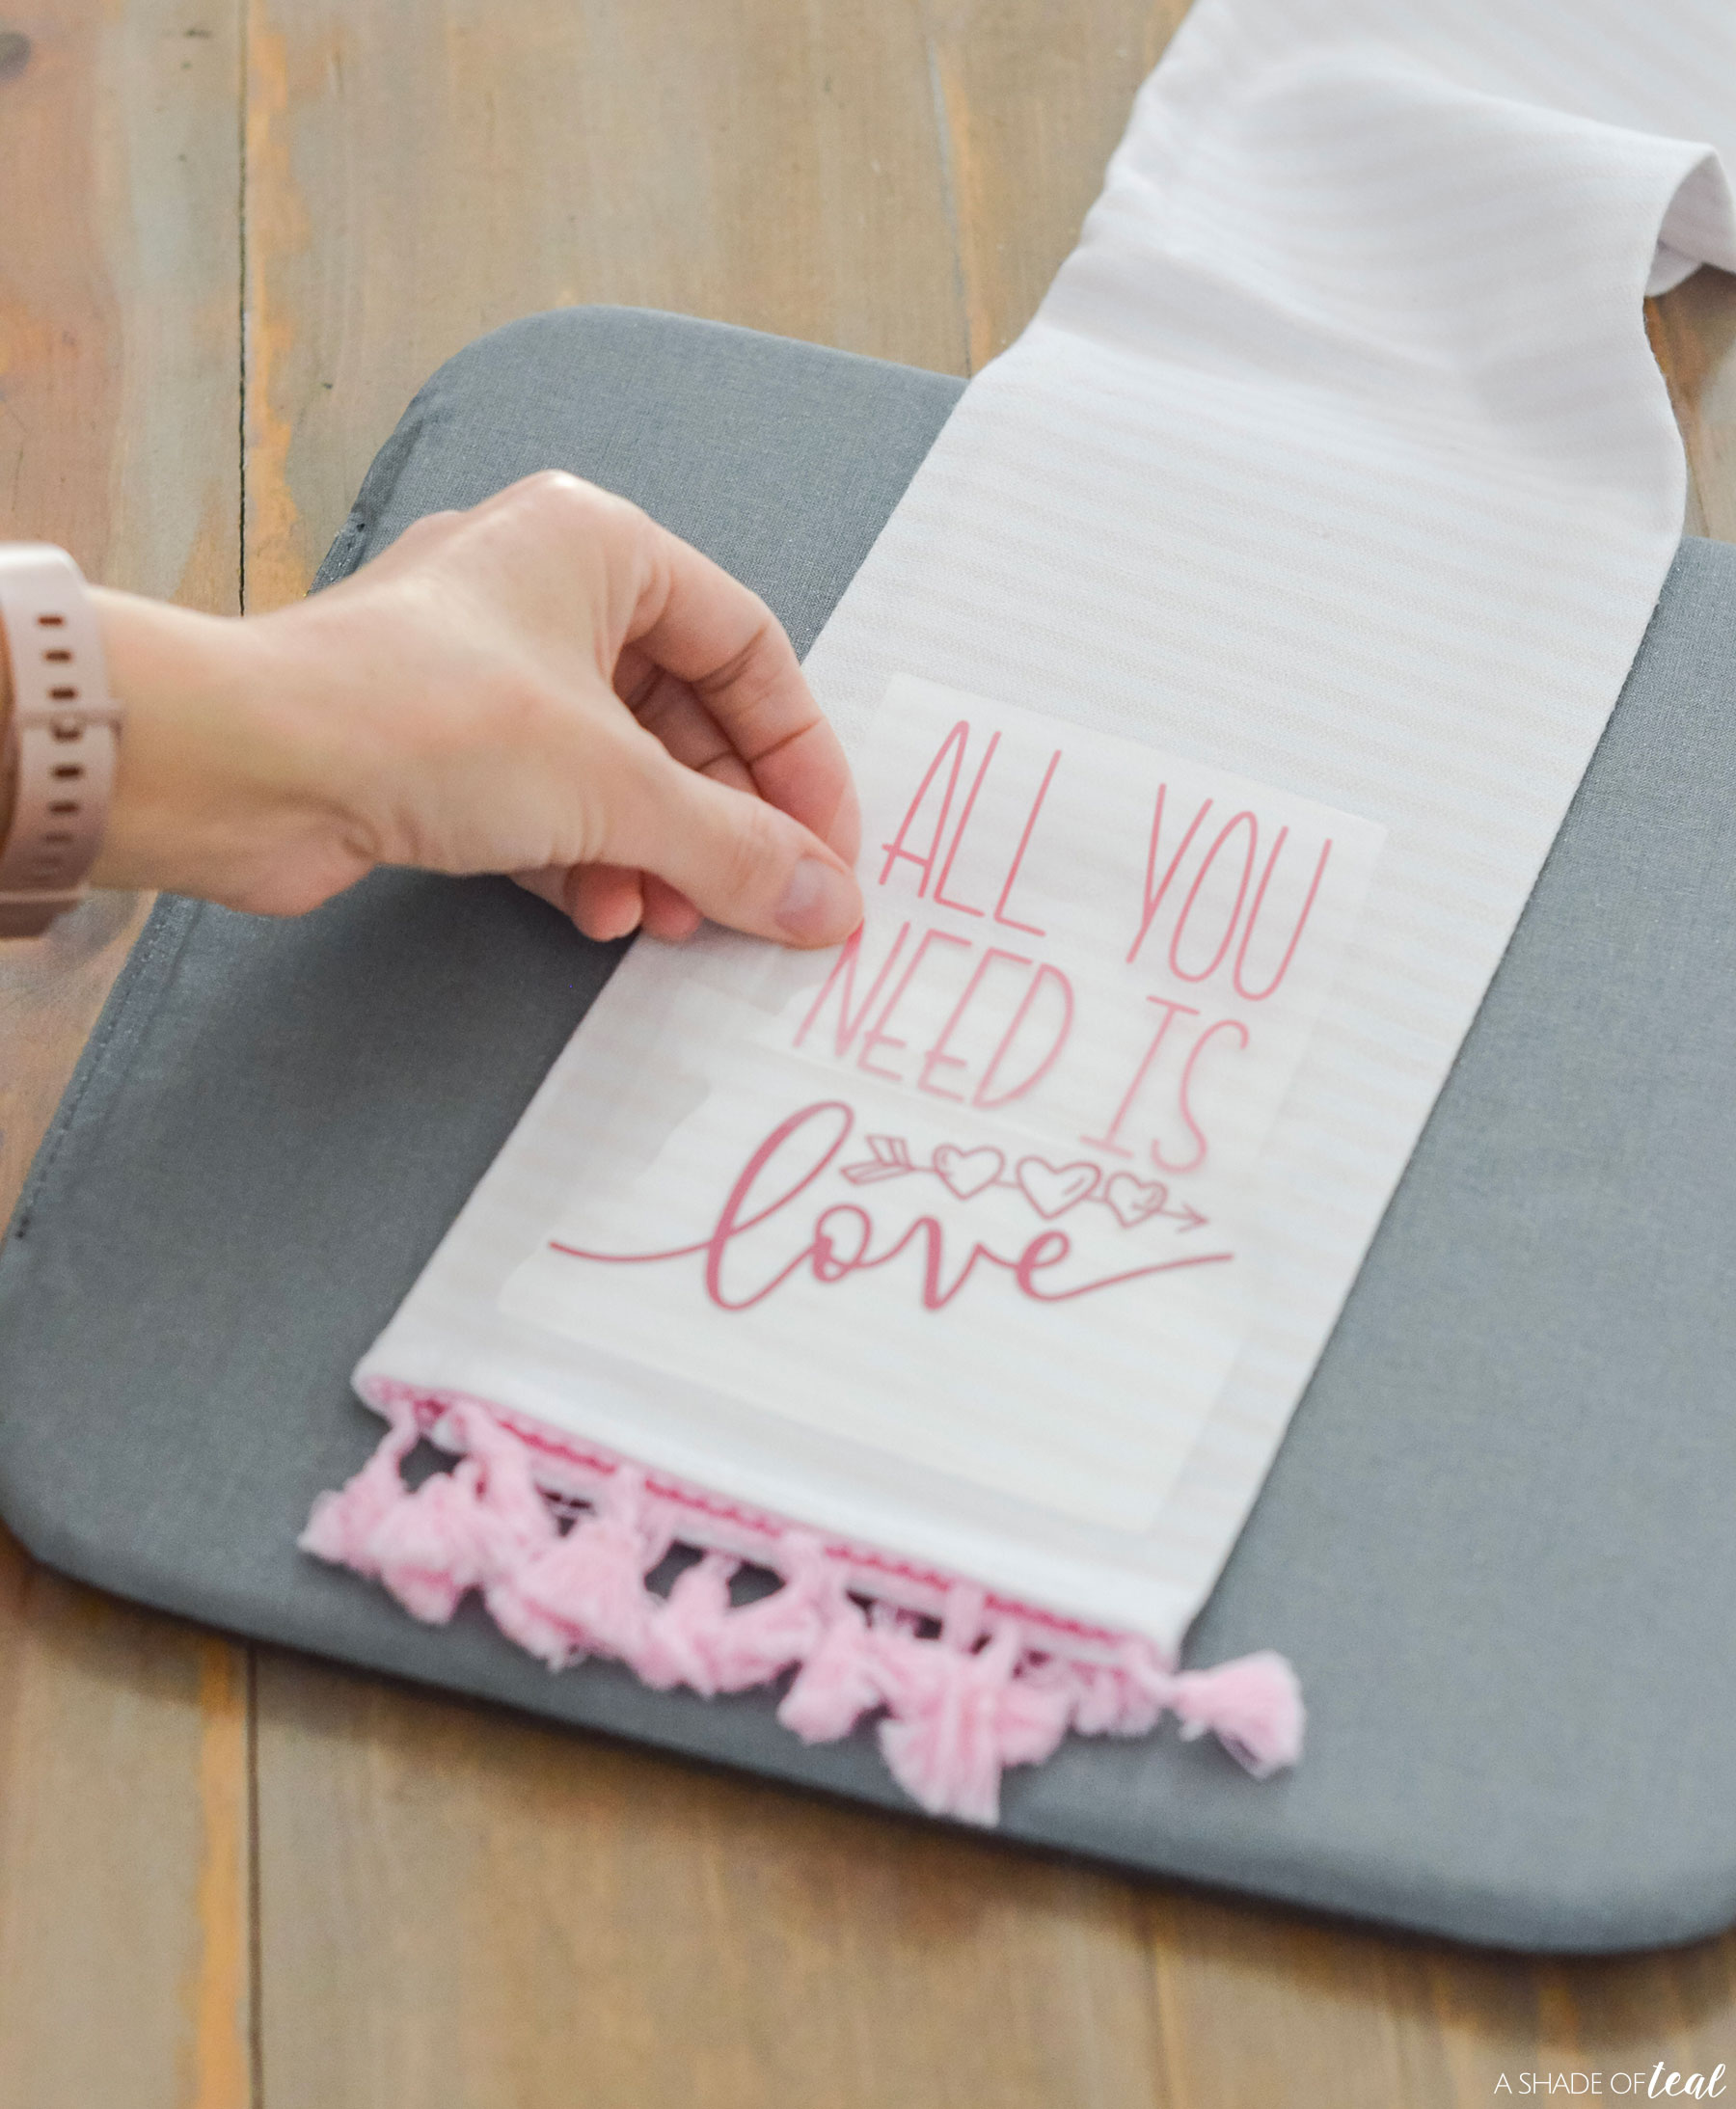
Step 10 || Repeat the same steps with the Pink Iron-On. Going forward, as long as both art pieces are the same type of Iron-On you could always position both at the same time.
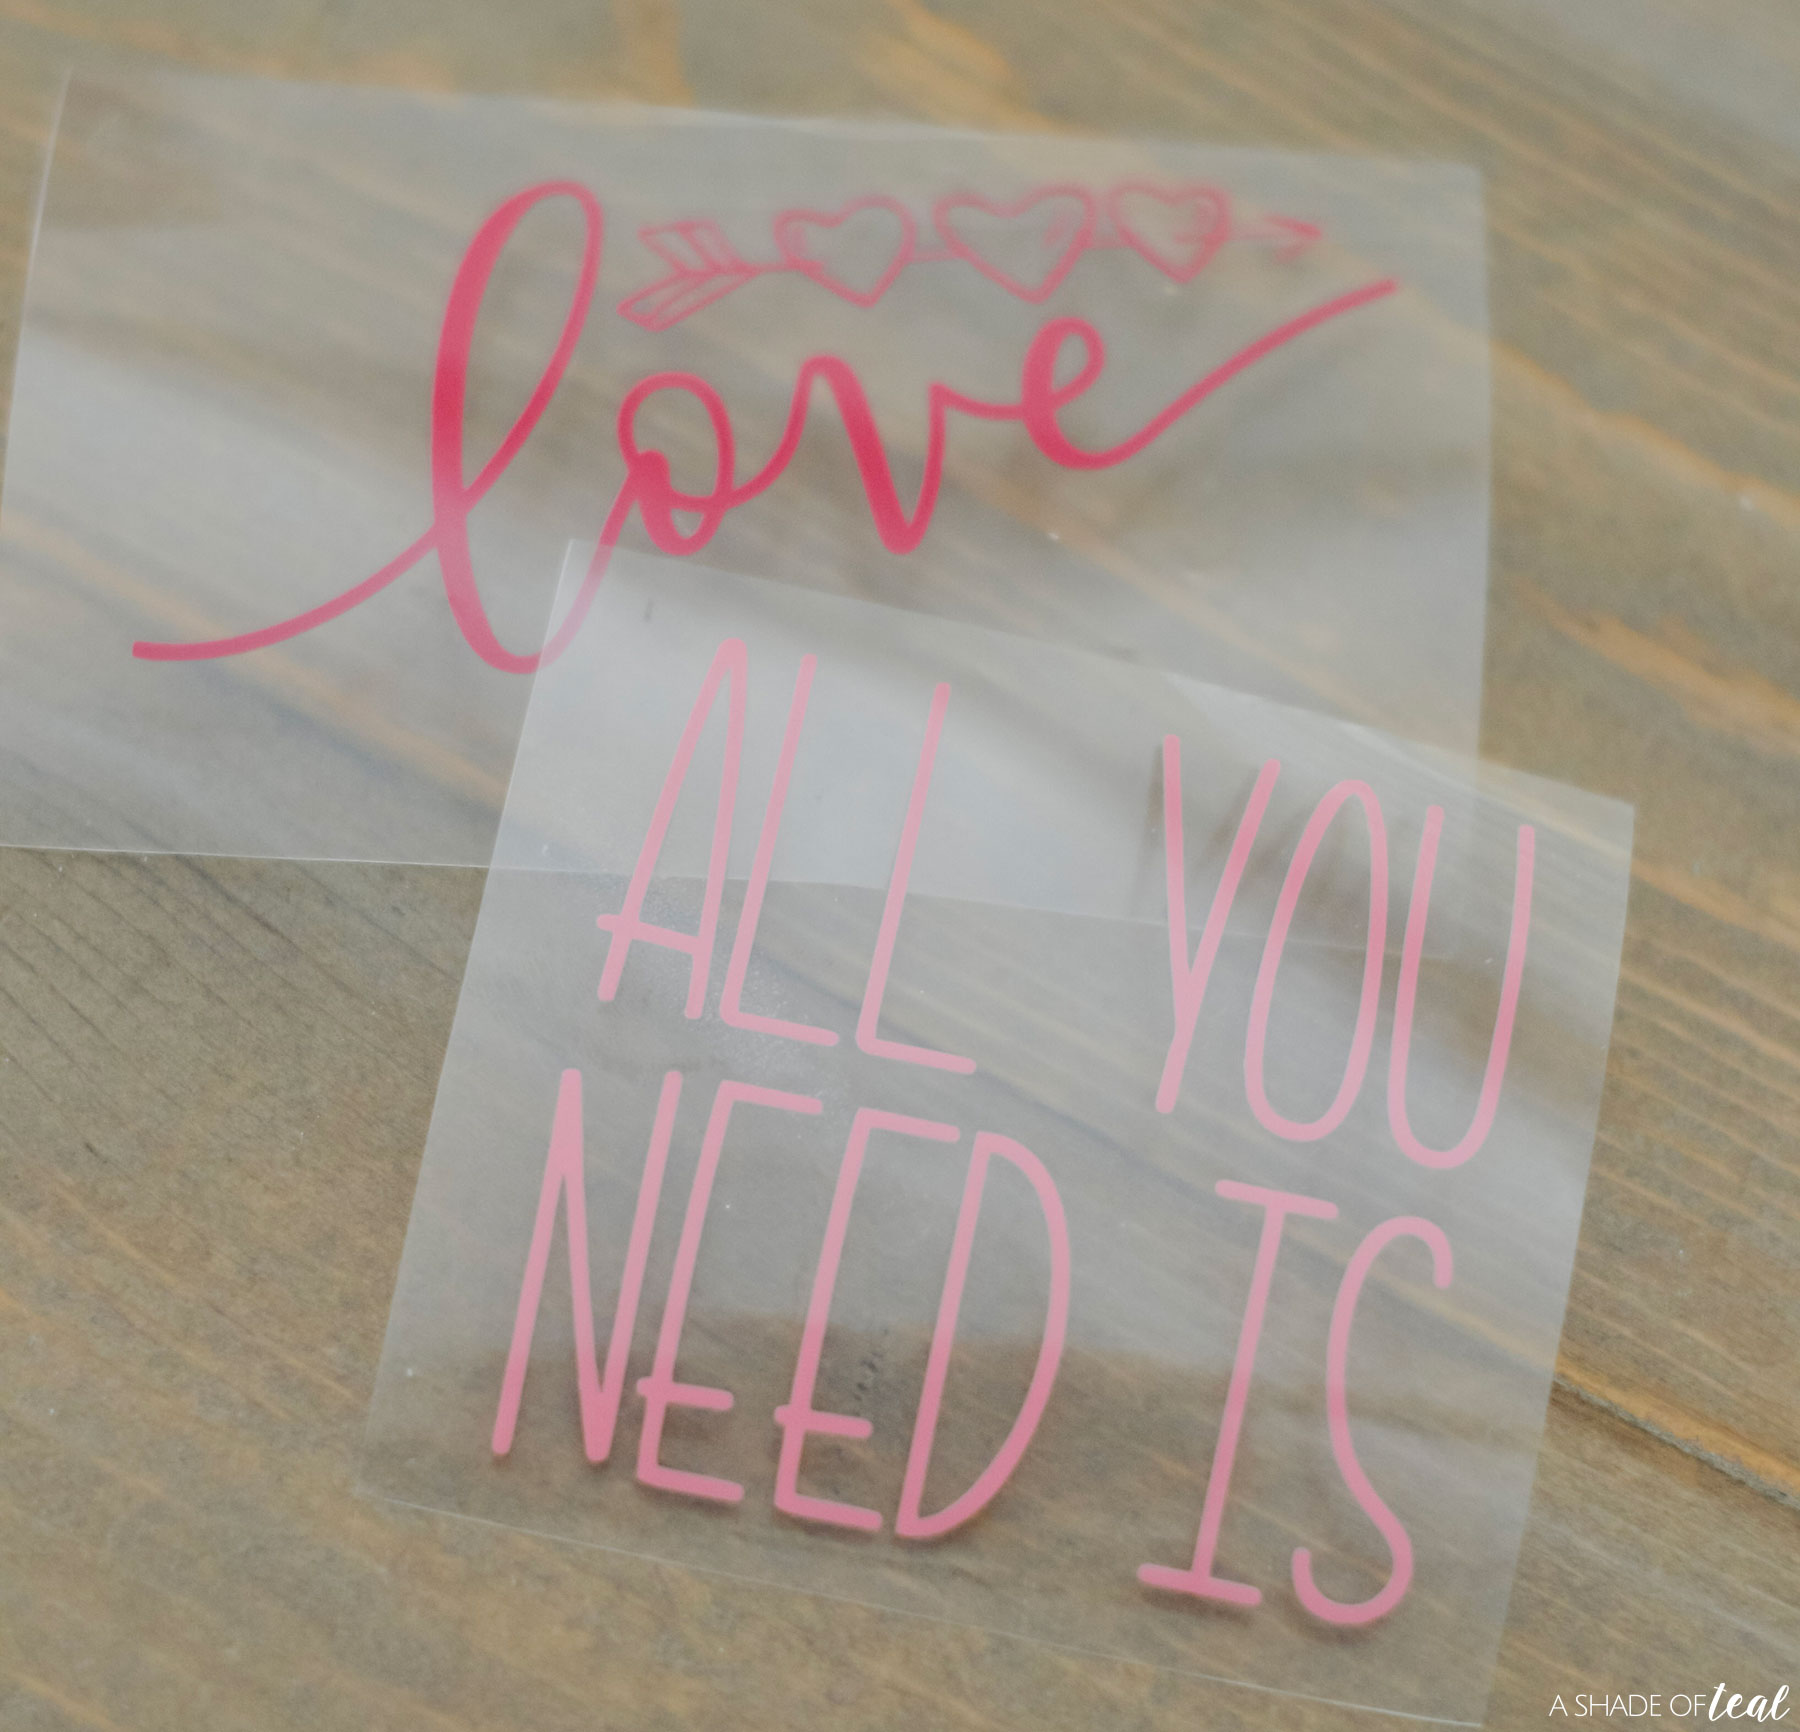
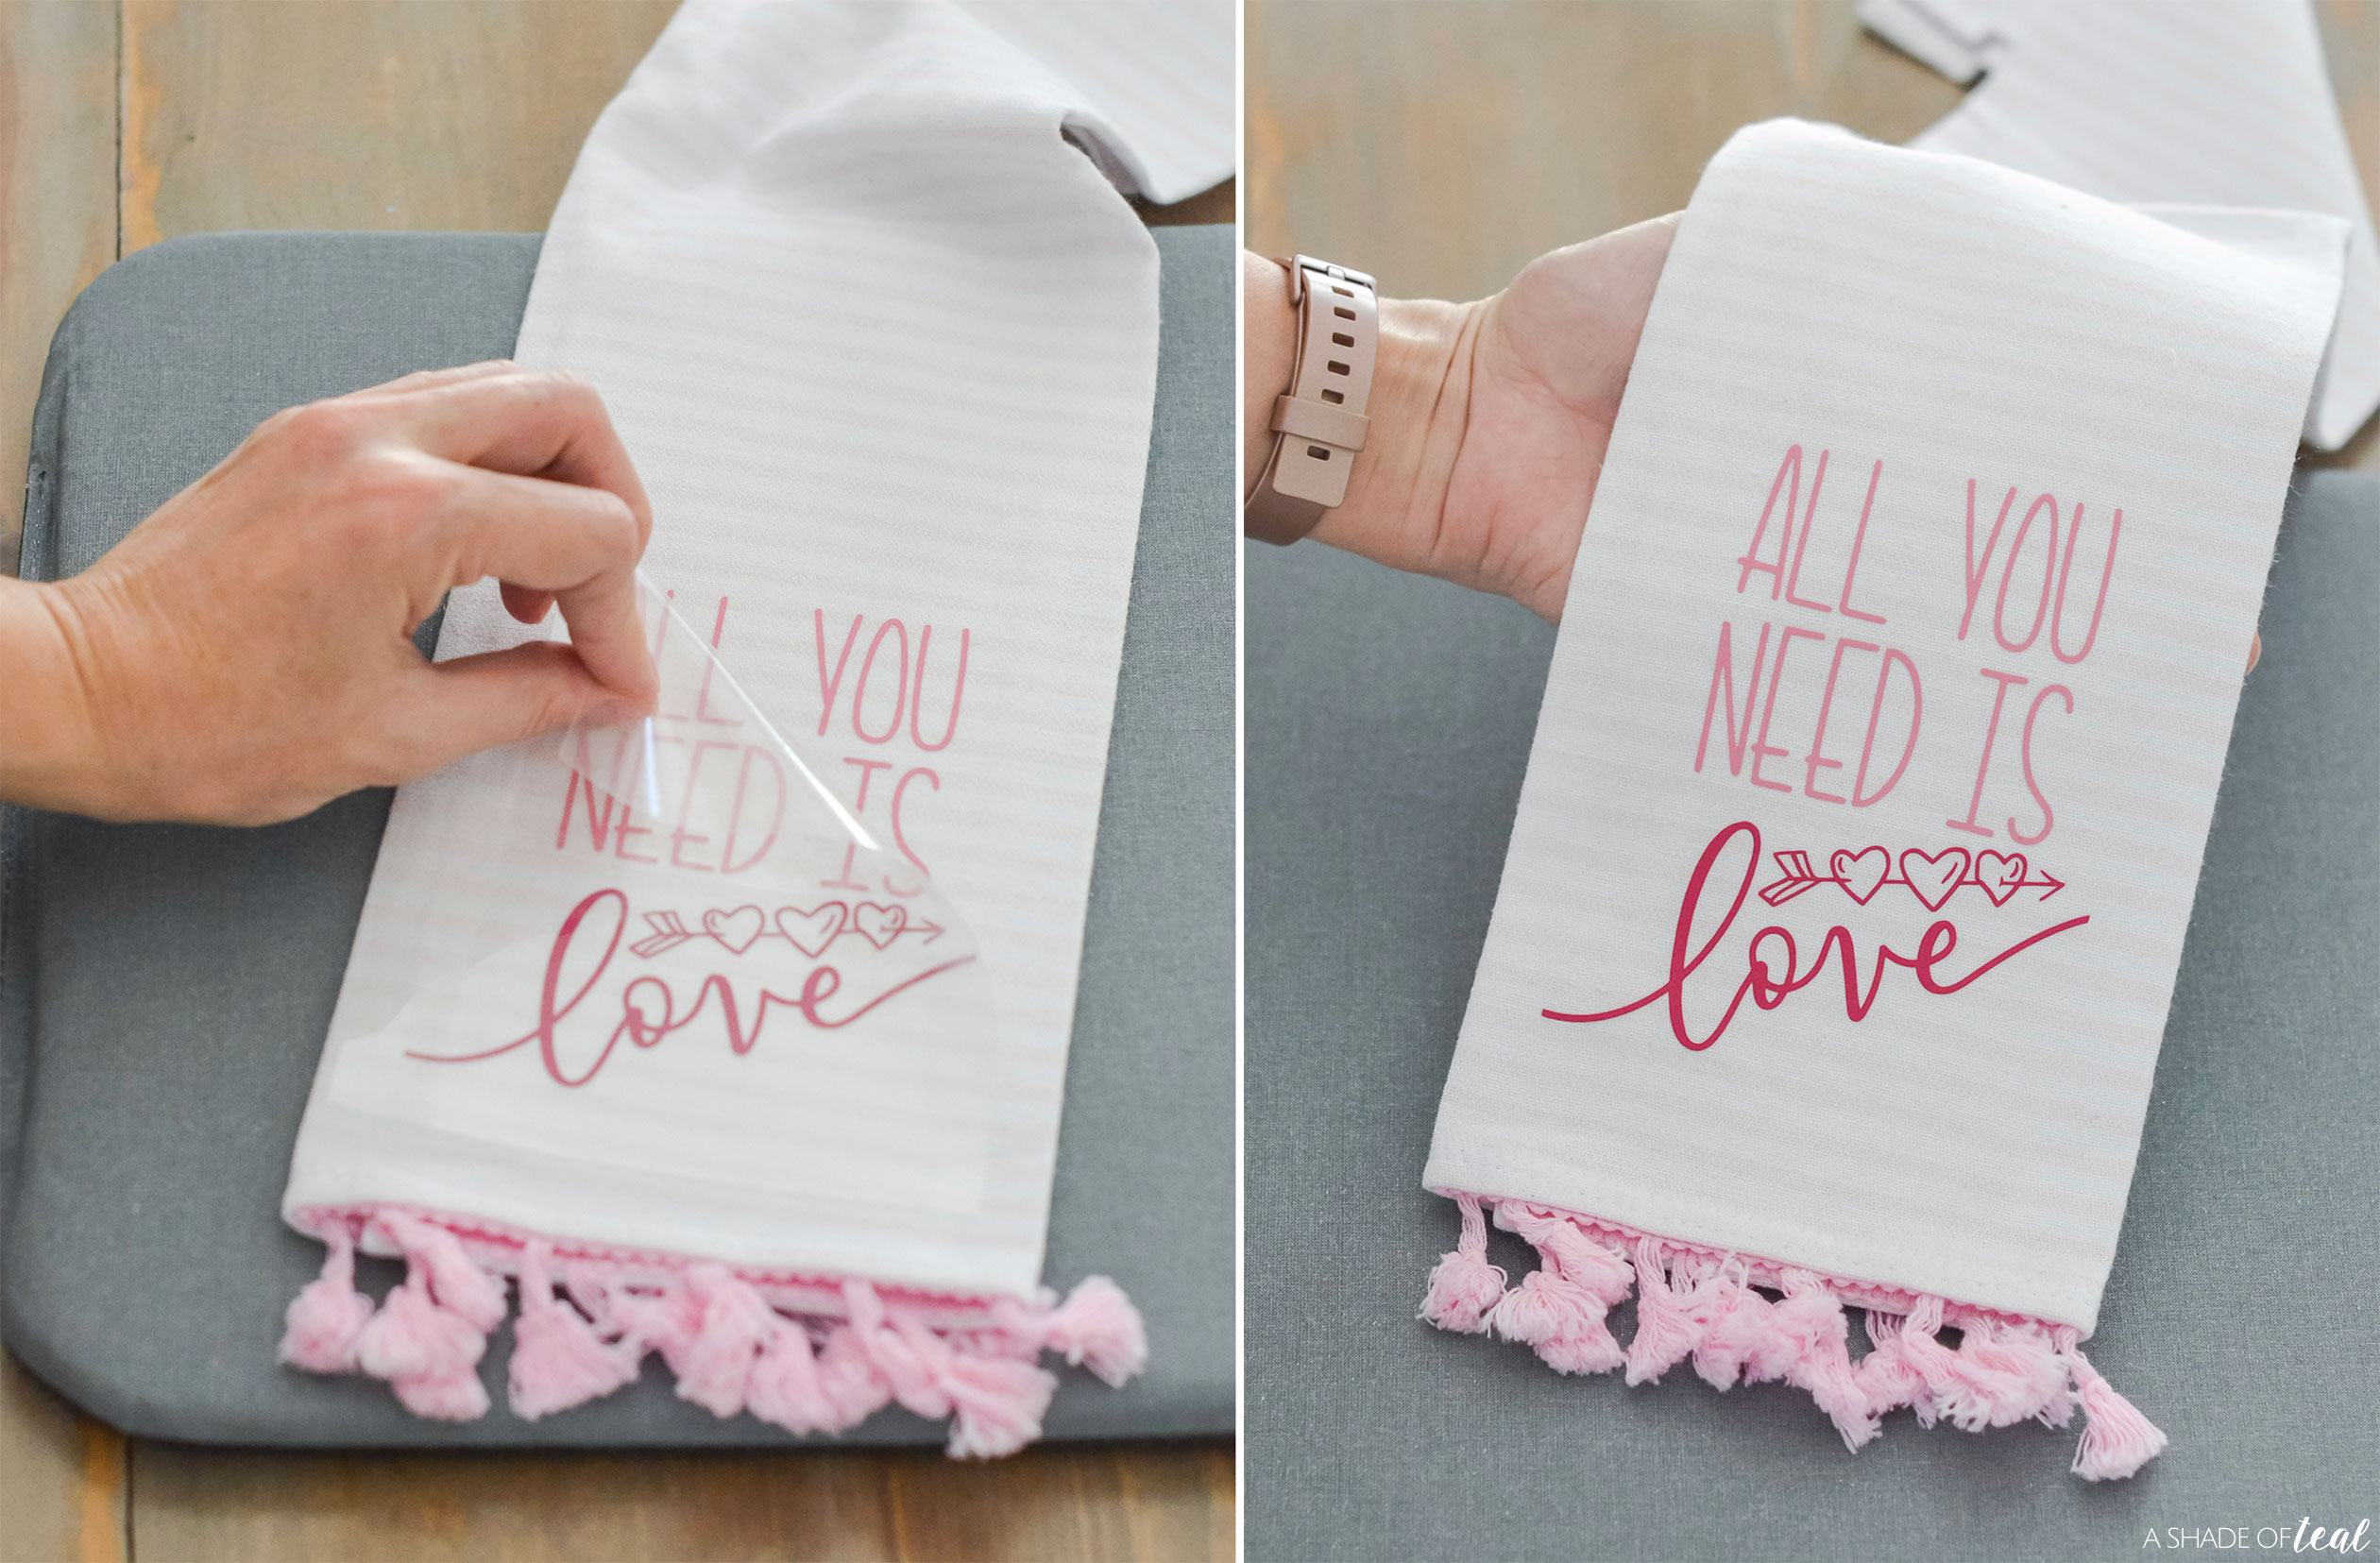
Step 11 || Start to peel the liner, if it doesn’t lift easily then reapply and reheat for a few more seconds. Try to peel again and if it comes off you’re done!
Another Tip: Depending on the iron-On Vinyl type, you might need to remove the liner when it’s warm or cold. A great place to check this is here >>> Heat Guide page here.
There you have it! A cute and fairly simple project to get you started with your Cricut EasyPress 2 and Cricut Iron-On Vinyl.
Don’t have Cricut product yet? Shop here!
I hope you found this project easy to follow. Happy Valentine’s Day and Enjoy!
Comments submitted may be displayed on other websites owned by the sponsoring brand.



Leave a Reply