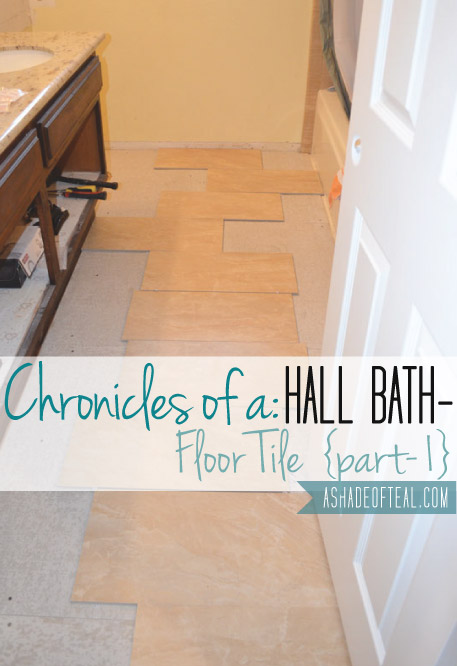
 Moving on to the floor…
Since this bathroom revolved around leftover tile we had from our last house, our choice was pretty easy!
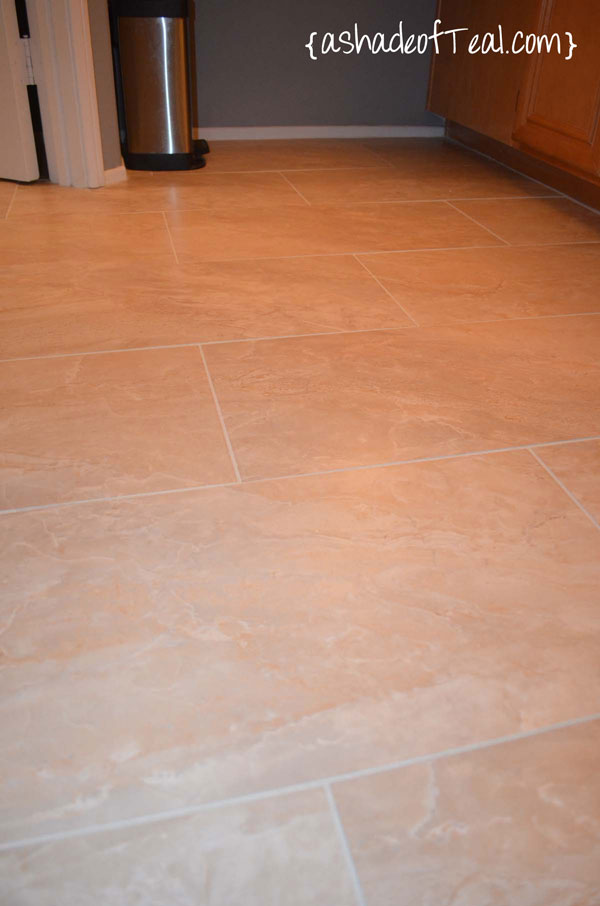 Here is the floor tile again; from Home Depot.
Now for the wonderful before picture!
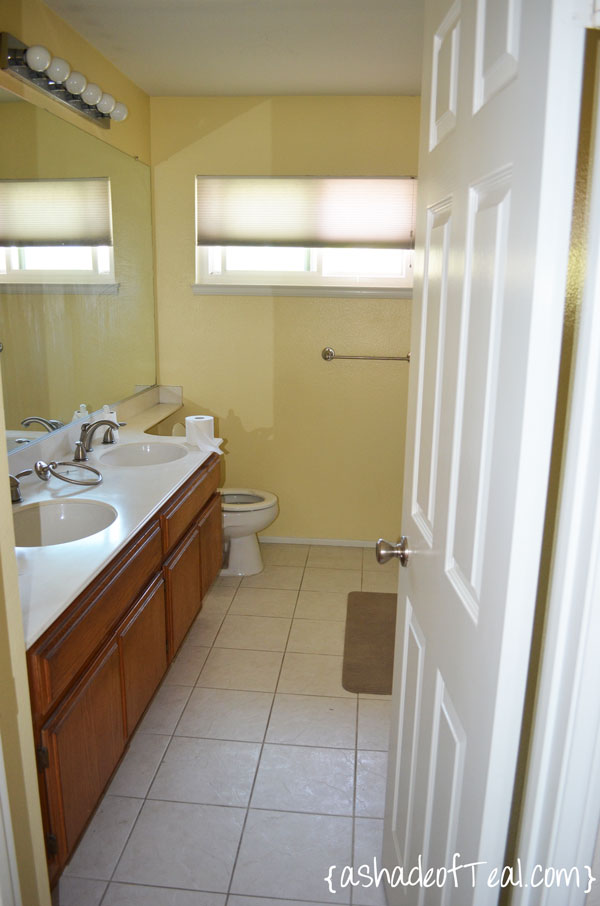 Here’s the current state of the bathroom.
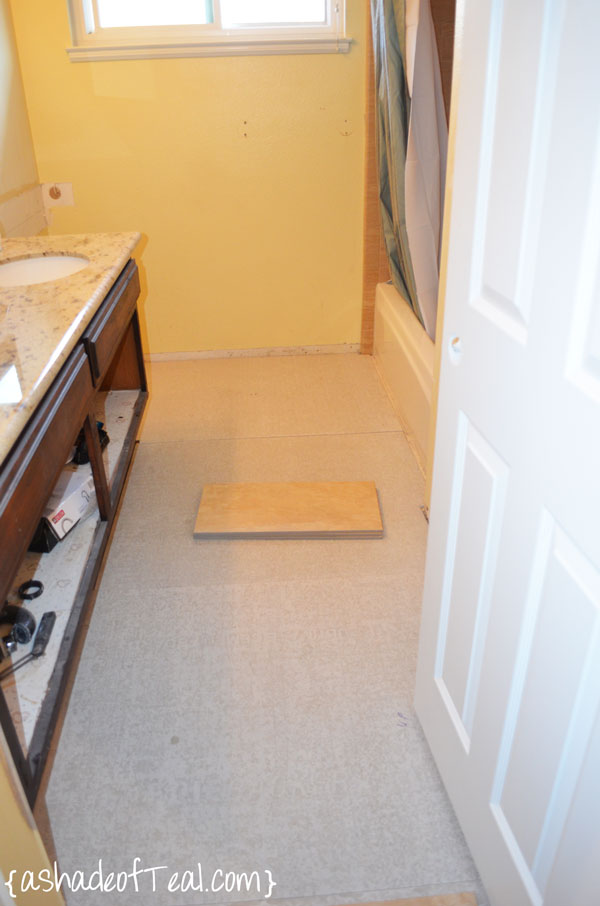 We previously laid down the wonder board and fixed it to the sub-floor. Sorry, no pictures on this process; but I have details on my previous bathroom HERE.
Once all the wonder-board was down we applied a thin layer of Thin Set to all the joints/seams.
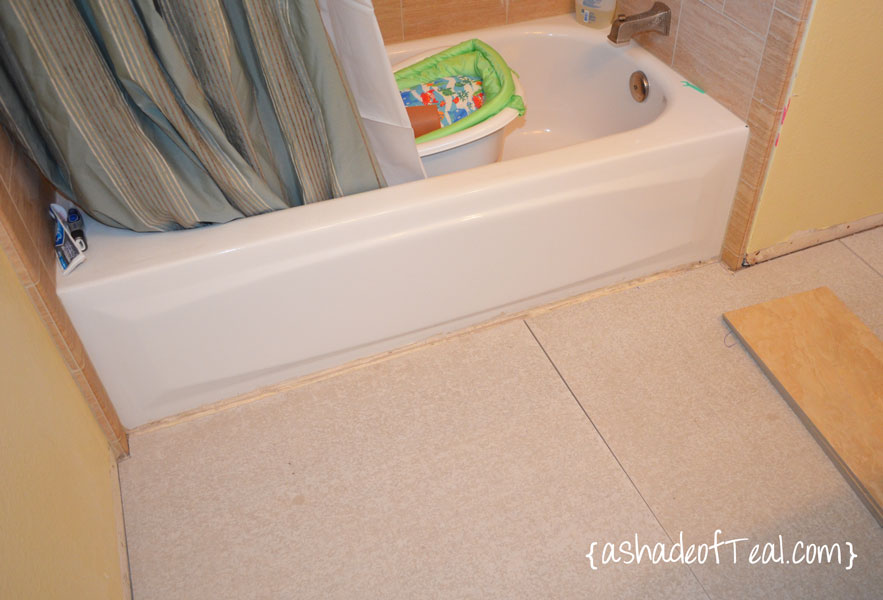
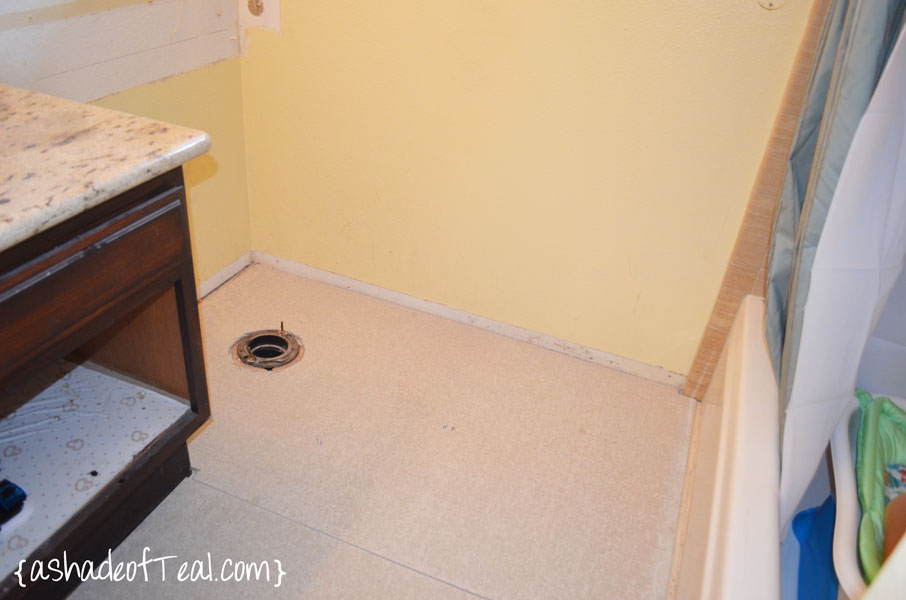 Now to the most important part; the layout. It can take some time, but making sure you layout the tile perfectly helps so much.
I wanted my starting point to be at the door, this way you’ll have a full piece of tile when you 1st walk in. I figure a “sliver” cut by the wall wouldn’t be as noticeable.
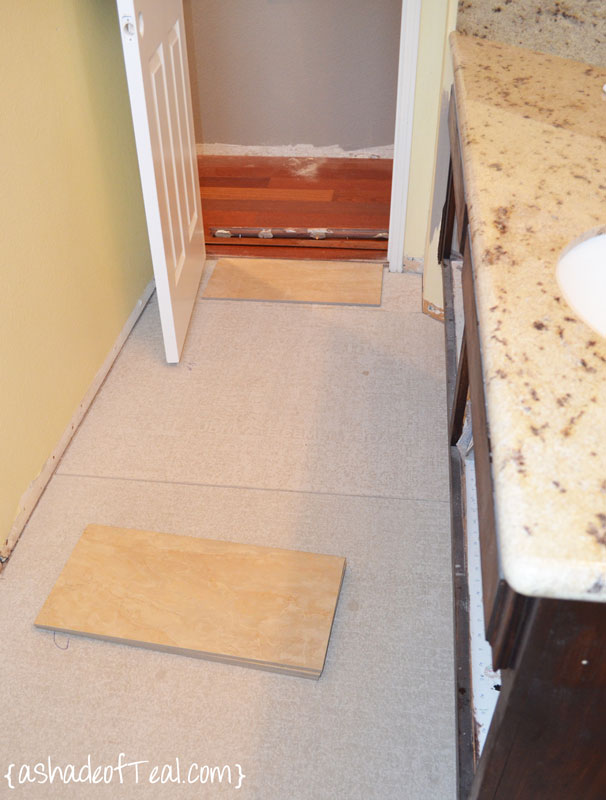
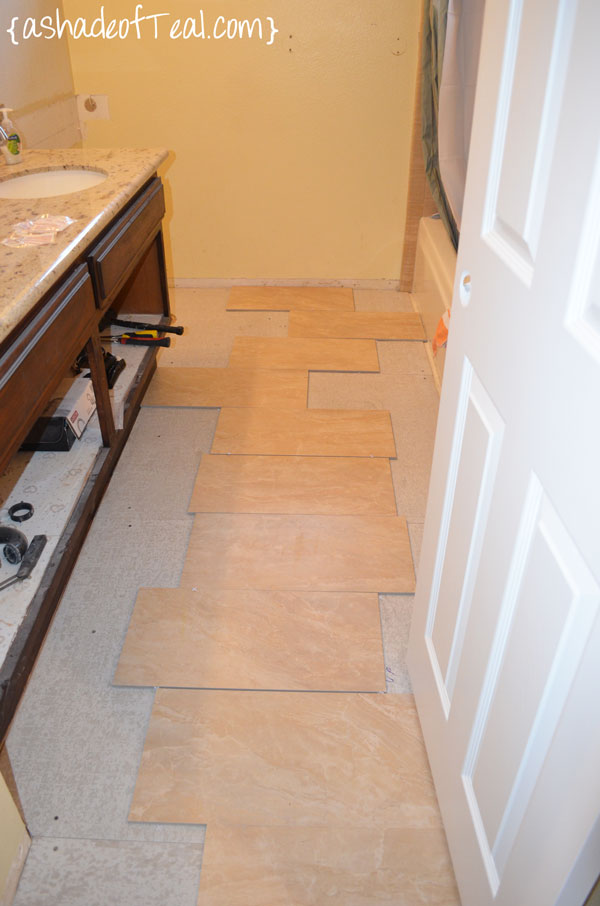 Now that I know how many tiles my bathroom will take; were ready to tile. More to come with our Hall Bath Makeover…
Need to catch up?
-Inspiration
-The Before
-Picking out Granite
-Hall Bath Chronicles- Cabinets Pt1
-Hall Bath Chronicles- Cabinets Pt2
-Hall Bath Chronicles- Granite Pt2
-Hall Bath Chronicles- Shower Pt1
-Hall Bath Chronicles- Shower Pt2
Enjoy!




Leave a Reply