 After we picked out the granite we needed to finish prepping the cabinets for installation. I never took pictures of this particular counter top at this stage, but here is our master bath in the same stage.
 We removed the old counter top & sinks. Then we needed to add a sheet of plywood for the granite to sit on. Again, no picture of this bath but here’s our down bath at that stage.
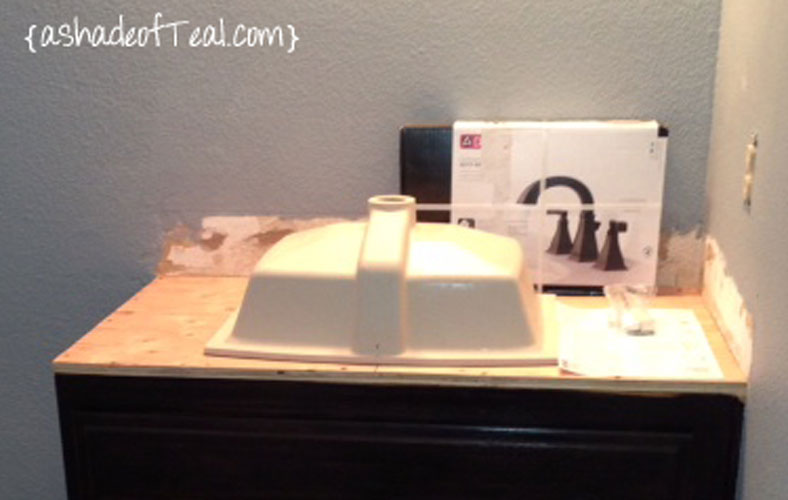 We then laid out the sink for the granite guy to use as a template.
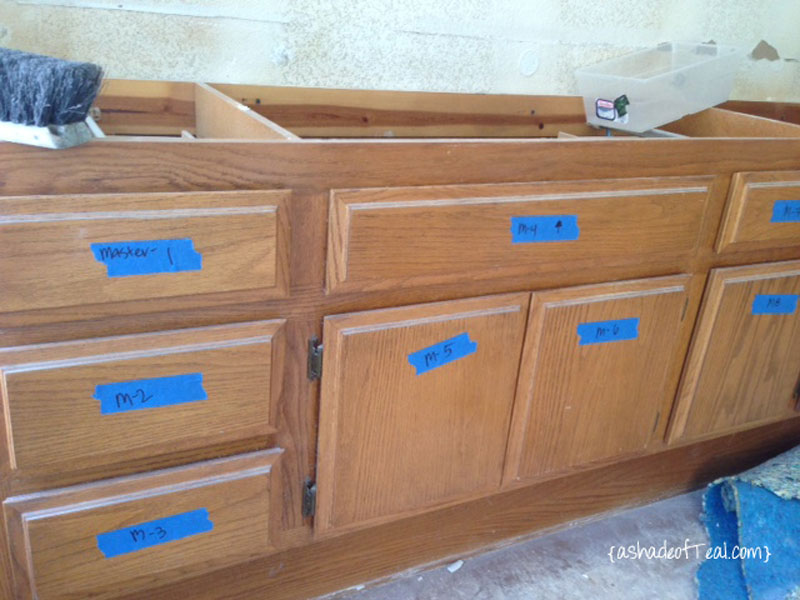
Meanwhile, I started prepping the cabinets for their new finish. I took off all the doors and made sure to label them. Then I cleaned down the cabinet box and all the doors with a TSP solution. This takes longer than you would think, especially if their really dirty. I let everything dry overnight and then finally gave everything a light sanding.
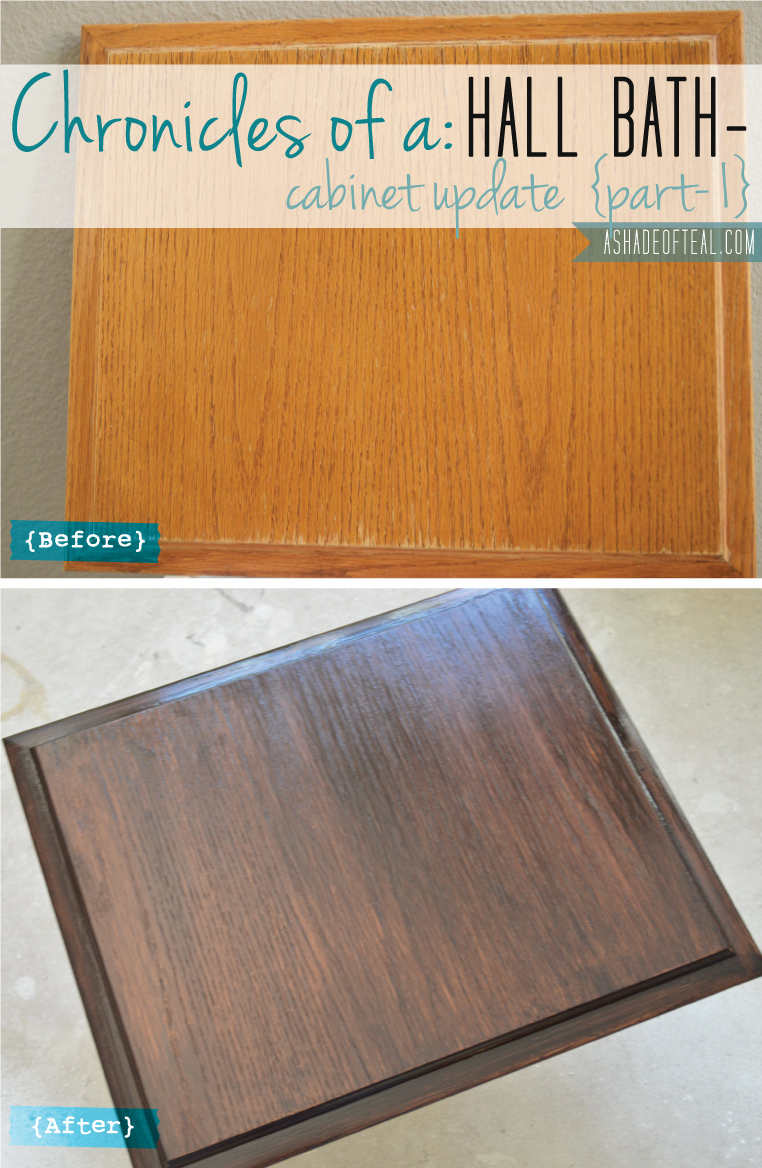
Here’s my before of the cabinet color. 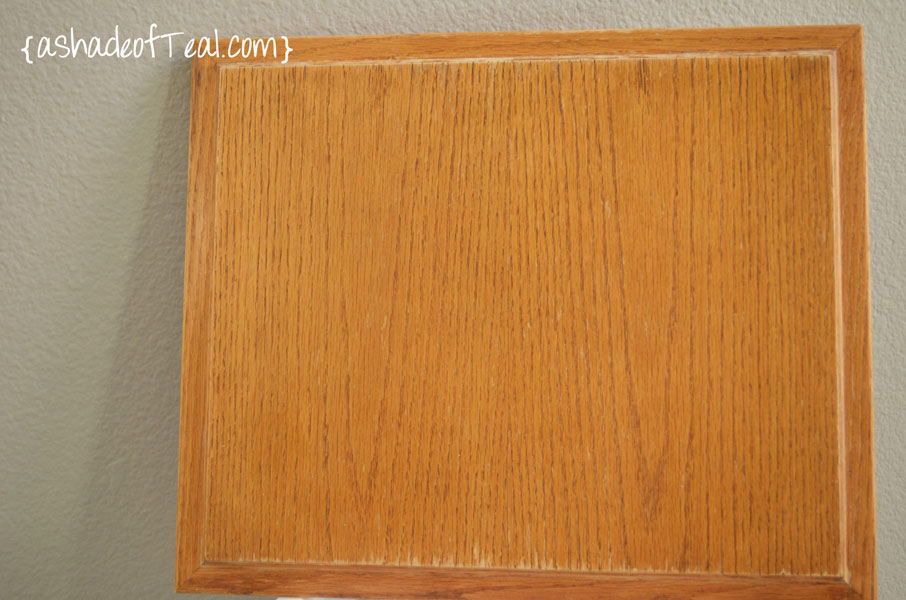 Now that the prep work was done I was ready to do my first coat of stain. I wanted to give General Finishes Oil Based Stain in Java a try. This product is all-over Pinterest and only costs under $25 for the pint; I had to give it a try!
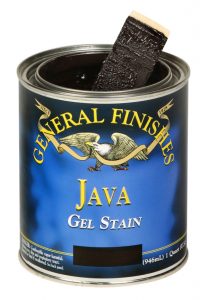 I used a foam brush to apply the stain, here’s after my 1st coat.
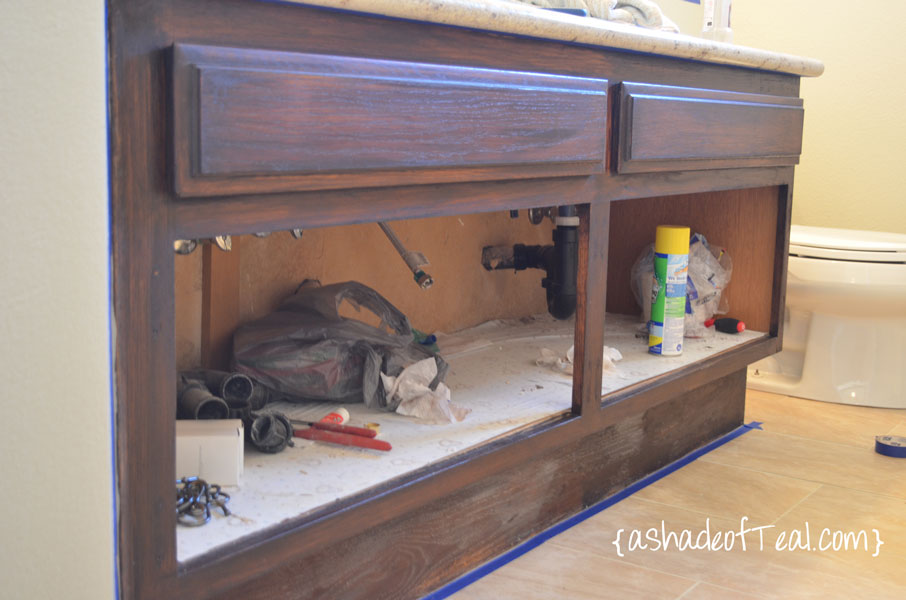
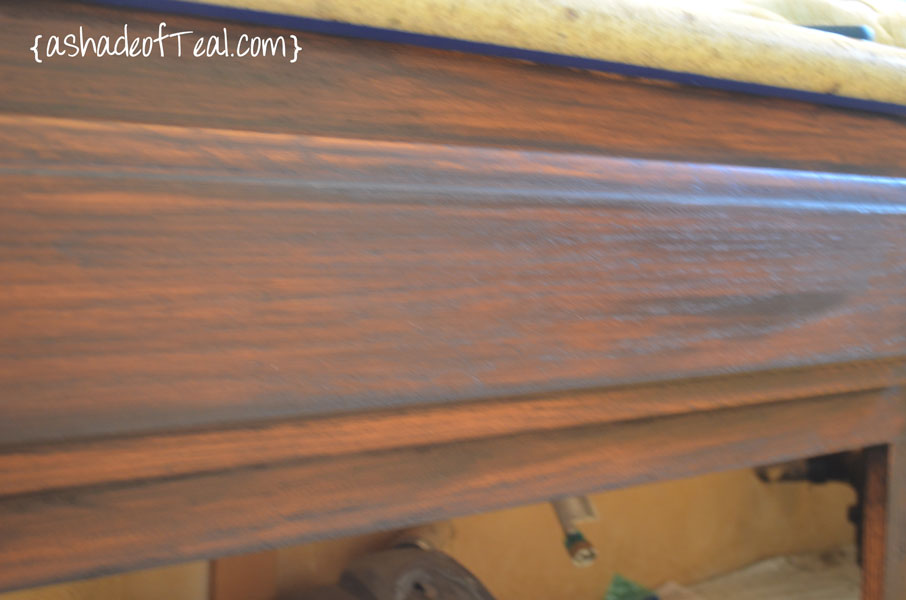
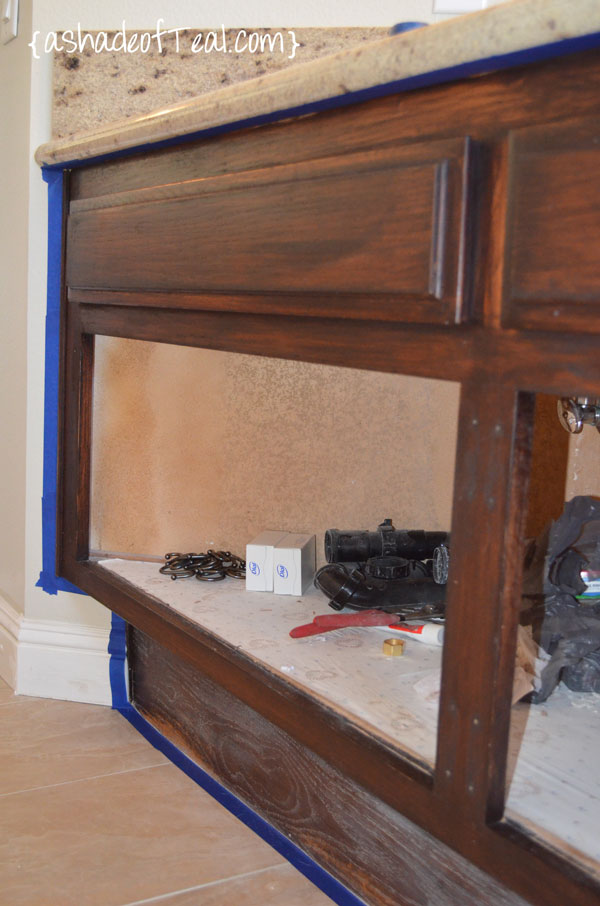
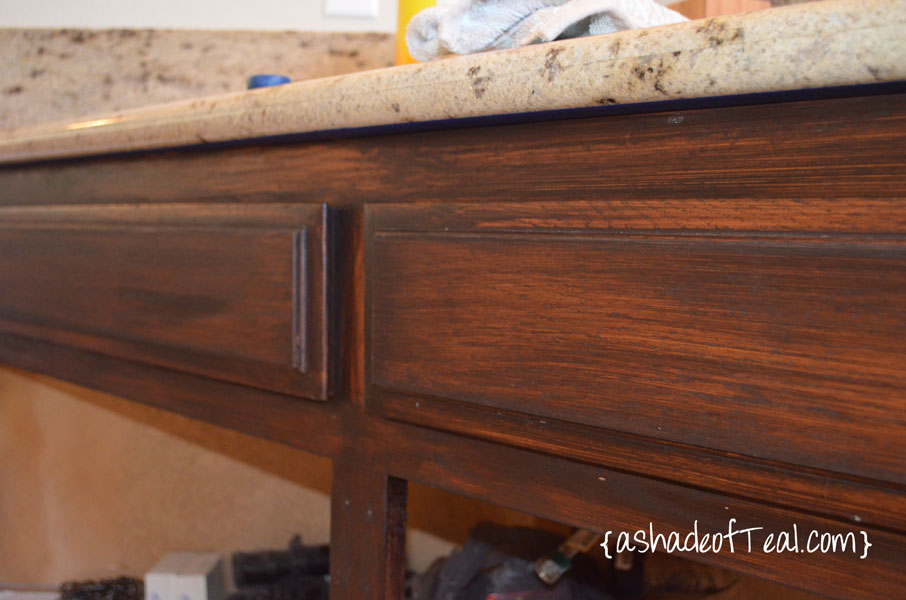
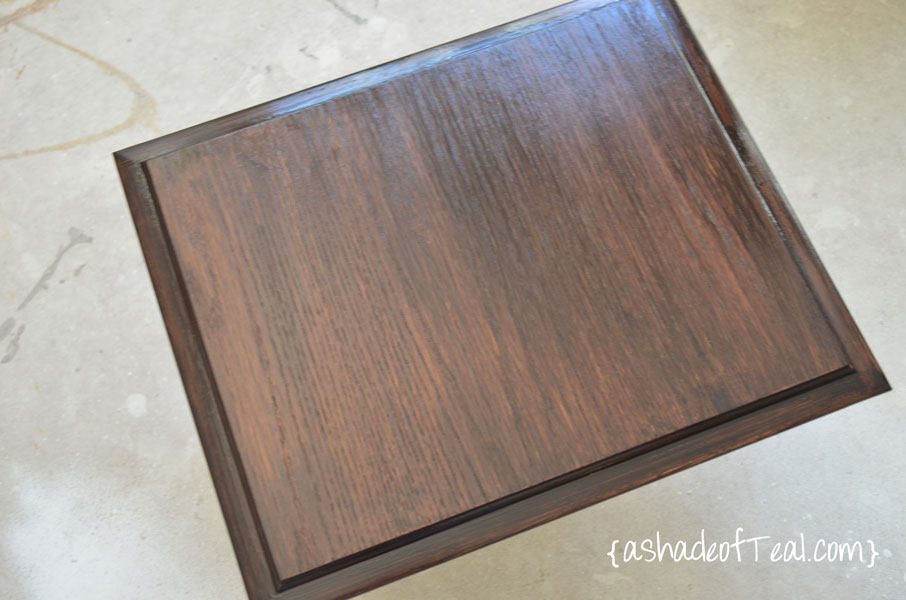
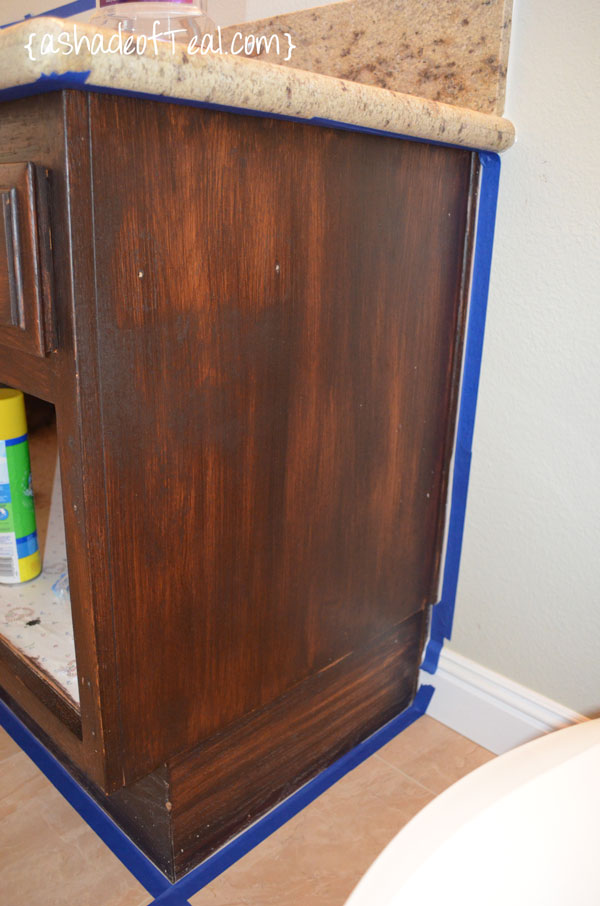 Its very uneven, but the next coats will take care of that. You can see from the below picture of the door what the finished product will look like, I think I did 3 coats total.
Need to catch up?
-Inspiration
-The Before
-Picking out Granite
Enjoy!



Leave a Reply