It’s Day 4 of my “For the Love of Shibori” week. So for today’s project I’ll be showing you how to Shibori Dye a Placemat. I think this last project was one of my favorites.
If you missed how to make a Shibori bag, check it out here, how to make a Shibori Pillow here, or get my inspiration and shopping guide here.
If your not familiar with Shibori you might have compared it to tie-dye, but the art of Shibori is actually only using Indigo dye.
(This post may include affiliate links. If you buy something I receive a small commission of your purchase. Thanks for supporting A Shade of Teal! I only share products I truly love!)
Supplies Needed:
- White Cotton Placemats
- Shibori Dye kit, the kit comes with most of the supplies.
- 5 gallon Bucket with Lid
- Stir stick, I just used a paint stick
- Drop cloth or old cardboard
- Some type of clothesline or a place to hang the fabric up.
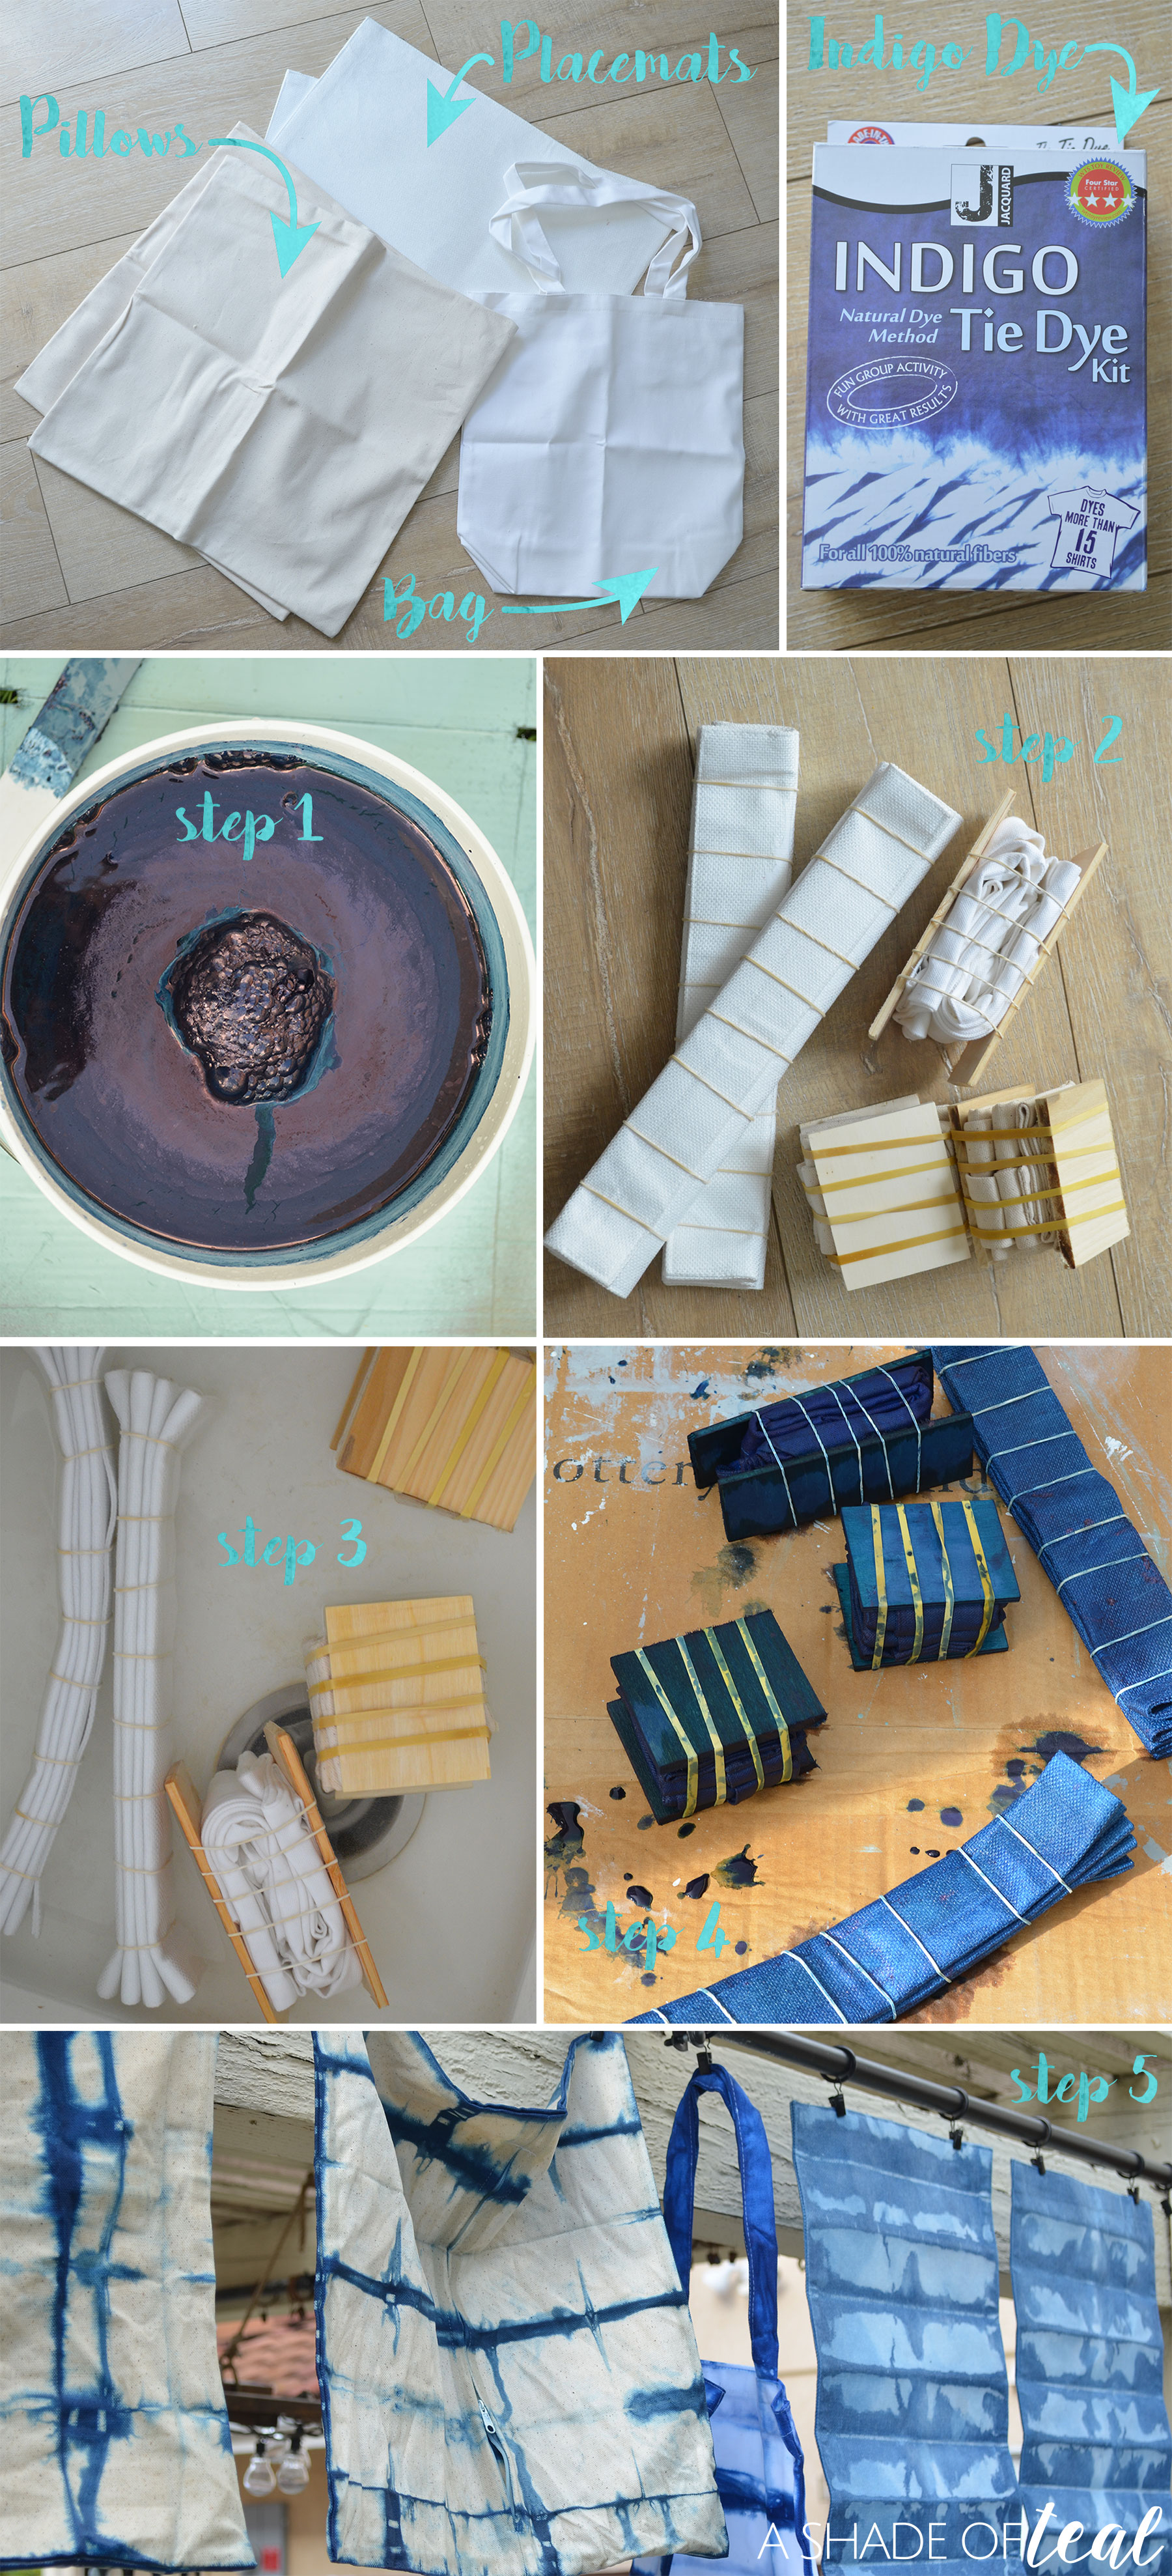
After gathering all your supplies your ready to get started. The instructions included in the dye kit are really informative, so make sure to follow them. Here’s just a quick breakdown.
Step 1: Prepare the dye in warm water in a 5 gallon bucket. You will be able to store the dye for a couple of days, but I decided to only use have the dye kit and save the other half for another day.
Step 2: Fold your fabric in the pattern you want to achieve. The directions give several examples of different patterns.
Step 3: Soak the fabric in water right before your ready to dye. Then add them to the dye bucket making sure they don’t hit the bottom. I left mine in for 4 minutes.
Step 4: Remove the fabric and set aside for about 15 minutes.
Step 5: Unwrap the fabric and rinse with clean water. Then hang everything up to dry.
I let all my pieces completely dry overnight before washing them in the washing machine with cold water. After they’re washed your ready to enjoy!
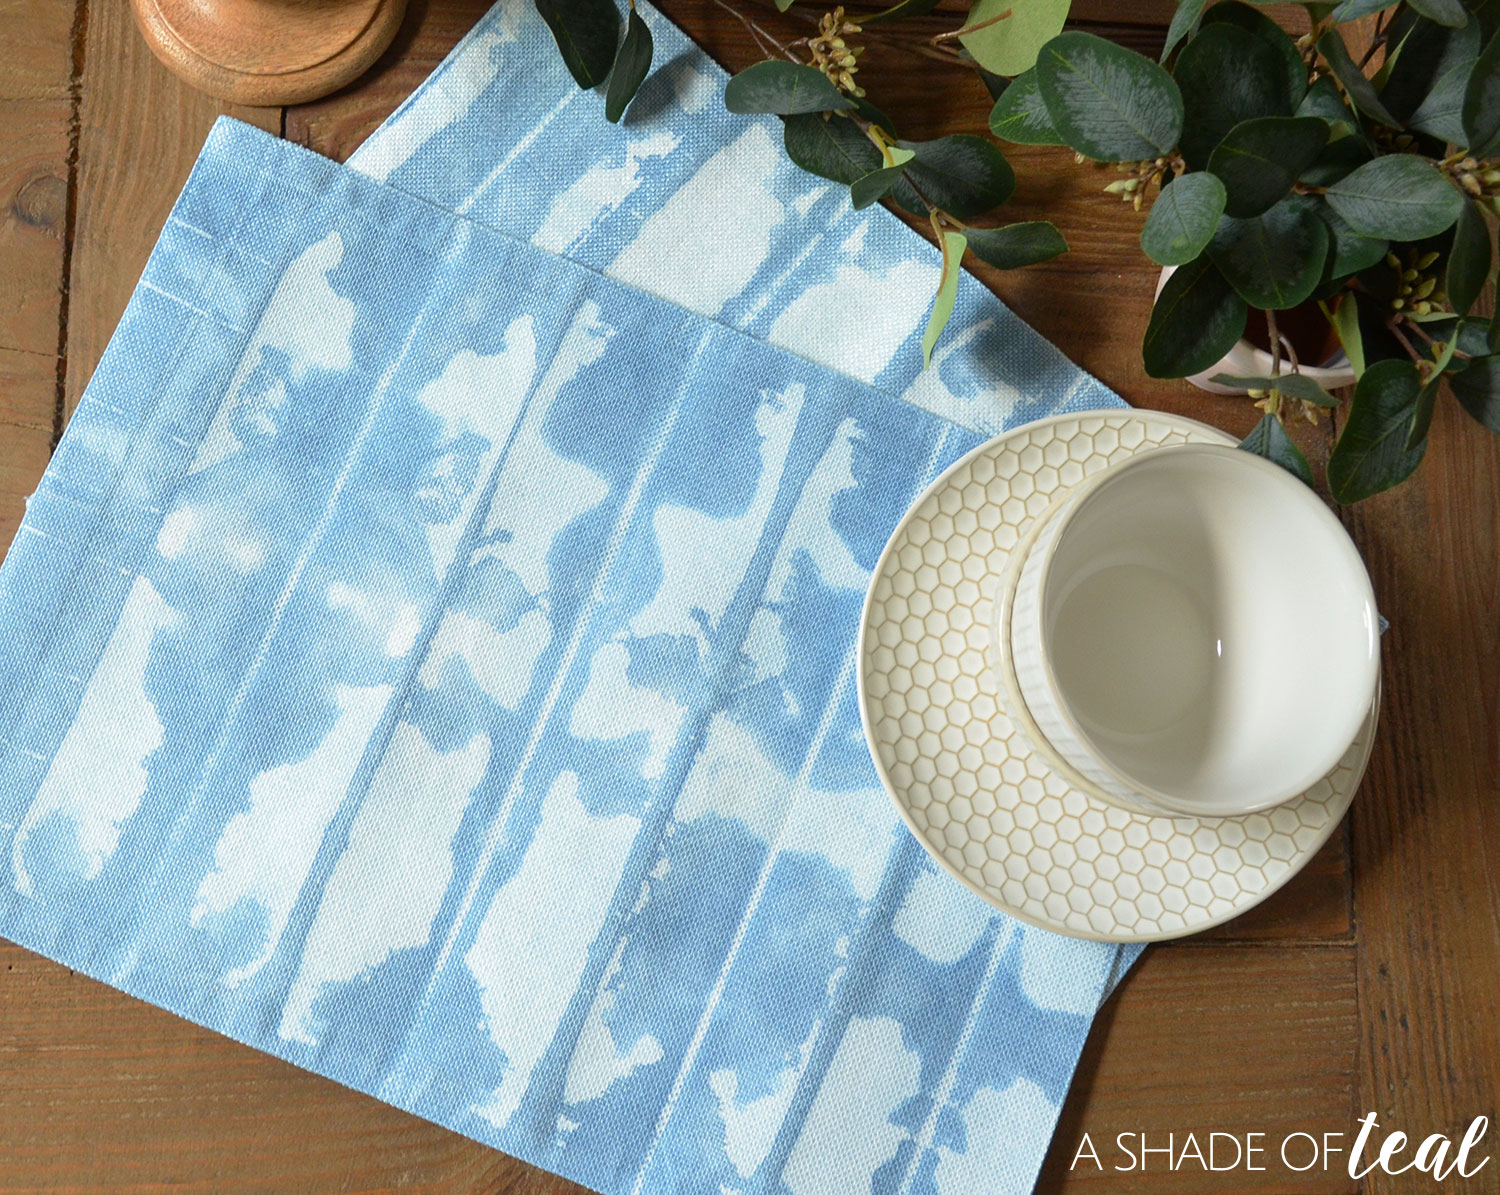
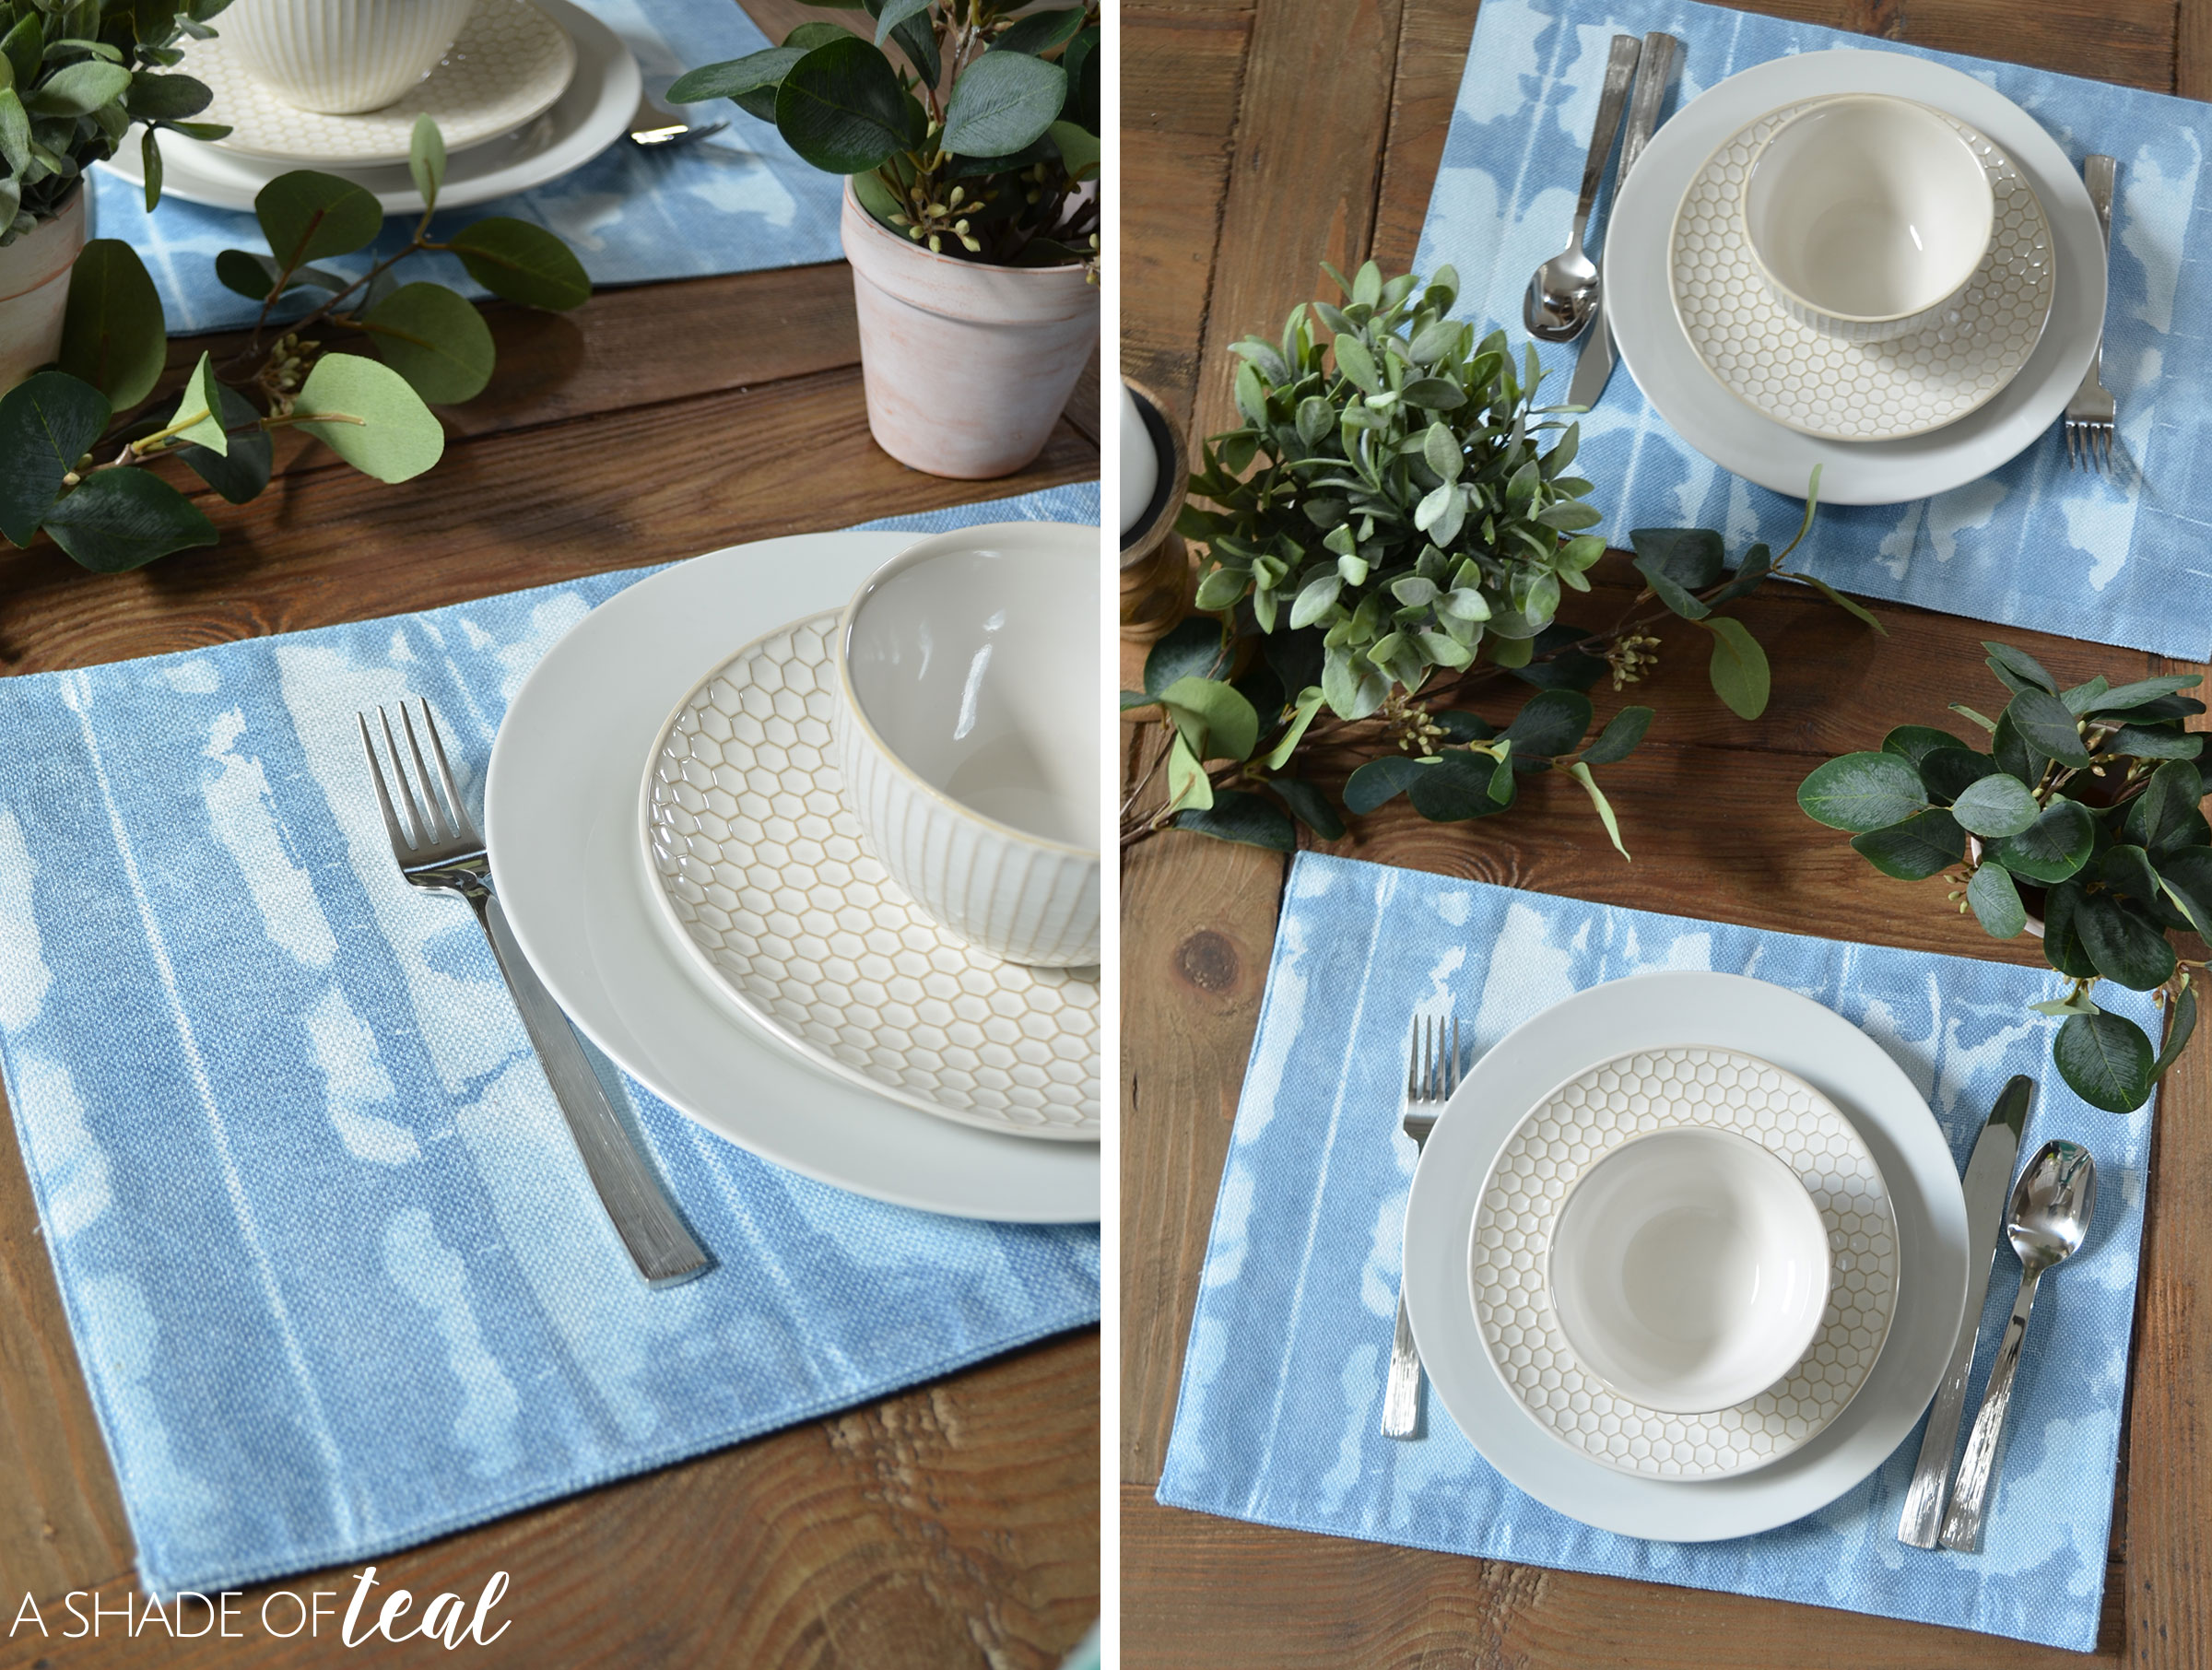
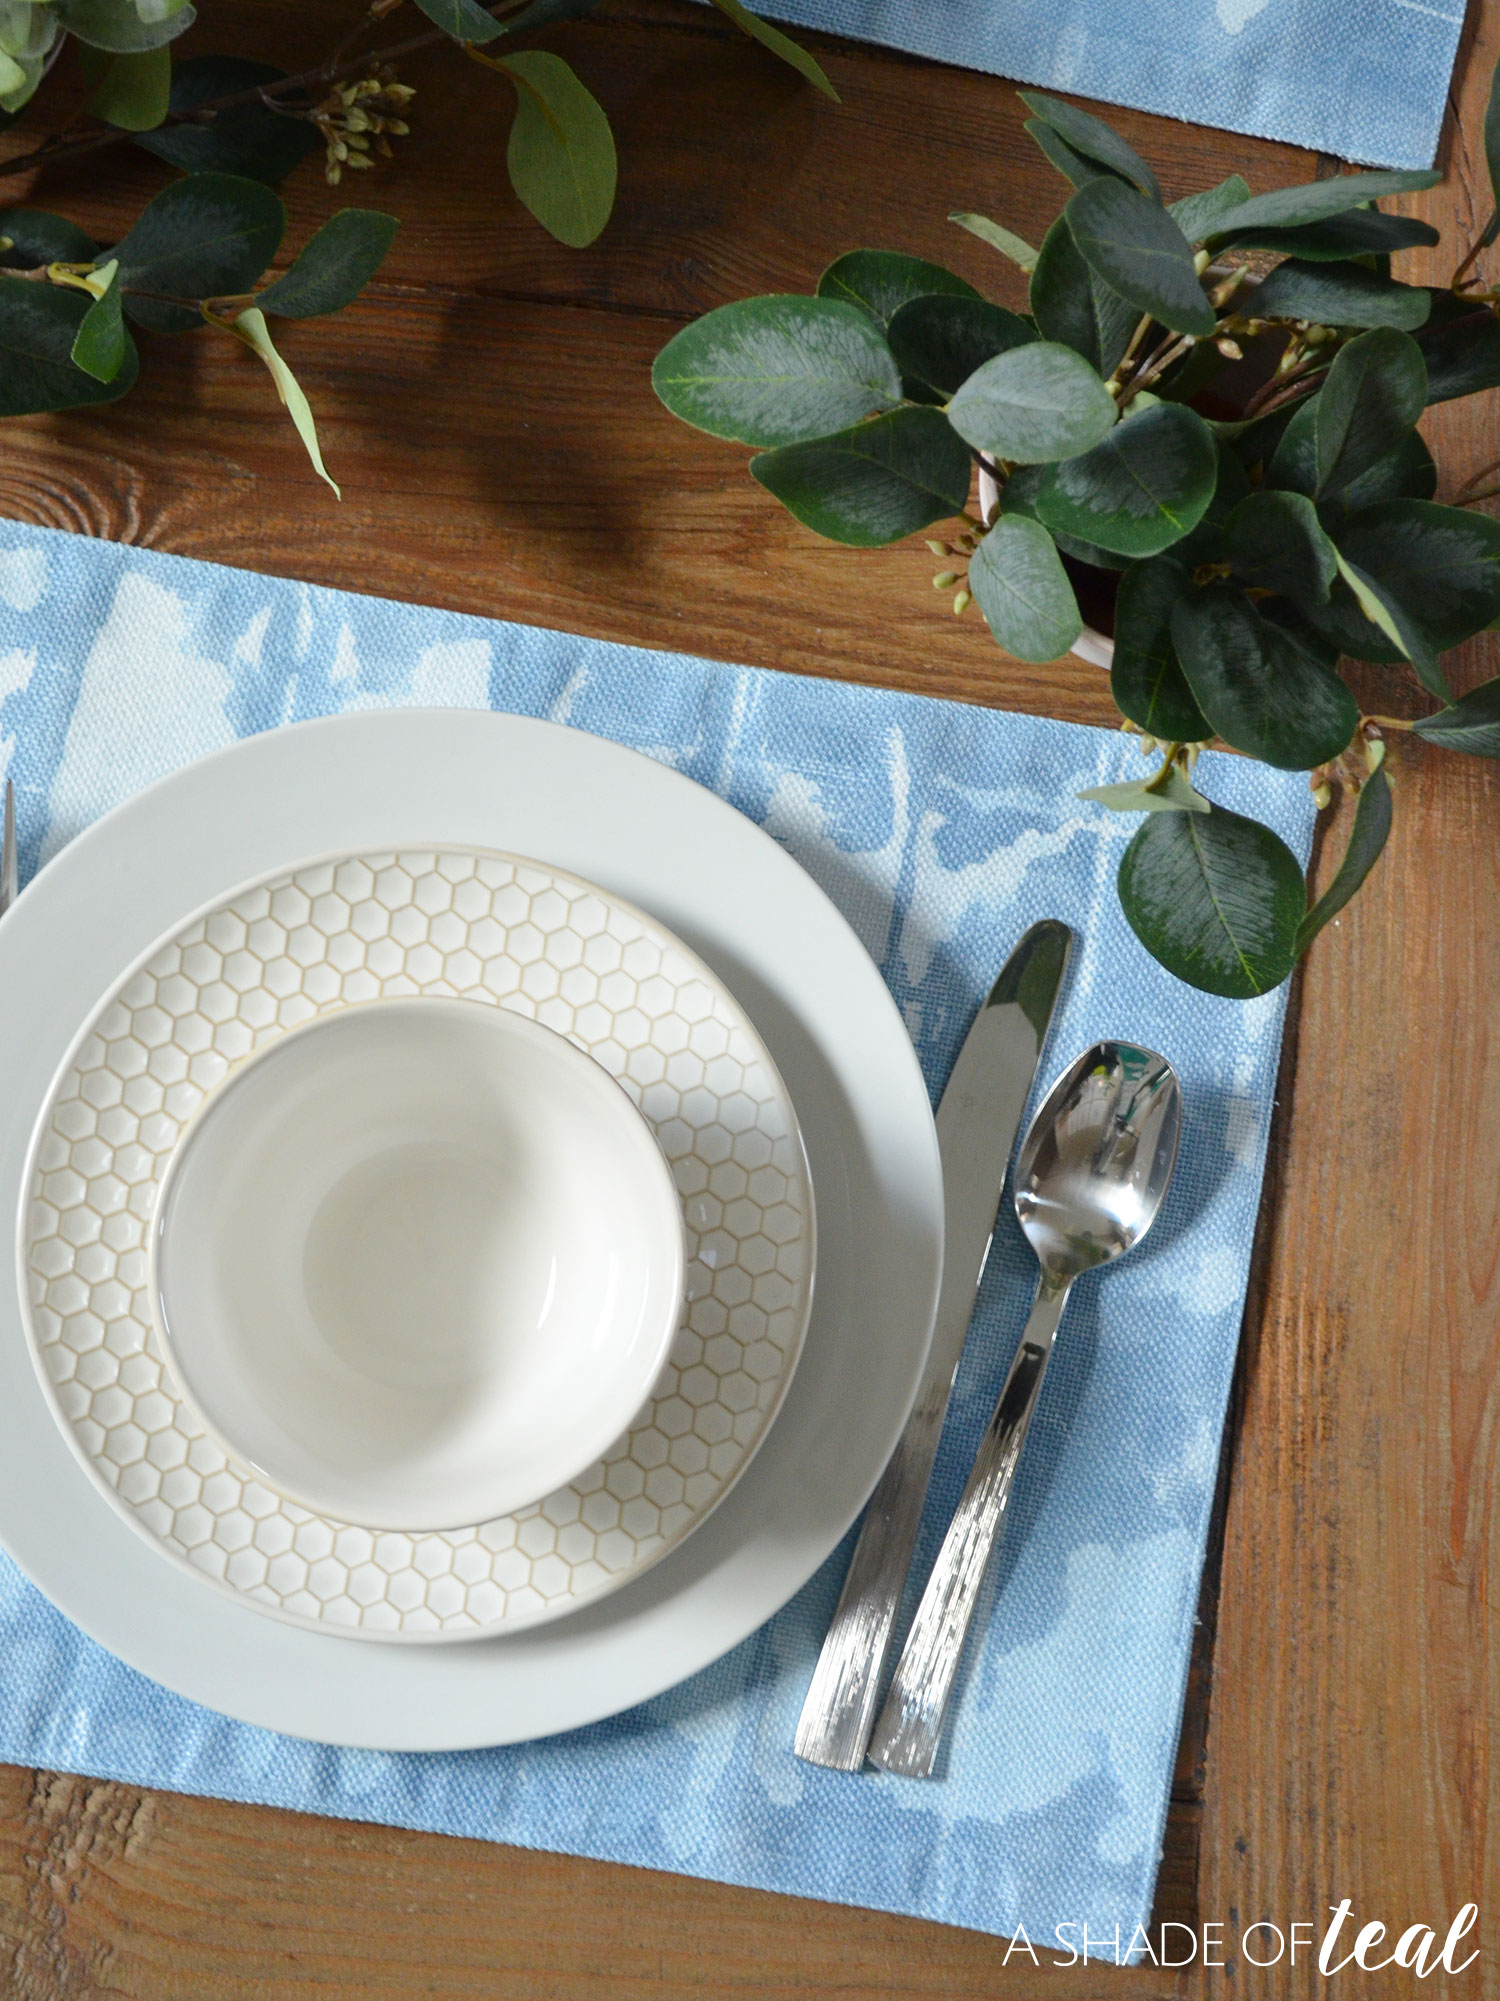
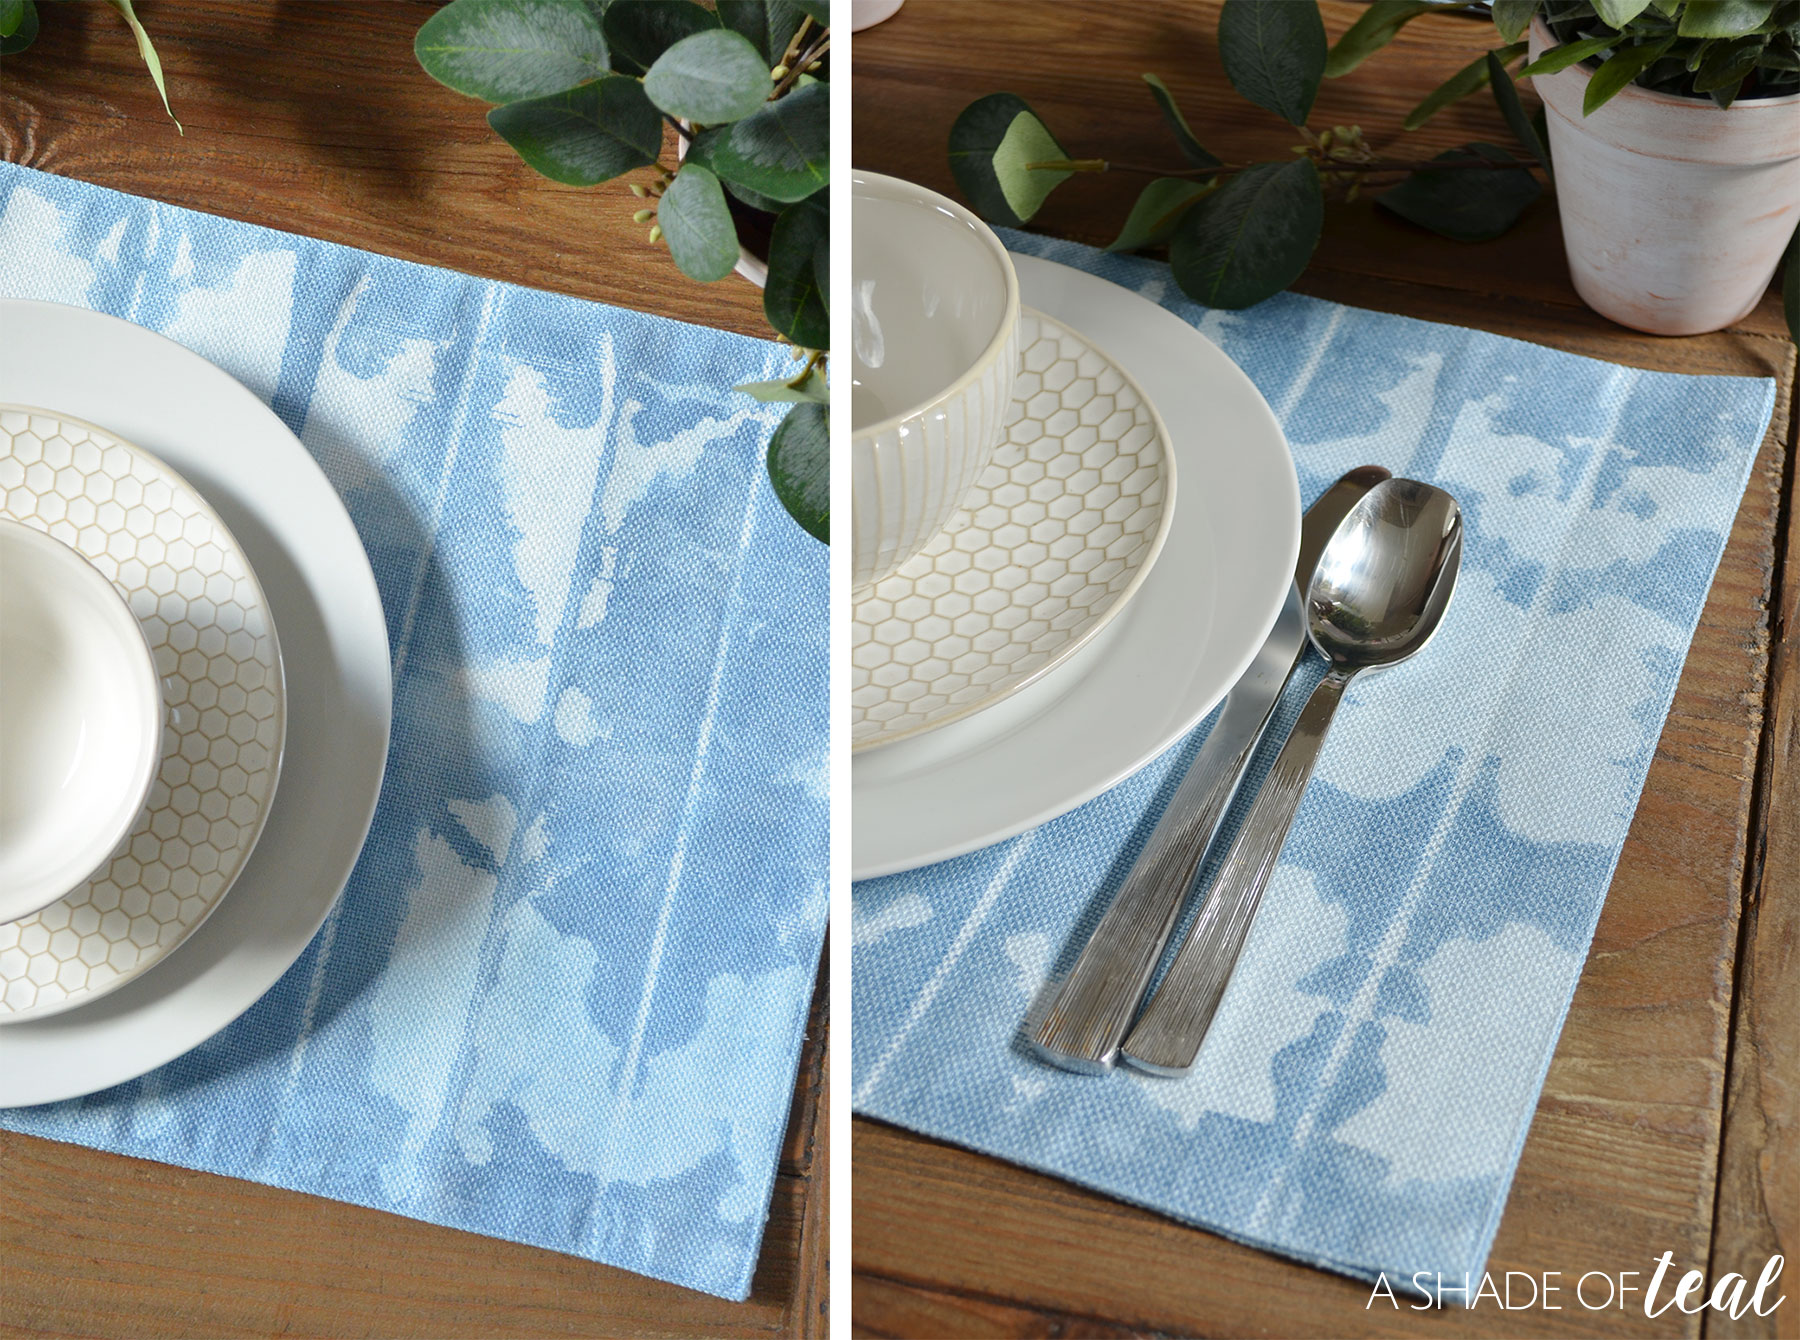
I had a hard time finding all white cotton placemats at the store, so I ended up using a poly blend placemat and luckily the dye still took. But as you can see the dye was not as deep indigo as some of the other projects, so using a cotton placemat would have been better to get this effect. But either way, I still loved how it turned out.
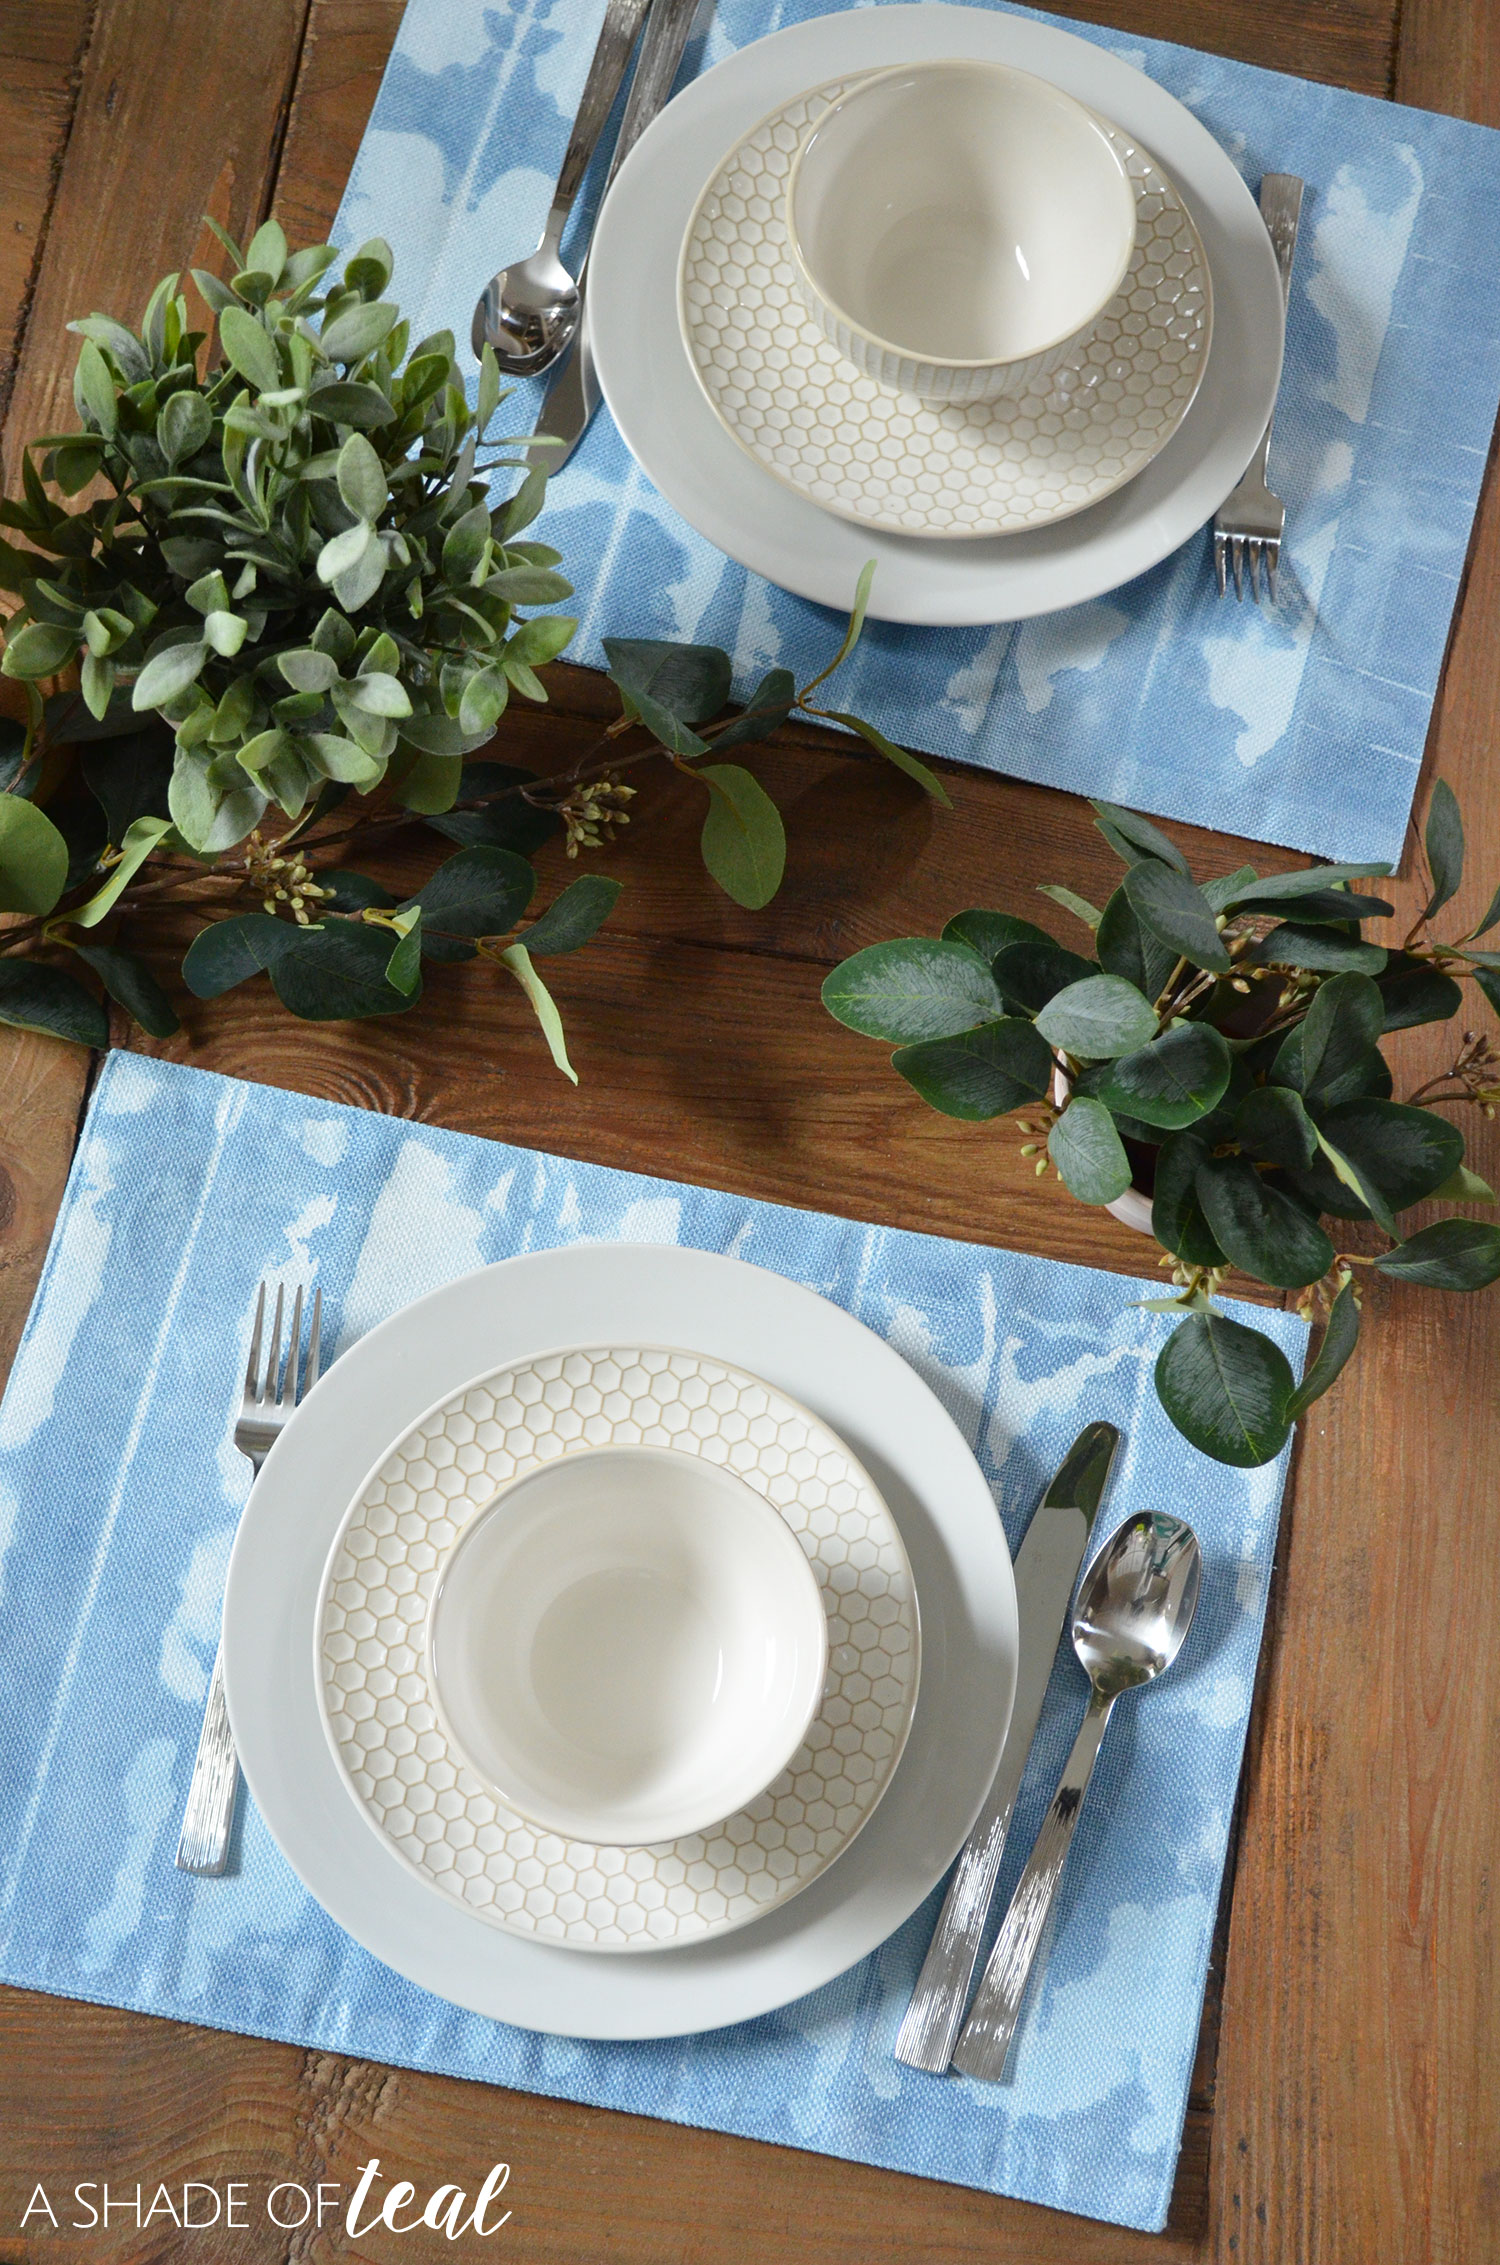
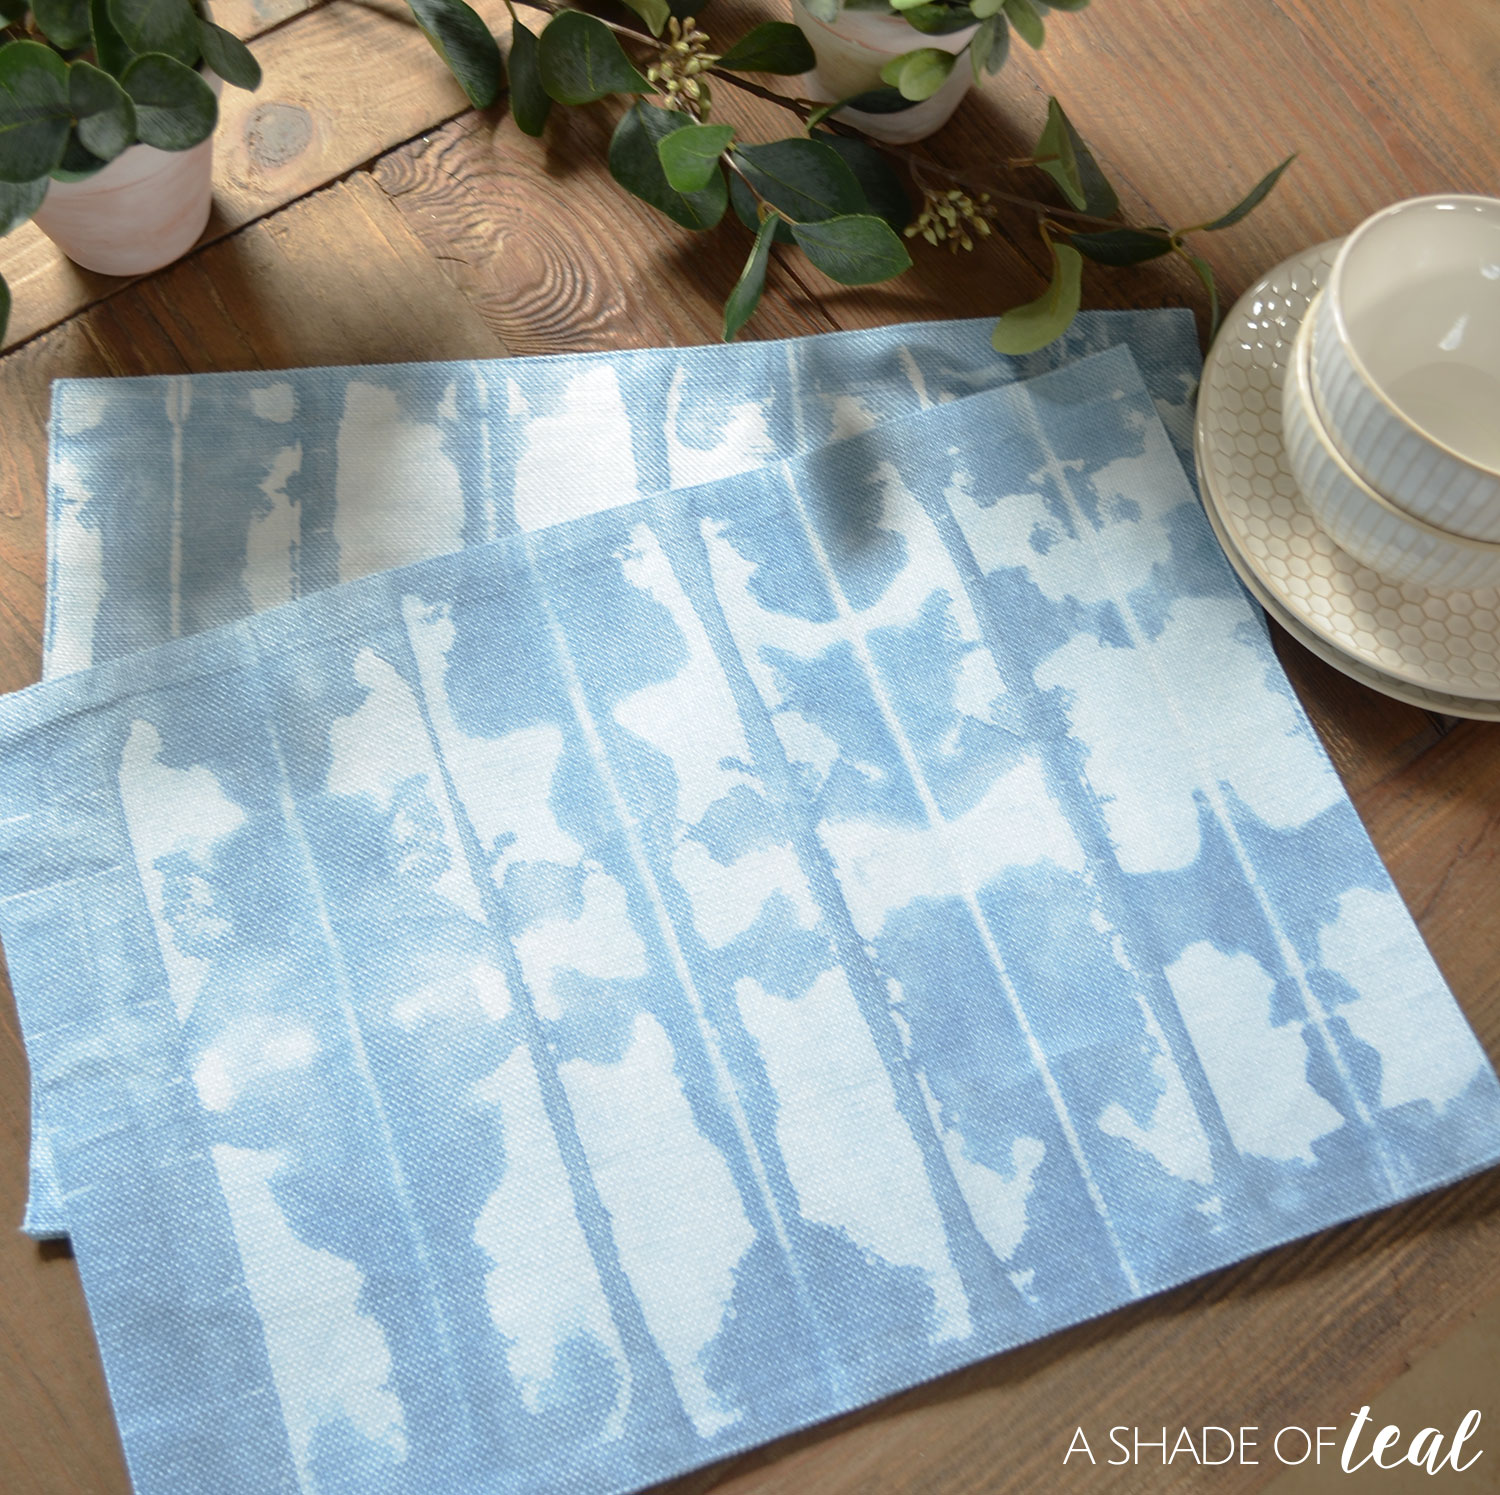
Here’s some more pictures.
So that’s’ it for my week of Shibori projects! I have another shopping guide tomorrow, but I hope your loving Shibori as much as I do, and don’t be afraid to give it a try.
If you need to catch up here are my projects on Shibori:
Shibori Inspiration & Shopping Guide // How to Shibori a Bag // How to Shibori Dye a Pillow: Create & Share Challenge // How to Shibori Dye a Placemat
Till next time, enjoy!
You Might also like:







Leave a Reply