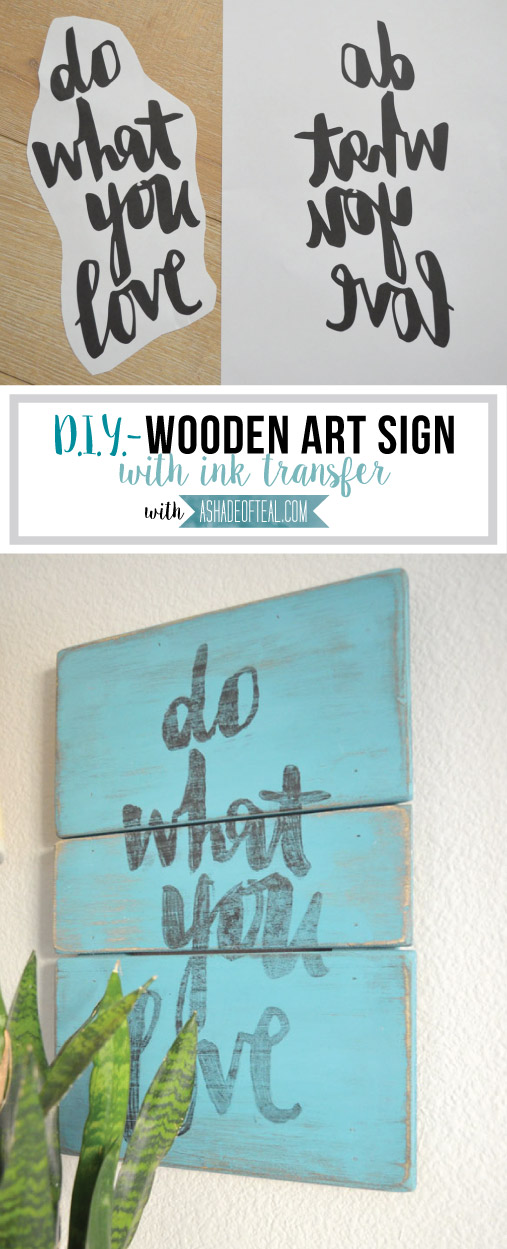
 Another DIY office project to share with you today. This DIY Wooden Art Sign with Ink Transfer was a little trickier than I planned, but in the end it worked out.
I got the idea to create my own custom art sign via pinterest. I’m sure you have all seen the easy ink transfer method. Well it all started with this quote that I felt fit my new office space perfectly.
 So I followed others steps on how to achieve a ink transfer. First off I printed out the art. I printed out the quote the correct way and then for the transfer I flipped the art and printed it out that way as well.
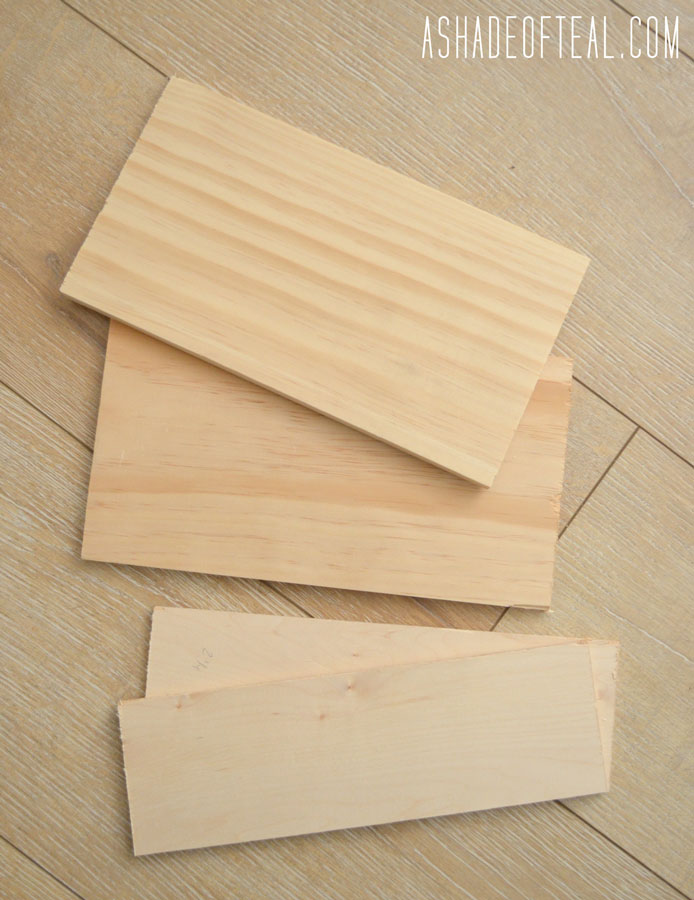
 I’ve been working on a lot of wood projects so my scrap wood pile seems to be growing; that’s where I got my pieces for this project.
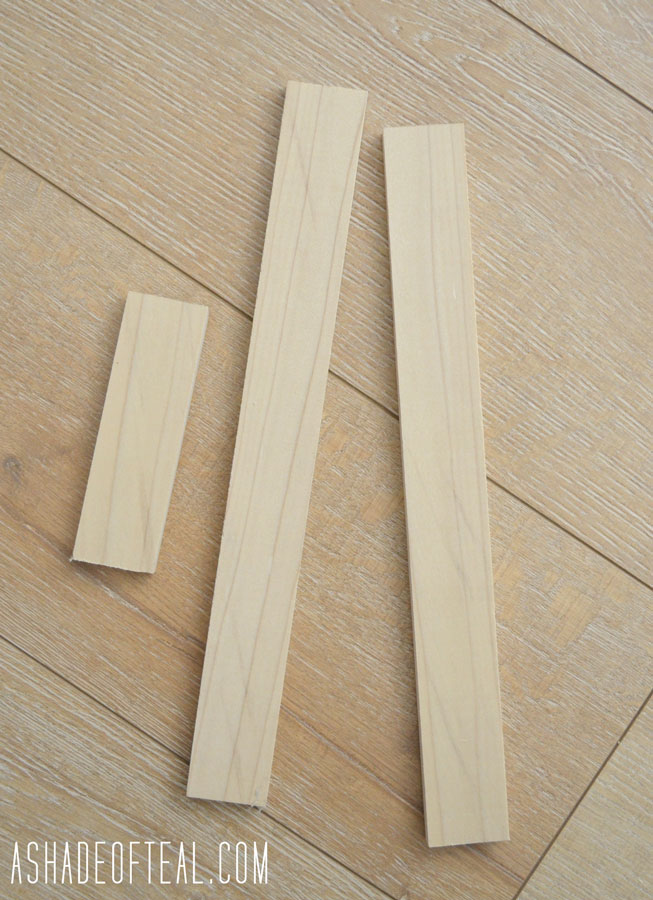
 I also cut wood trim to easily hang it on the wall.
 Then I sanded down all the wood making the edges nice and round.
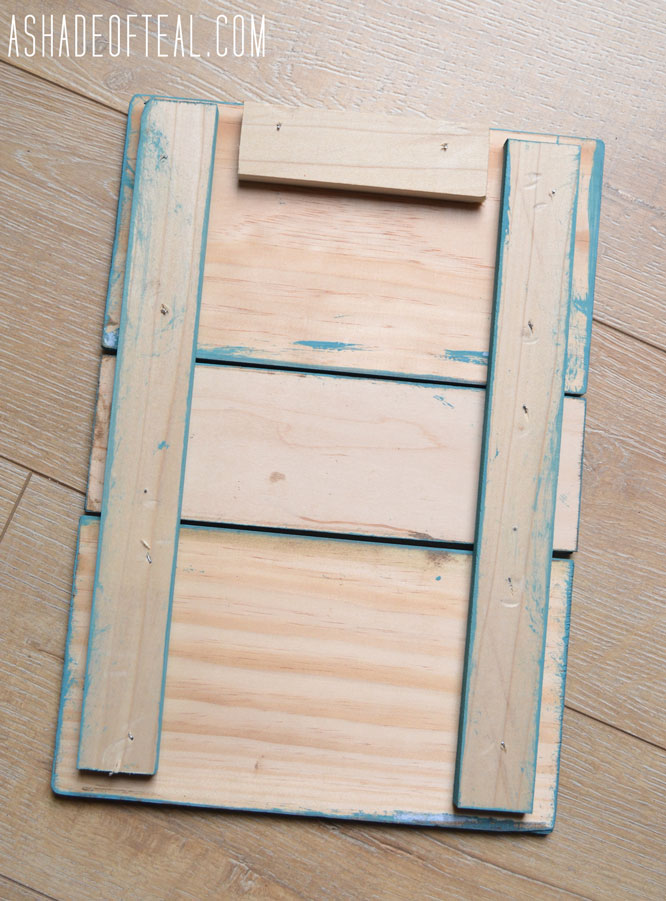
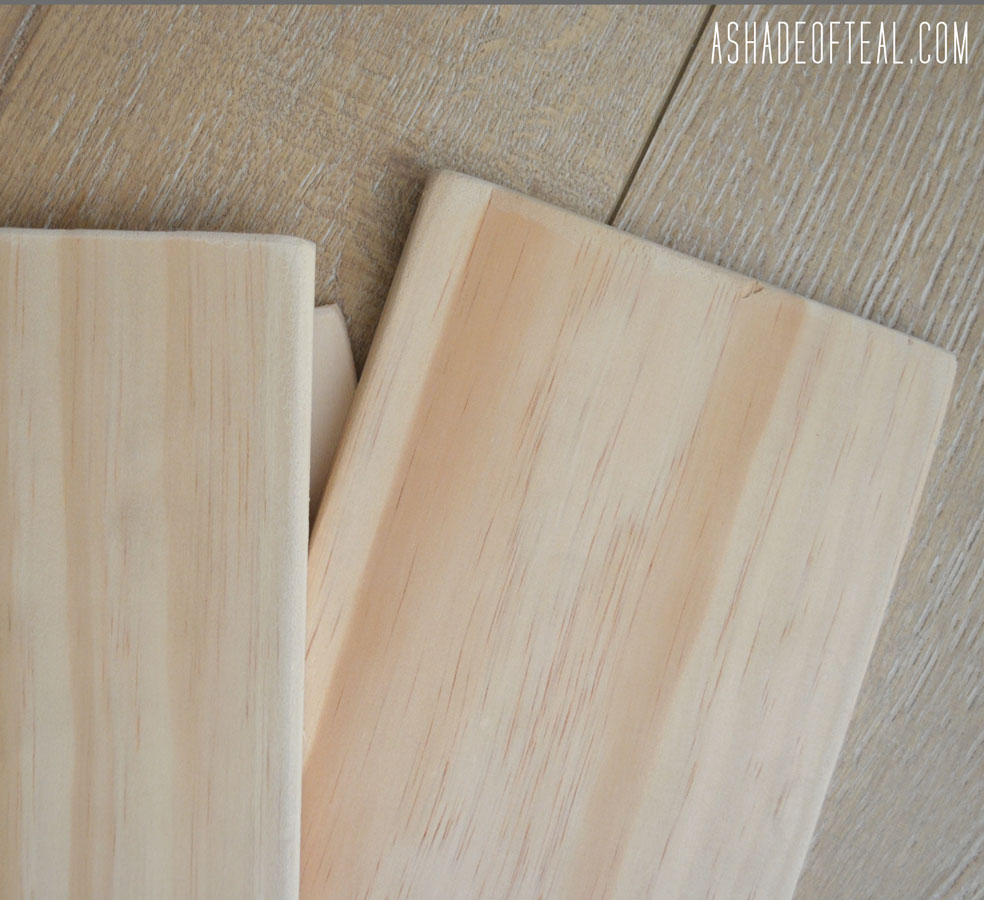 Here’s how I envisioned I would assemble the sign.
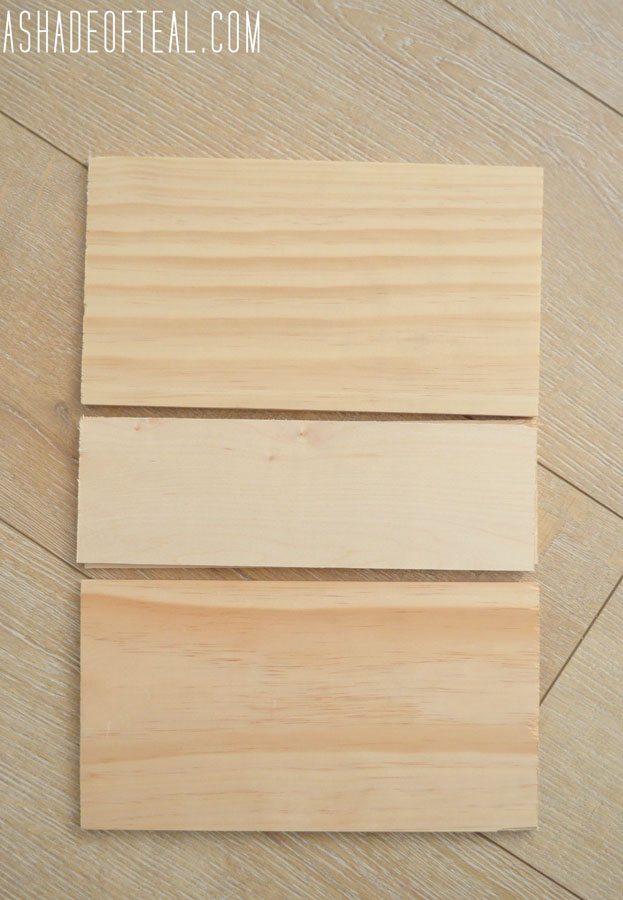
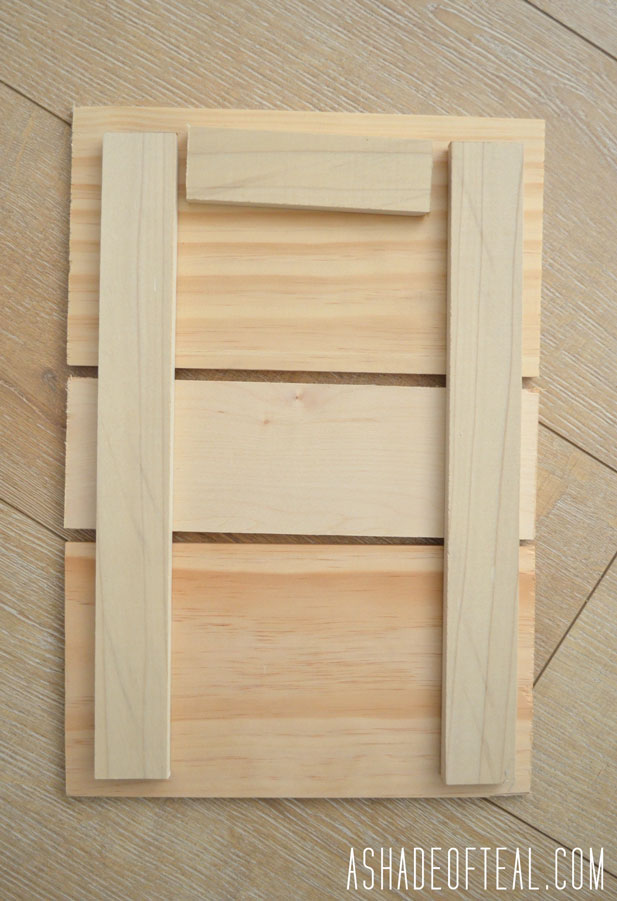 I laid the print out over the sign to make sure it fits okay.
 I then stained the wood pieces in my favorite stain color and let that dry.
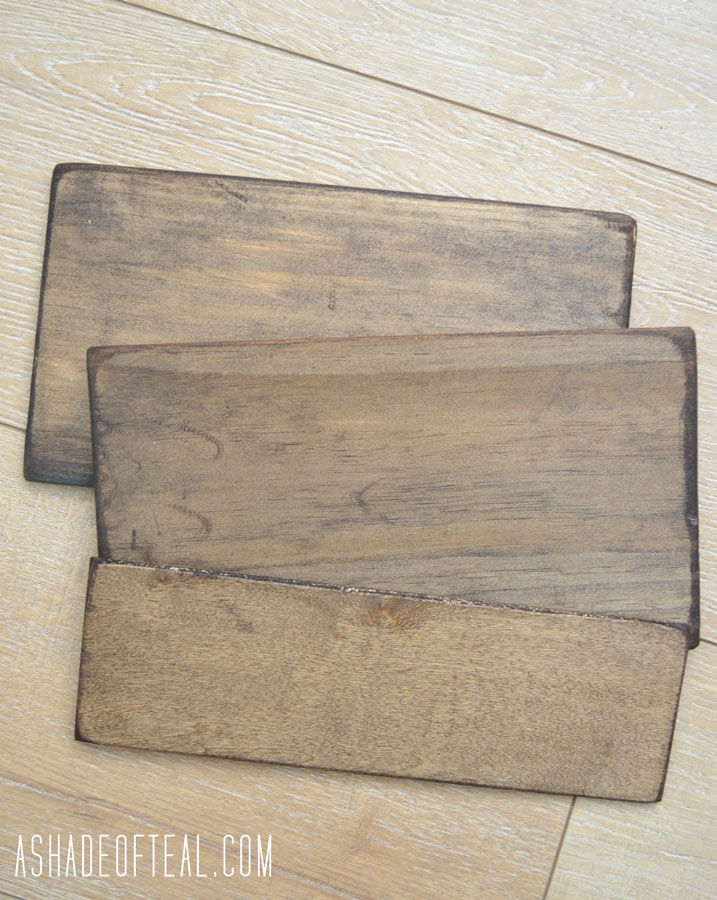 Once dry I used my new fav chalk paint, Prairie Colors Chalk Paint in Summer Rains and painted over the stain.

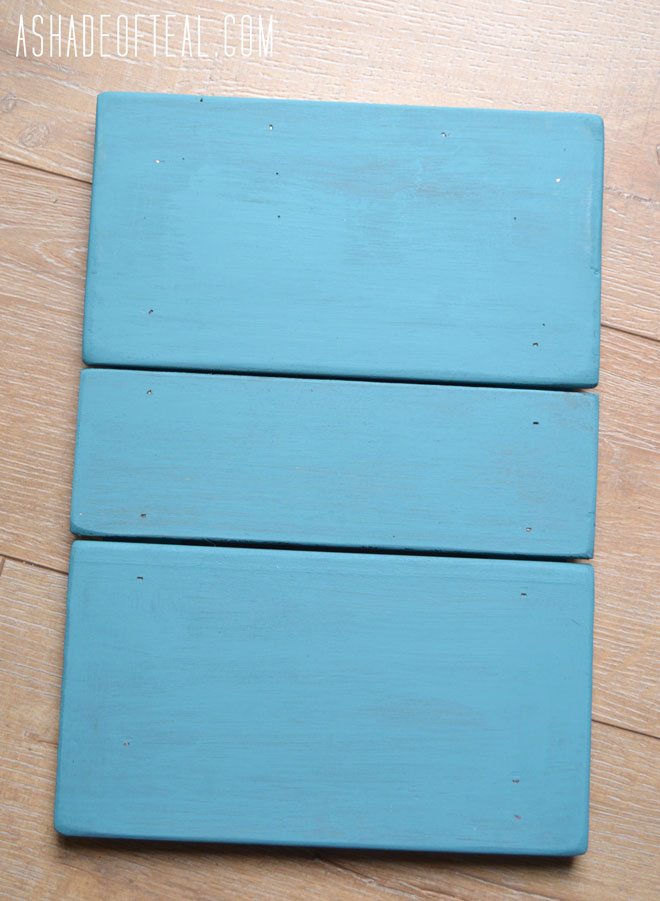 I then assembled the sign together like so.
 Finally I sanded the paint so the stain would show through.
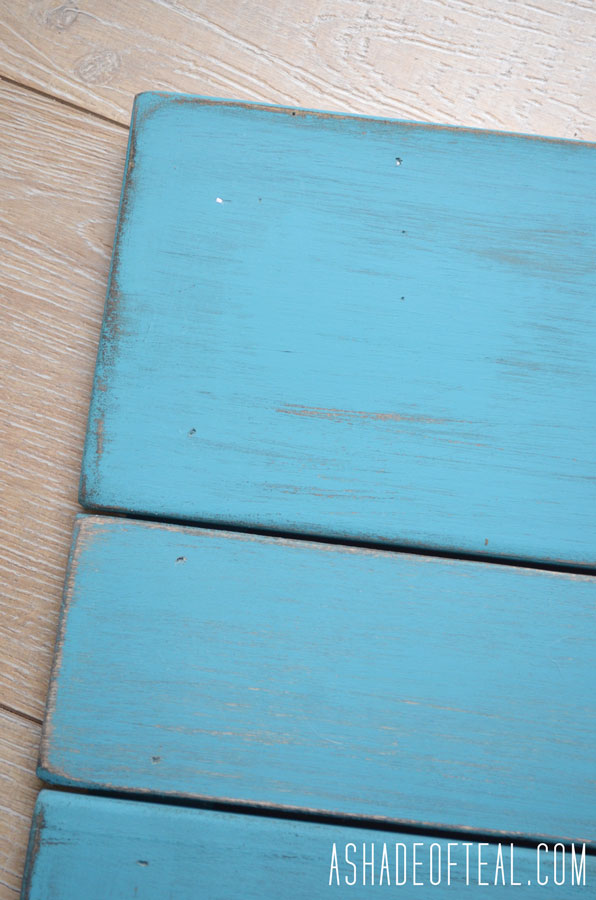 Now that the sign was built and ready I prepped for the ink transfer. Make sure you use the flipped art for the transfer.
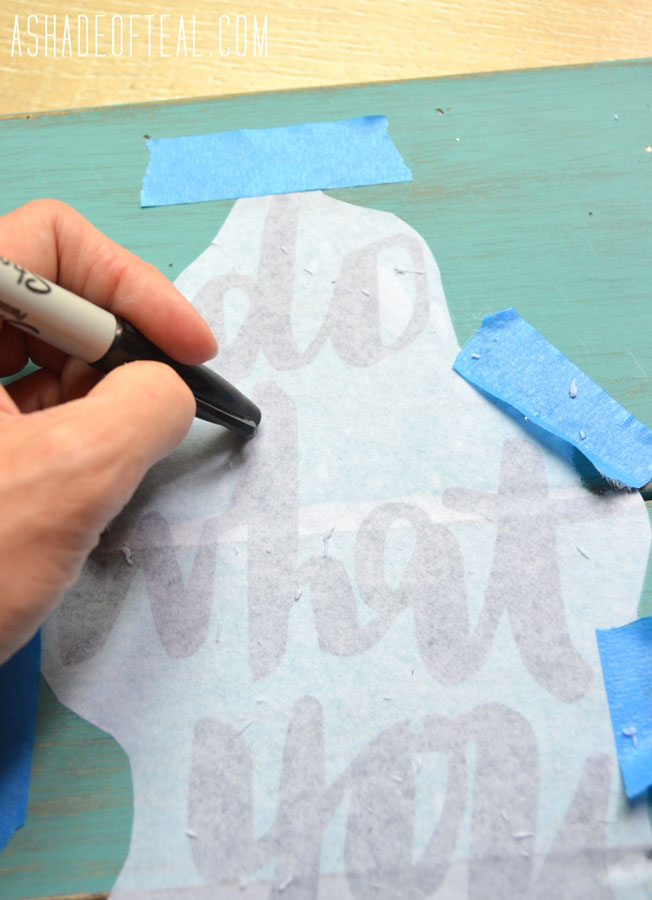
 So here’s where my misstep happened. I placed the ink side down on the wood like so and taped it in place.
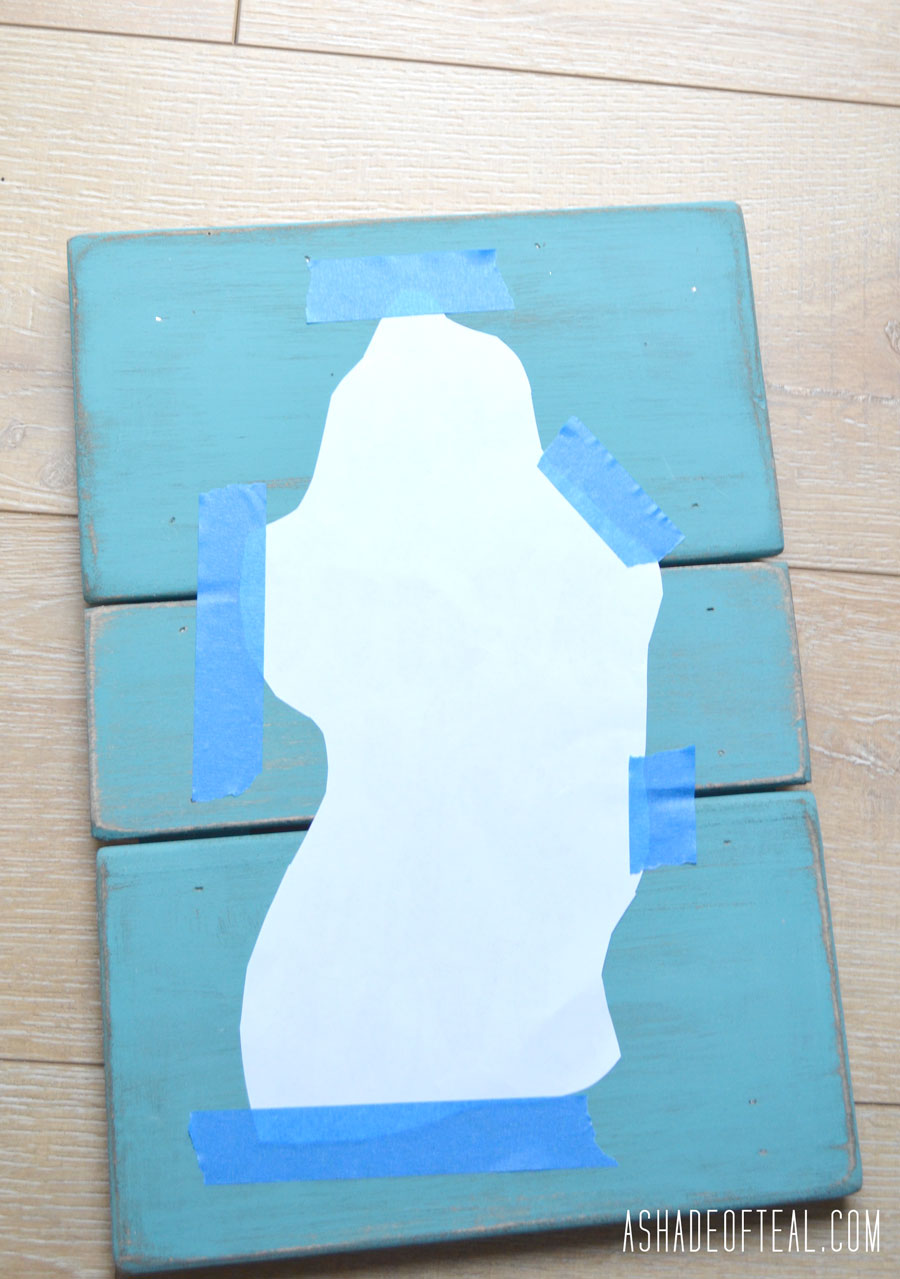 Then I brushed the paper with water, but not making it completely drenched.
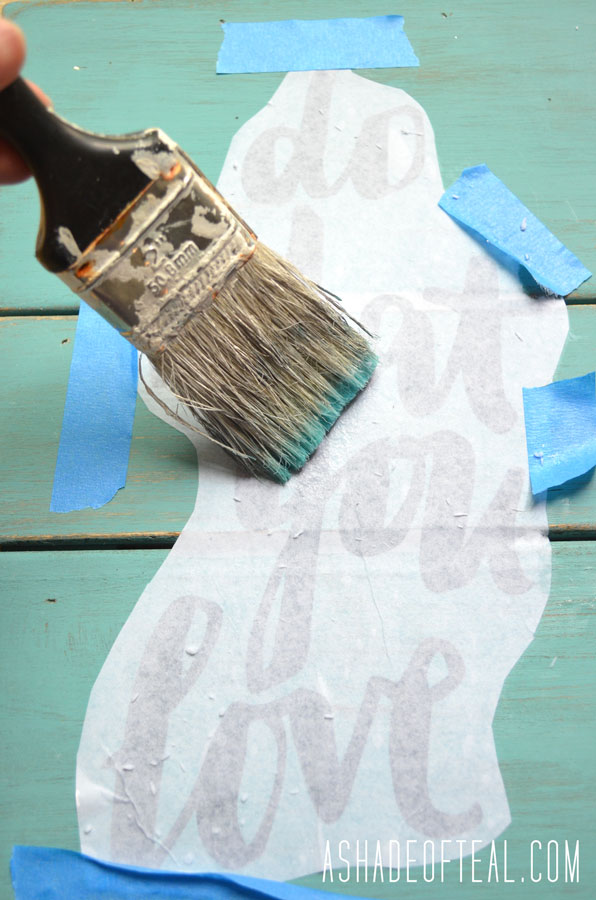 Then I spent some time drawling over the art and tracing it as if I was coloring it in.
 Well, my results were not so good. There was a faint ink left on the sign. I mean really faint and not enough to trace and not enough to take a picture of it either!
Then it dawned on me I had printed my art on a Laser printer and ink transfer works best with a Ink Jet printer. So instead of wasting any more time I tried printing out the art on my ink-jet but I went straight to printing it out on wax paper.
This took some time to get it perfect. I would cut down the wax paper to 8.5″x11″ and tape it to a piece of paper. I think I did this 10 times before I got the printer setting correct so it wouldn’t jam.
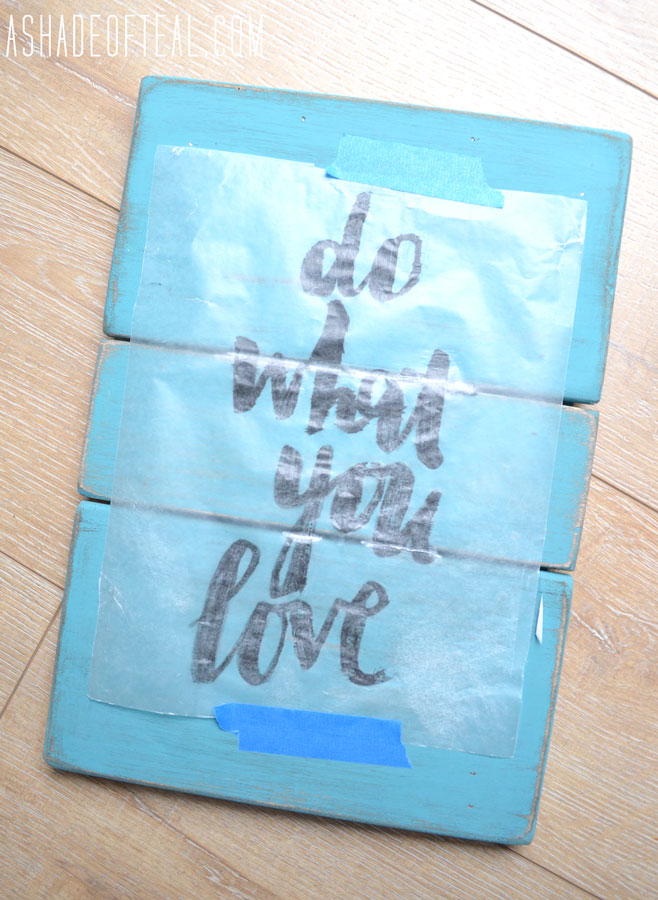 Finally it worked and I taped it up on my sign.
Again I traced over it along with coloring it in.
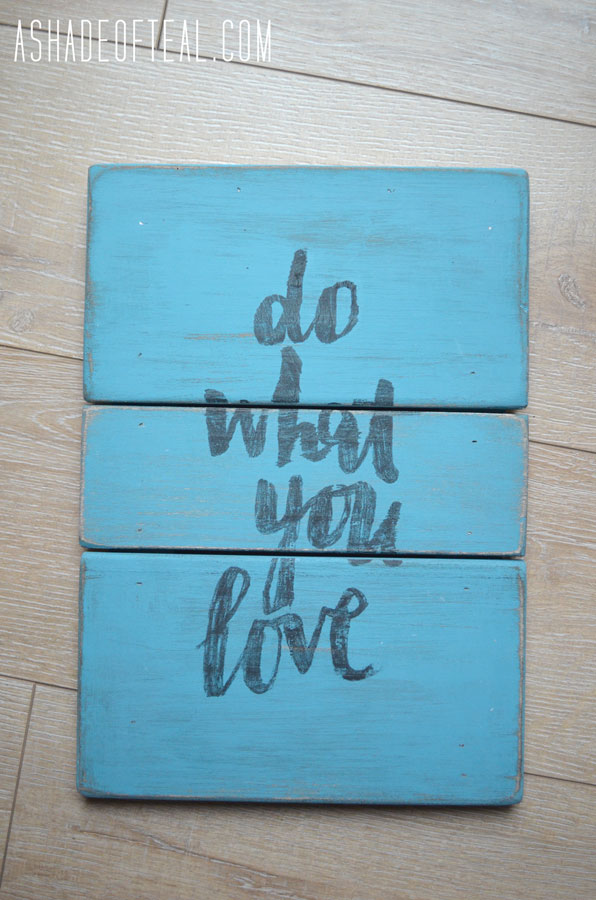 Well it worked, but to my dismay it was too small. I guess when I re-printed the art on wax paper I accidentally re-sized the art too small.
It wasn’t horrible but I felt like it was weak looking. So, I re painted and sanded, re-printed out the art in a larger size, and finally re-traced, and DONE!
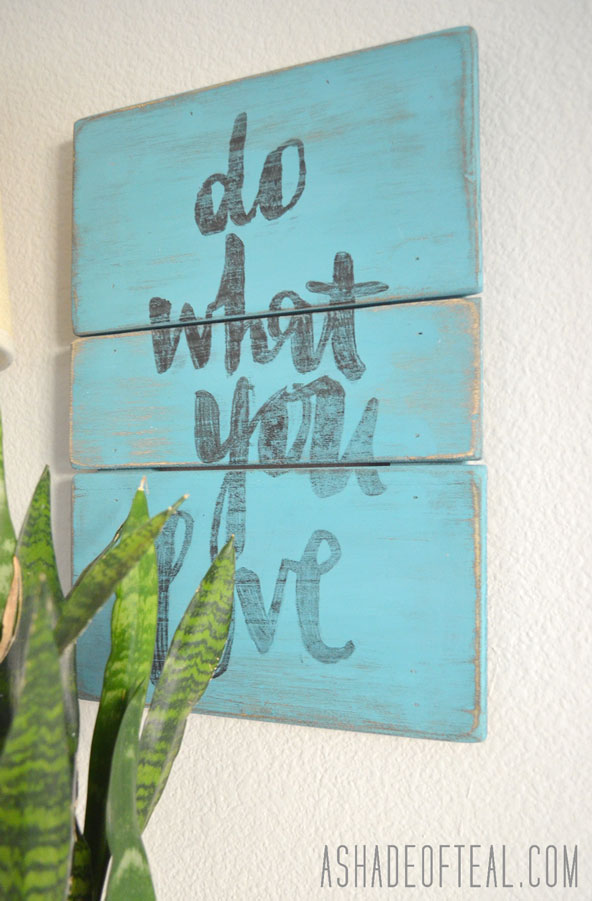
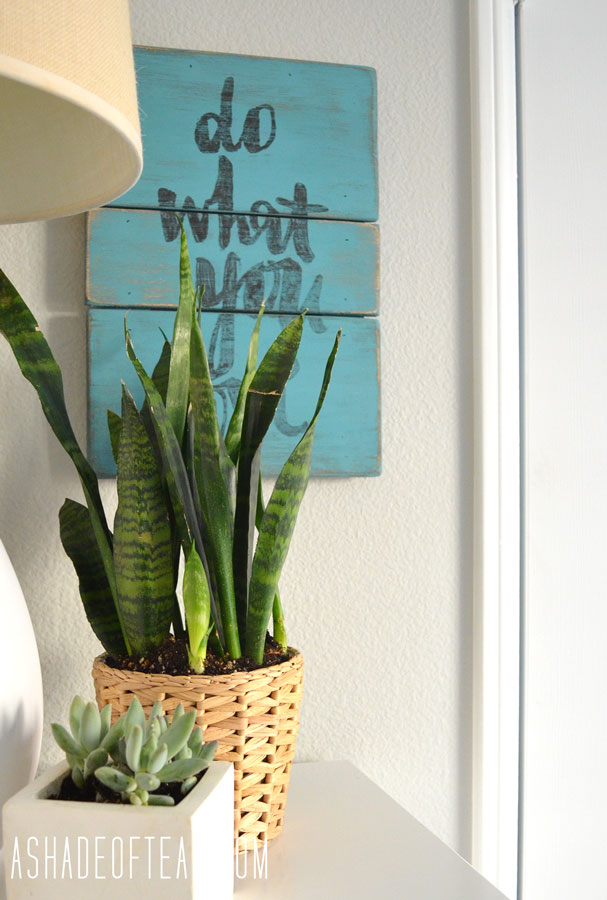 So much better. Who would have guessed a seemingly easy DIY project wouldn’t be so easy! In the end I love the result, and now I know what to do next time!
Check out this other project I also used Prairie Colors Chalk Paint.
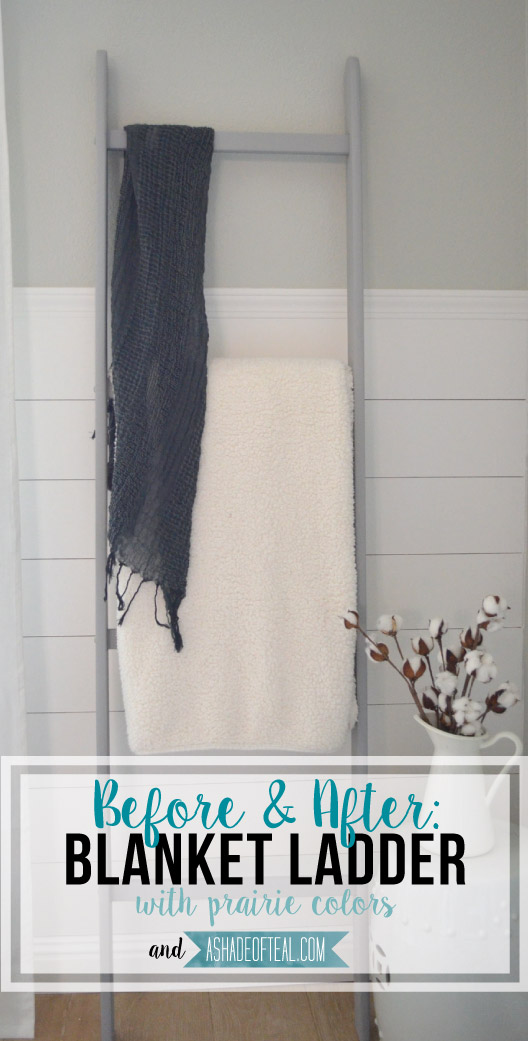 If you missed any of my office makeover find all the links here:
Week-1 // Week-2 // Week-3 // Week-4 // Week-5 // Reveal
Enjoy!
Follow Along:
Bloglovin // Pinterest // Facebook // Etsy // Google




Would you mind sharing you assembled the wood pieces? Or is there another blog post with that info?
Thanks!
Hi Karilee, sorry I did forget to to mention that. I updated the post, but all I did was lay it out like pictured and then used a nail gun to nail the back trim pieces to the front pieces. Hope that makes sense! Let me know if you need more details.
Thanks for sharing on the DIY Wall Art Blog Hop! I am featuring your DIY wooden sign on a round up of some great, easy wall art from the blog hop. http://www.casawatkins.net/2015/07/8-easy-and-beautiful-diy-wall-art-ideas.html
Thanks Stephanie!
Artistic work! The art sign “Do What You Love” is inspiring. Seriously, that’s one of what I believe in. I’m so excited to make one and post it inside my room or somewhere in the house that visitor can see it.
Artistic work! The art sign “Do What You Love” is inspiring. Seriously, that’s one of what I believe in. I’m so excited to make one and post it inside my room or somewhere in the house that visitor can see it.
Website: http://woodwork.guide/chicken-coop-plans.html