Happy Monday, hope you had a good weekend. I was busy working on my Office Makeover for the One Room Challenge.
Today I wanted to share an easy DIY Rustic Hanging Art project.
Supplies Needed:
-4 pieces of Scrap wood, 1 1/2″ x 8 3/4″
-Jute Twine or Rope
-Staple Gun
-Art, I found mine on-line.

 First you’ll need to cut the wood to the size of your art. I printed my art on standard letter size, 8.5″x11″. So my wood pieces were cut to 8 3/4″ wide.
 I then sanded the edges to give it a rounded effect. Then I stained all 4 pieces.
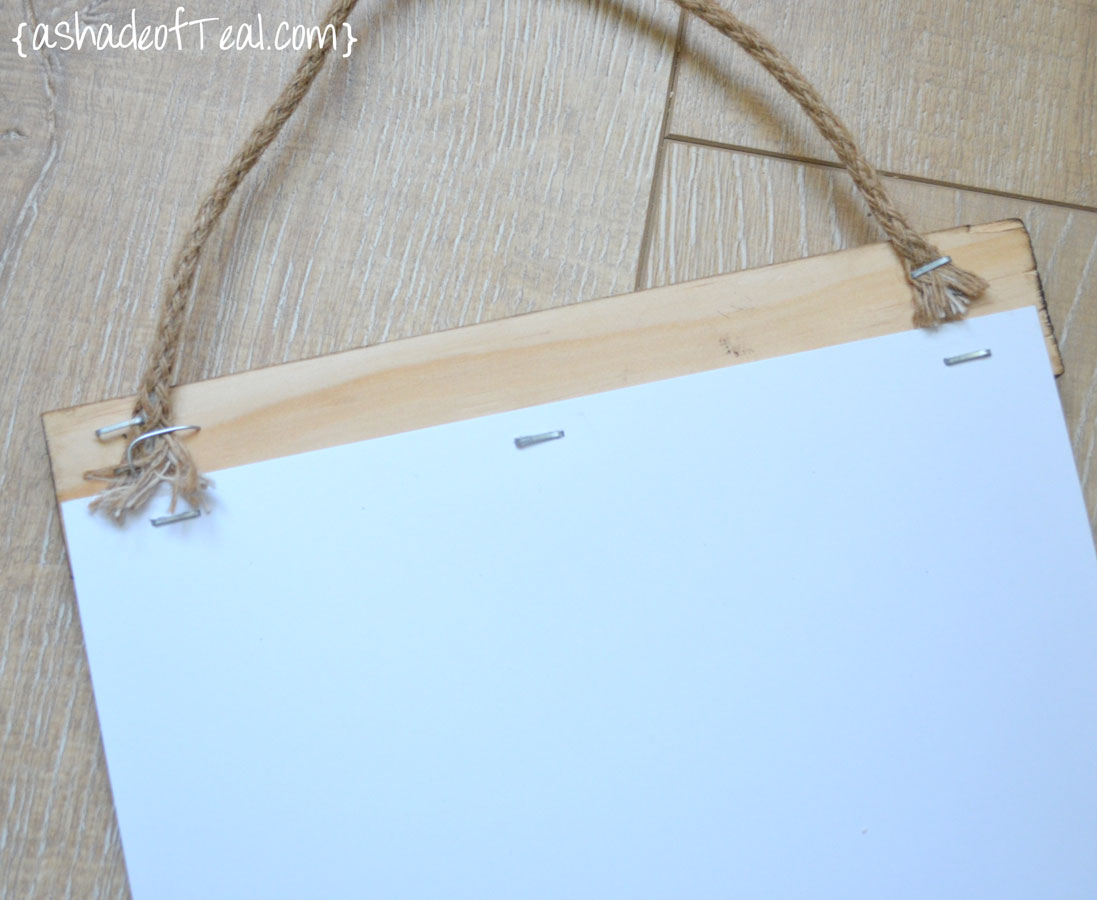
 After they were dry I attached my jute twine to the back using my staple gun.
 Next, I attached the art making sure to line it up as straight as I could. I also printed the art on cardstock, you might be okay using regular paper but I wasn’t sure if the wood would hold up.
 Now add the bottom piece of wood the same way.

 That’s it!, Super easy project. Plus if I hate the art in a month I can just print our new art to replace it.
 What do you think? Isn’t it cute!
Make sure to follow along on my One Room Challenge for the entire office reveal.
Enjoy!
Follow Along:
Bloglovin // Pinterest // Facebook // Etsy // Instagram // Twitter // Hometalk // Google+


These are awesome! Such a cute way to display art. Will be sharing and pinning!
Thanks Tiffany!
I love what you have done. I have made a design on canvas board that i want to frame. I think this is the way to do what i want.
Did you put the boards on front and back? I understand most of your explanation but i get lost with using 4 boards. Maybe i am missing something here. Can you guide me through attaching the 4 boards?
Thank you.
No, just 2 boards per frame. I think the 4 boards is mentioned because I made 2 frames.