This post has been sponsored by Wagner. This post also contains affiliate links. All opinions and comments are 100% mine, I only promote products I believe in.
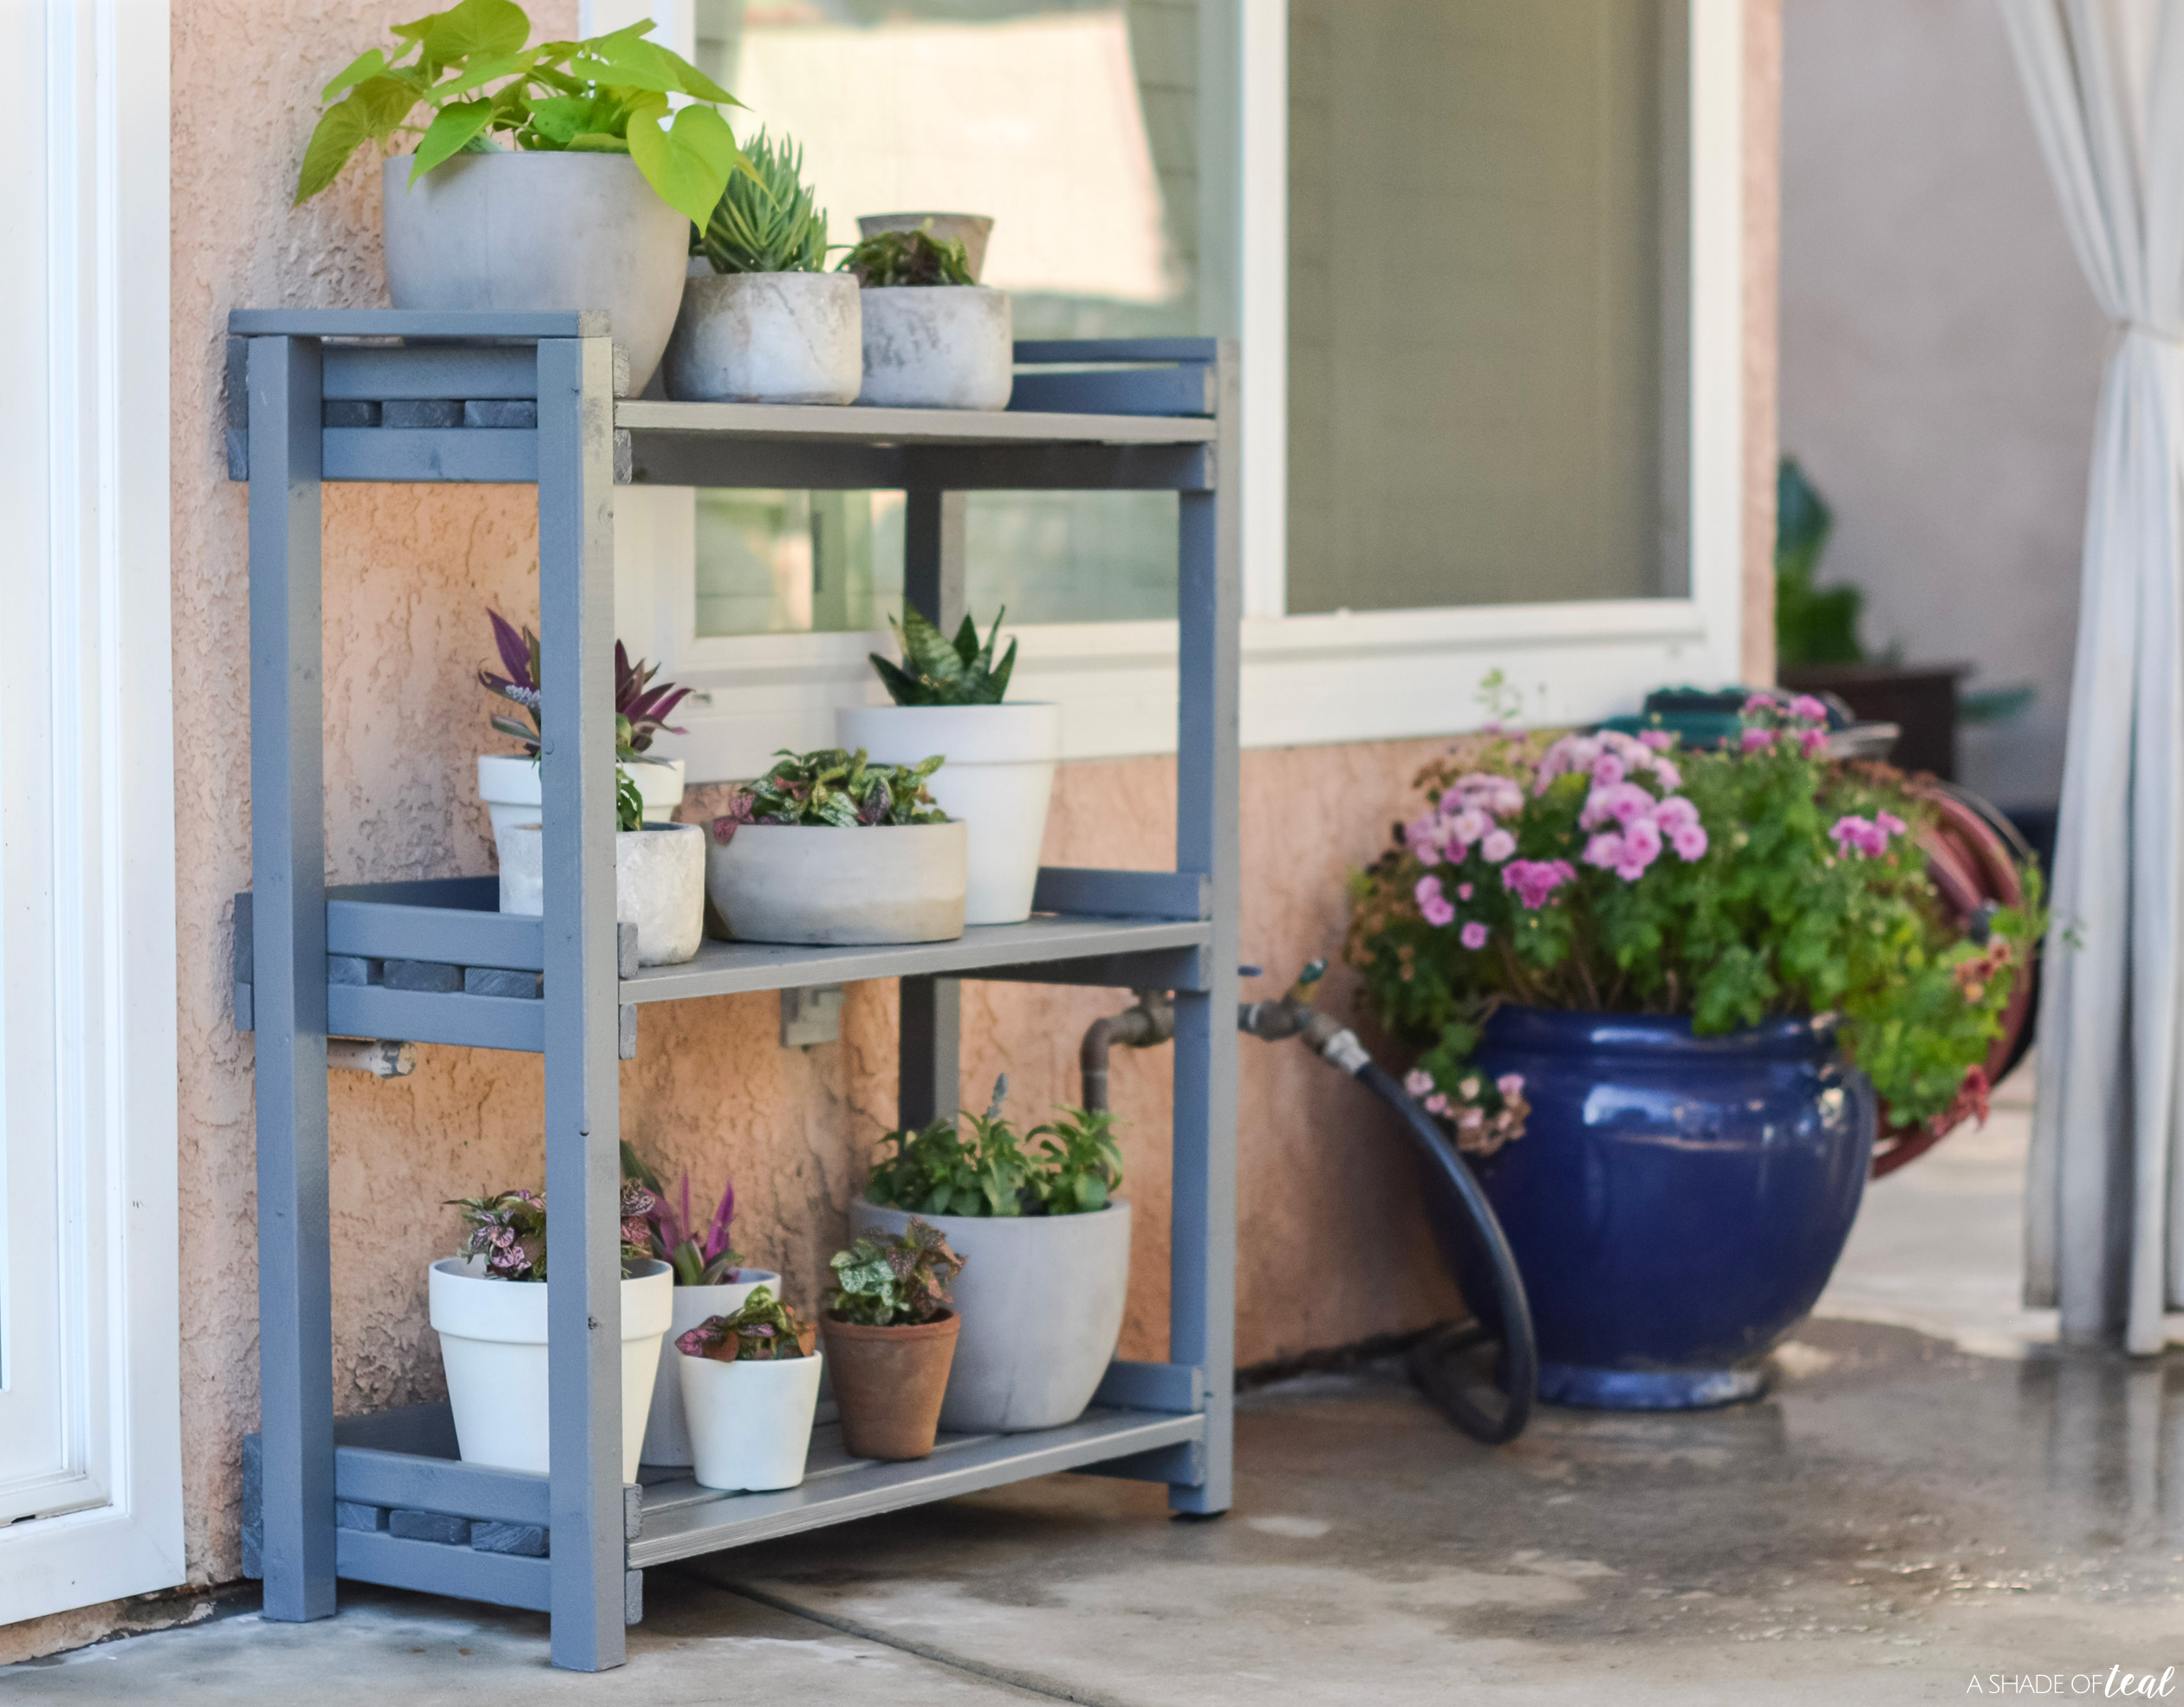
After having potted plants scattered across my backyard it was finally time to do something about it. I seem to always be working on my yard, and my biggest challenge is to de-clutter. So, I decided to help with the potted plant situation by building a plant shelf stand.
How to make a Outdoor Plant Shelf
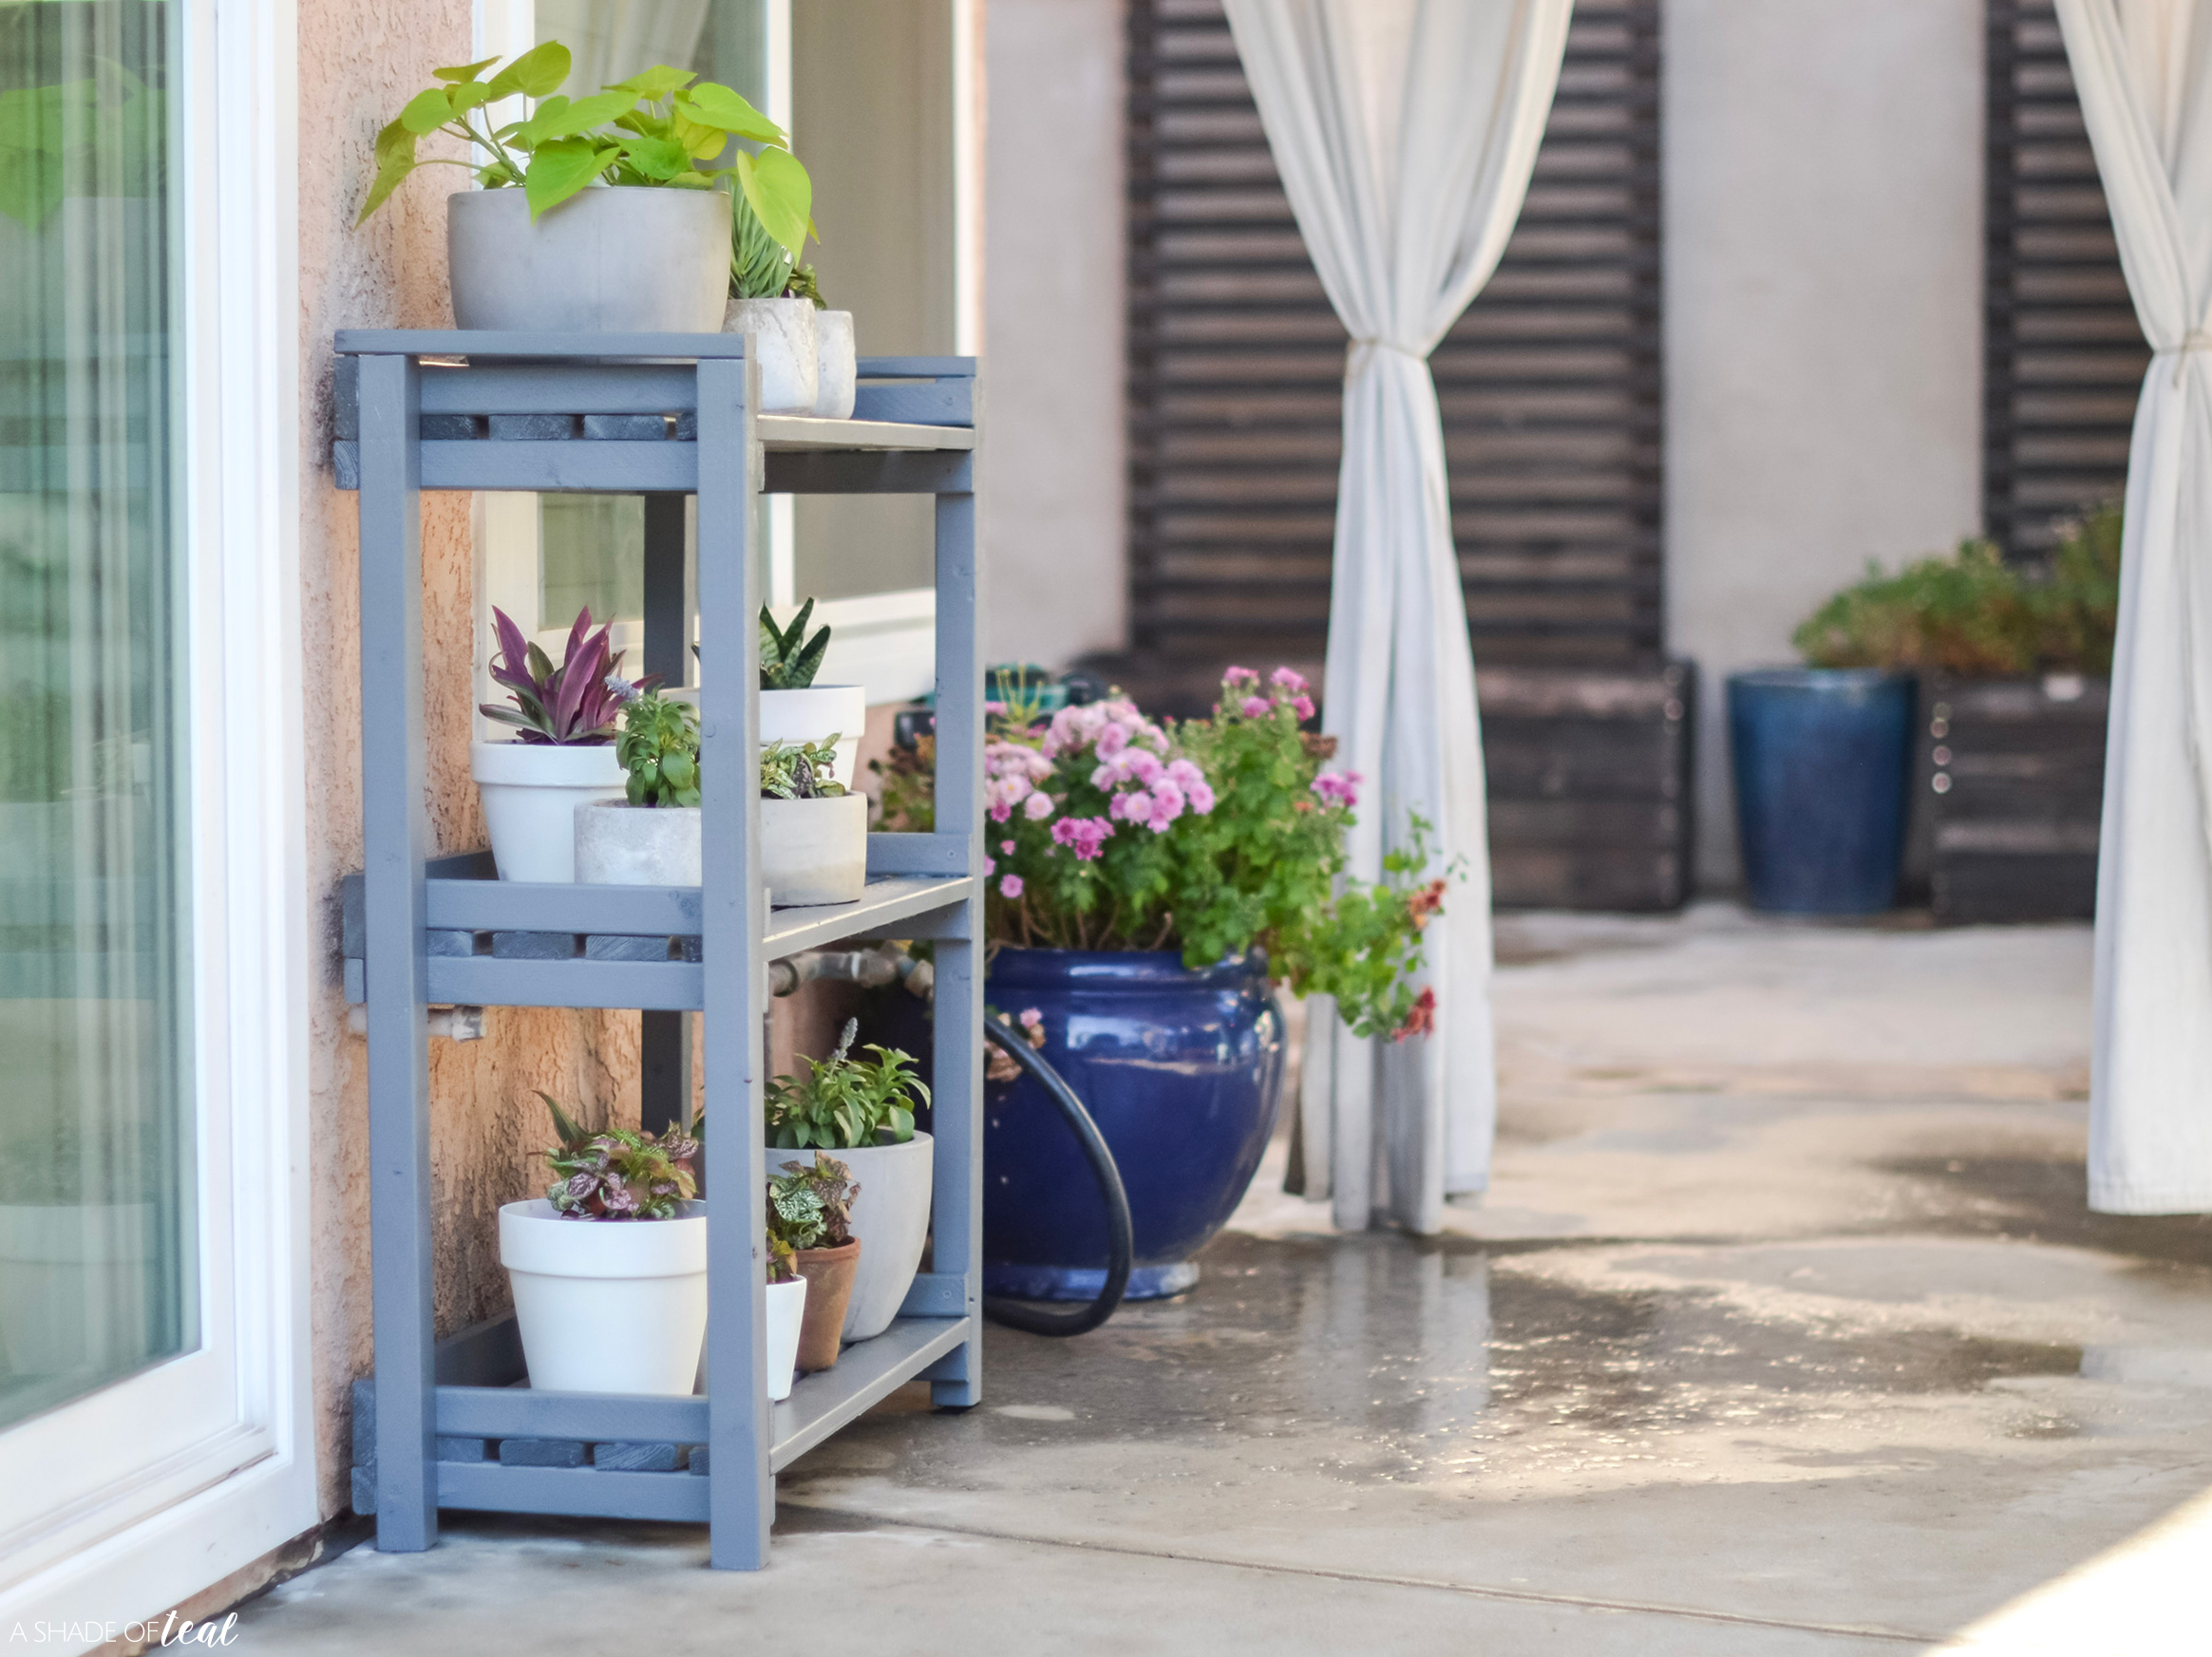
I love the idea of a place to store and organize all my small potted plants. I also wanted something to help complete the space between my slider door and where my wall mounted hose is. For some reason, this small section of my yard always seemed messy and incomplete. But after building and setting up a plant stand it finally looks finished.
Here’s how to build and paint an outdoor plant shelf.
Build Materials:
In order of build steps.
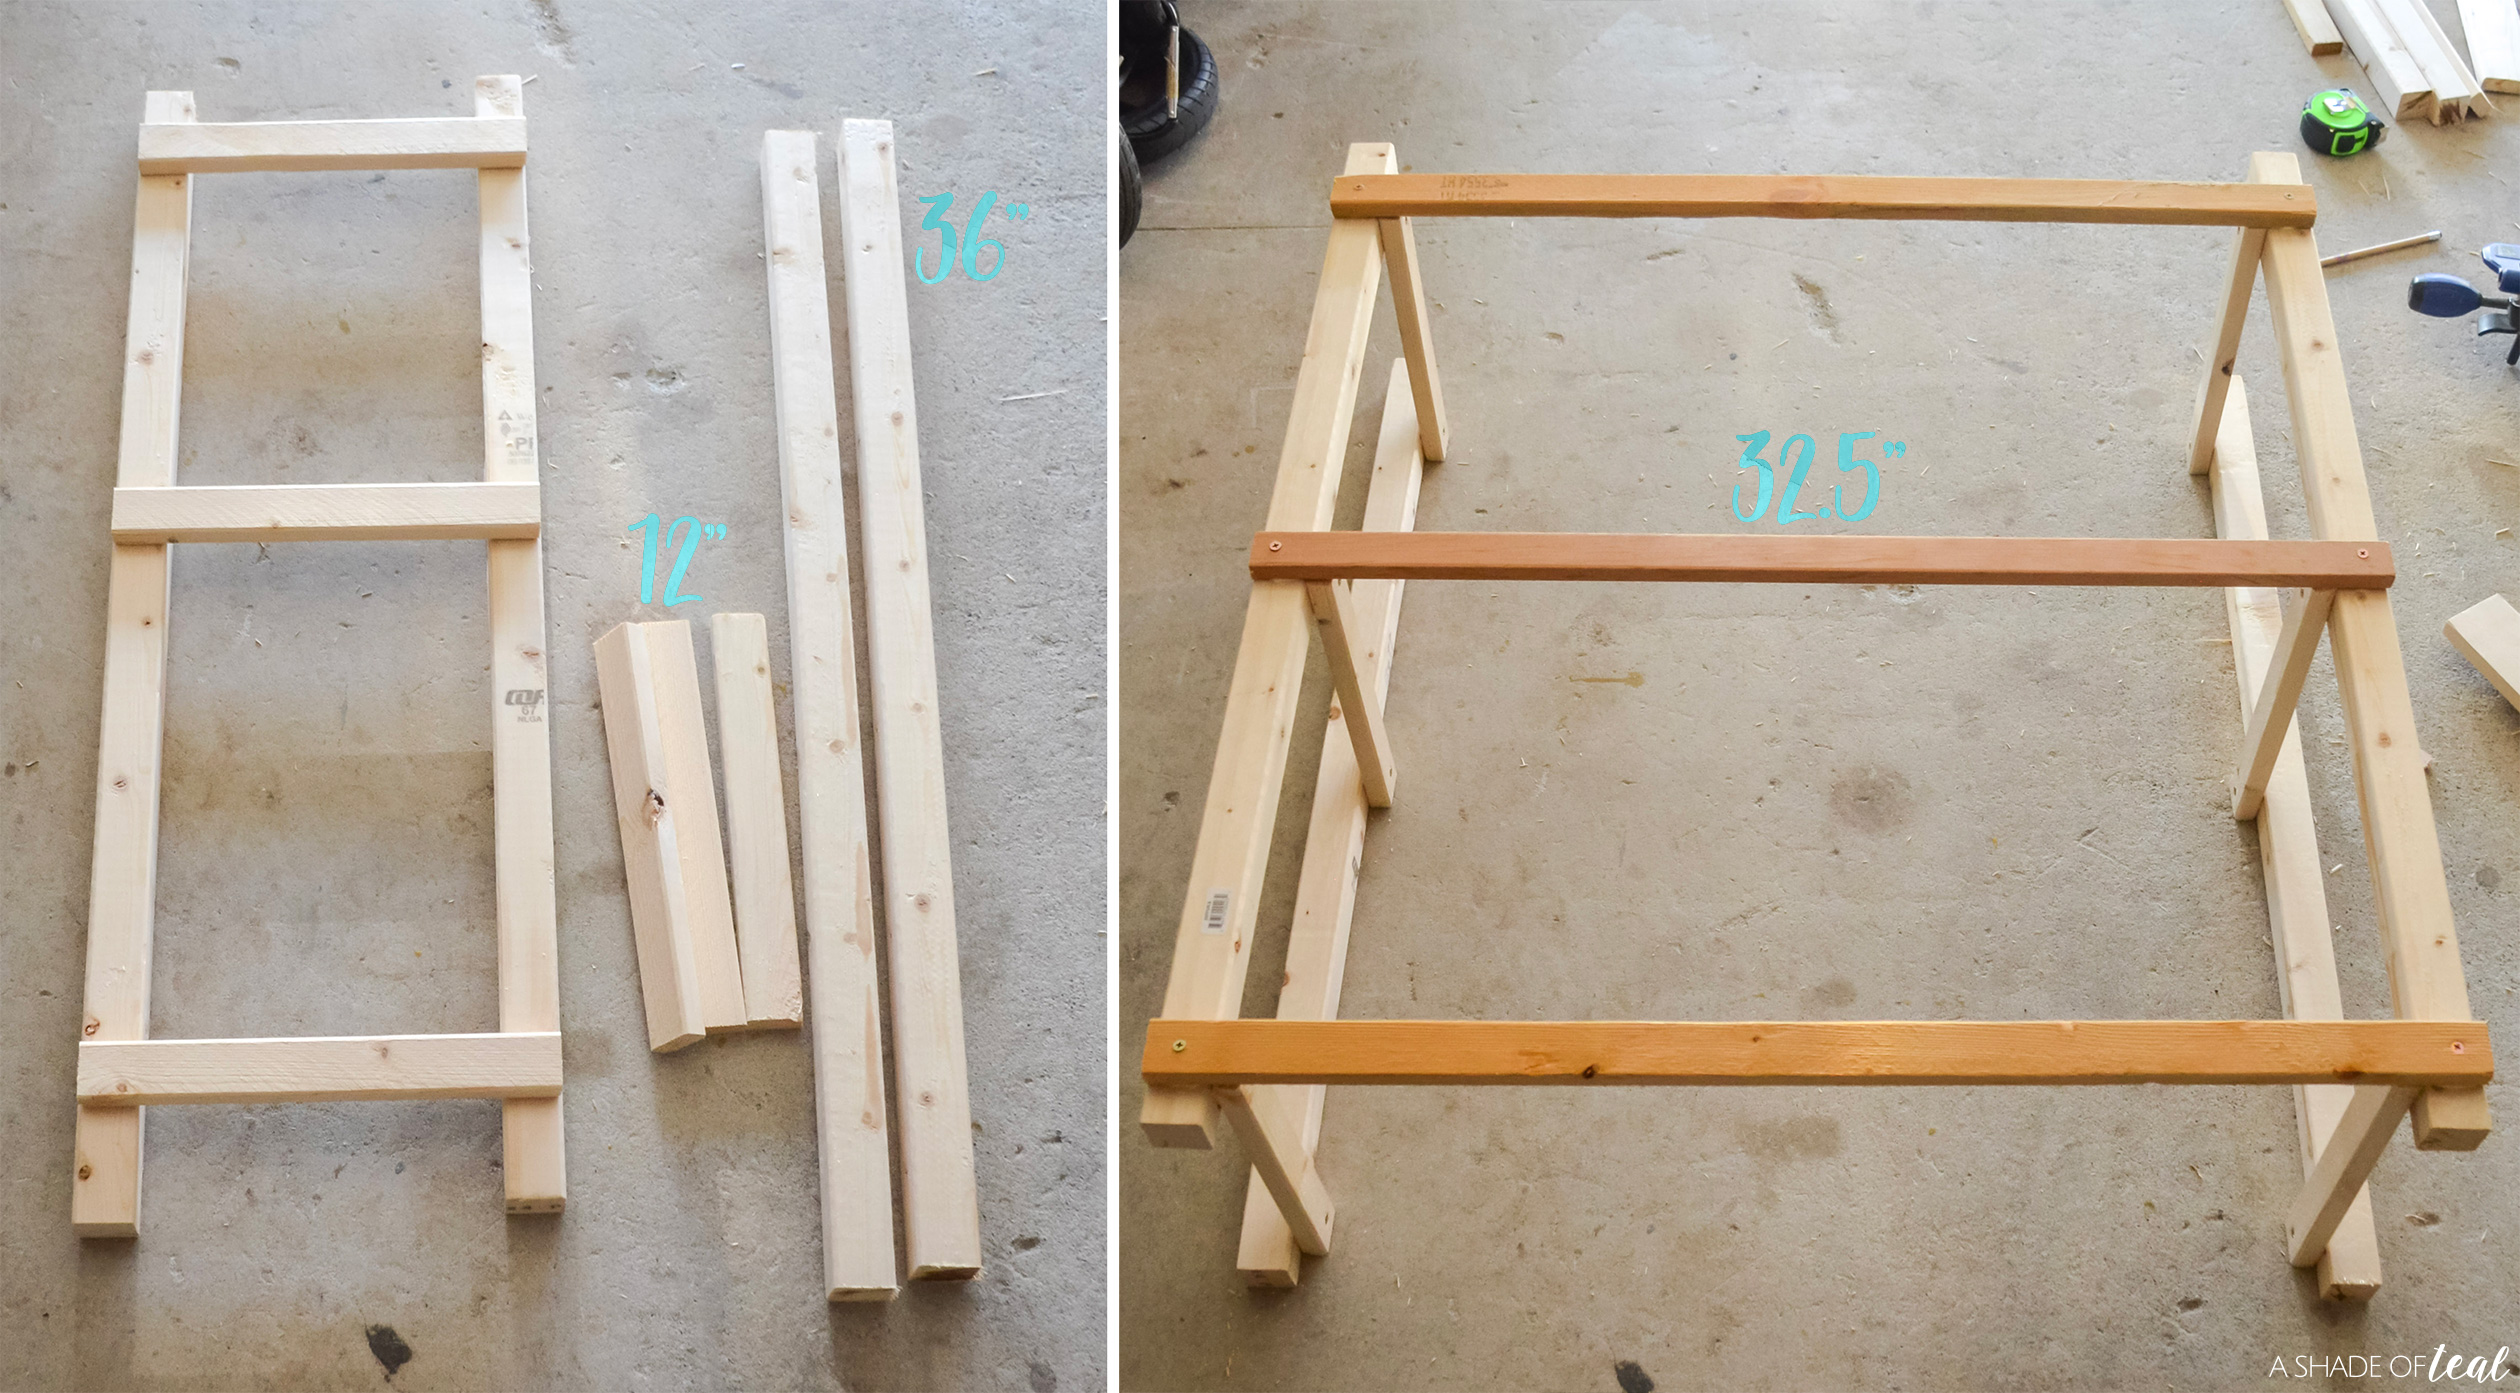
- (4) 2×2 cut to 36″
- (6) 1×2 cut to 12″
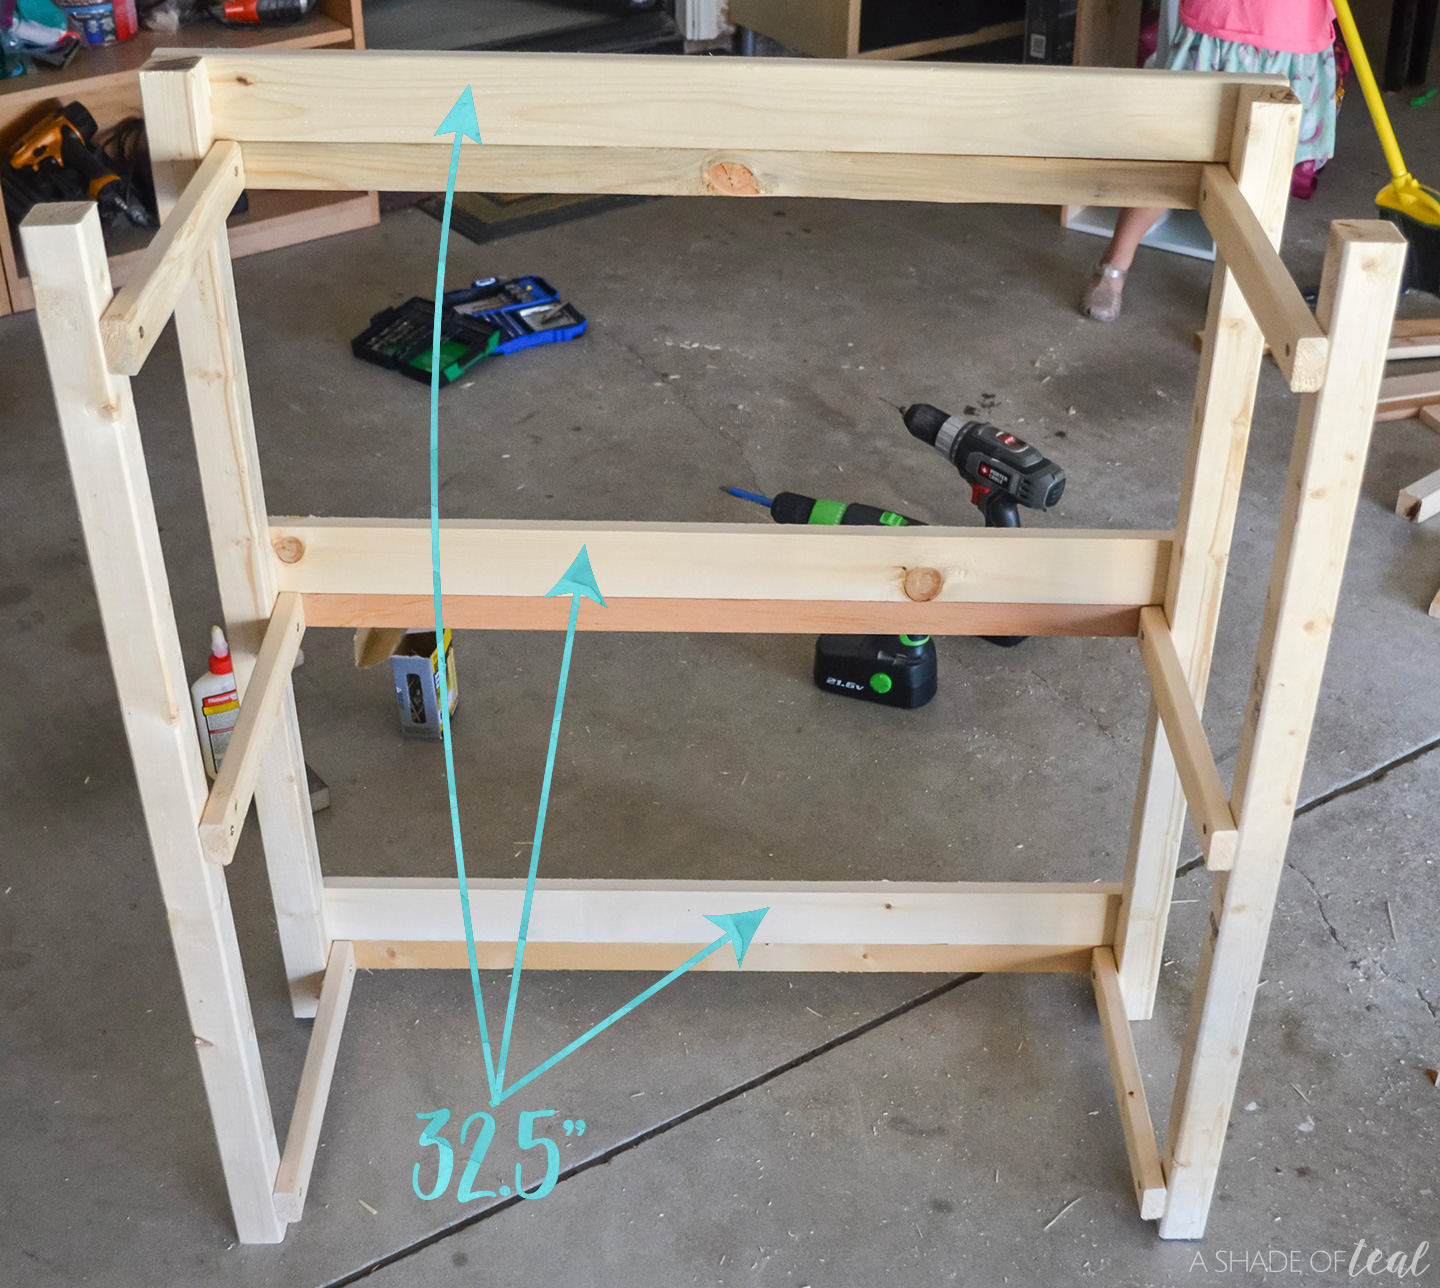
- (3) 1×2 cut to 32.5″
- (3) 1×3 cut to 32.5″
- (12) 1×3 cut to 29.5″
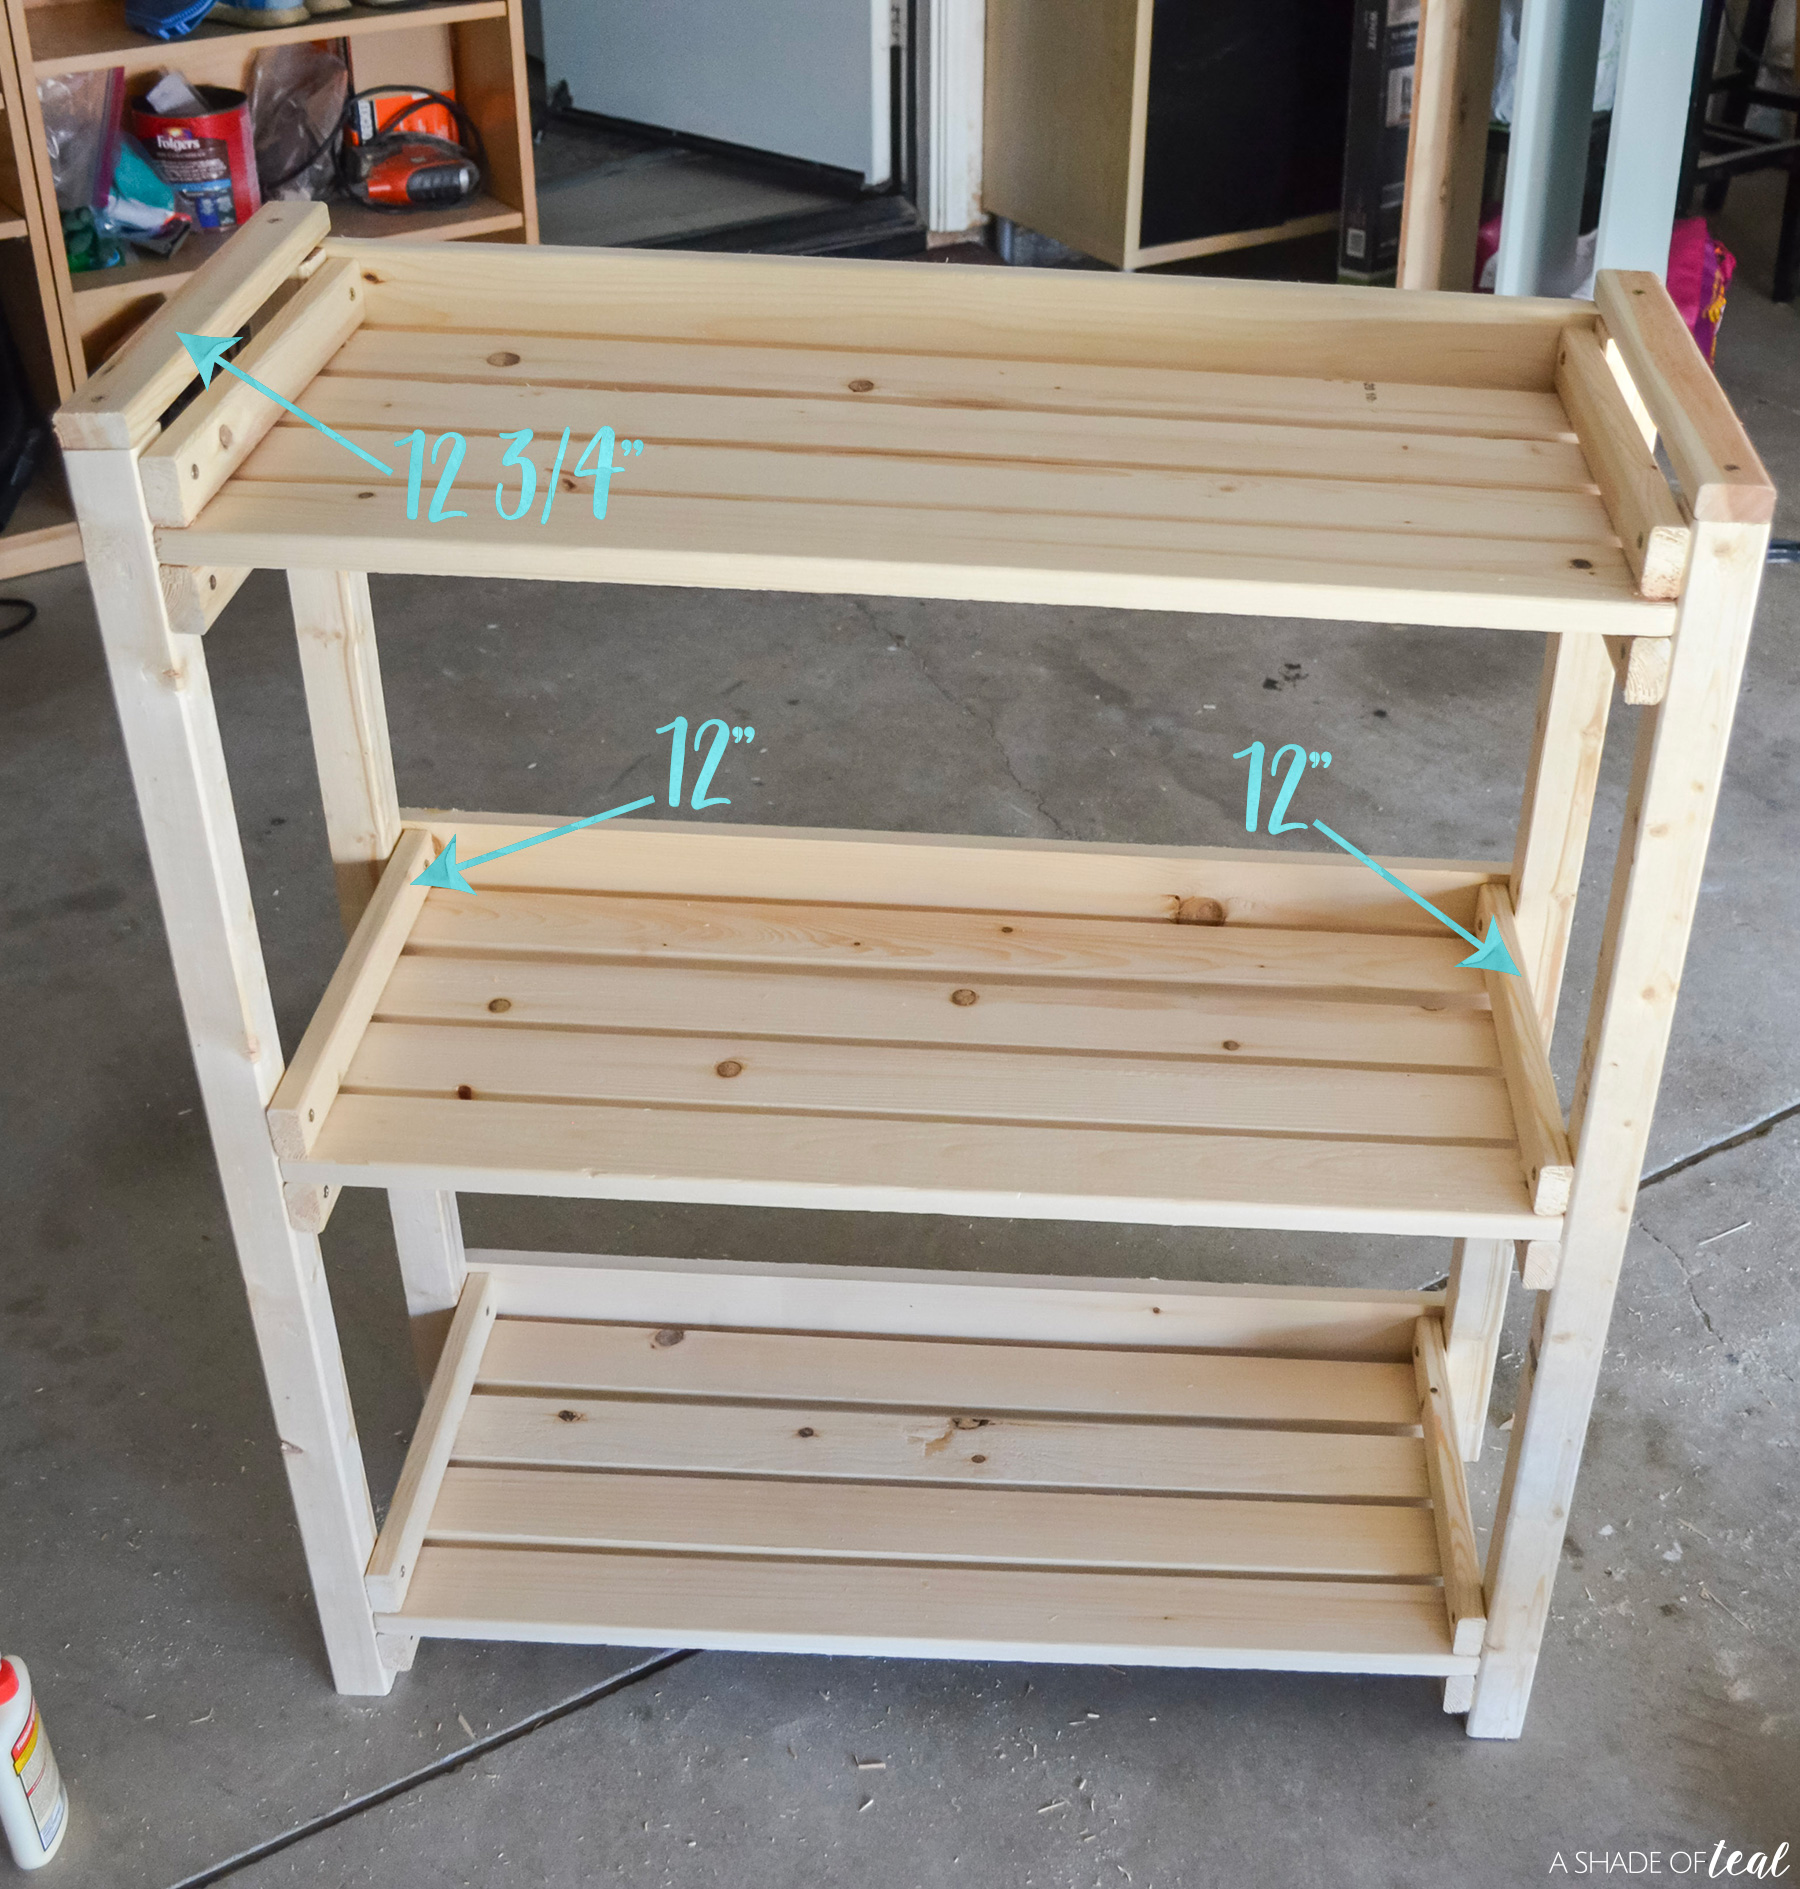
- (2) 1×2 cut to 12 3/4″
- (6) 1×2 cut to 12″
- 2″ Wood Screws
- Wood Glue
- Power Drill
Paint Materials:
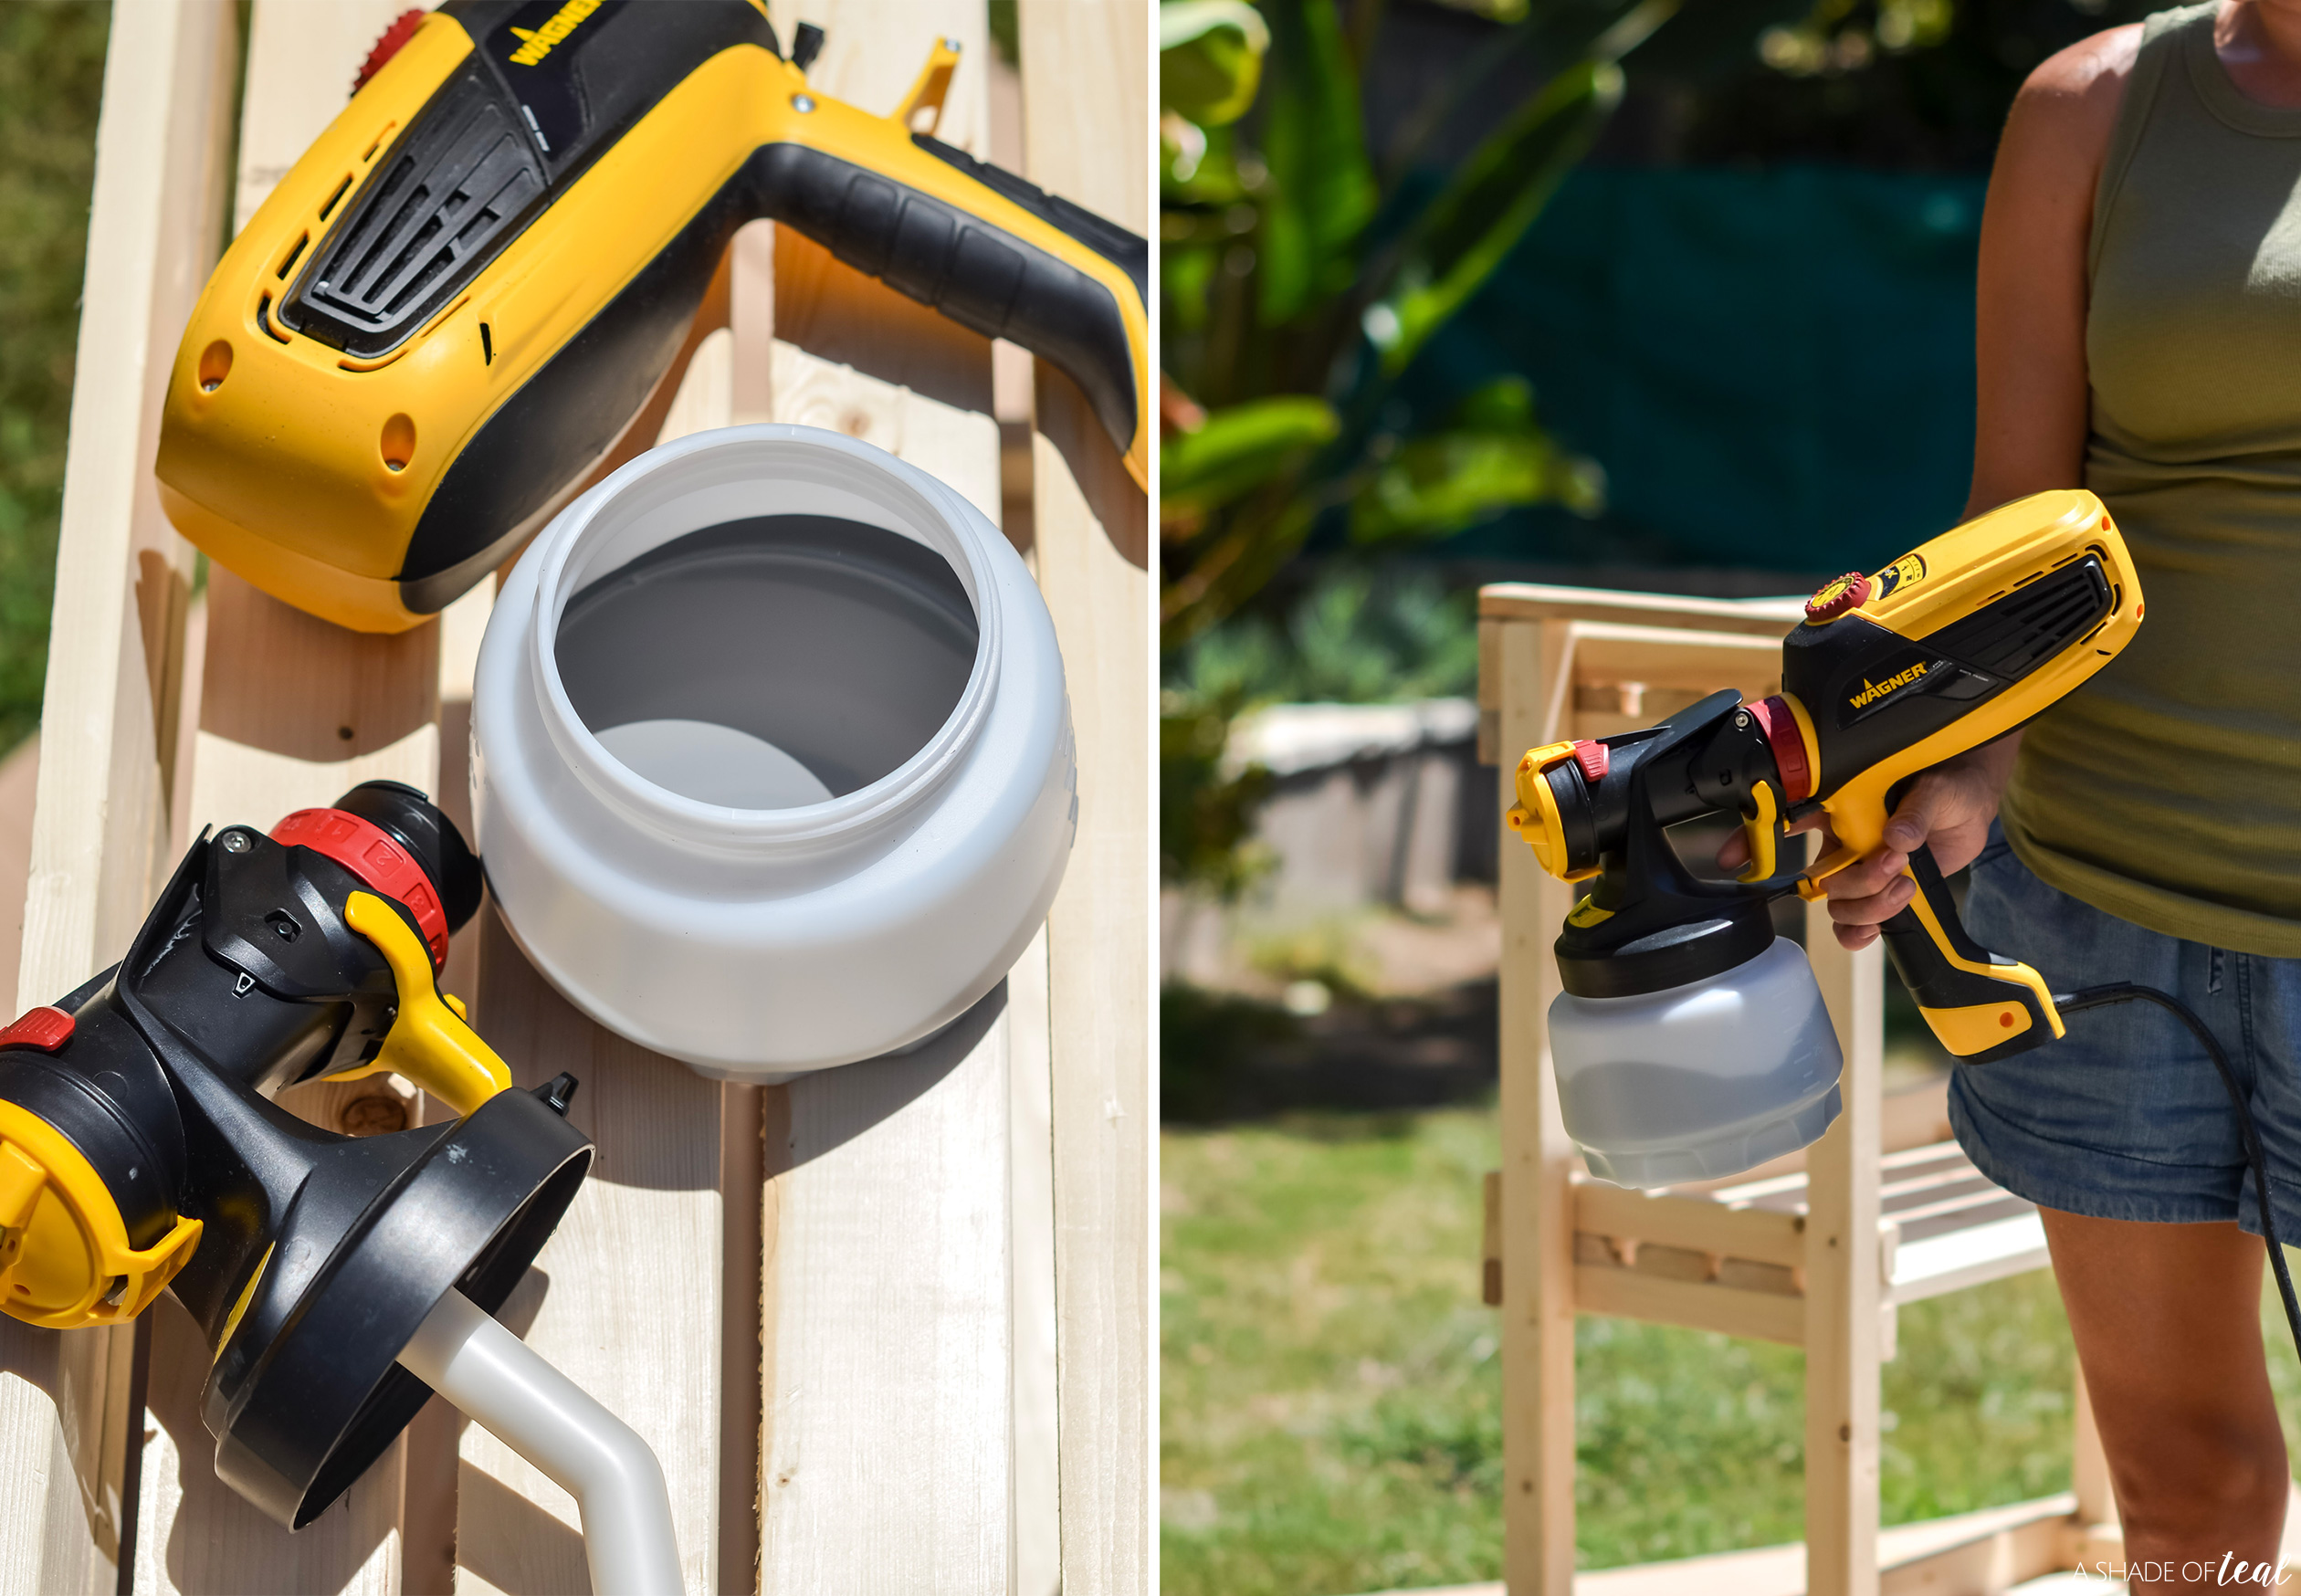
- Wagner Flexio 3000 Sprayer
- Exterior Paint, I used Valspar “High-Speed Steel”.
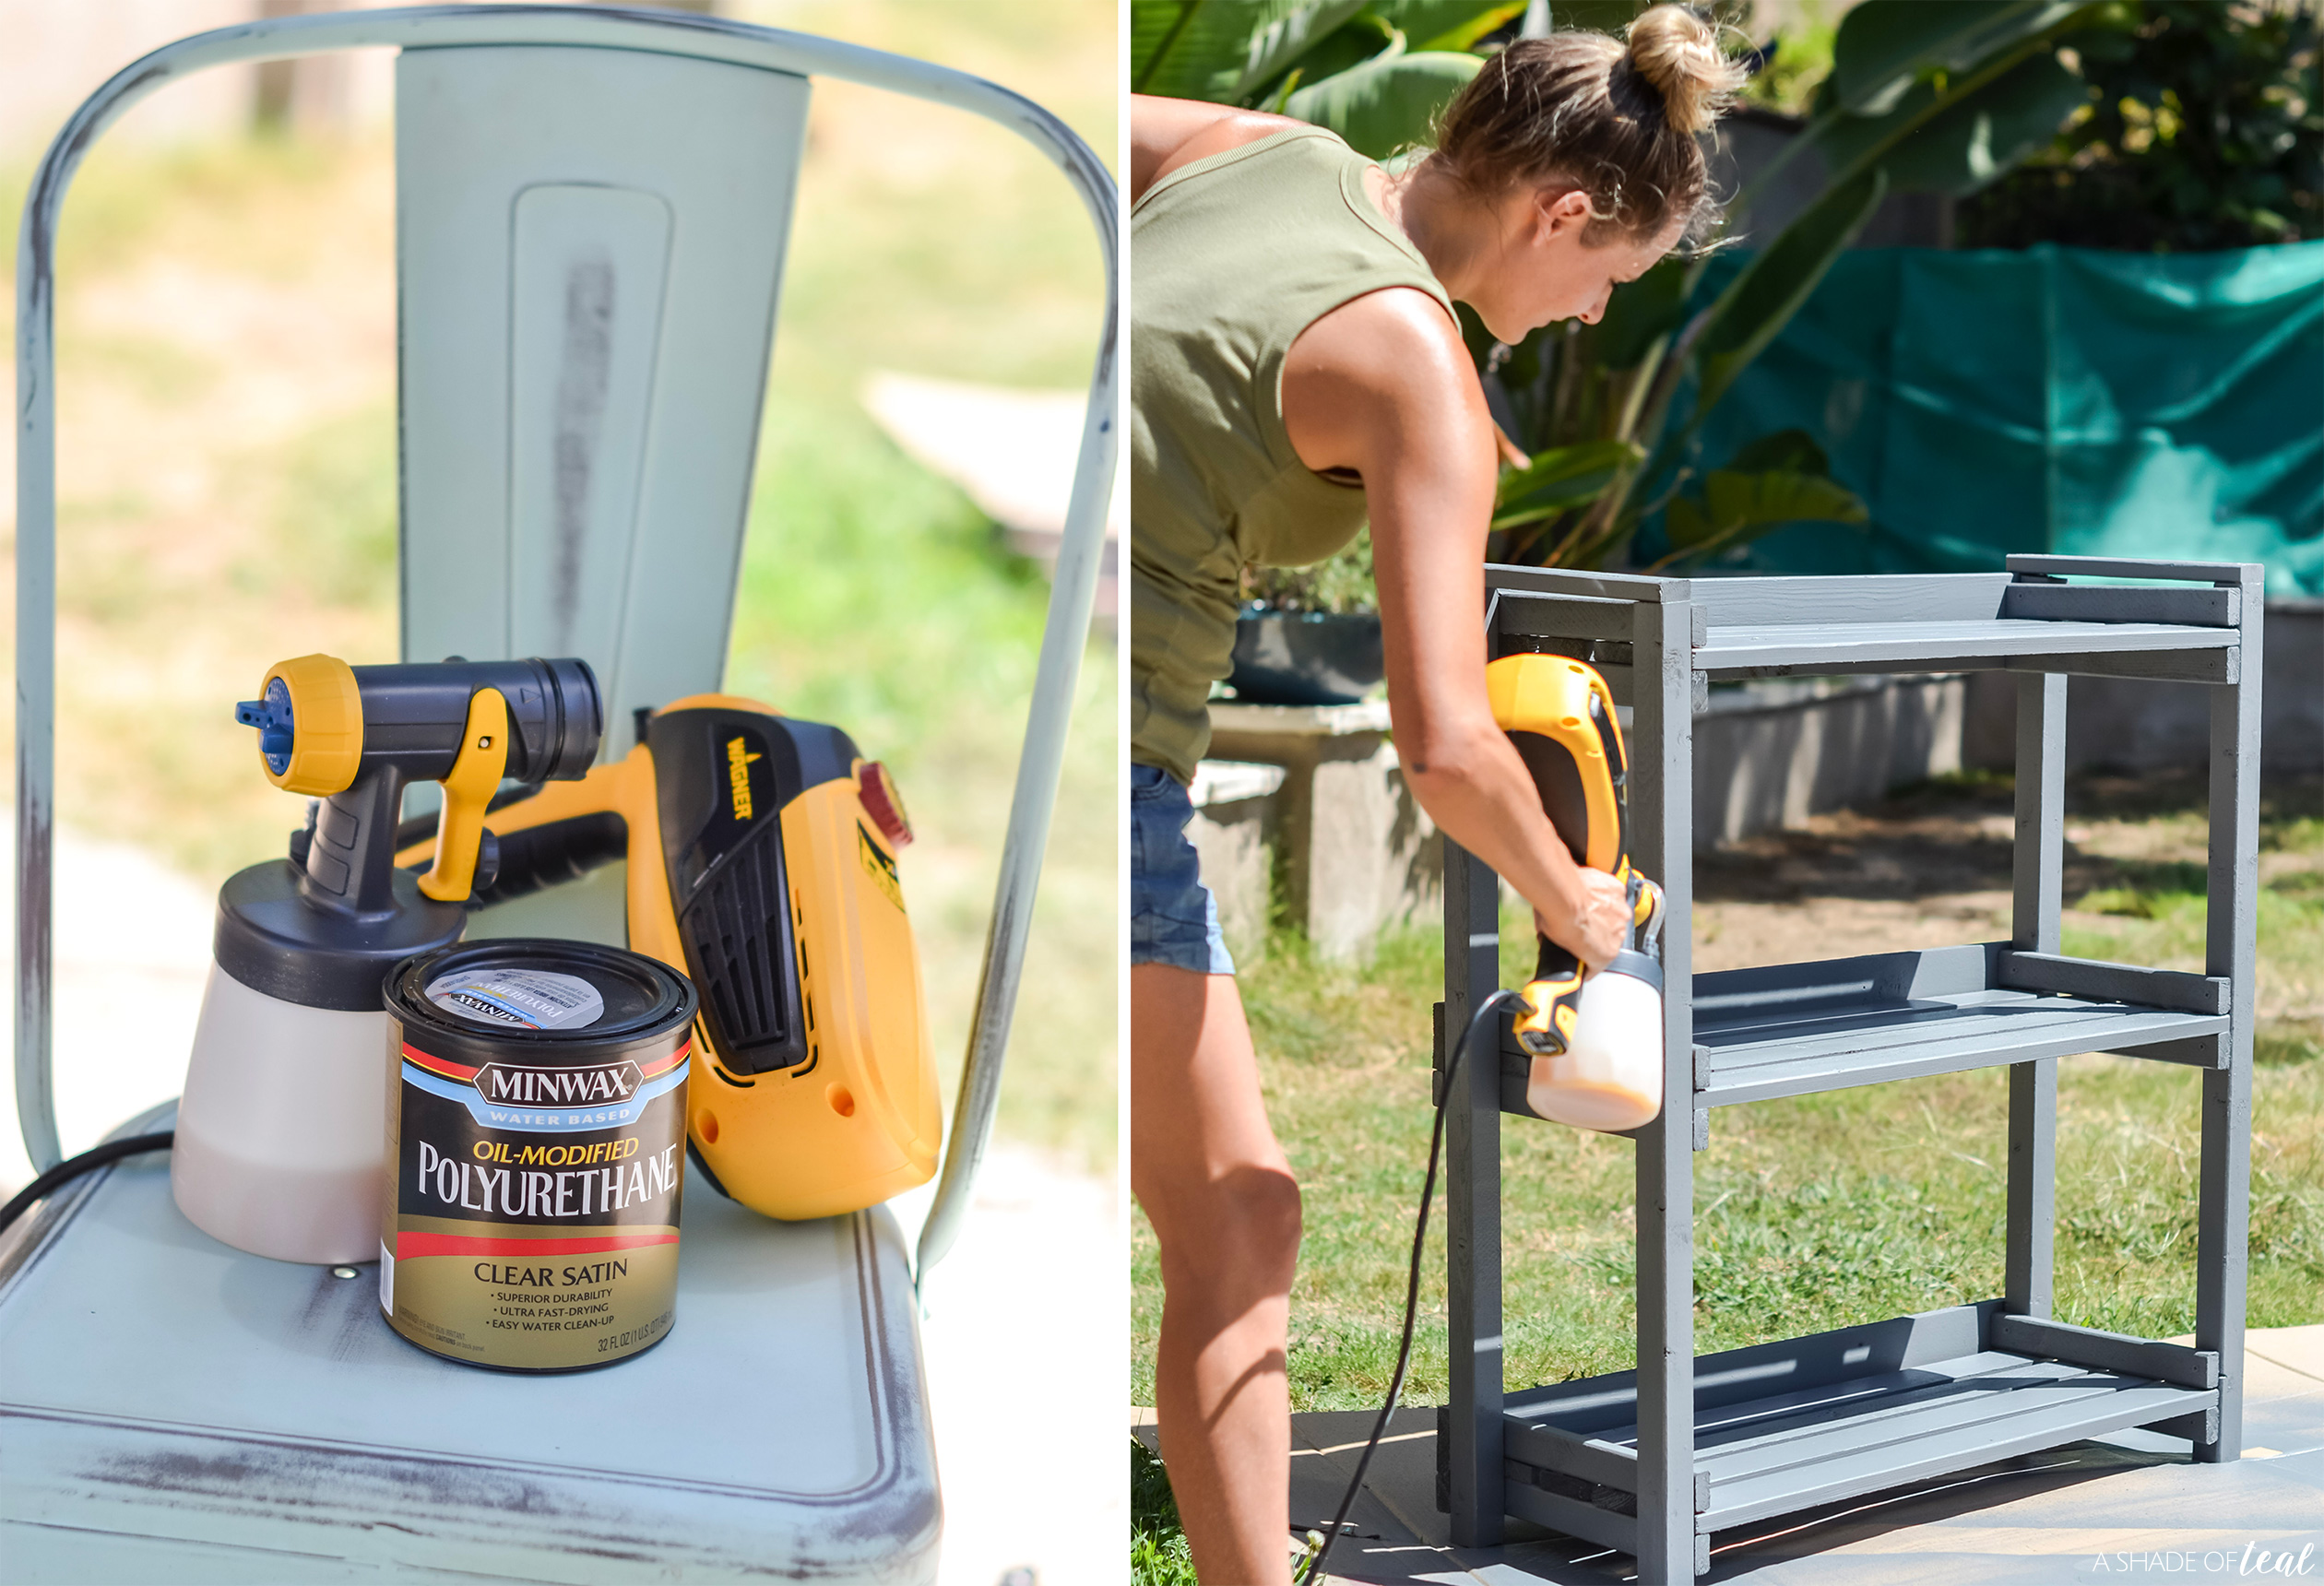
- Polyurethane Sealer
- Drop cloth
Build Steps:
1. Start with the sides and frame. Lay the 2×2’s down and attach 3 of the 12″ 1×2’s. I spaced them 1″ up from the bottom and 3″ down at the top, and then centered the middle piece. Once both side are built attach the 3 32.5″ 1×2’s to the back like pictured.
2. Next, attach the 32.5″ 1×3’s to the back. This will serve as a rail for the shelf.
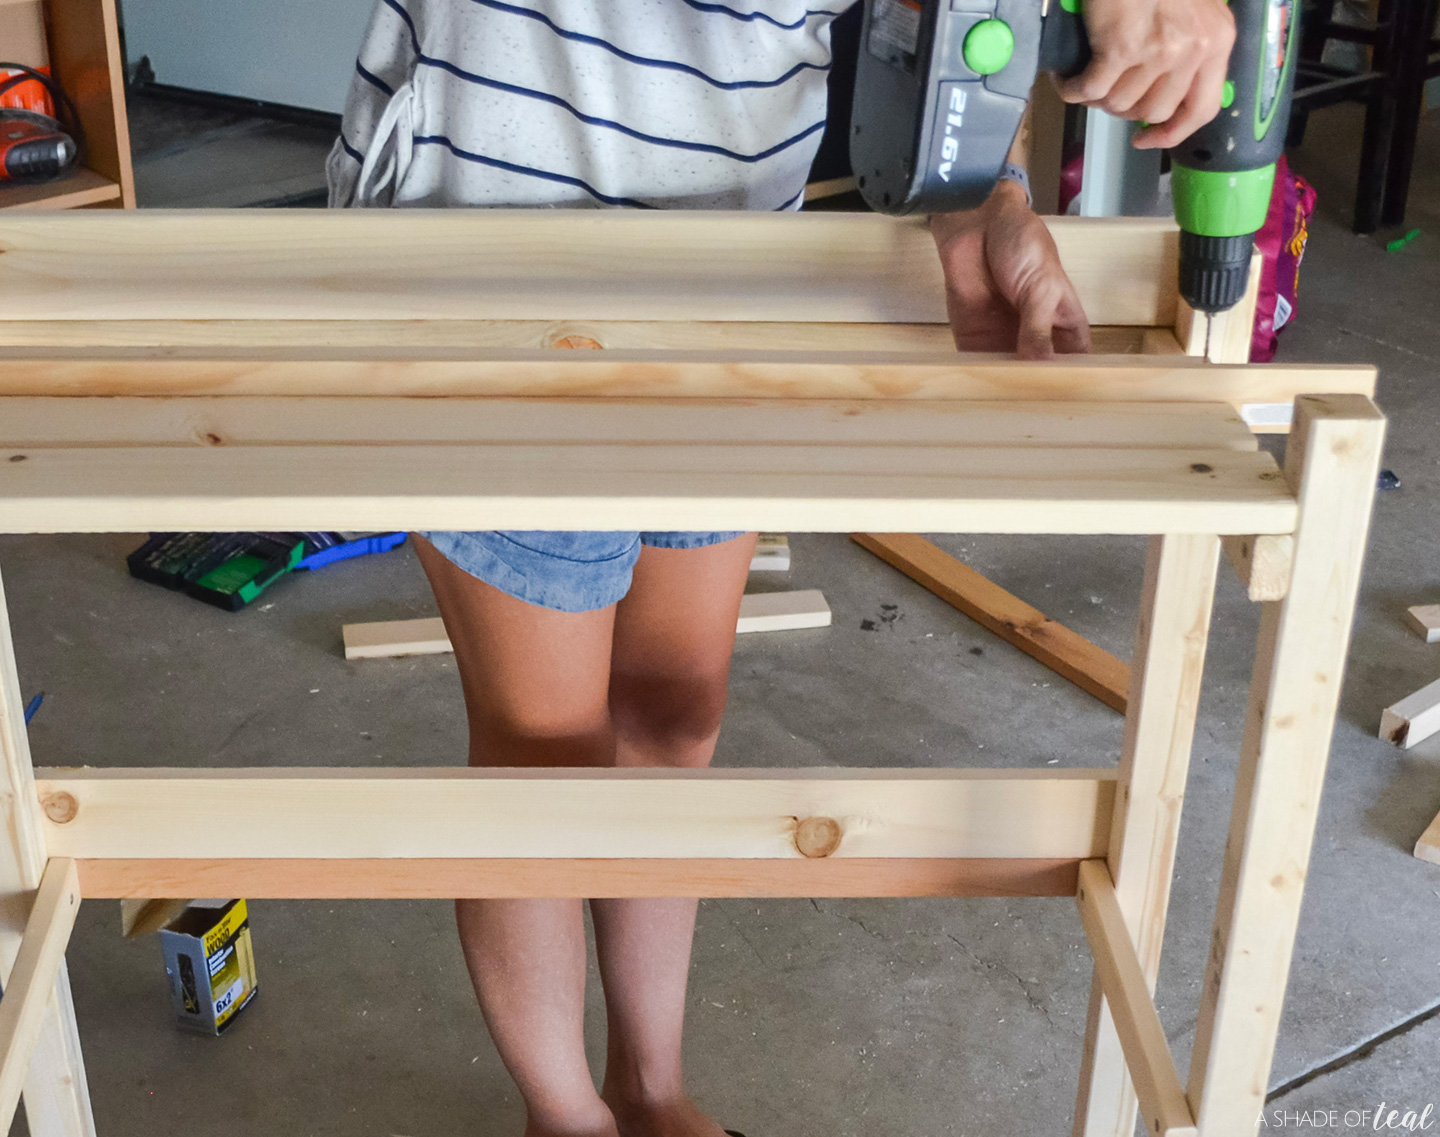
3. Now start adding the 12 1×3 shelf slats. I used 4 per shelf and I used another piece of 3/8″ wide scrap wood to space them evenly. Make sure to start with the front slat and then work your way back.
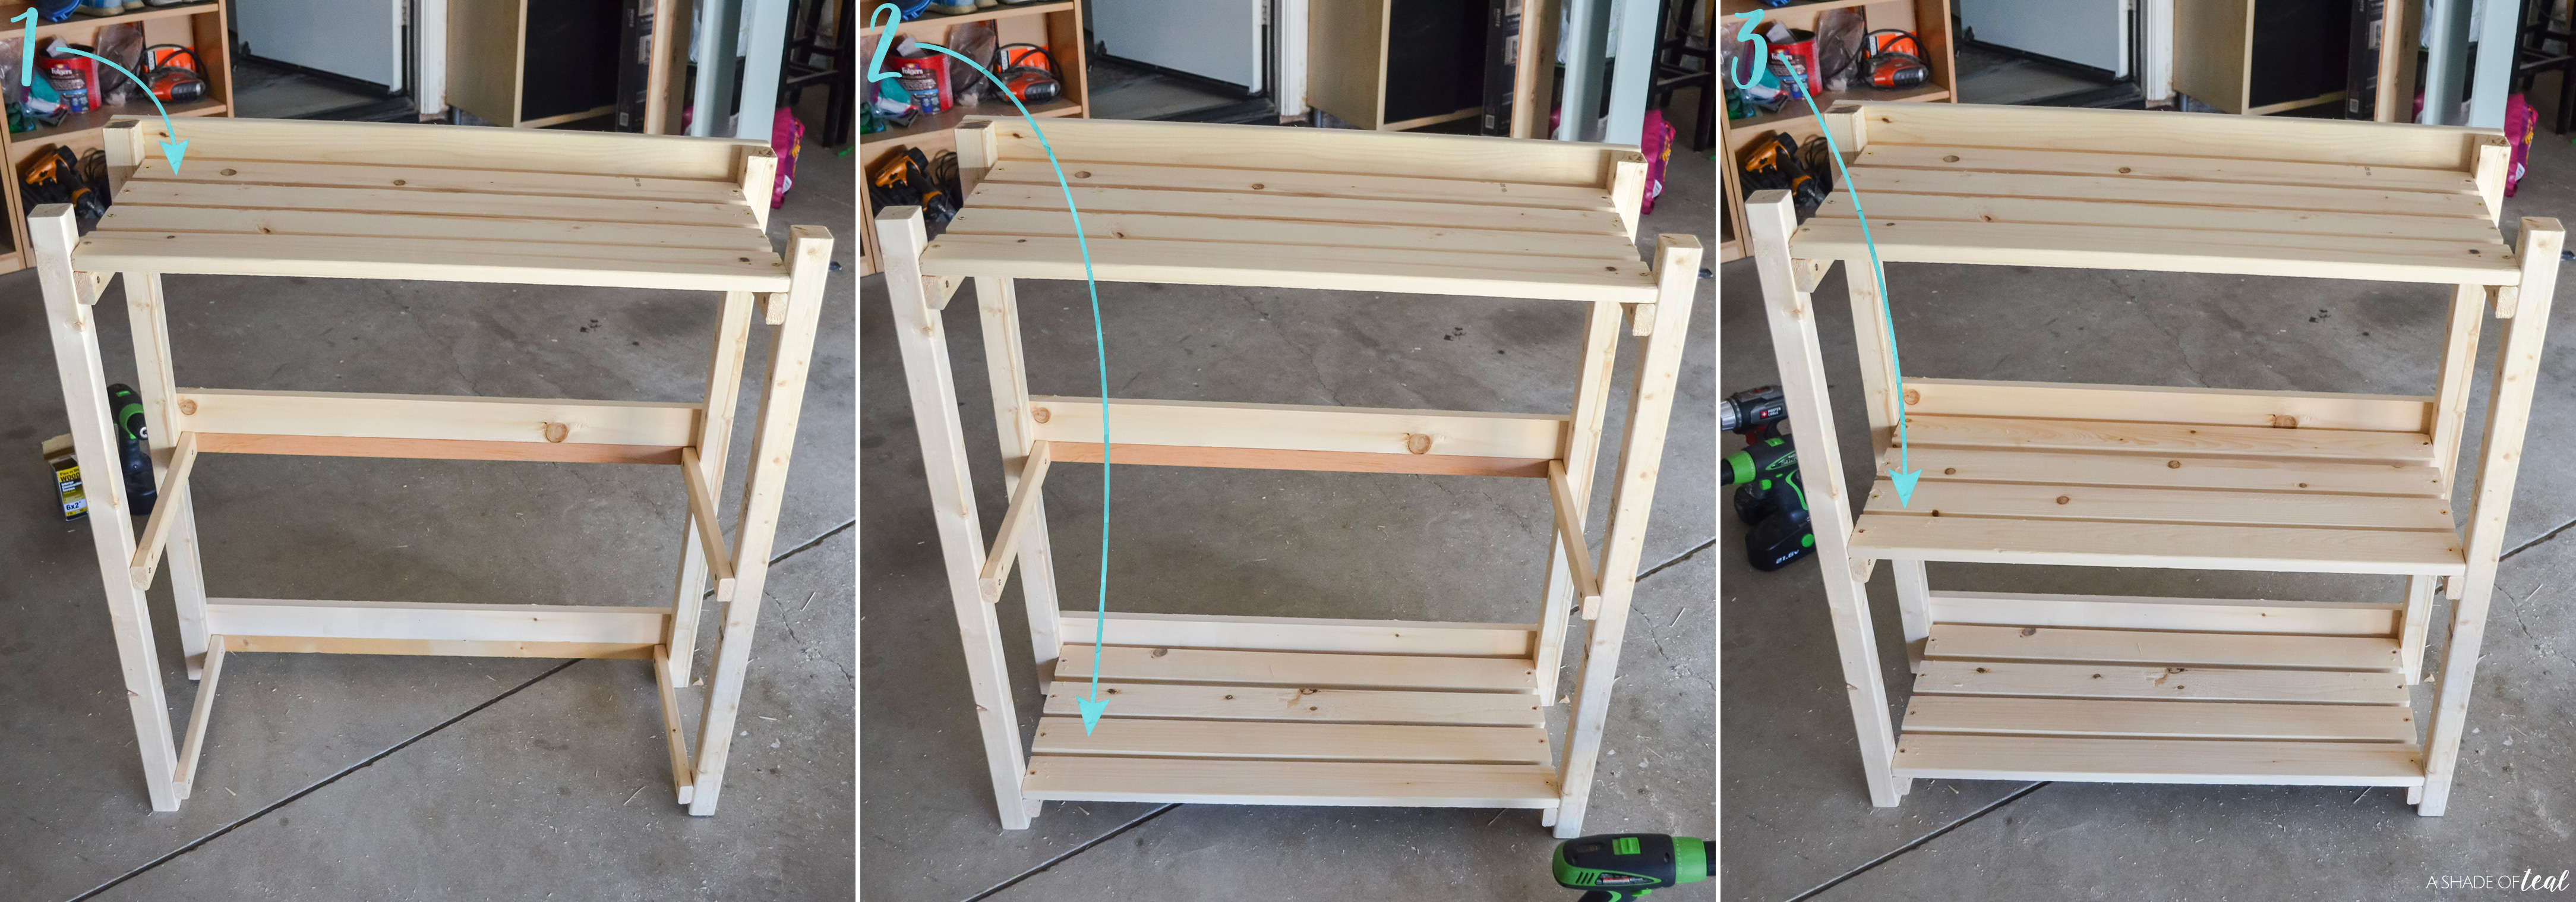
4. I added the shelf slats with the top shelf first, then the bottom shelf, and finally the middle shelf.
5. Finally, add the 2 12 3/4″ 1×2’s to the top. This will act as a handle while also making it look more finished. Then I added the last 6 12″ 1×2’s to each end of the shelf like shown.
Paint Steps:
1. Before you can paint make sure to sand all the rough edges, and wipe away all excess dust.
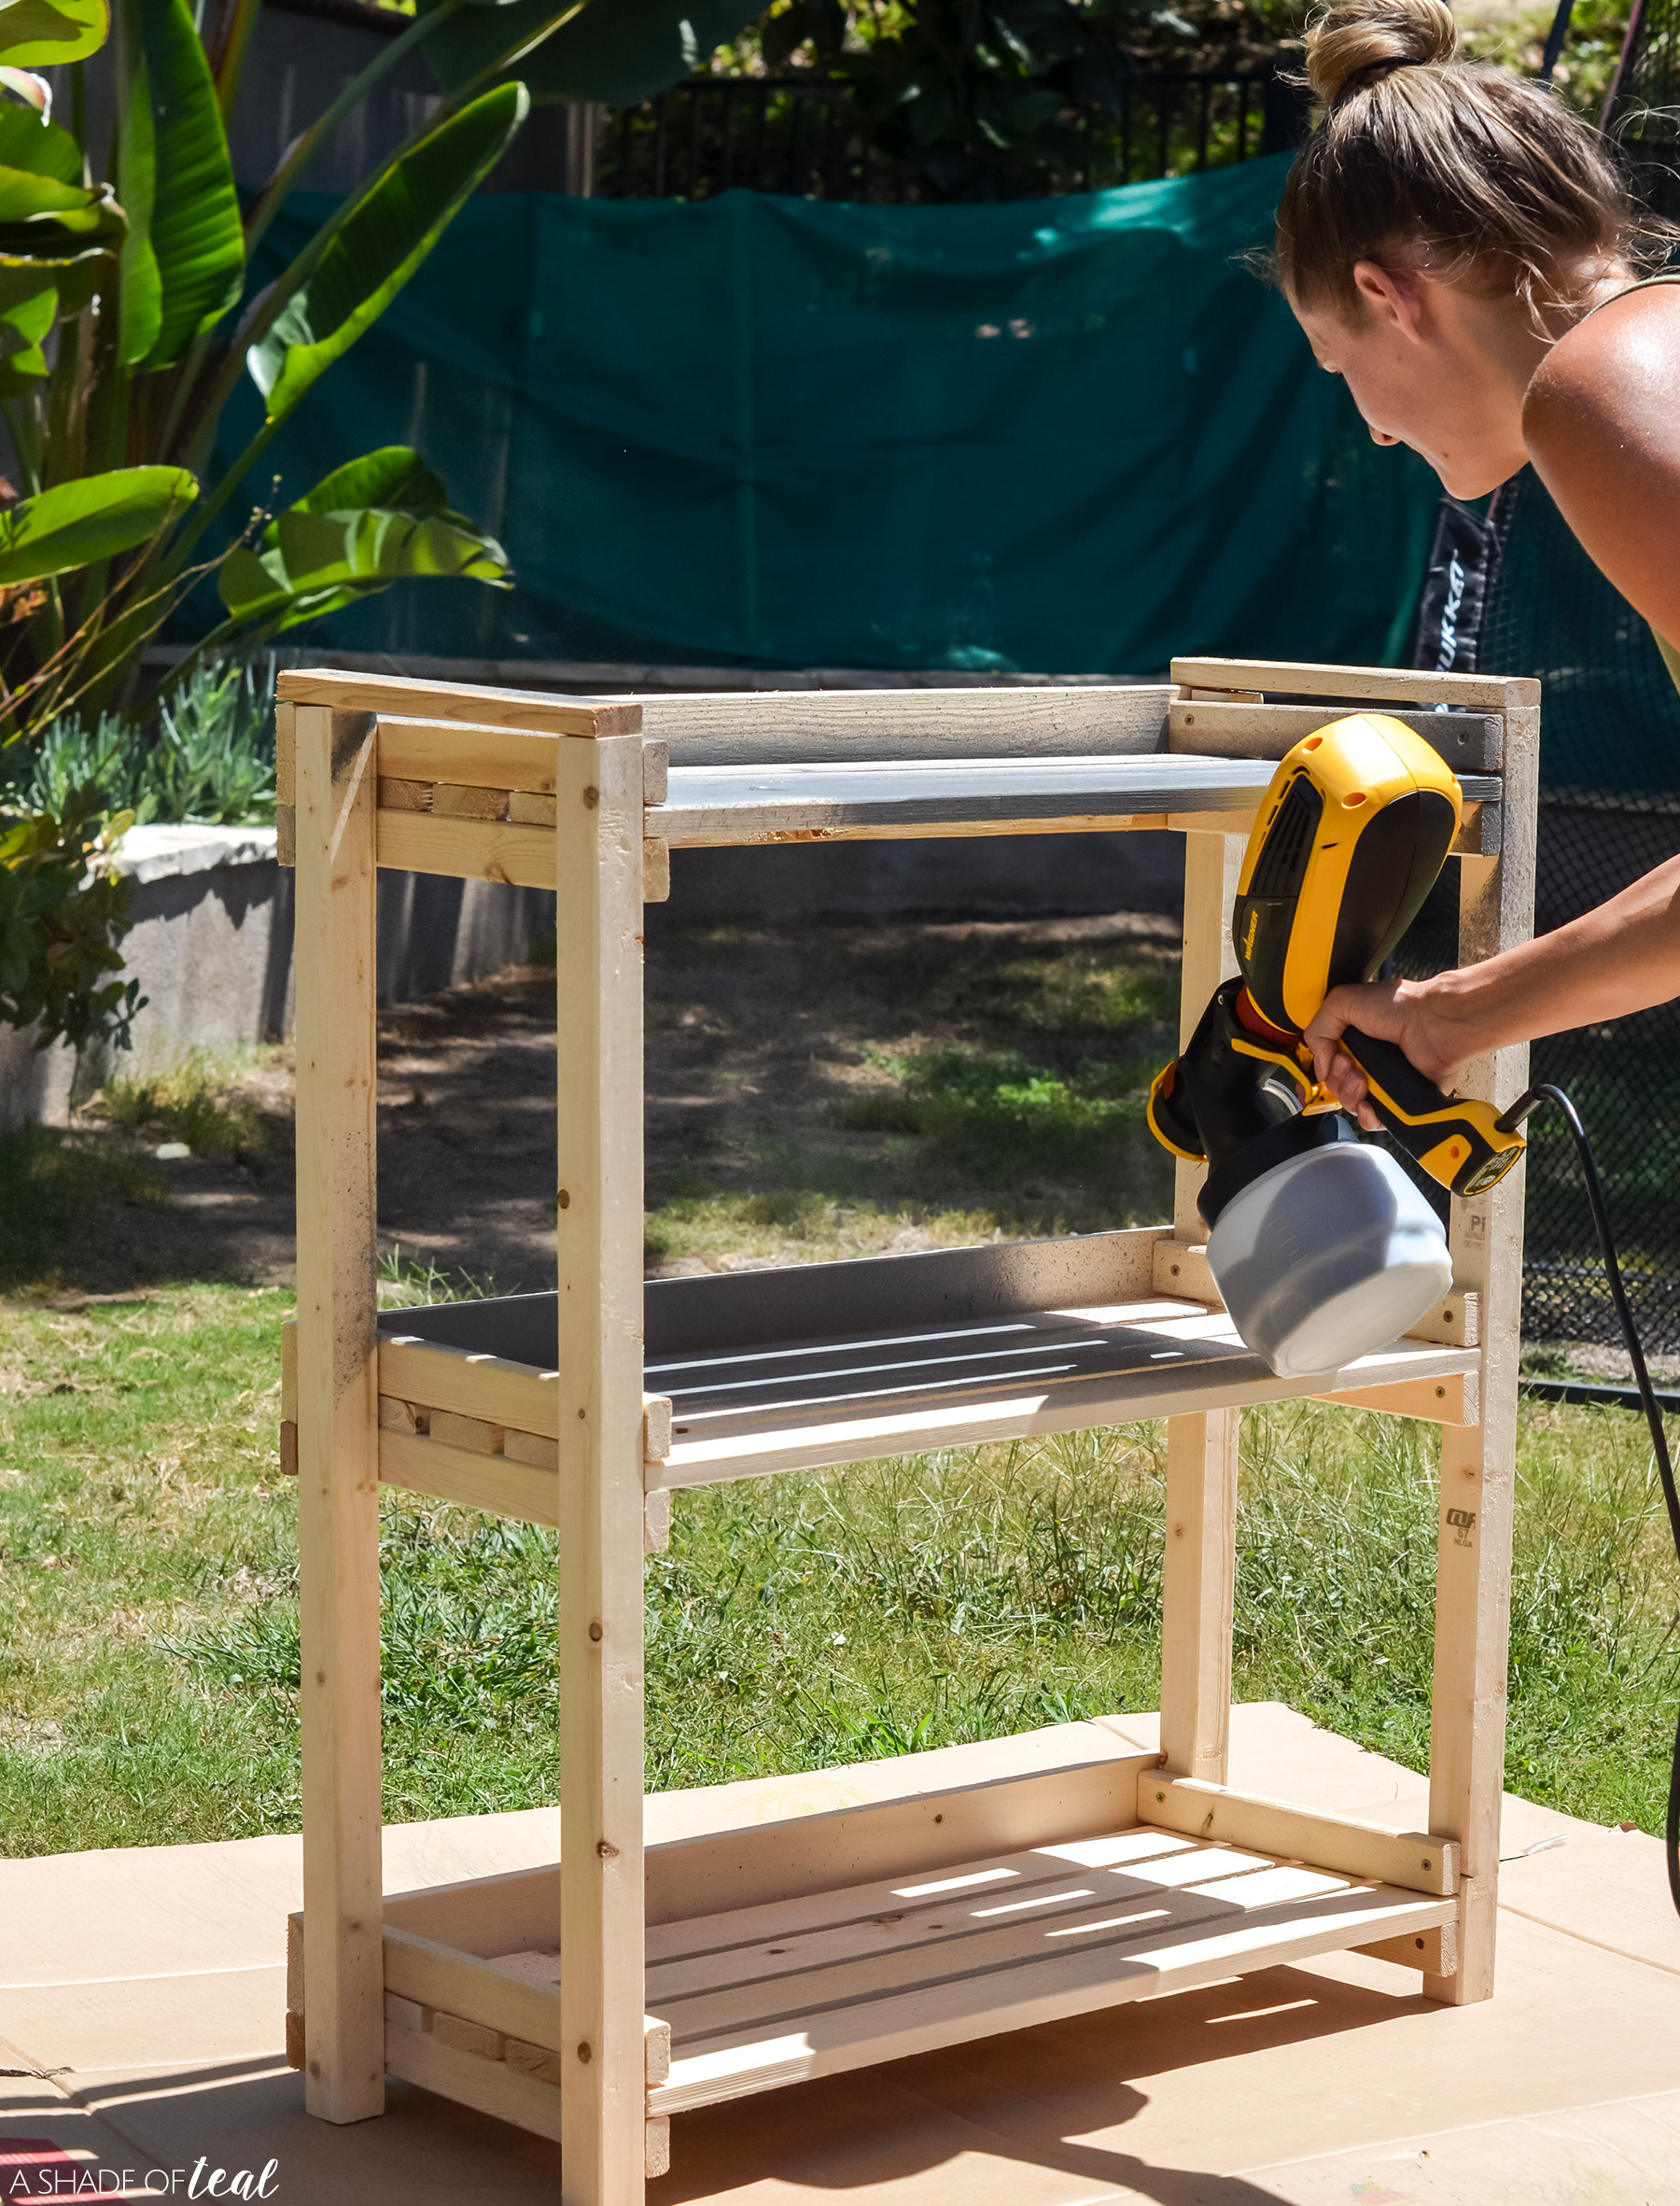
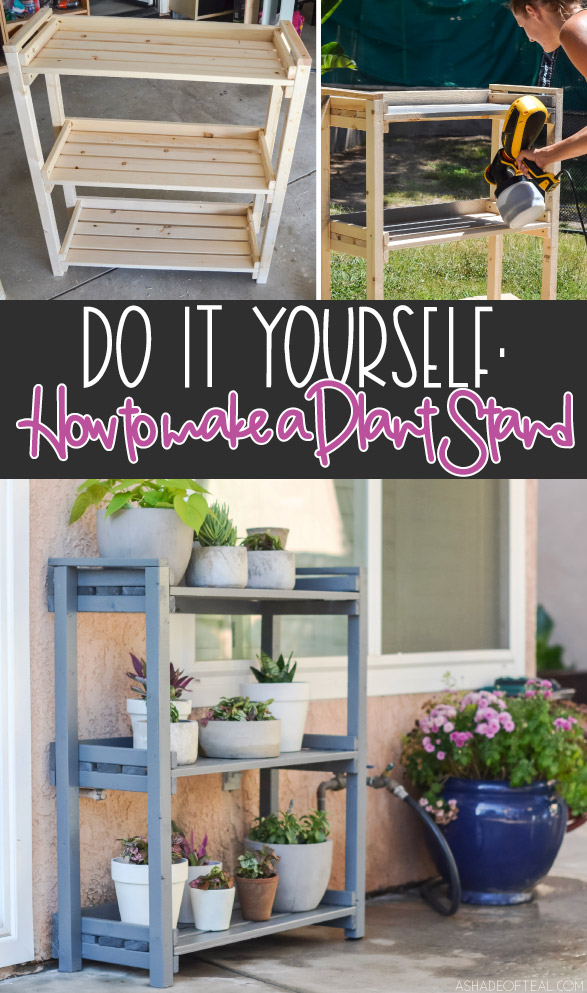
2. Prep your Wagner Flexio 3000 Sprayer with paint and the larger nozzle.
3. Spray the stand, you can see more detail and tips on how to do that over at over to Wagner’s Blog here.
4. Once the paint is dry, finish the plant stand with a sealer. To do this the Detail Finish nozzle on the Wagner Flexio 3000 Sprayer works great.
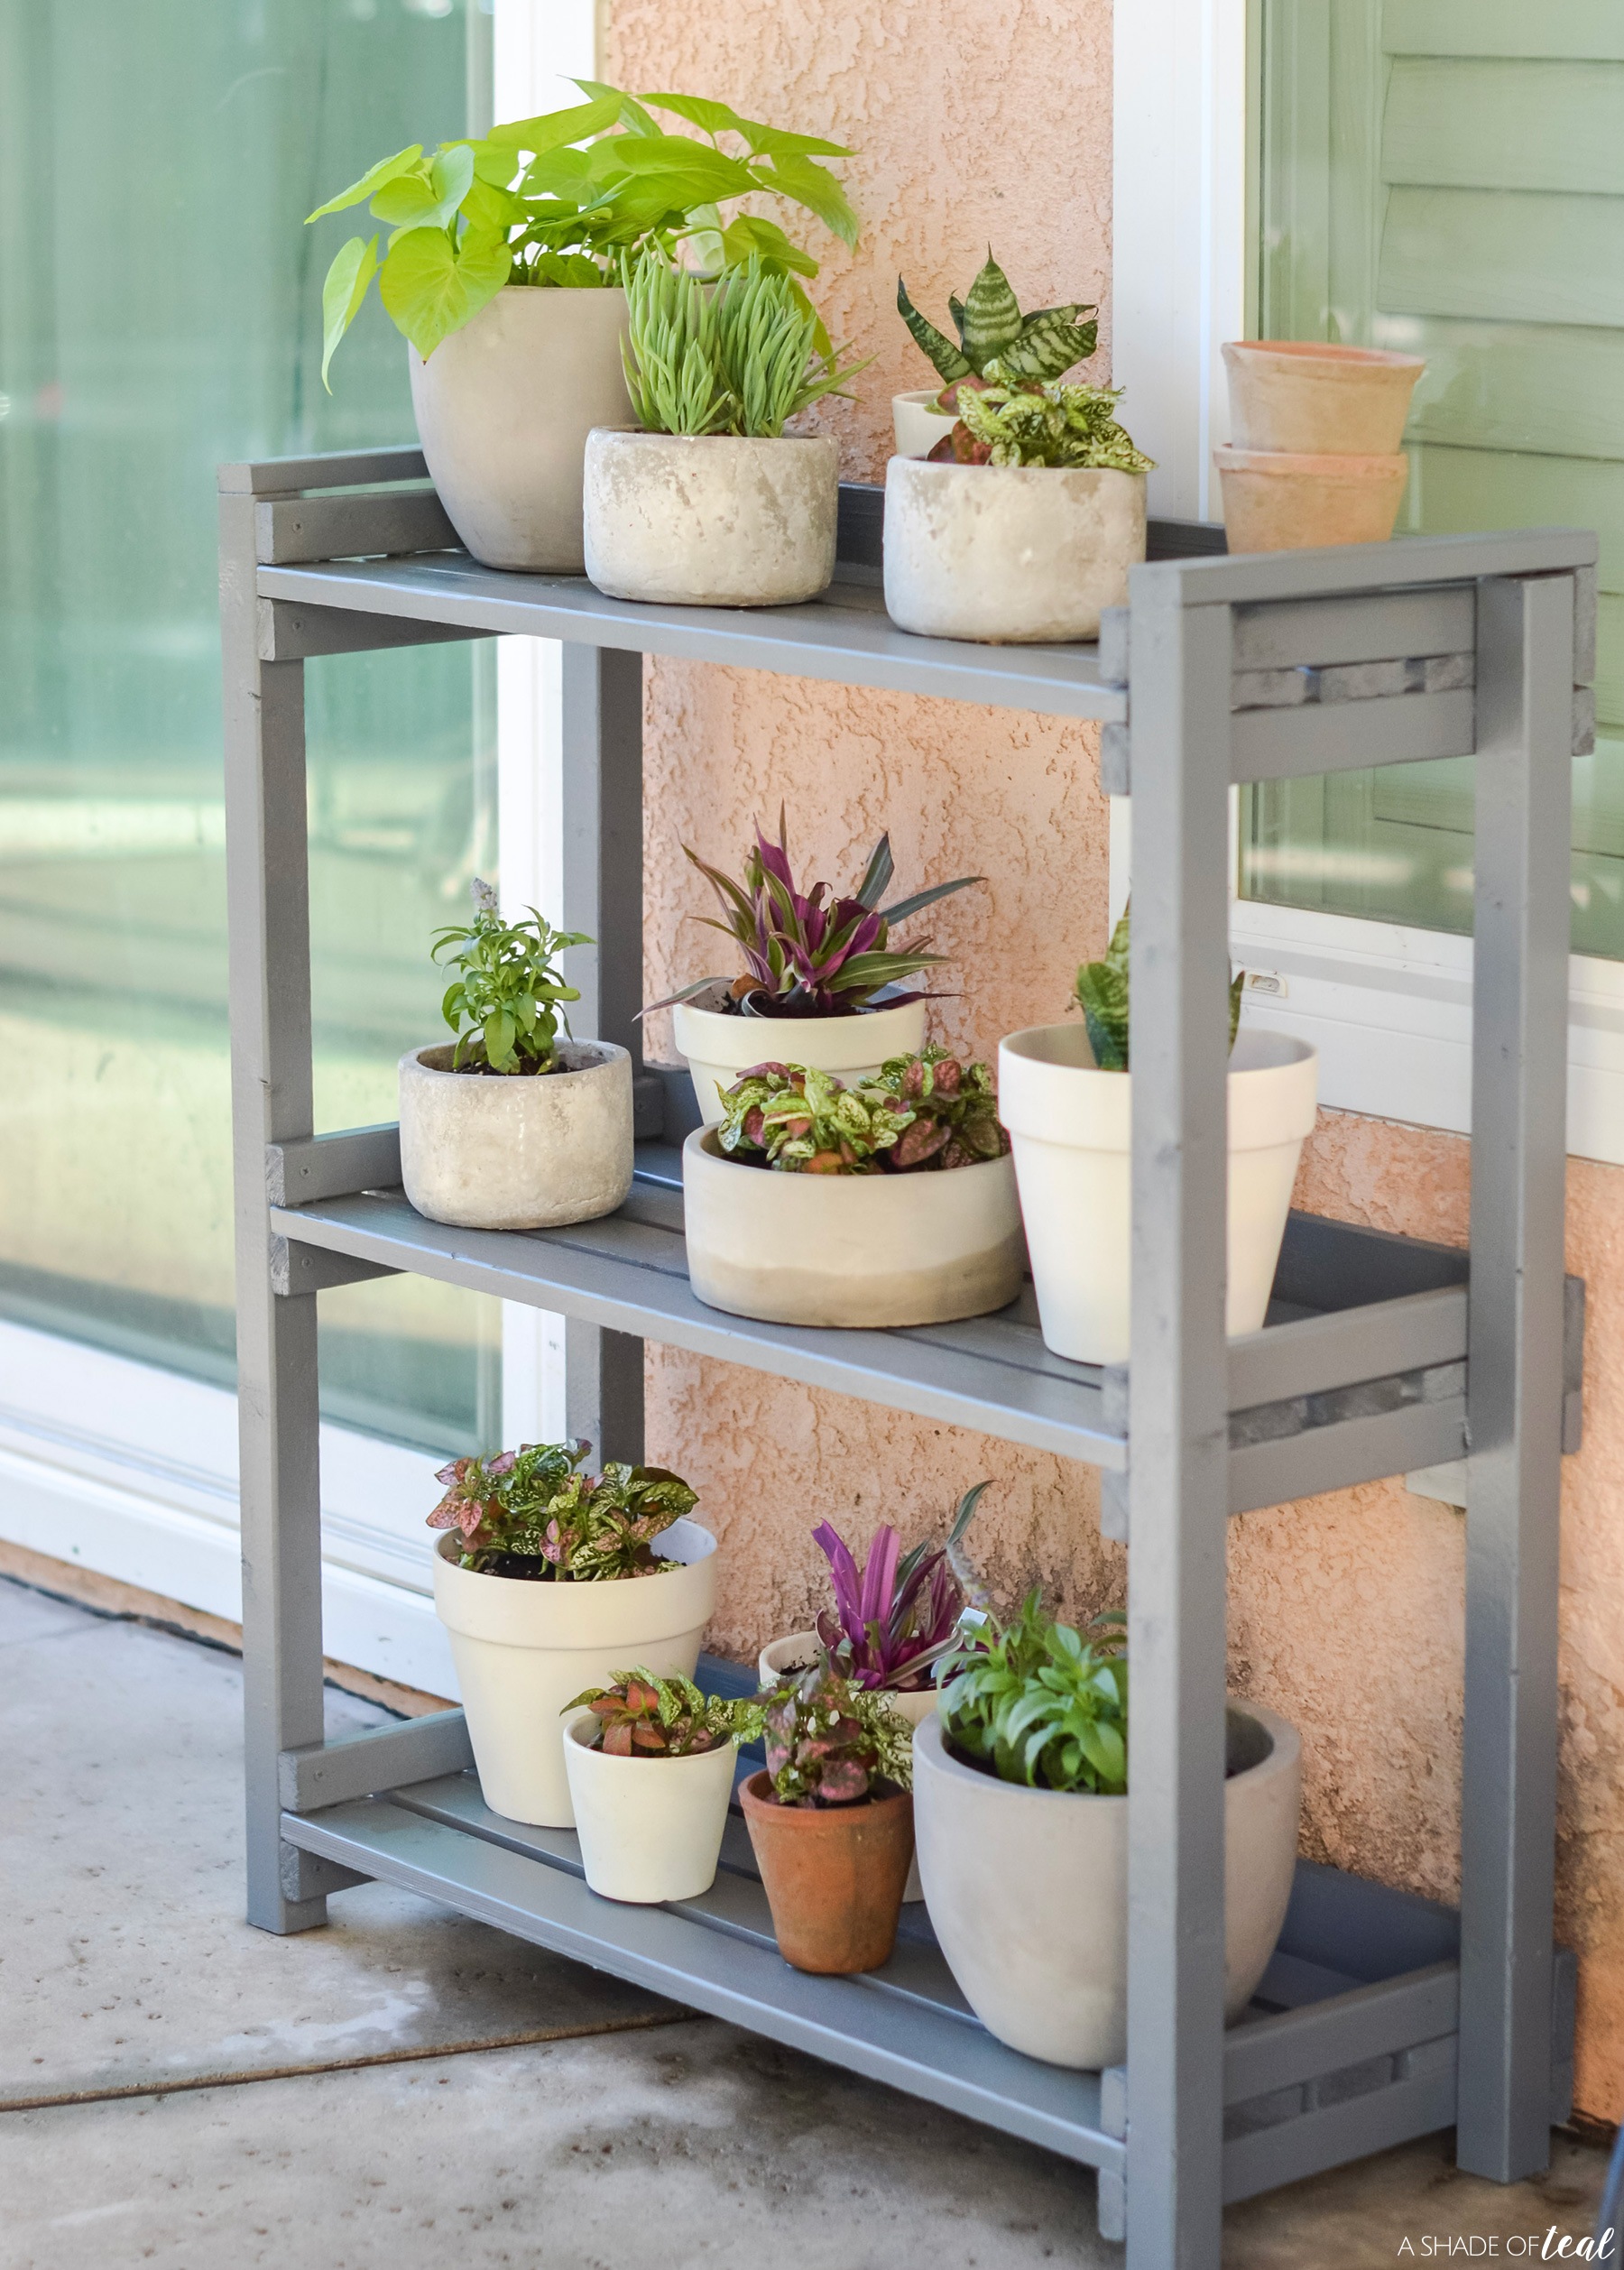
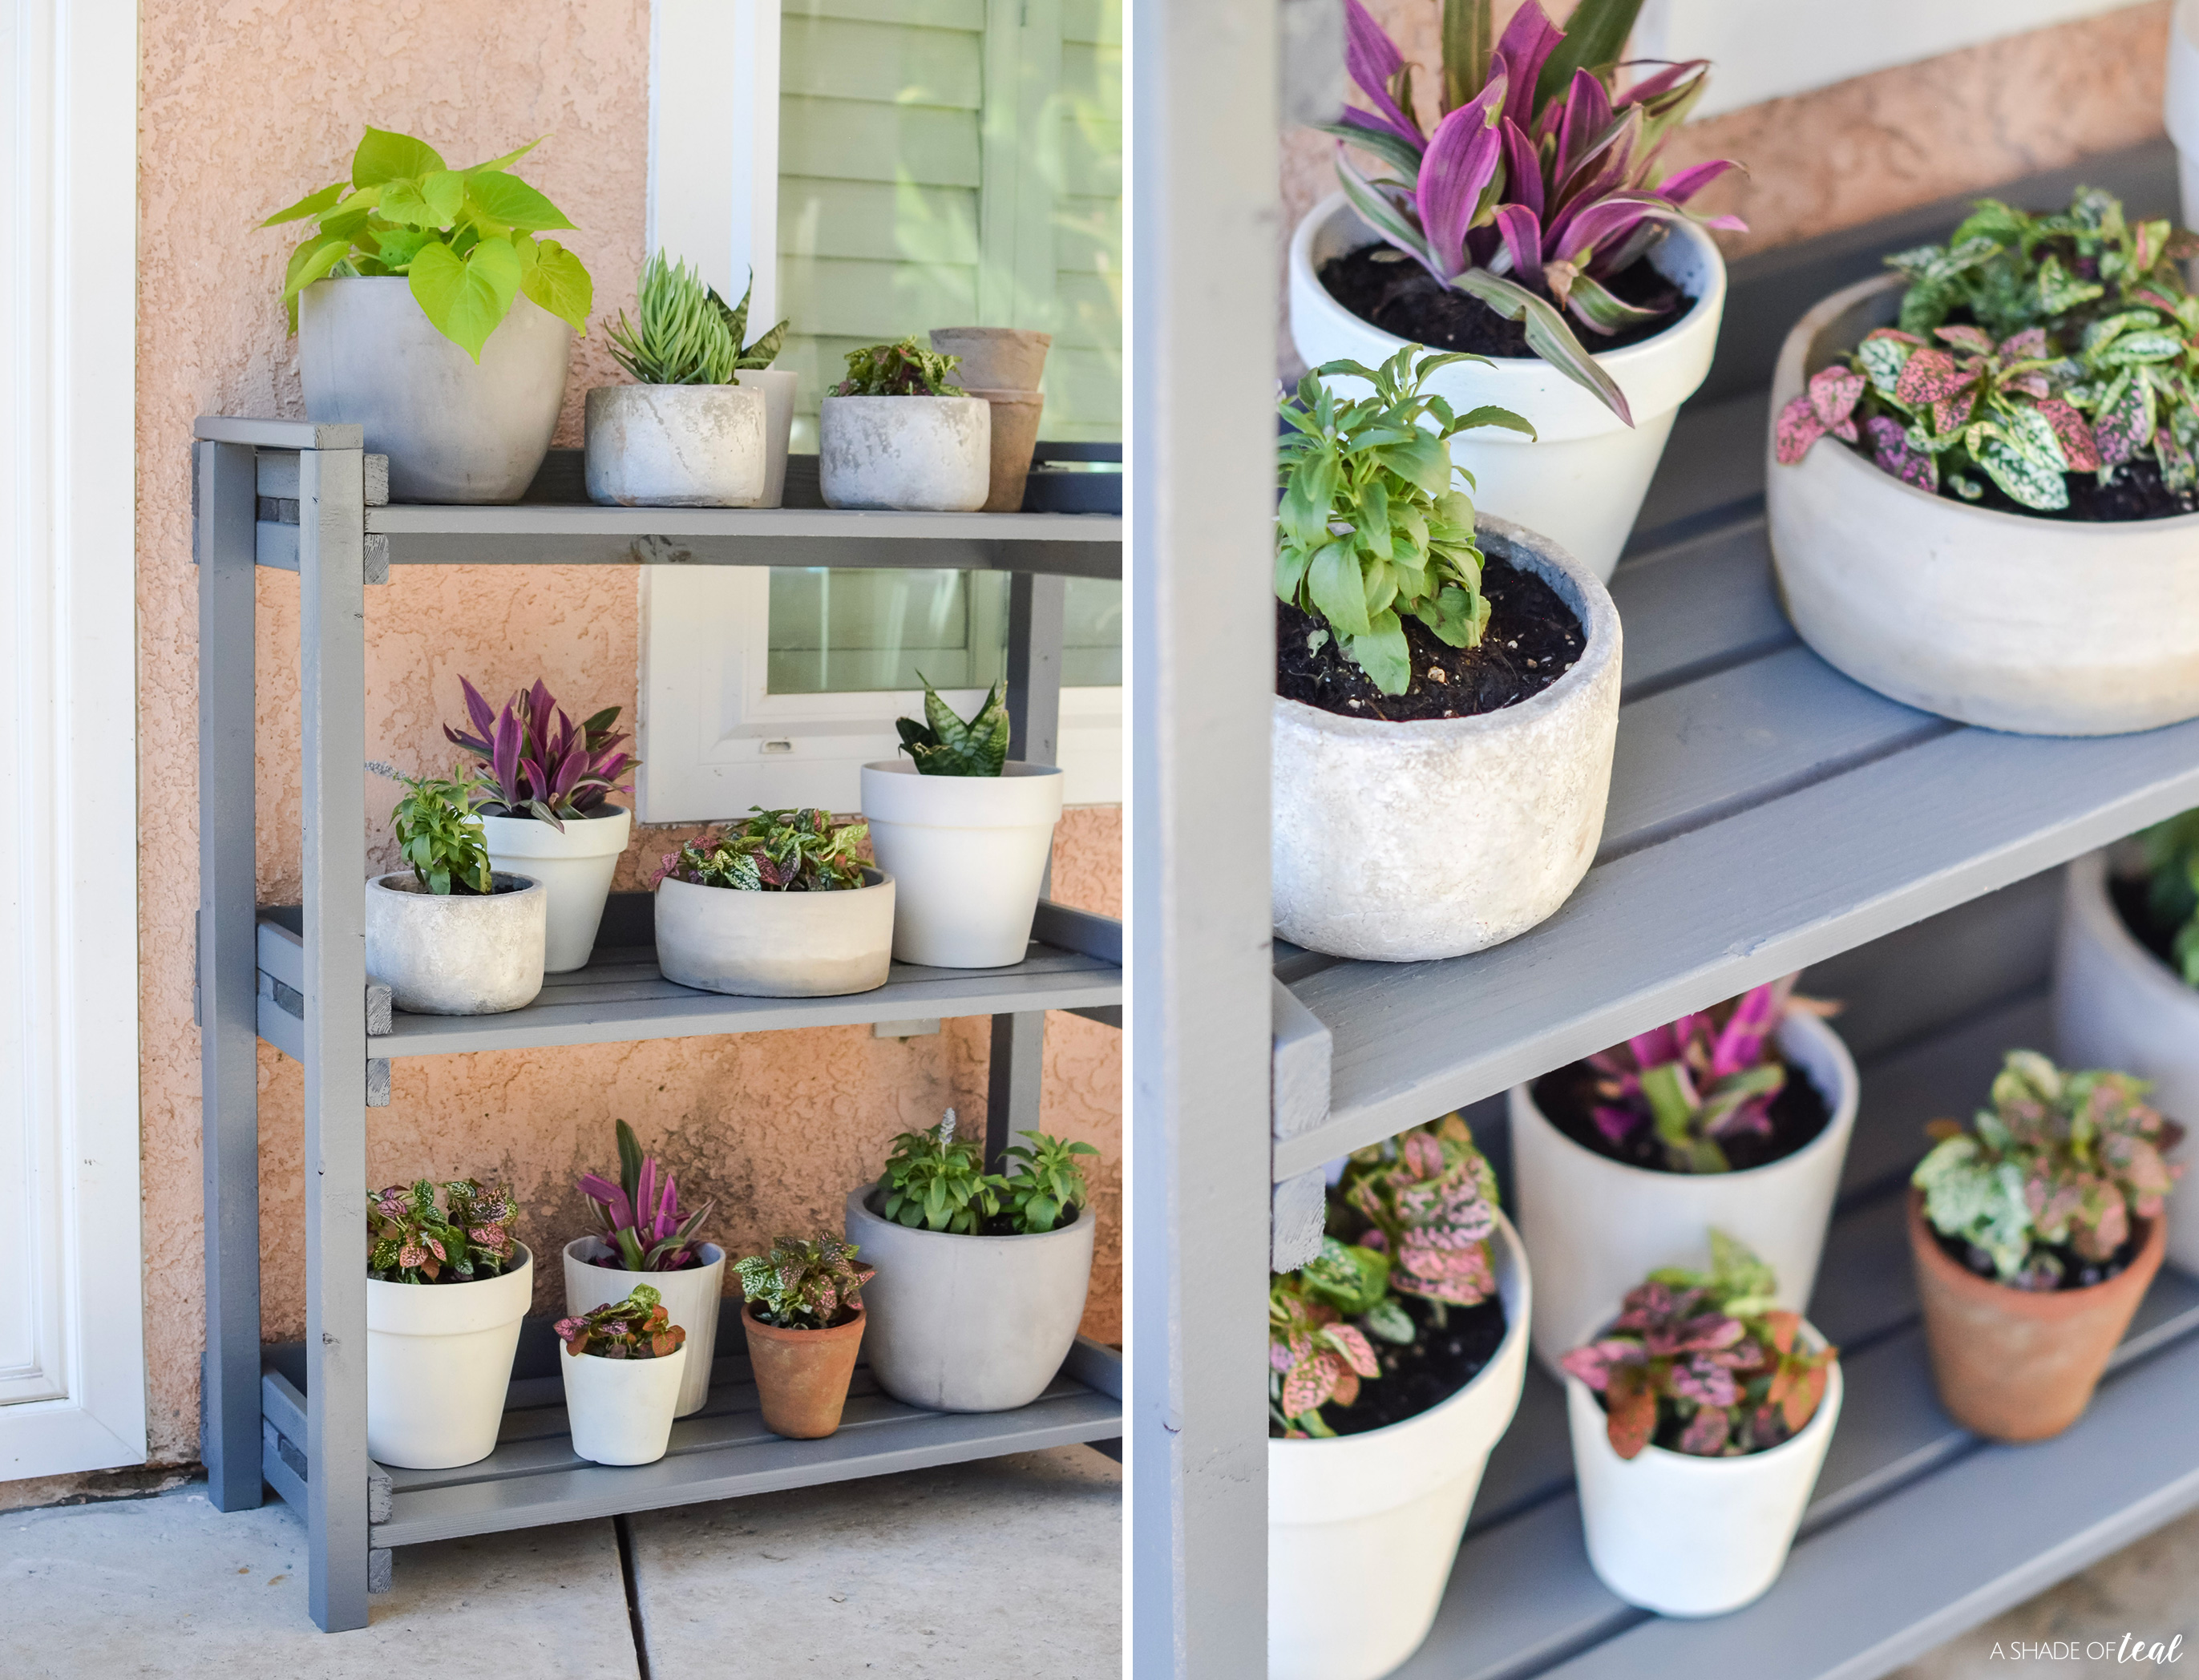
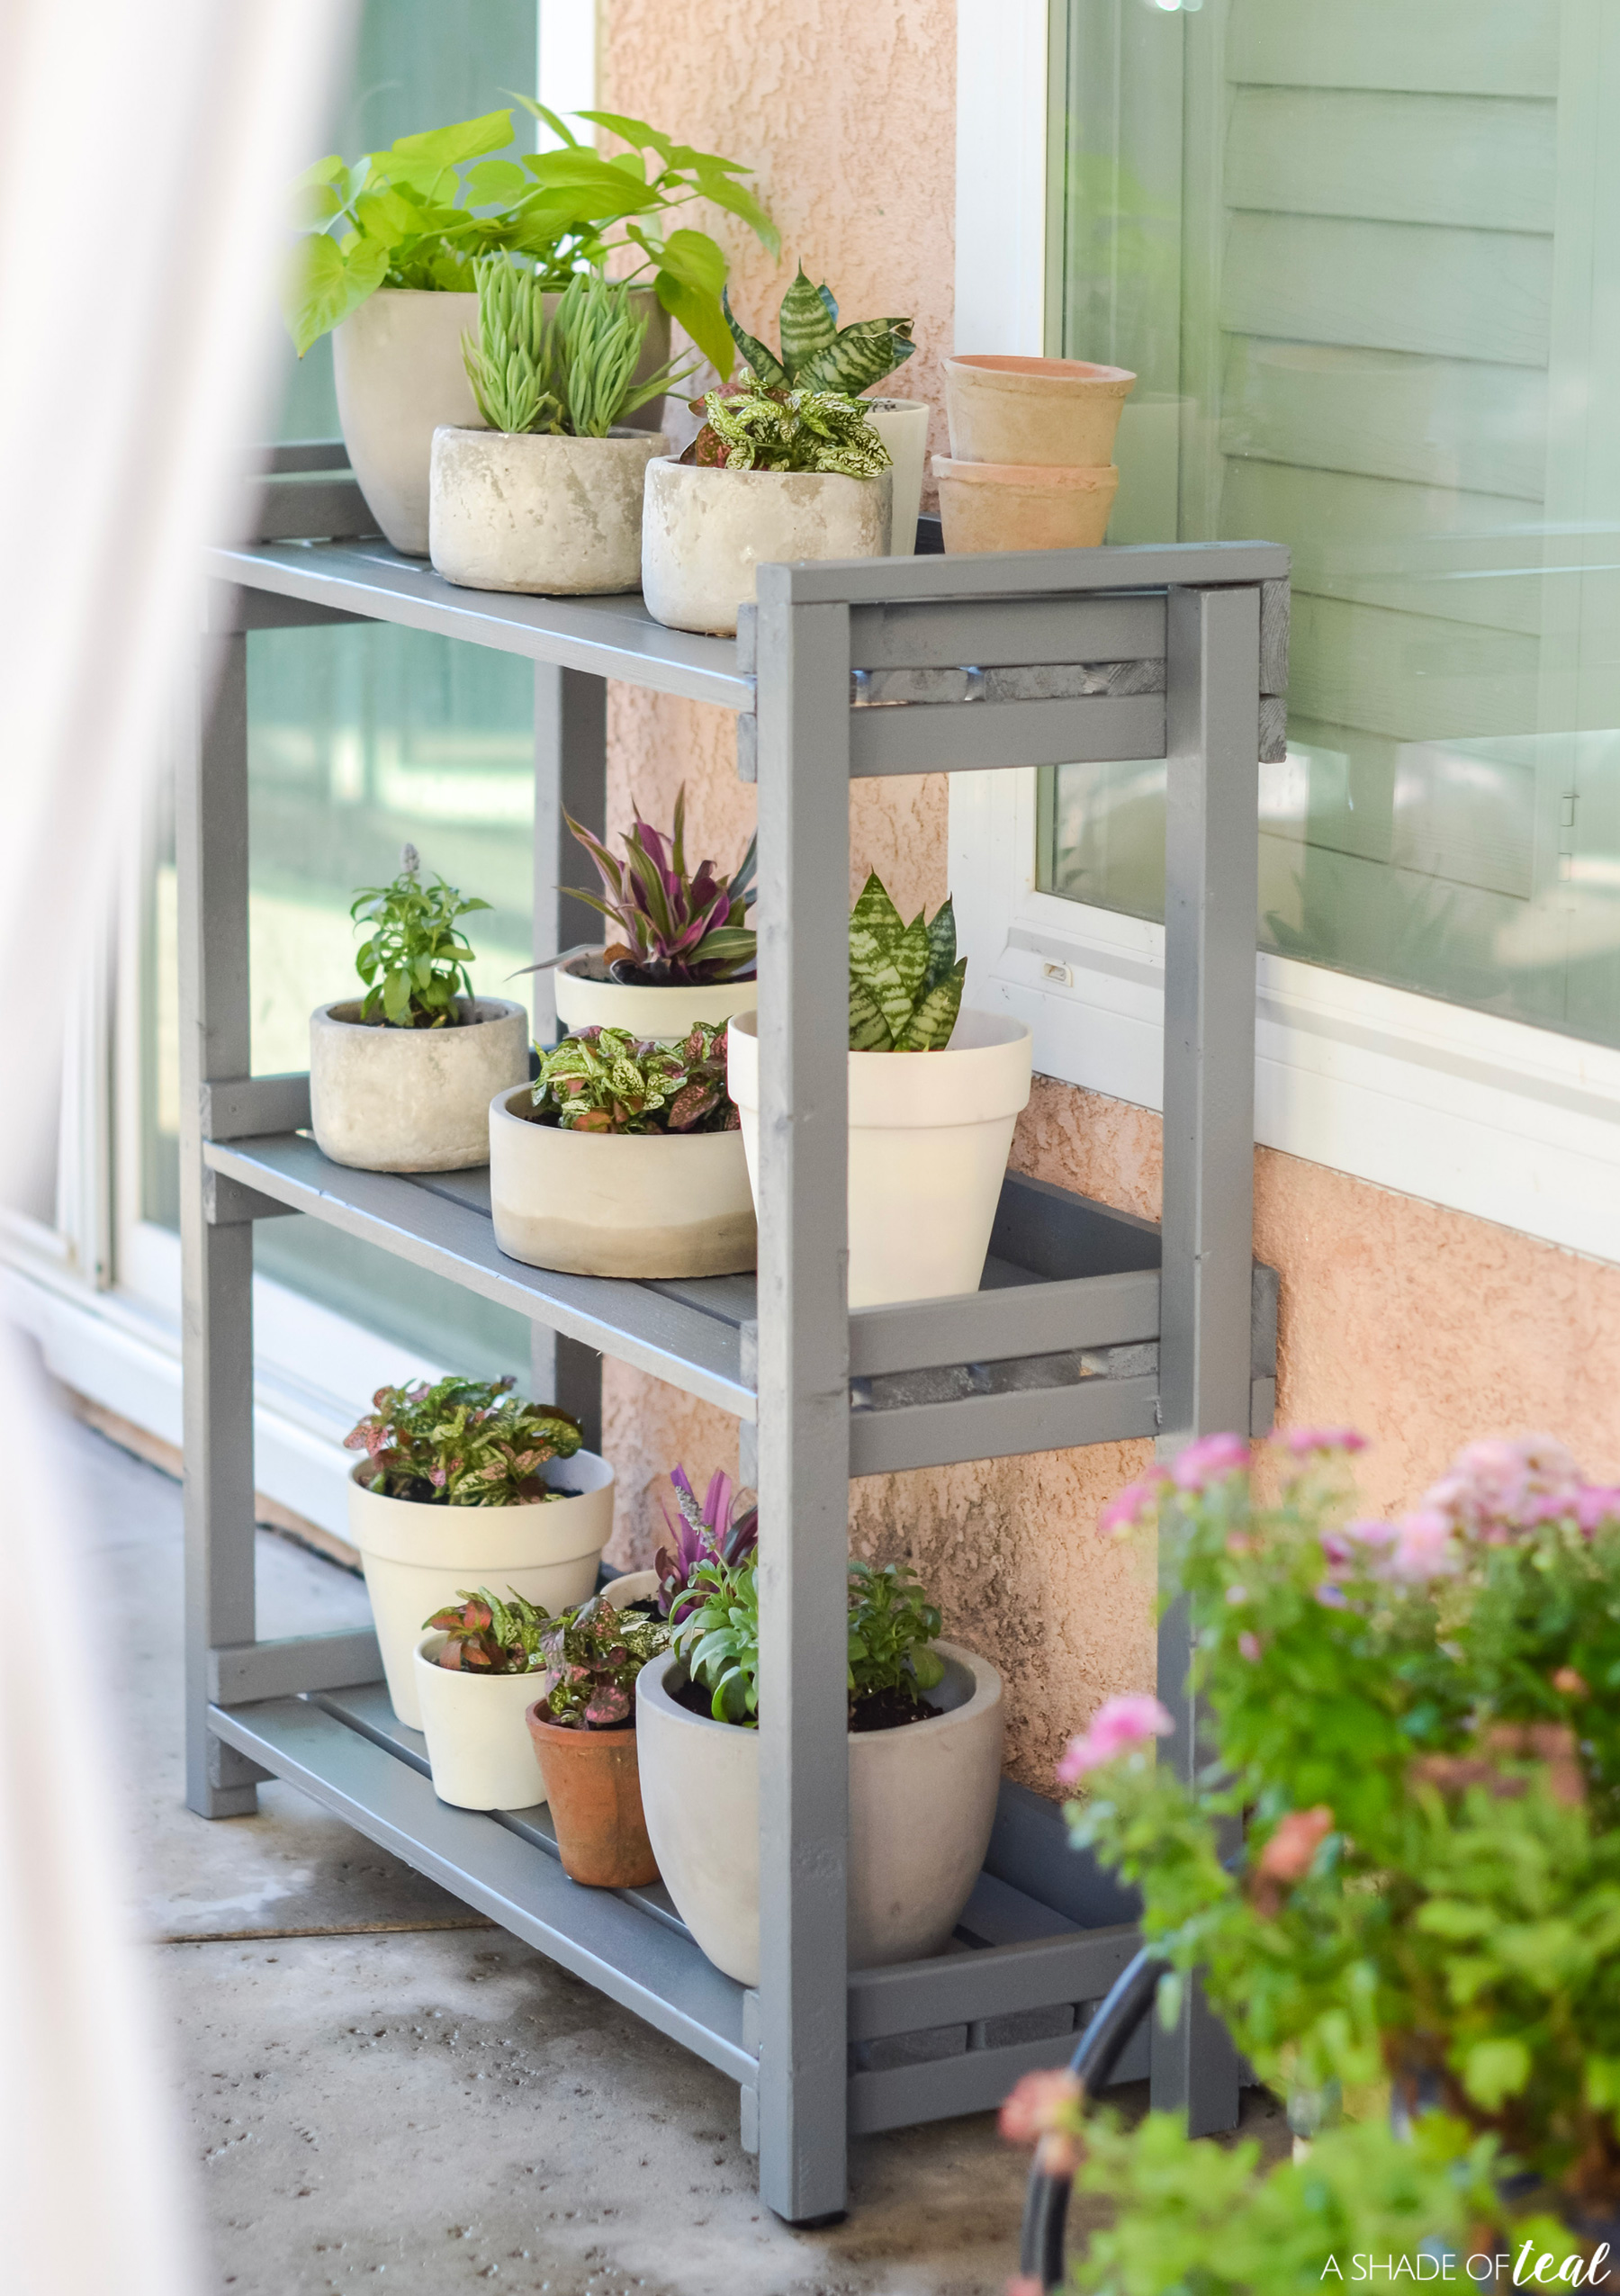
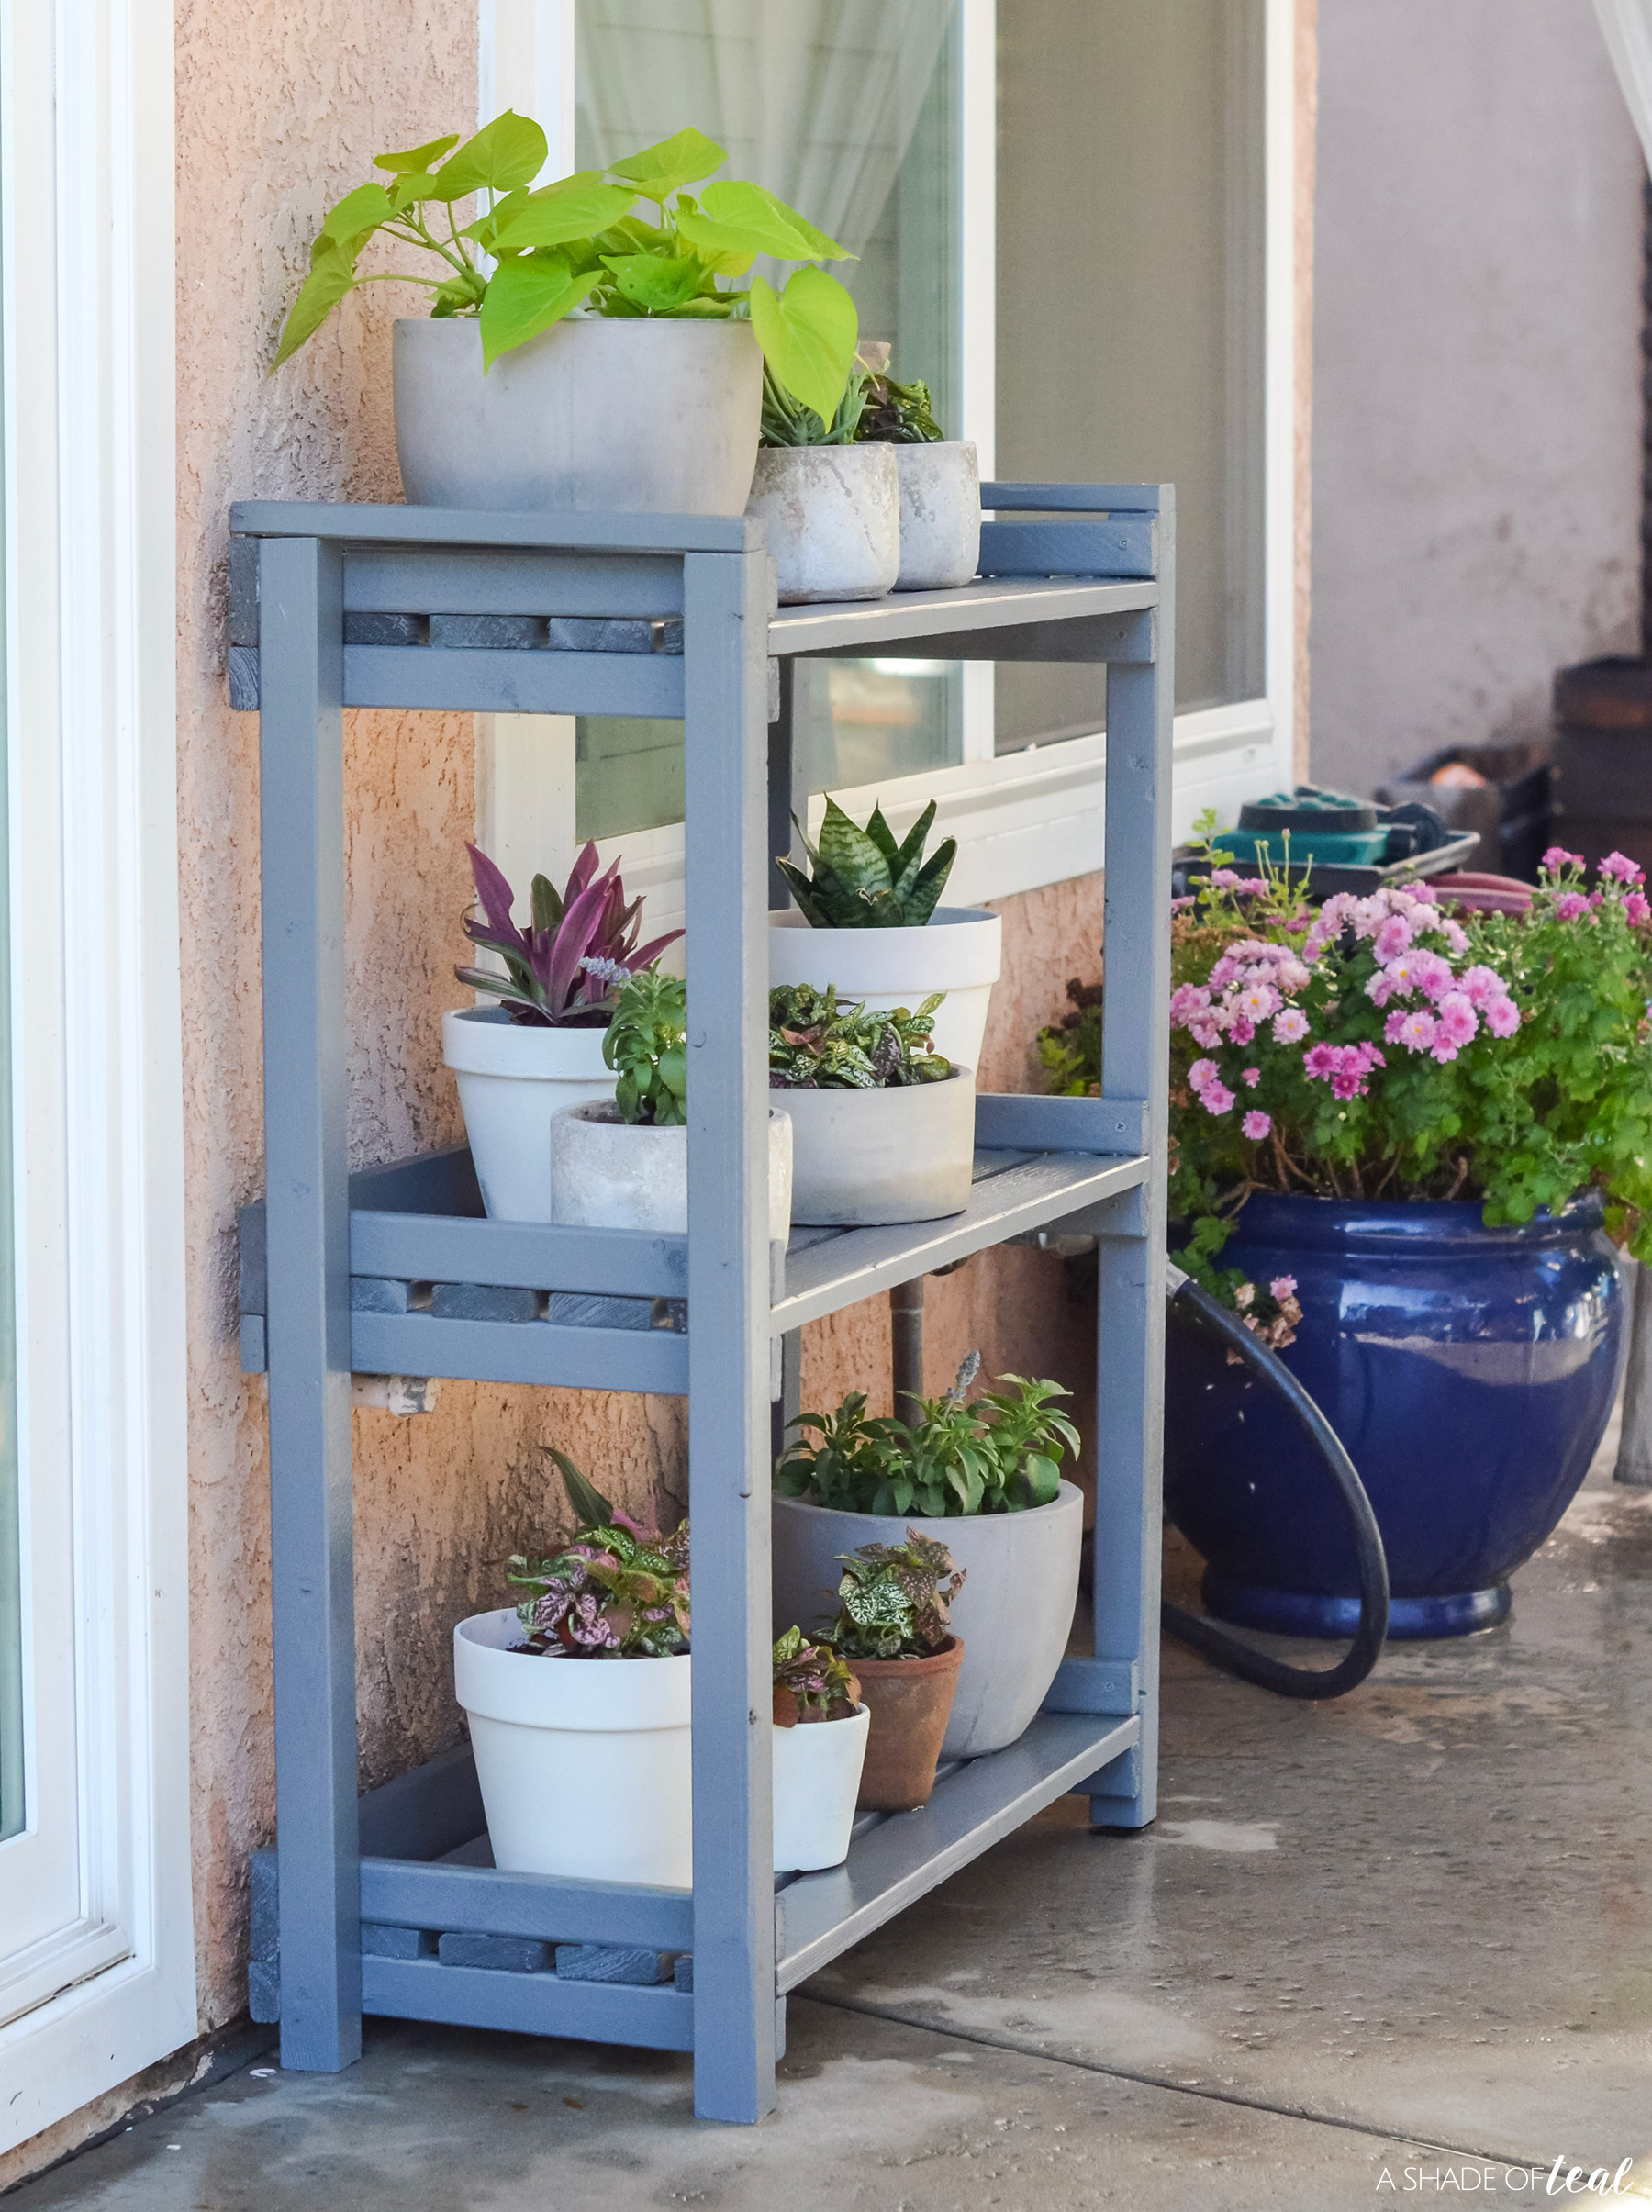
5. Finally, it’s time to setup the new plant shelf! As I mentioned earlier, it sits on a small wall between my slider door and our hose. It works great to hide some extra piping, electrical, and overall just makes the wall feel finished.
Here’s the after!
Shop Supplies Here:
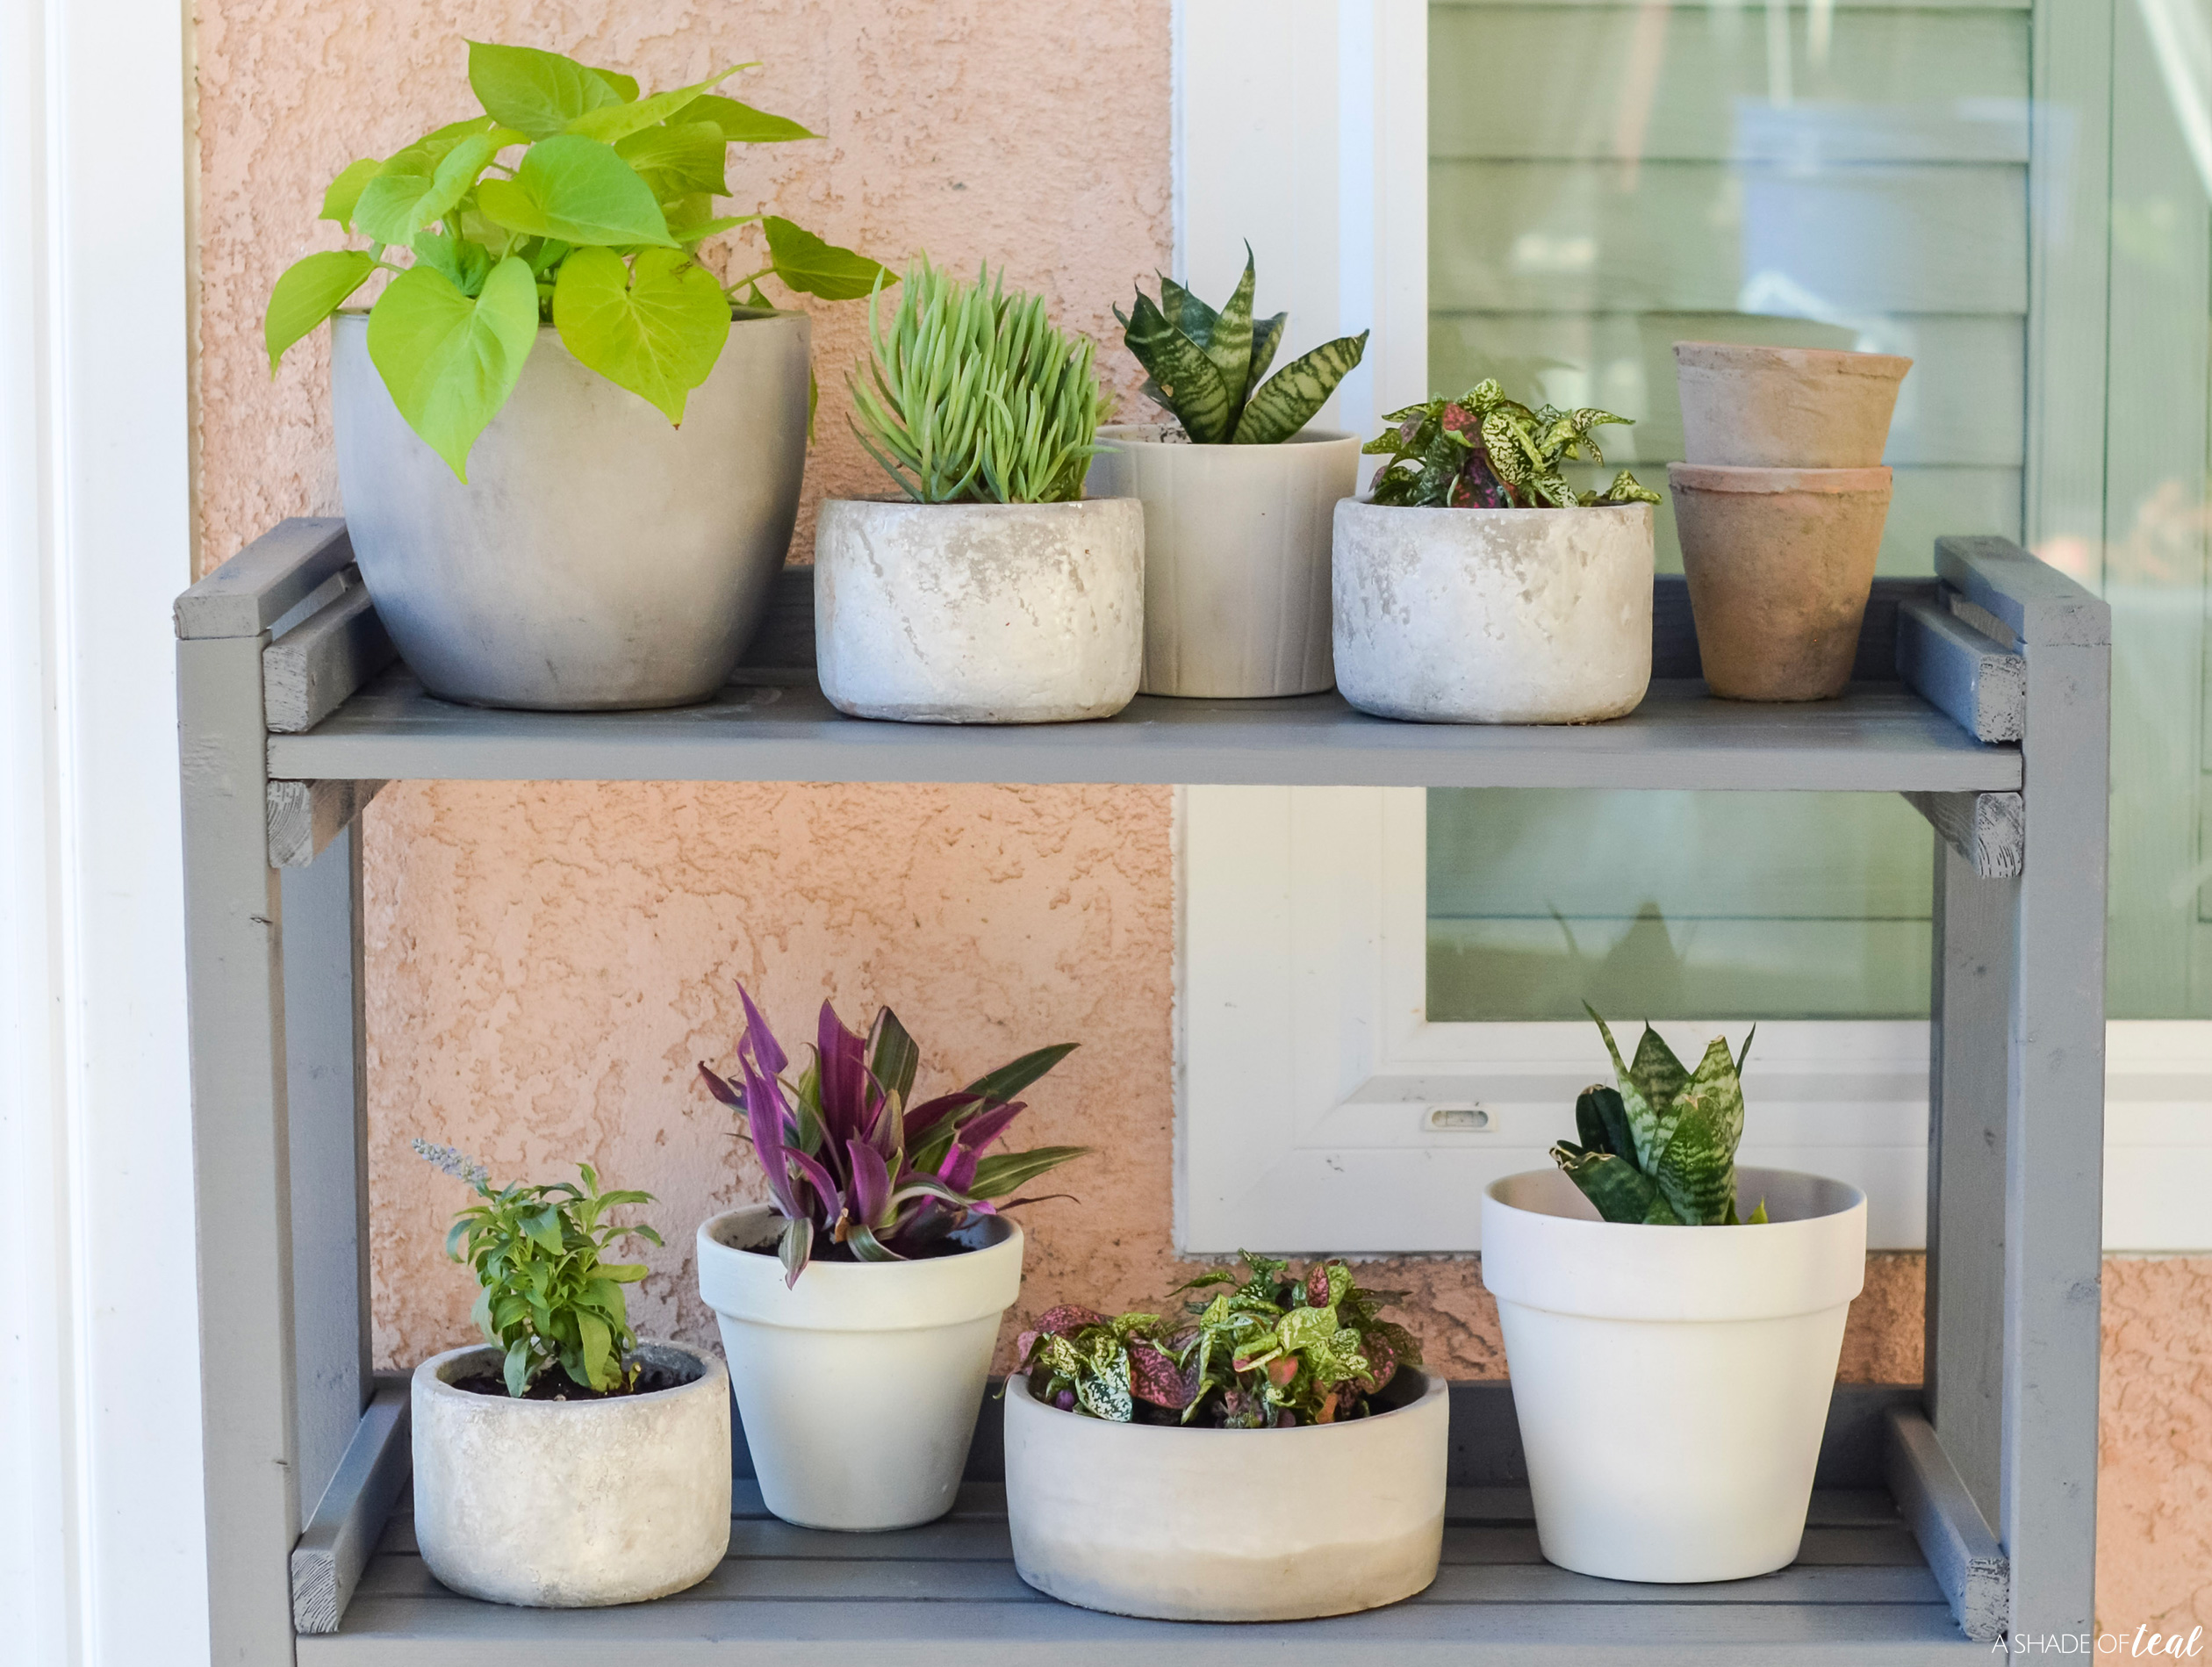
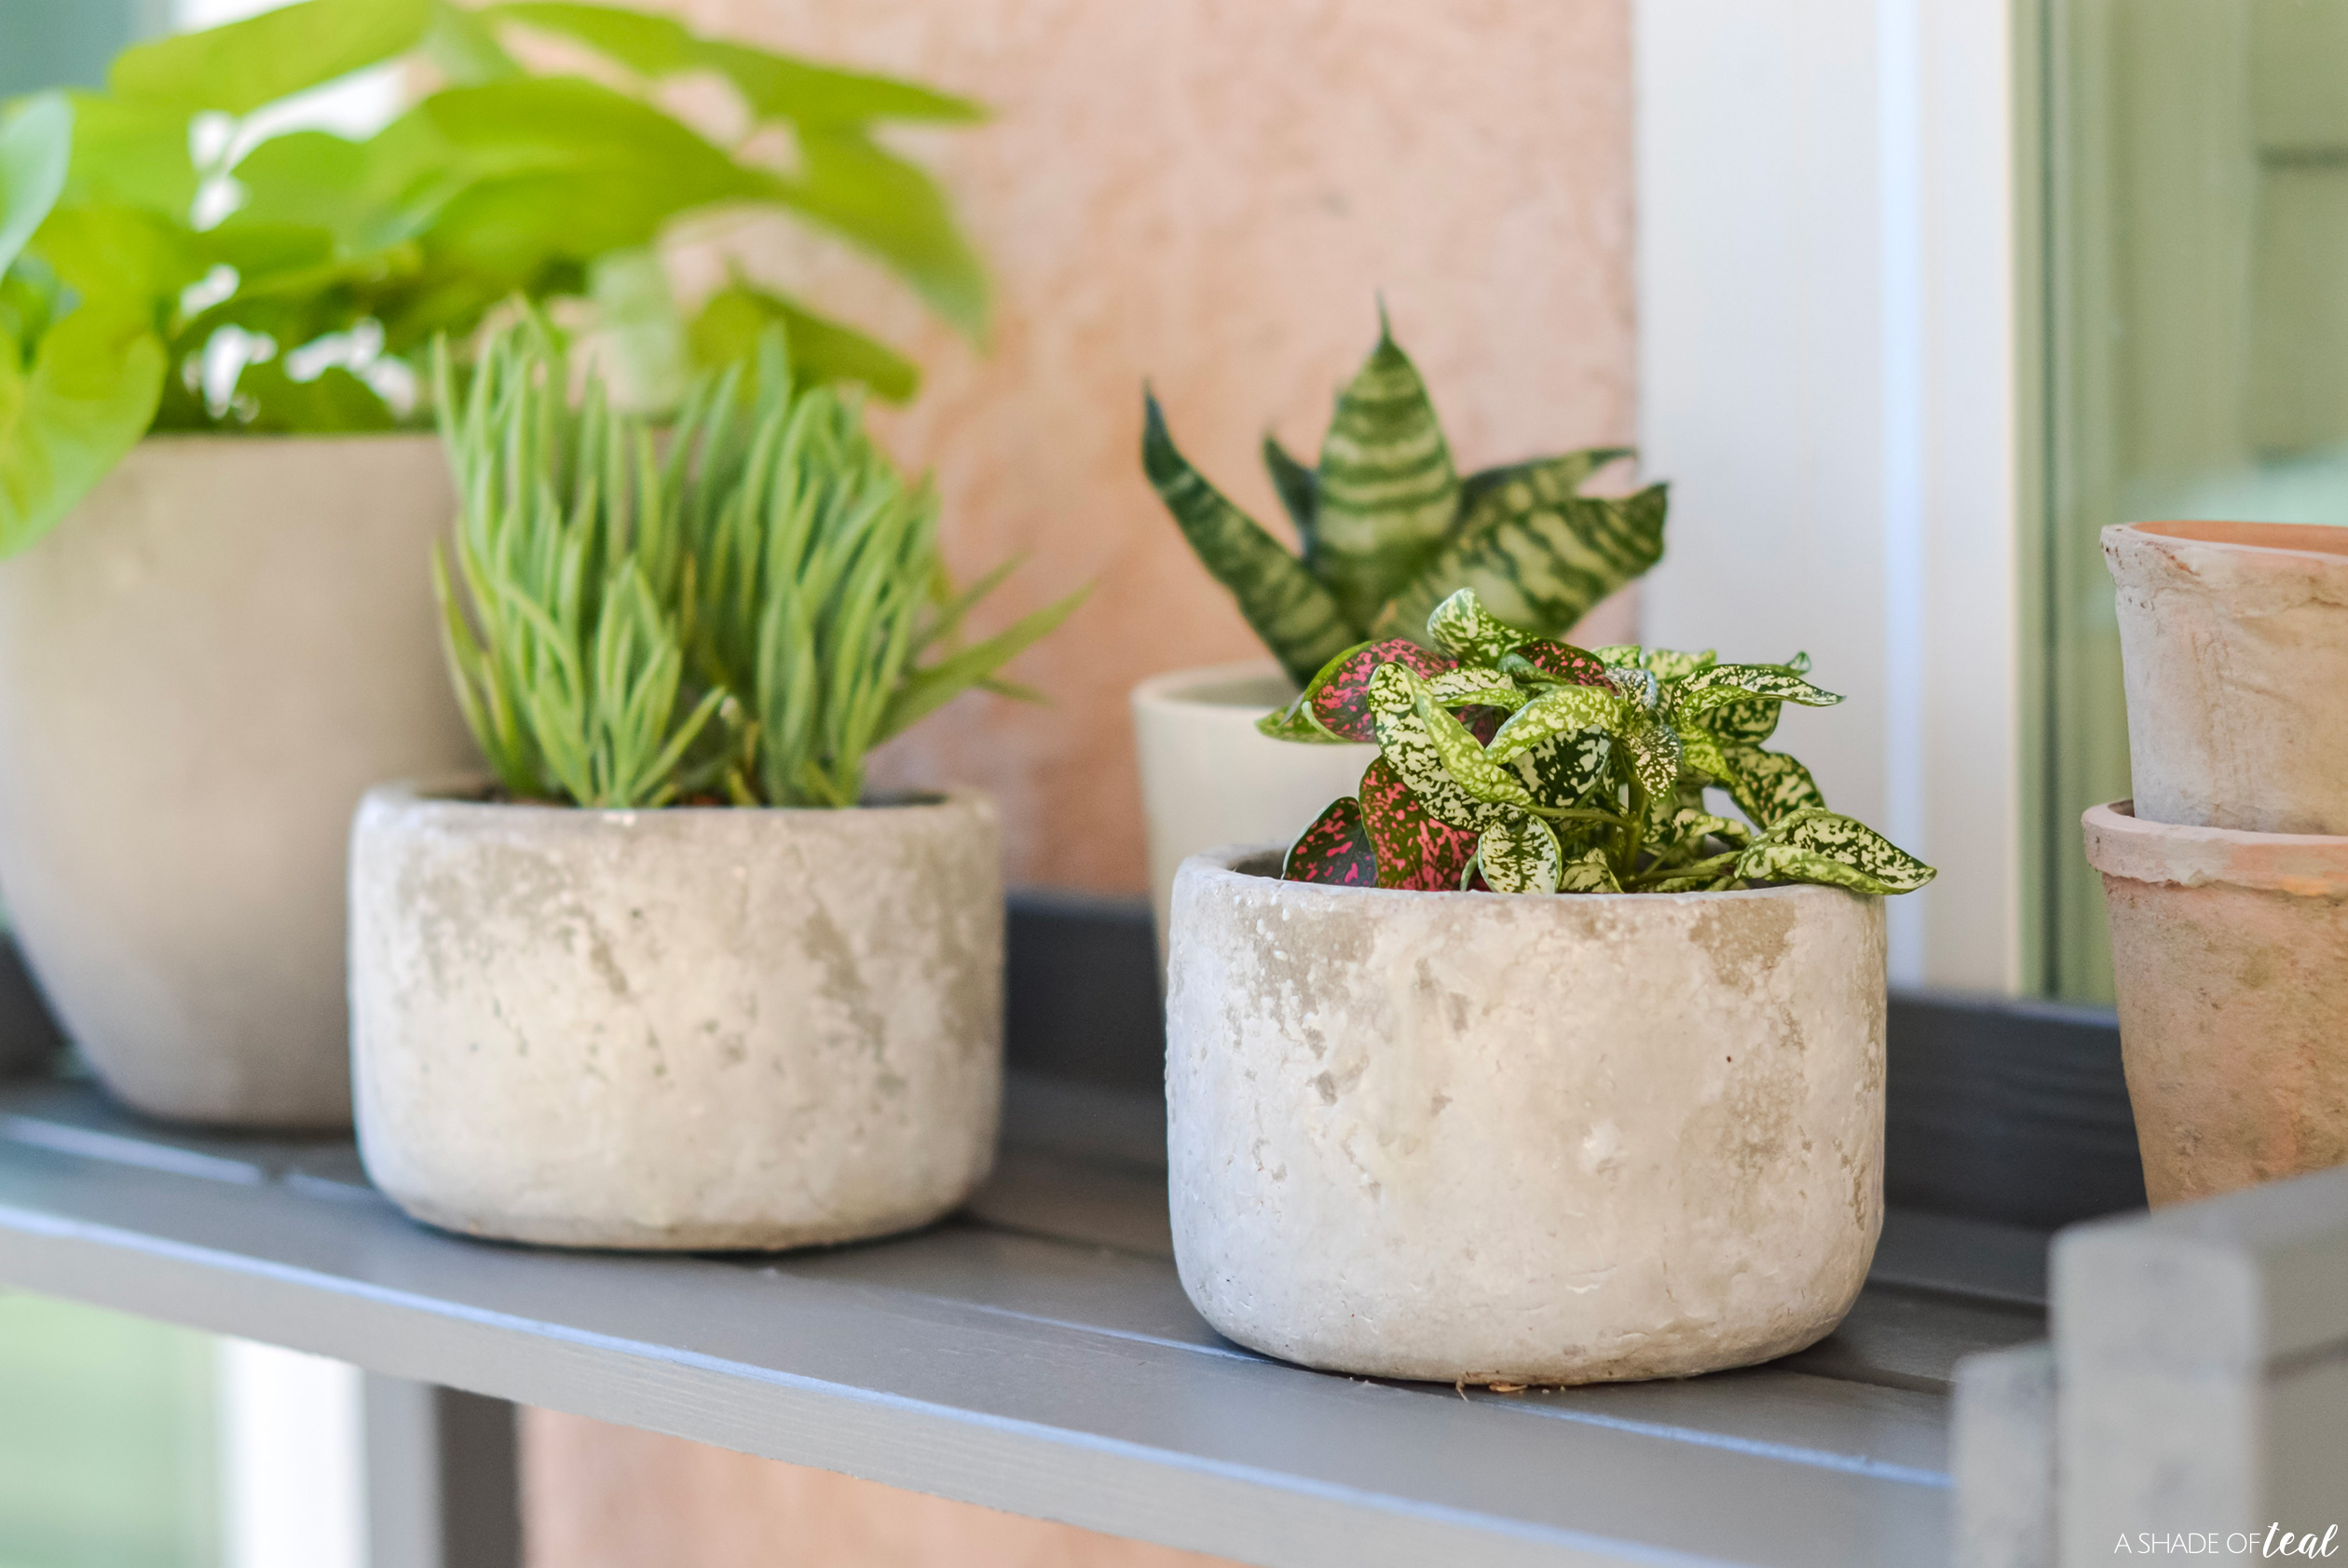
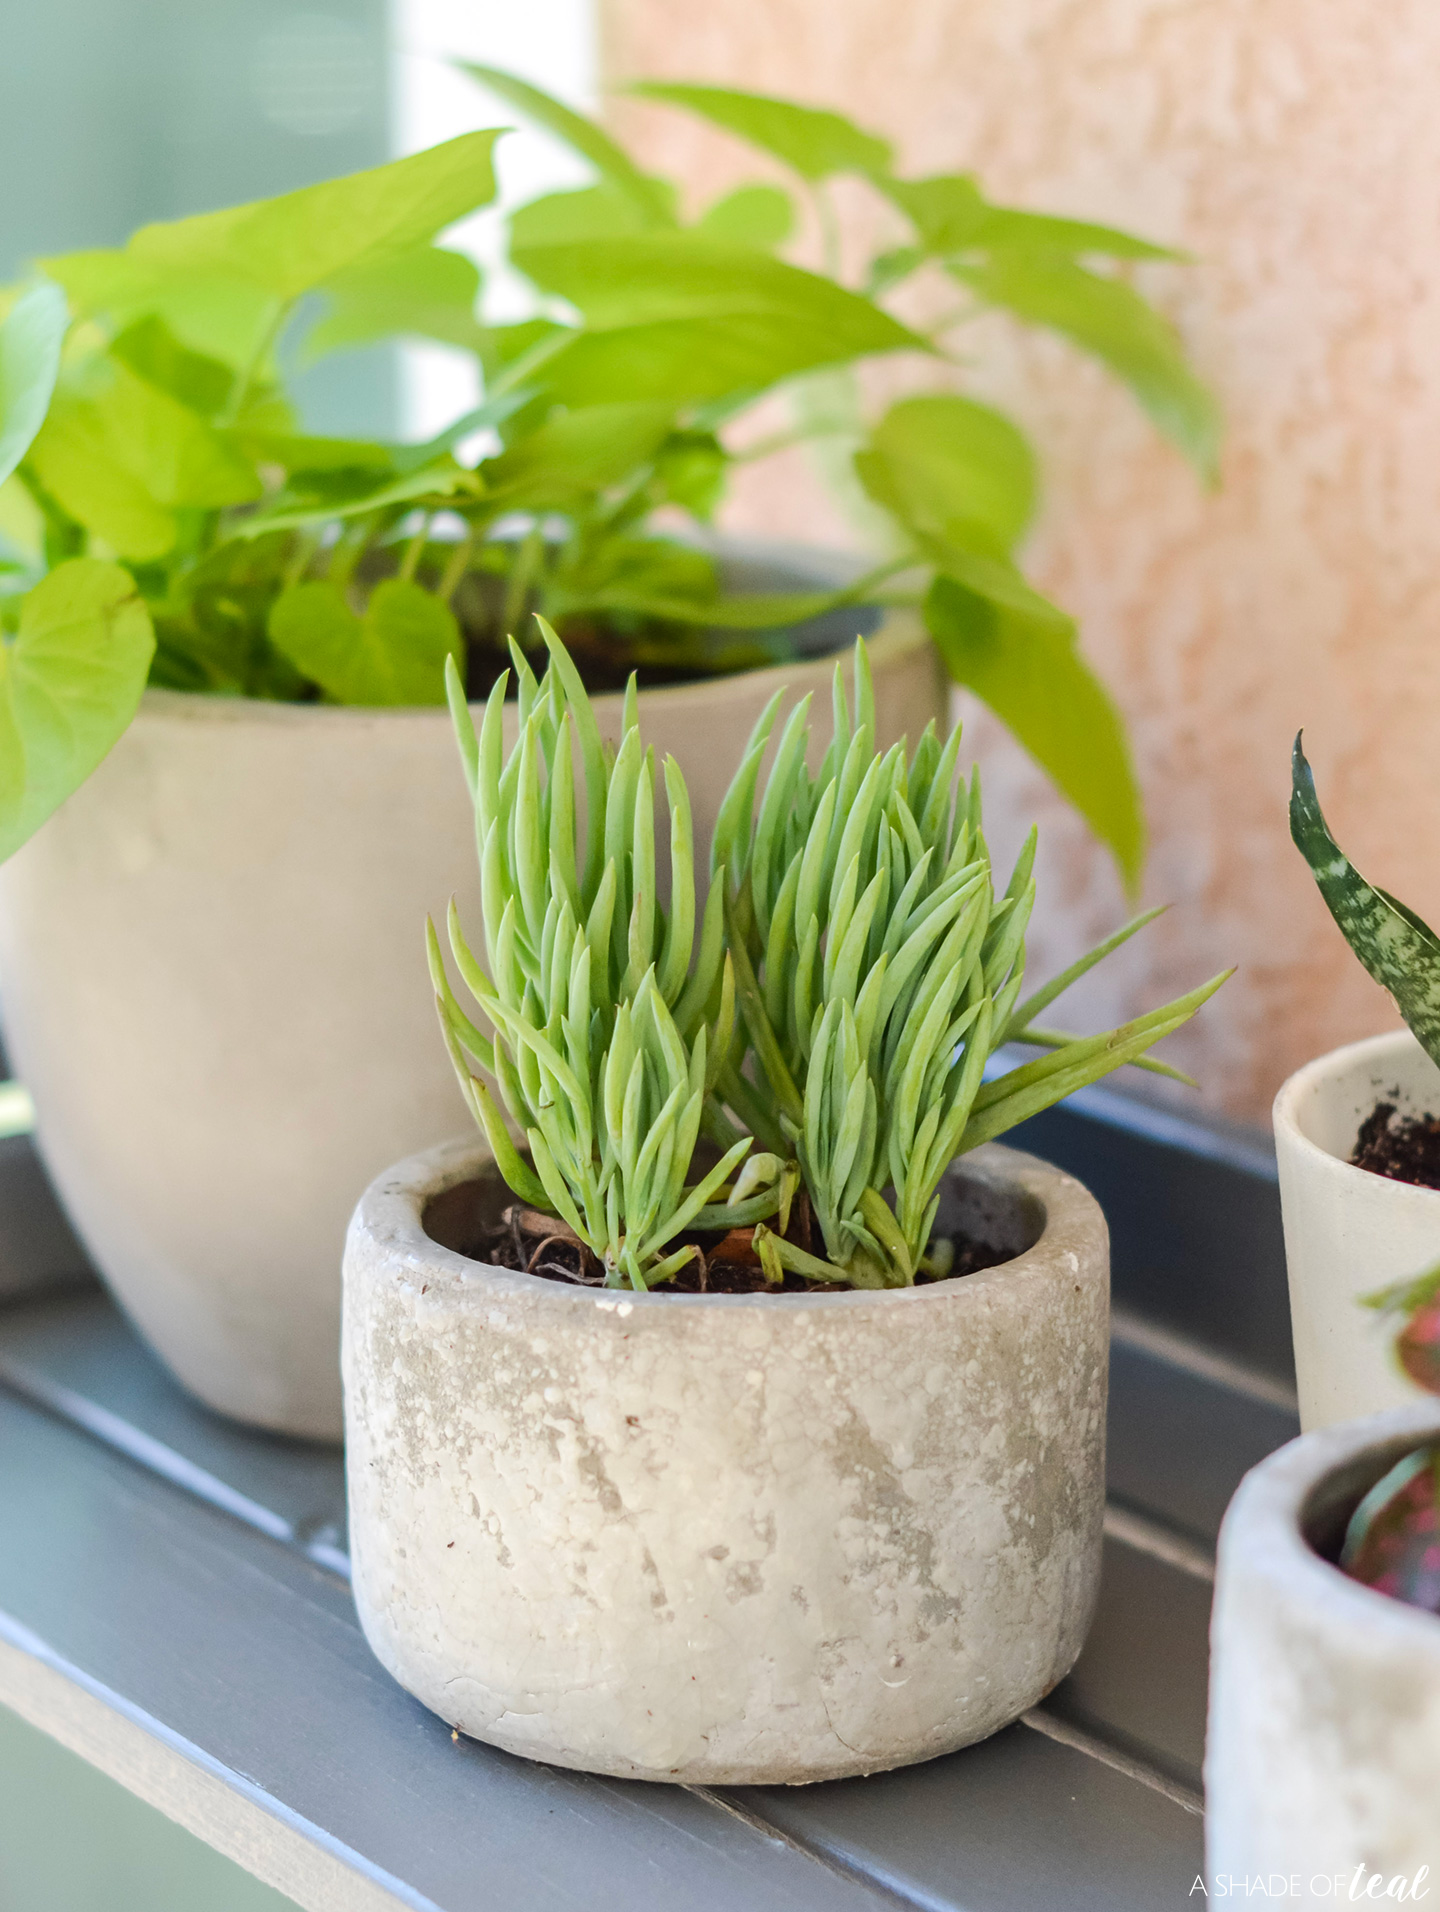
As you can see I’m going for the neutral look with my pots! I’ve been slowly transforming my pots to be either white, cement grey, or a rustic terracotta look. But for under $40, this plant shelf has been an amazing addition to my yard. More importantly, finishing it with the Wagner Flexio 3000 Sprayer made it so much easier to paint and seal.
Head on over to Wagner’s Blog here to learn more on how to use the Wagner Flexio 3000 Sprayer. Plus, make sure to check back for more home updates. Enjoy!





You include wood glue in your list of materials but I’m not seeing where you used it. Did I miss something?
I found one small mistake. Instructions state to start top brace at 3″ from top. But then when you put the 1×3 across the back at top, you have a half inch gap between the top handles and the back slat. You may want to adjust instructions from 3″ to 2.5″. Otherwise it a nice design.
tx8ilb
qwt2gh
znr9w8
t3otsb
eyj2r7
silmf7
4js8zw
vig76y
w9m34y
yntq37