CRICUT DIY: “WHO NEEDS LUCK” ST PATRICK’S DAY SHIRT. LEARN HOW TO MAKE A SIMPLE SHIRT WITH IRON-ON VINYL AND THE CRICUT EXPLORER AIR 2 & CRICUT EASYPRESS 2.
I’m back with another St Patrick’s Day shirt. The other day I shared my Pinch Proof shirt, and today I’ll share how to quickly make this Who Needs Luck St Patrick’s Day shirt.
(This post may include affiliate links. If you buy something I receive a small commission of your purchase. Thanks for supporting A Shade of Teal! I only share products I truly love!)
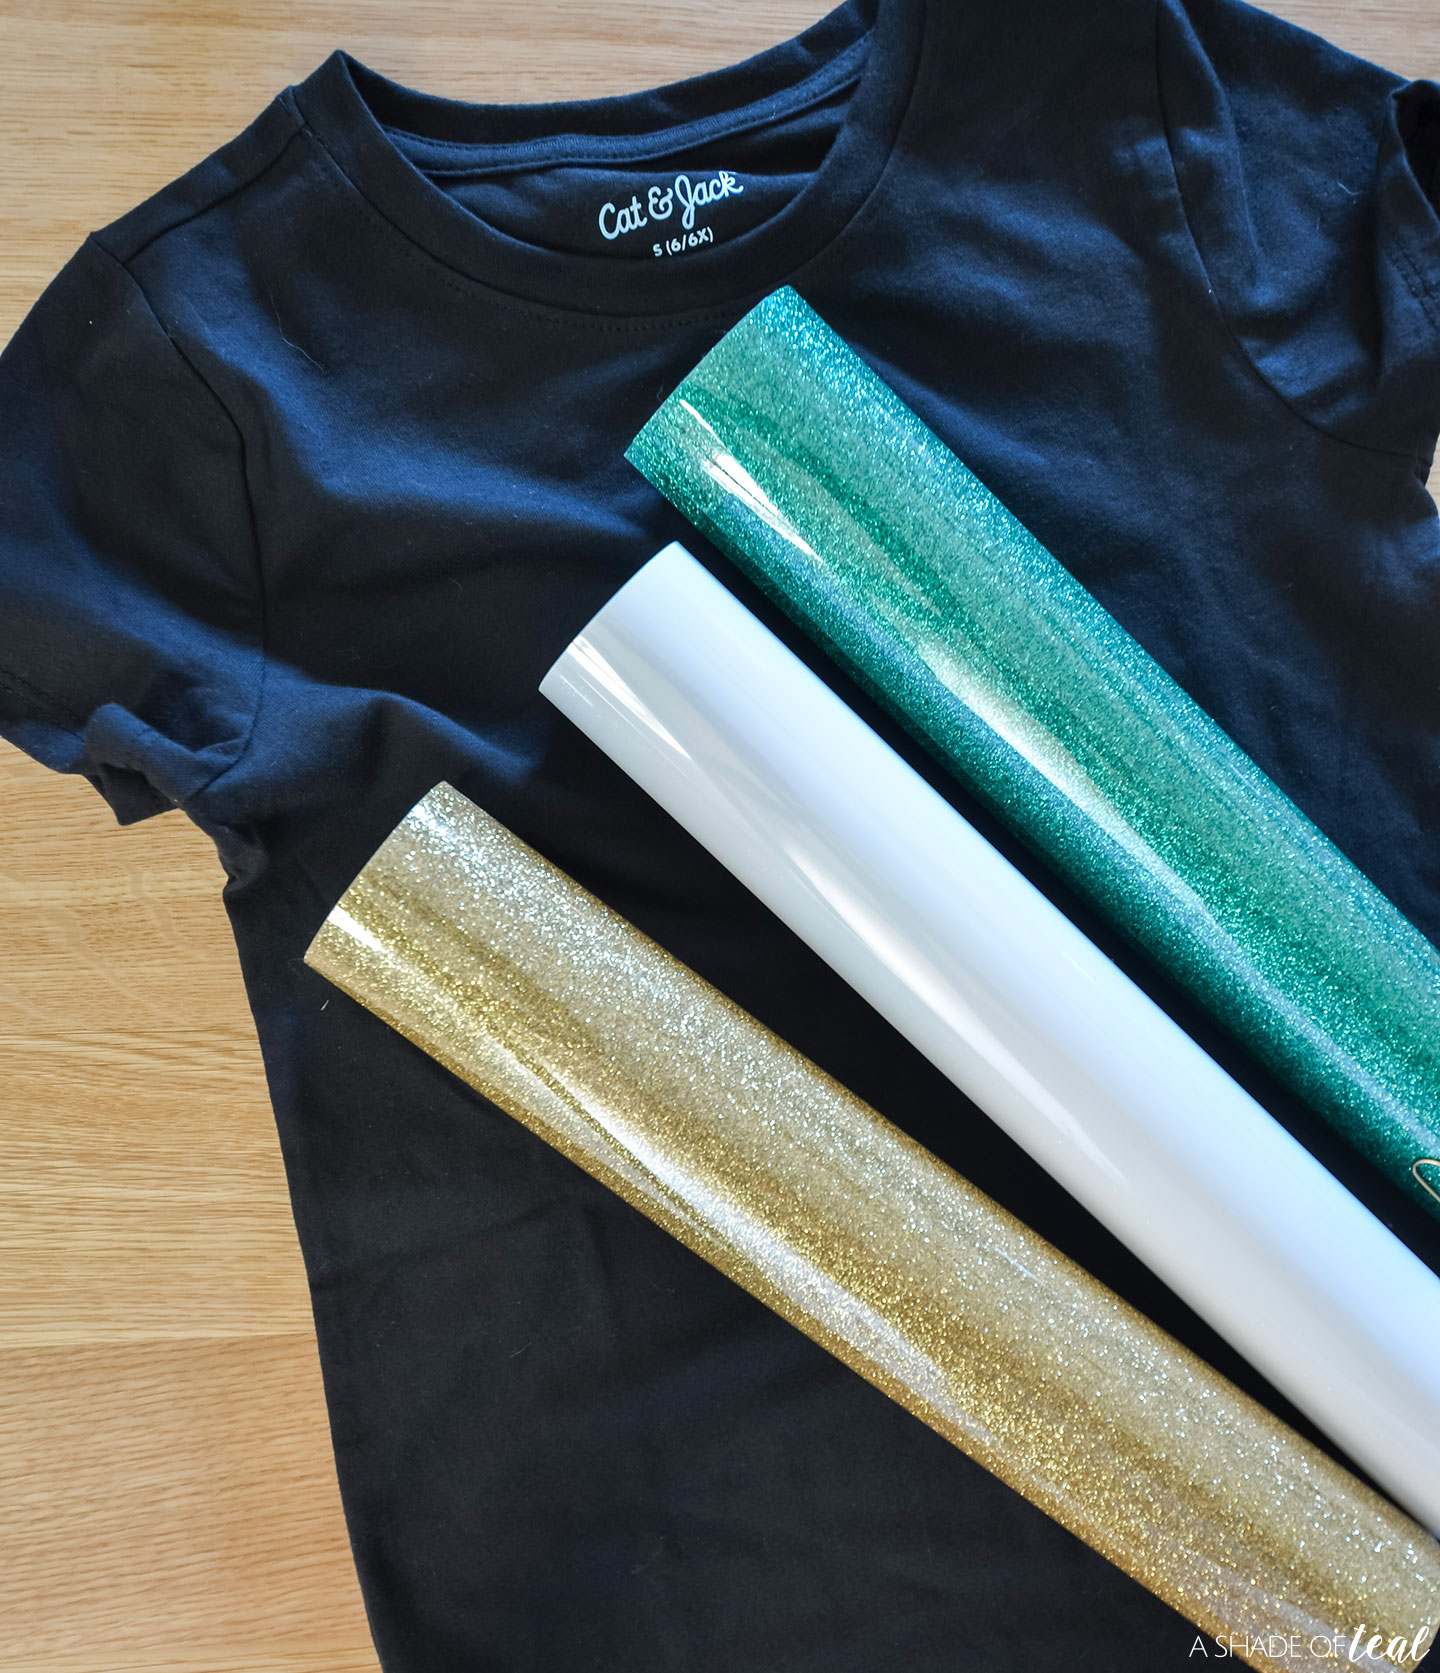
This “Who Needs Luck” shirt was made for my 6 year old daughter. I designed the artwork myself, and you can get in my ETSY shop Here. Then I bought a black shirt from Target to use as the blank. So far I love the Cat & Jack tees, especially when they’re on sale. The fit, quality, and price are the best combo I’ve seen.
Want to make your own Iron-on Vinyl shirt? Here’s what you’ll need.
Materials Needed:
- Little Girls Shirt
- White Iron-On Vinyl
- Green Glitter Iron-On Vinyl
- Gold Glitter Iron-On Vinyl
- “Who Needs Luck” Art
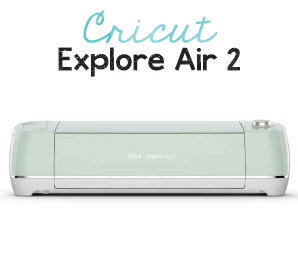
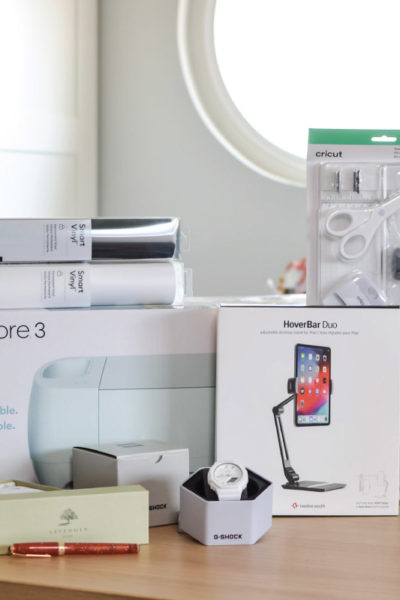
- Cricut Explore Air 2
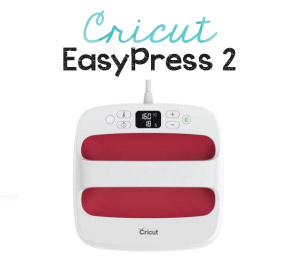
- Cricut EasyPress 2
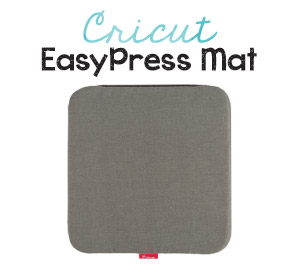
- Cricut EasyPress Mat
- Essential Tool Set
Shop:
Here’s How to make this “Who Needs Luck” St Patrick’s Day Shirt!
Step 1 || First you’ll need to either create your own art, purchase my “Who Needs Luck” St Patrick’s Day art HERE, or find ready made art in Cricut Design Space.
(If you haven’t already signed up for Cricut Access, I suggest you do. You get access to tons of graphics and art elements to create your own designs. Check out Cricut Access HERE.)
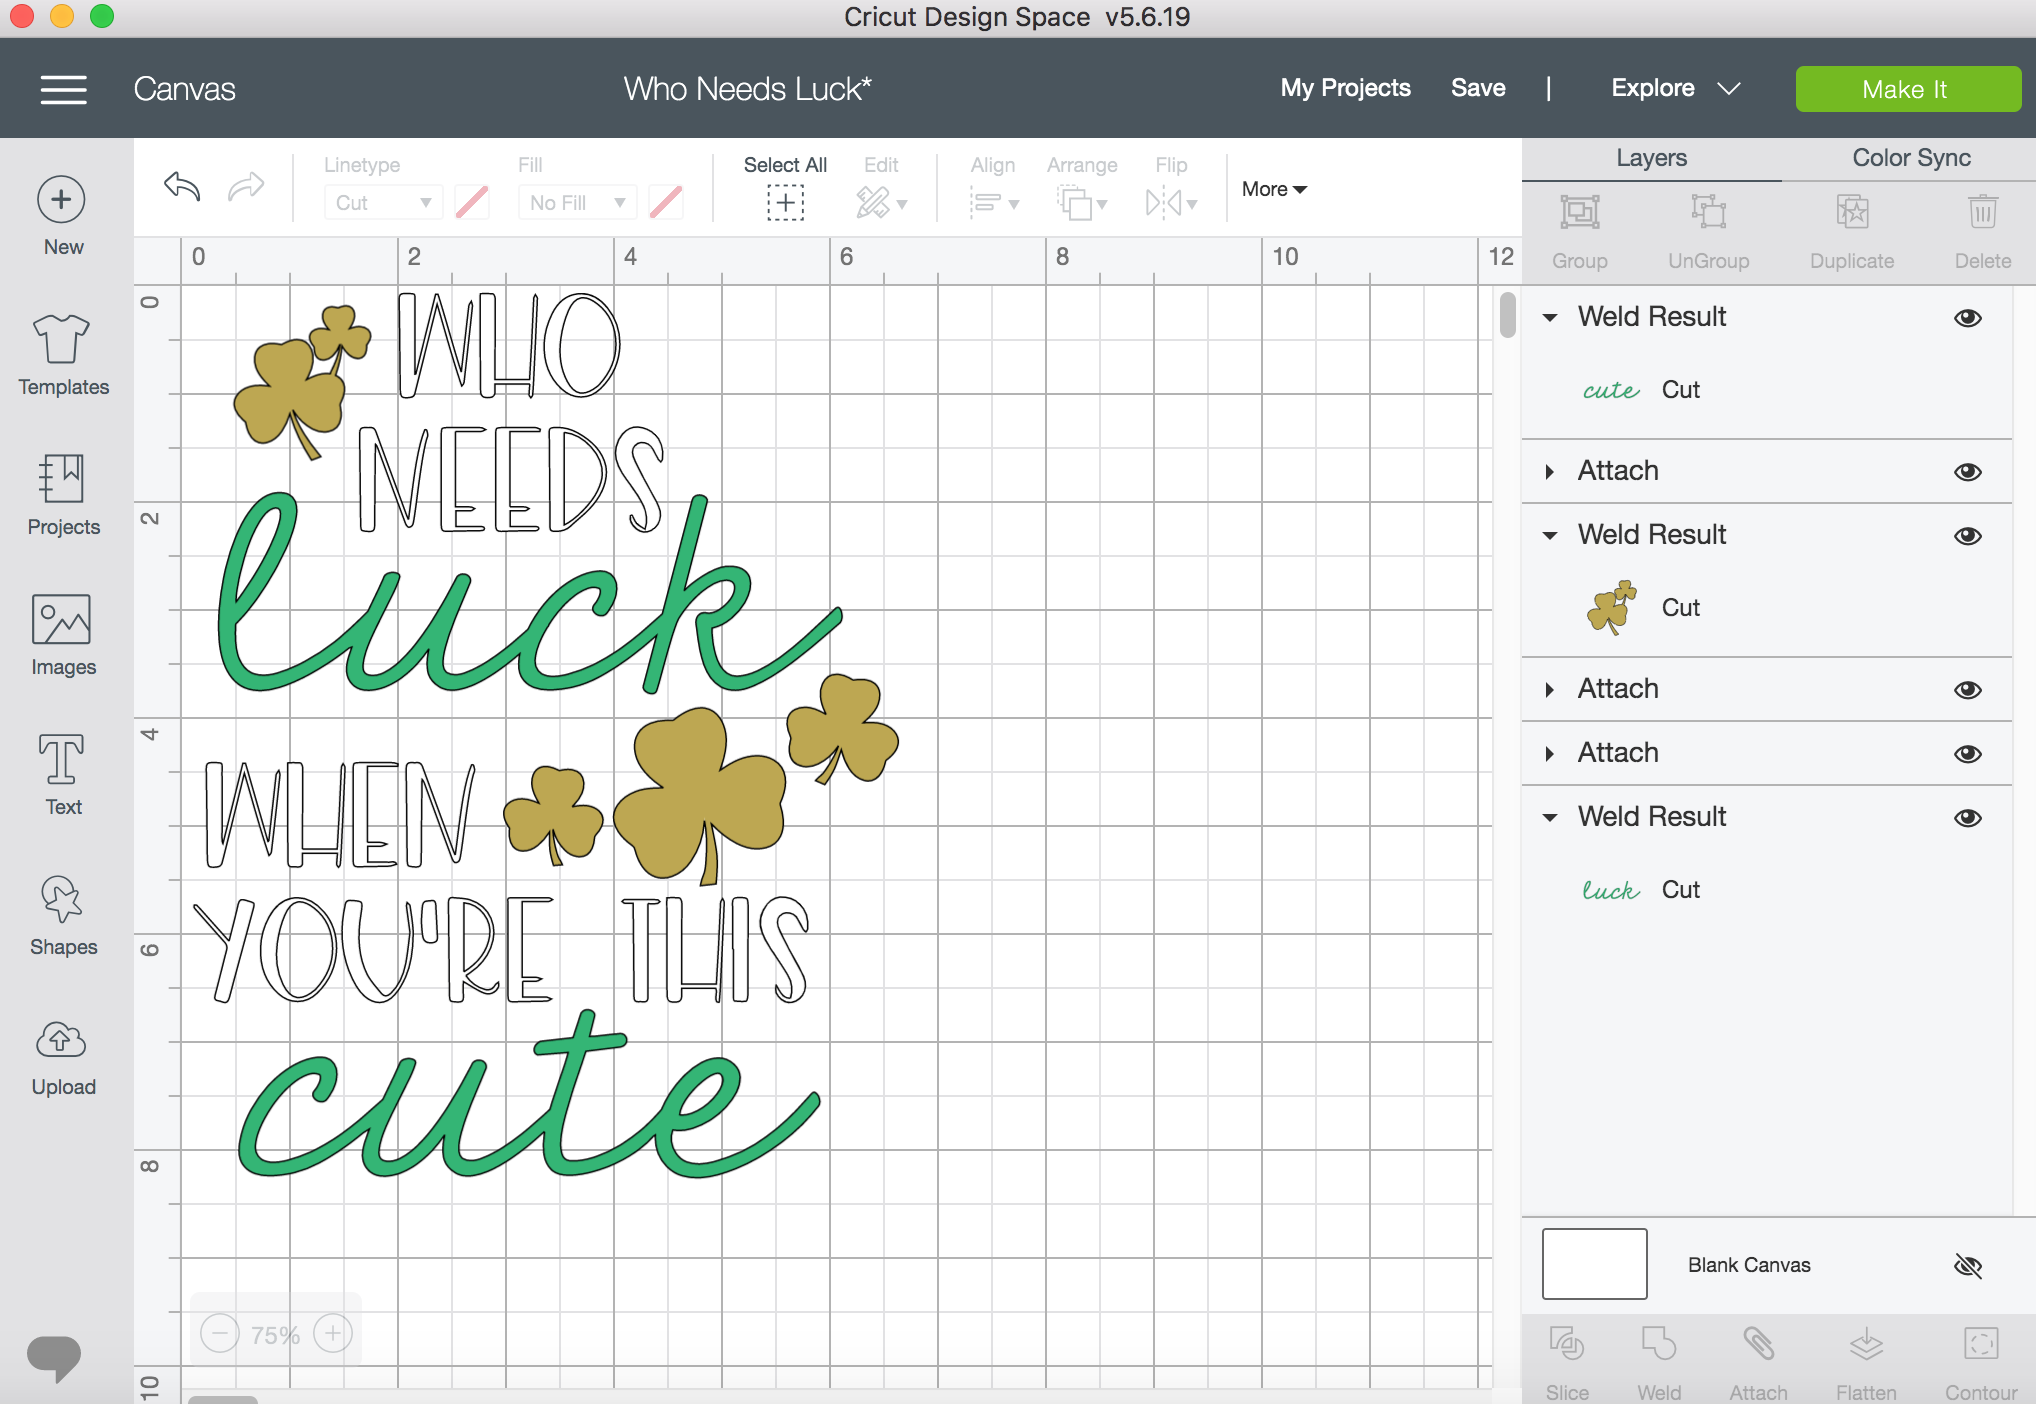
Step 2 || Next, upload the art to Design Space and size the art accordingly to your shirt.
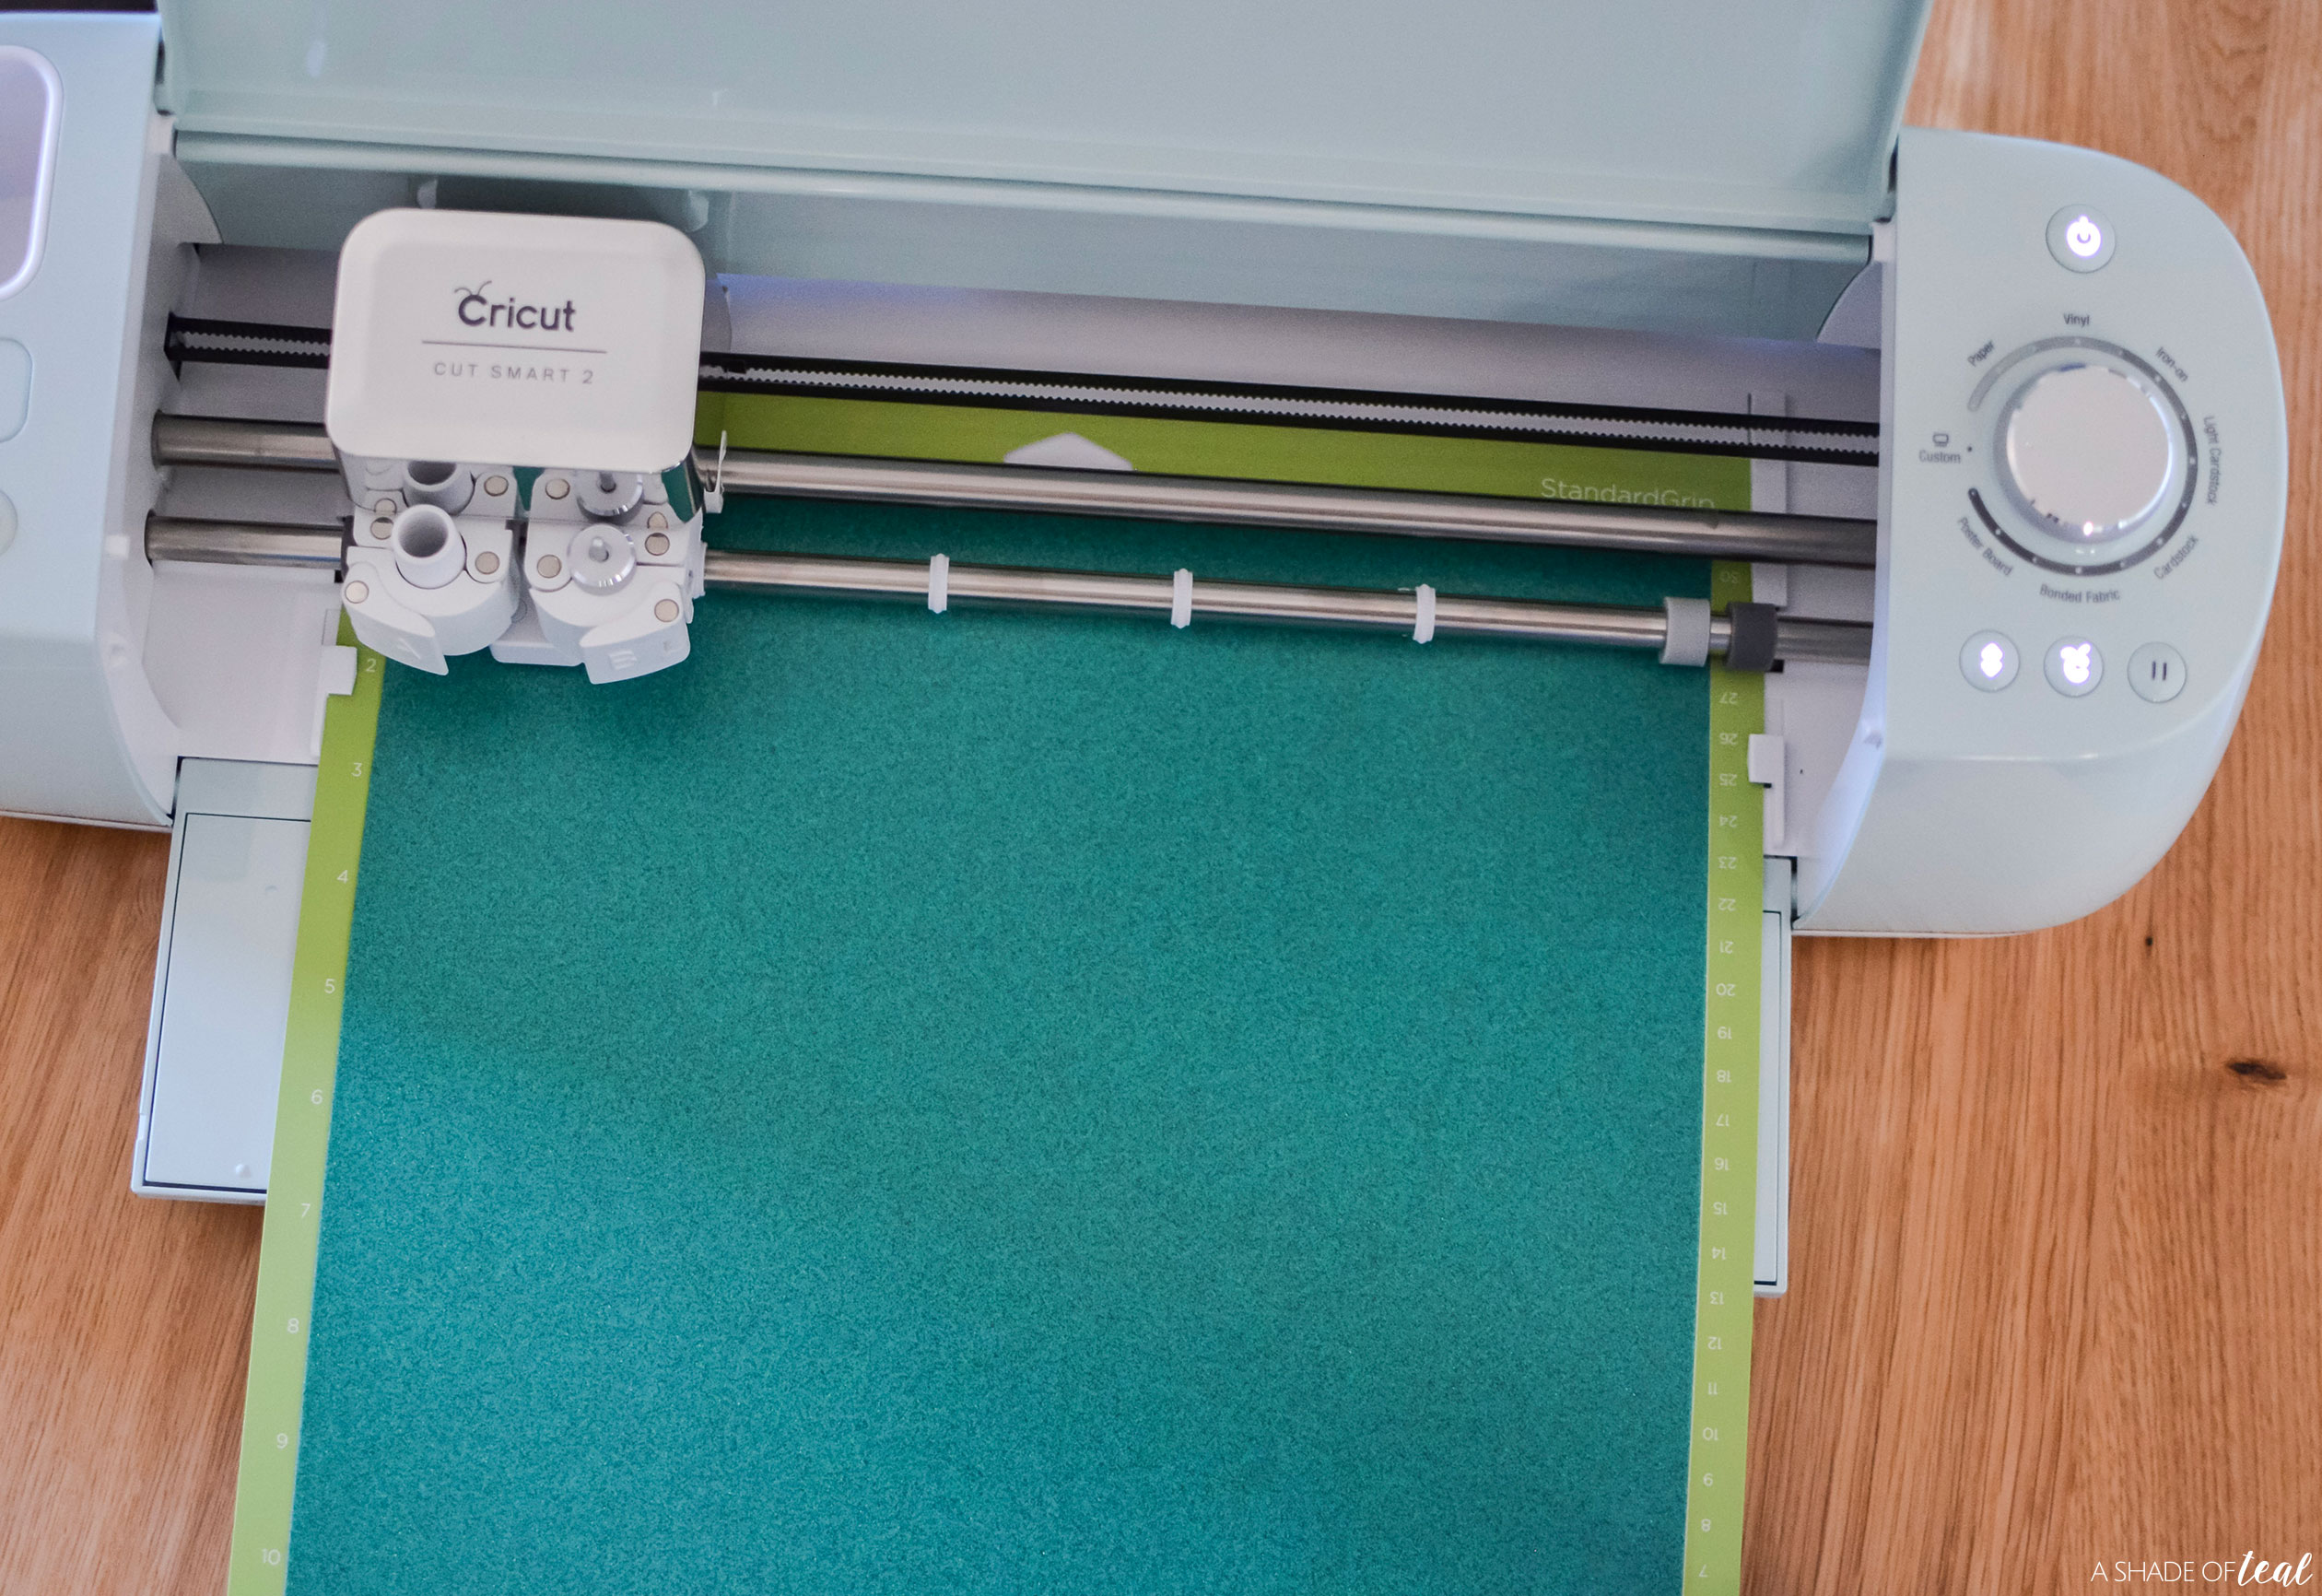
Step 3 || Follow the prompts on Design Space to start cutting each Iron-On Vinyl color, and don’t forget to click the “Mirror” button before you cut.
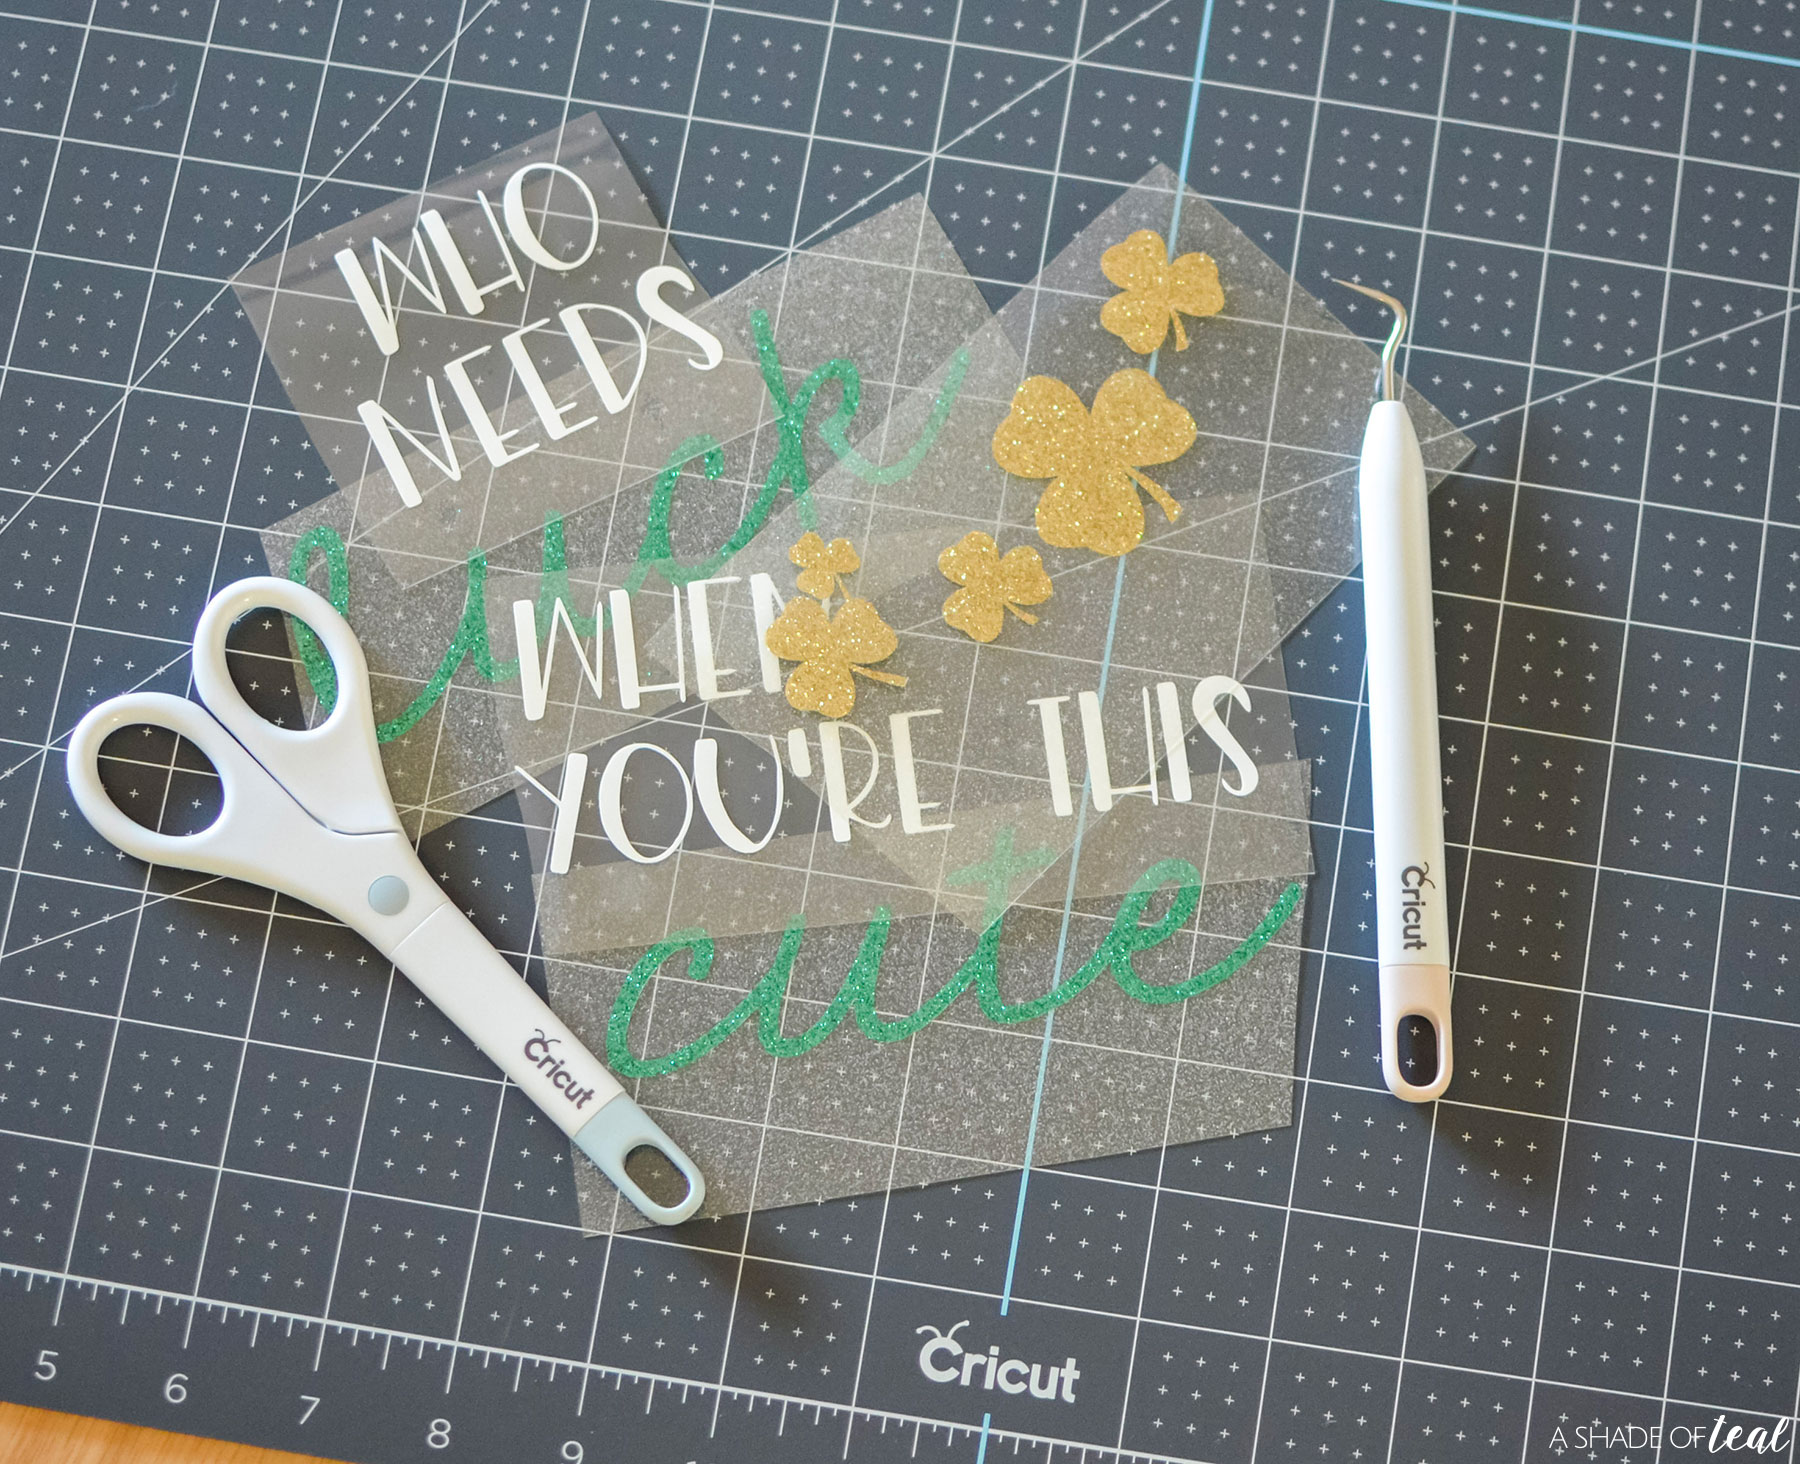
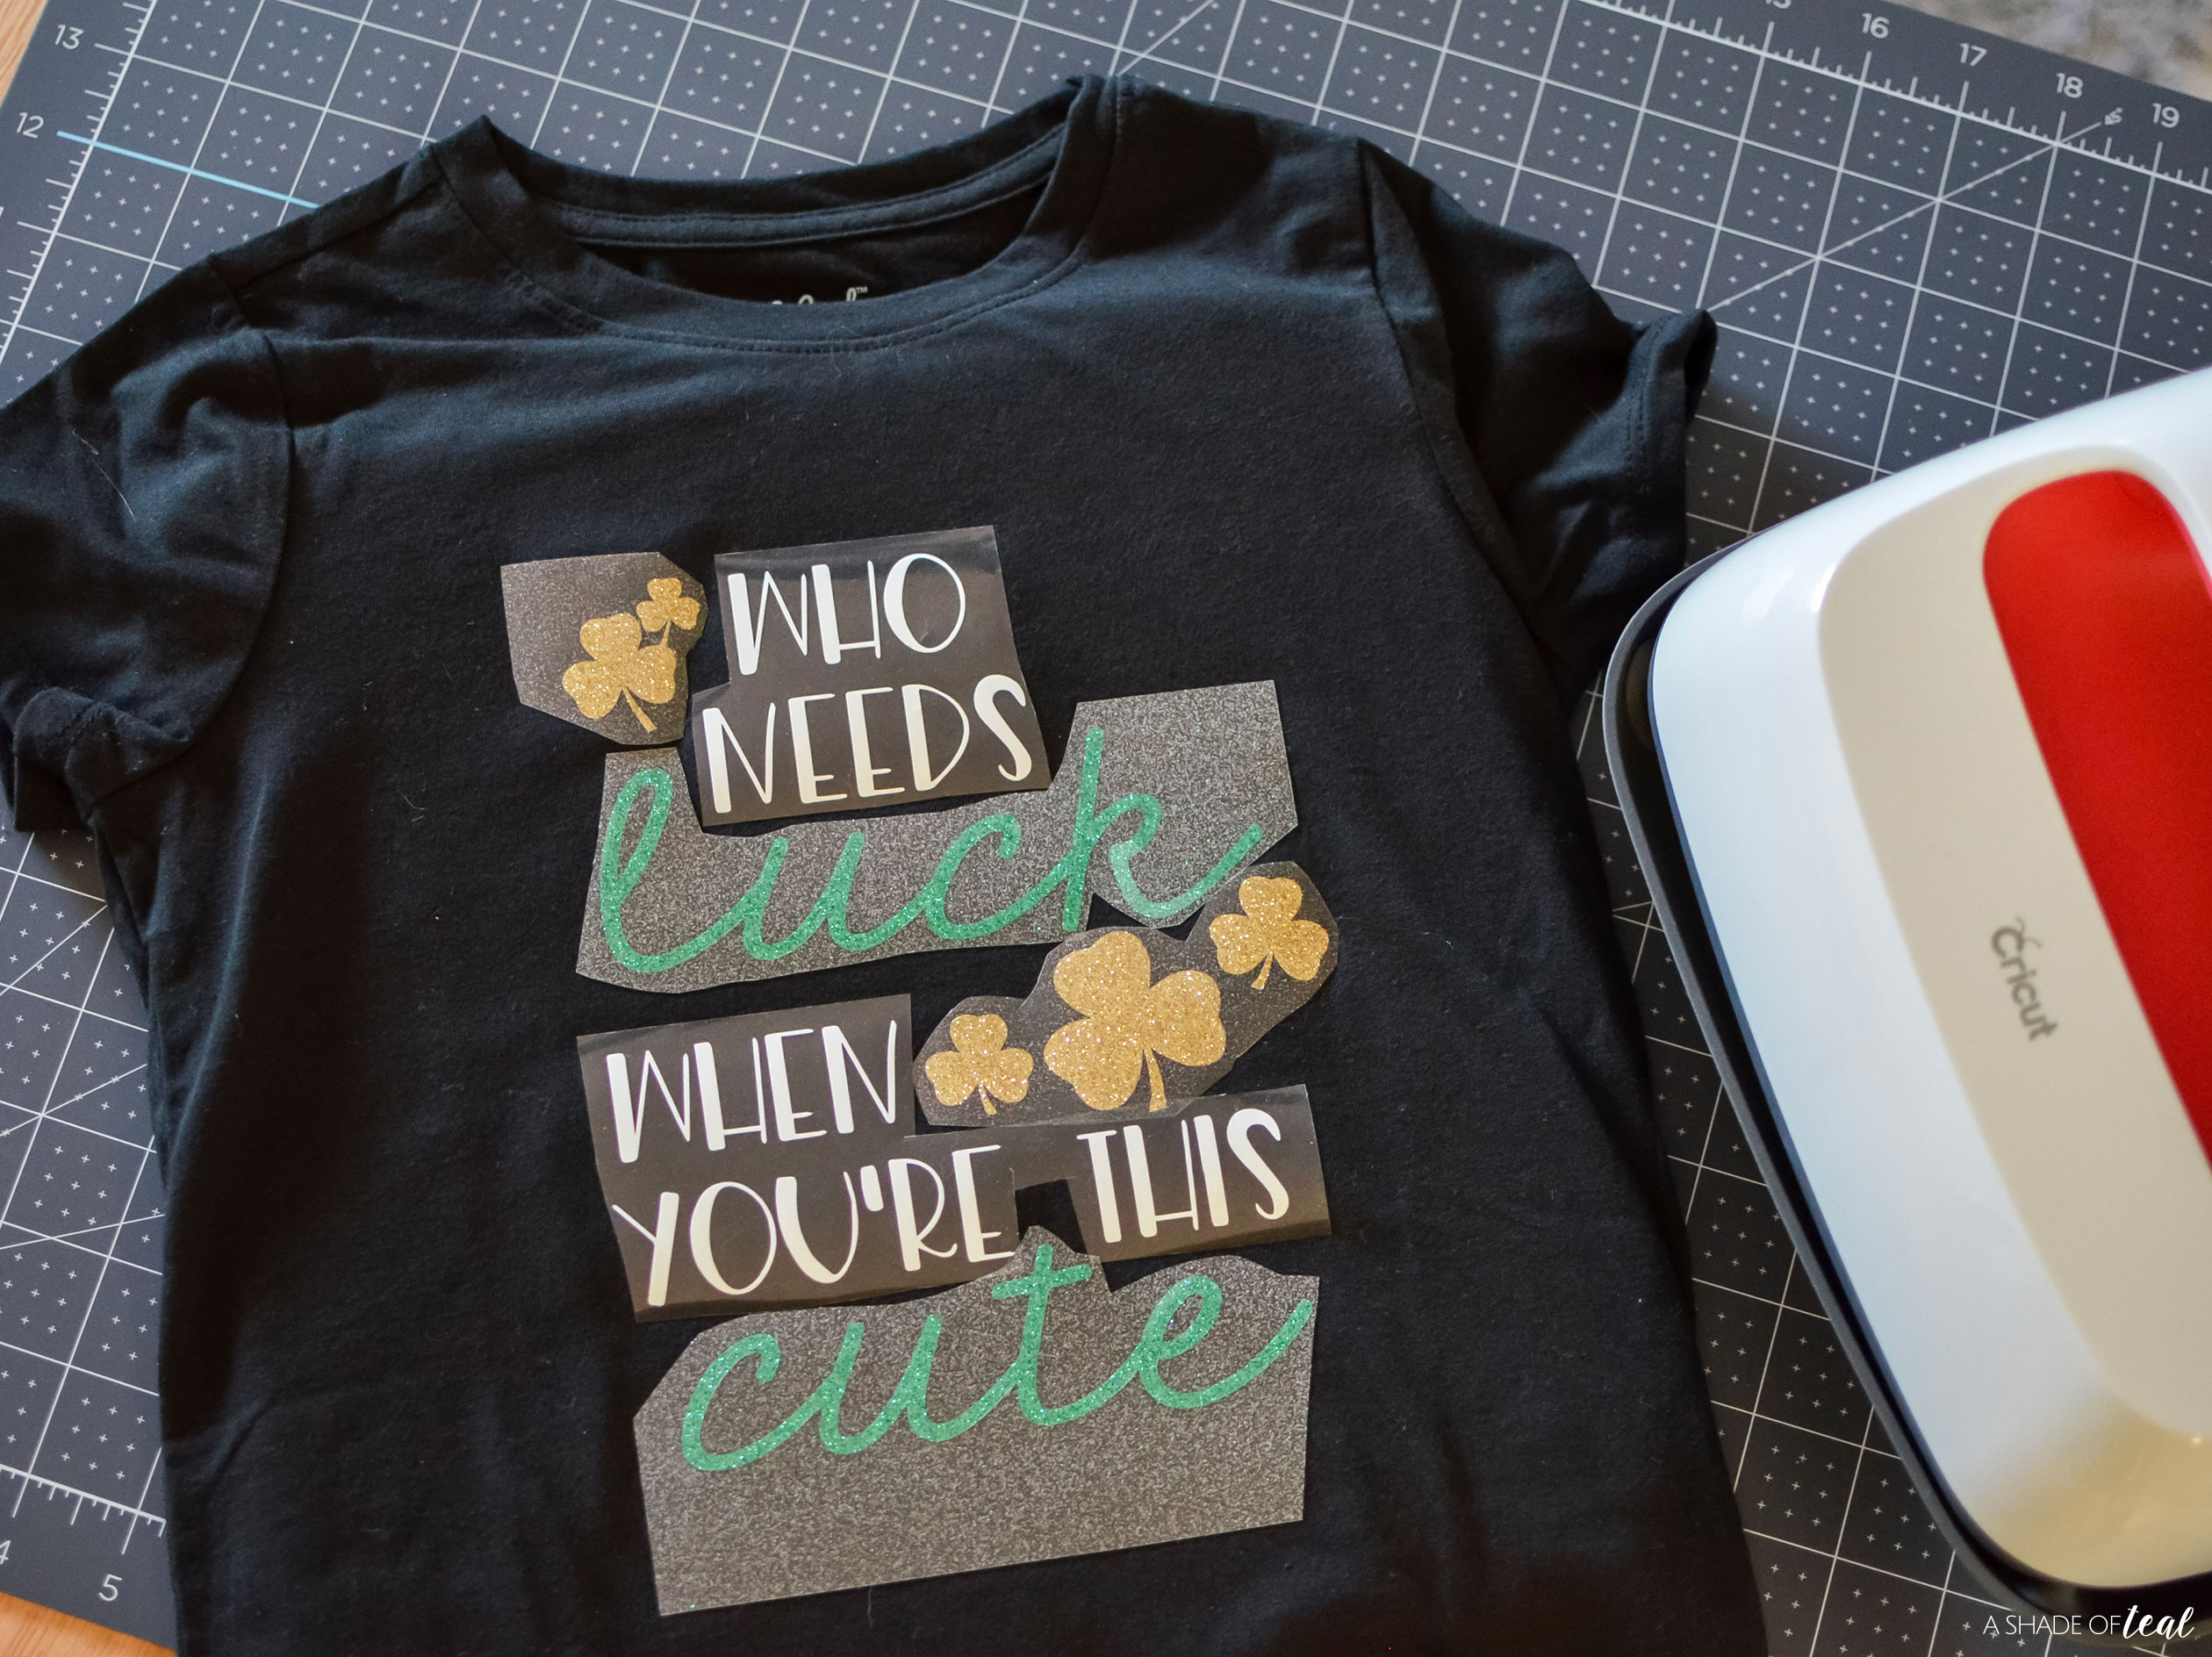
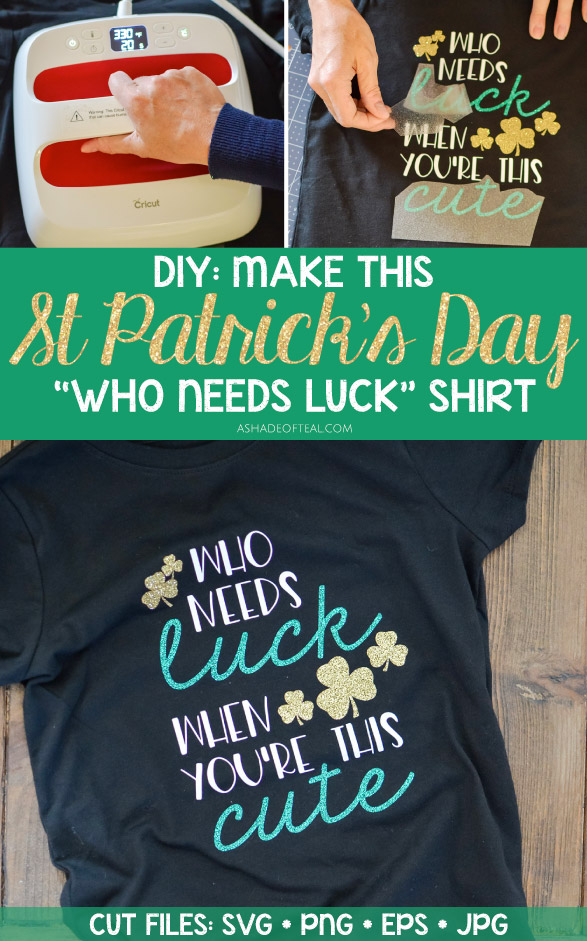
Step 4 || After the Vinyl has been cut, weed the art. Then since none of the colors are being layered, I suggest cutting the clear backing on everything as small as you can. That way you can apply everything at once. (see below)
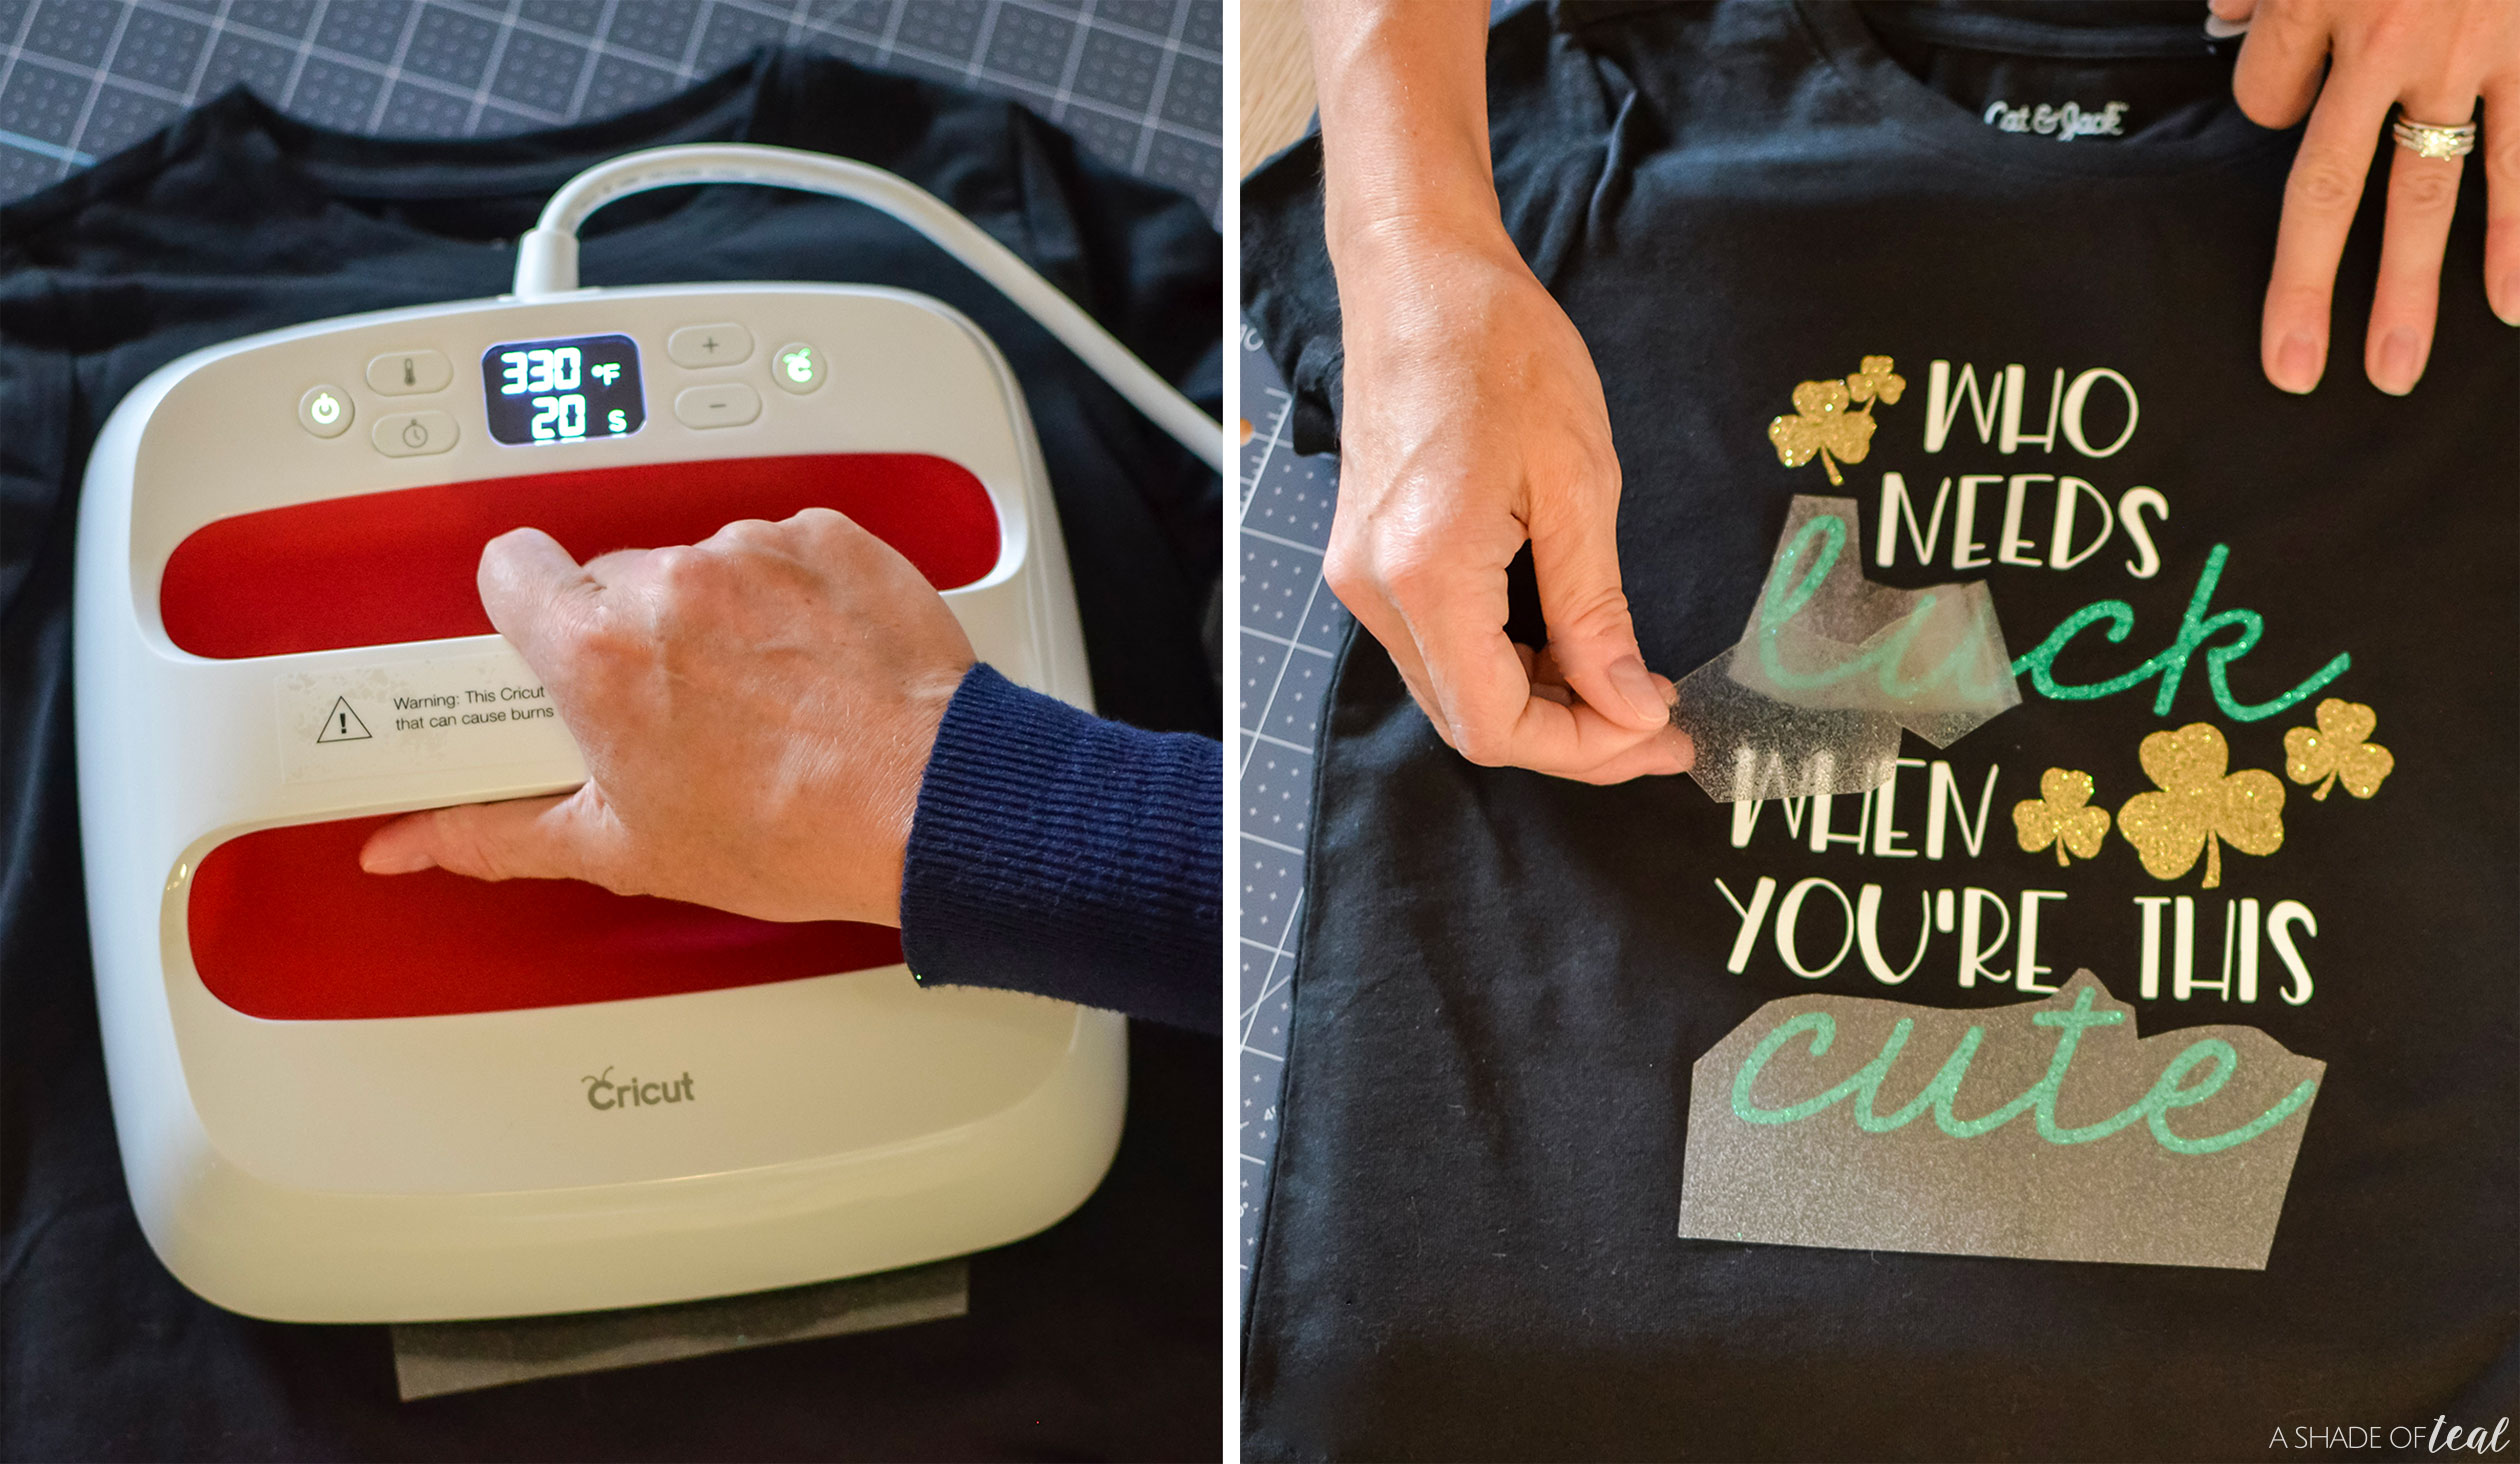
Step 5 || Next, heat and prep your Cricut EasyPress 2.
Not sure what temperature or Time to set?
Remember that the temperature, time, and pressure vary by base material AND iron-on type. Before starting a new project, it’s always best to confirm time and temperature settings. A great place to do that is here >>> Cricut Heat Guide
Step 6 || After everything is evenly applied, peel off the backing and you’re done.
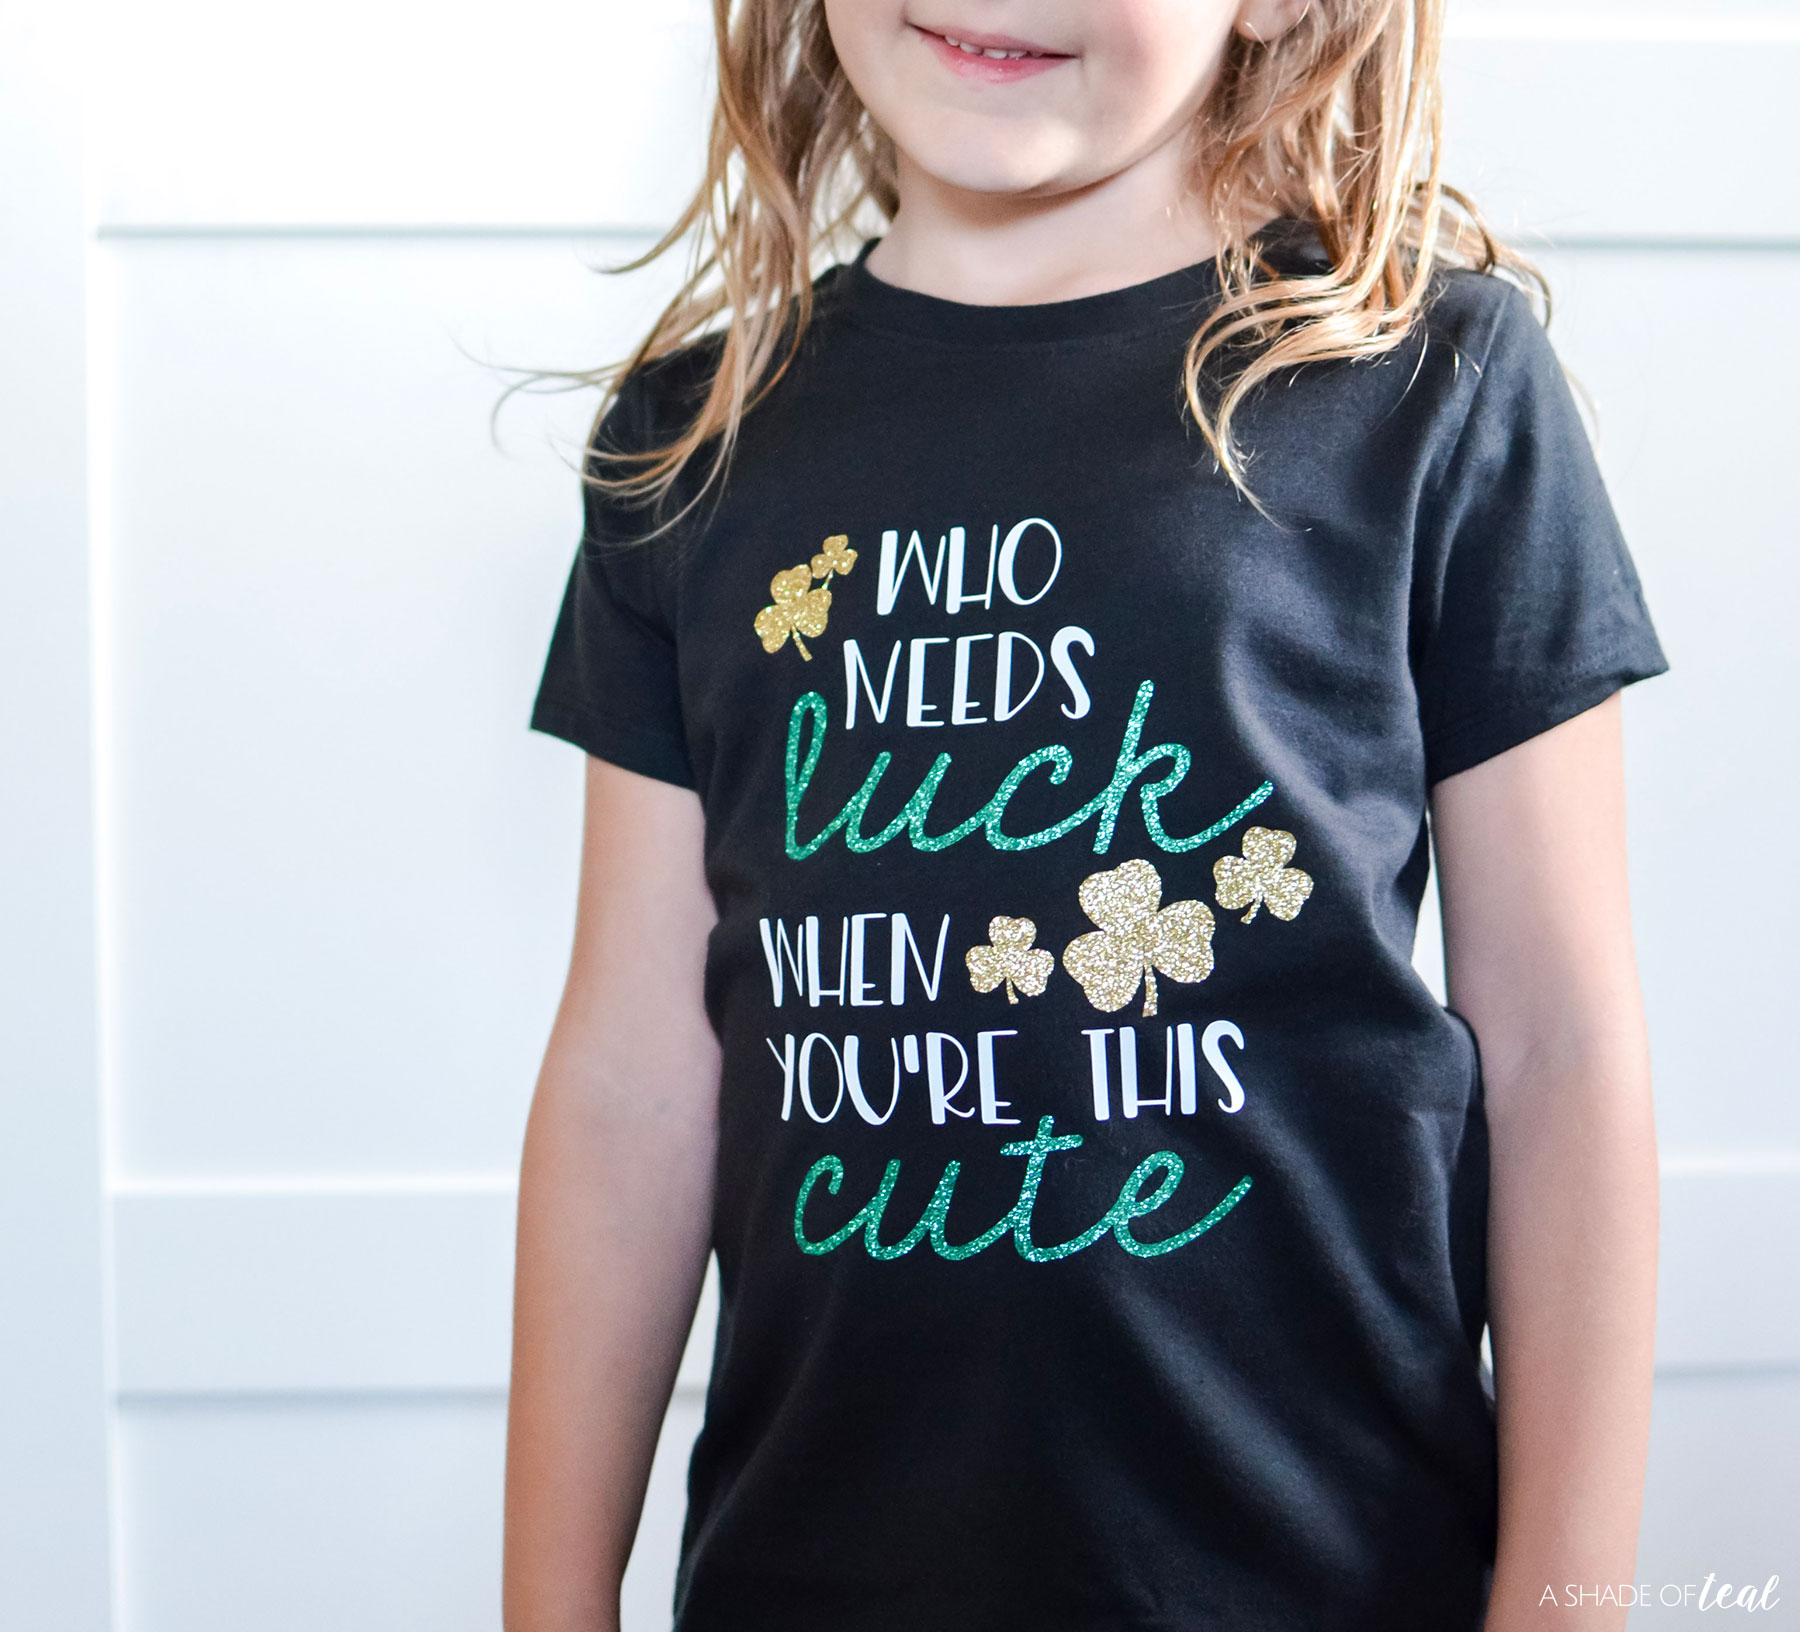
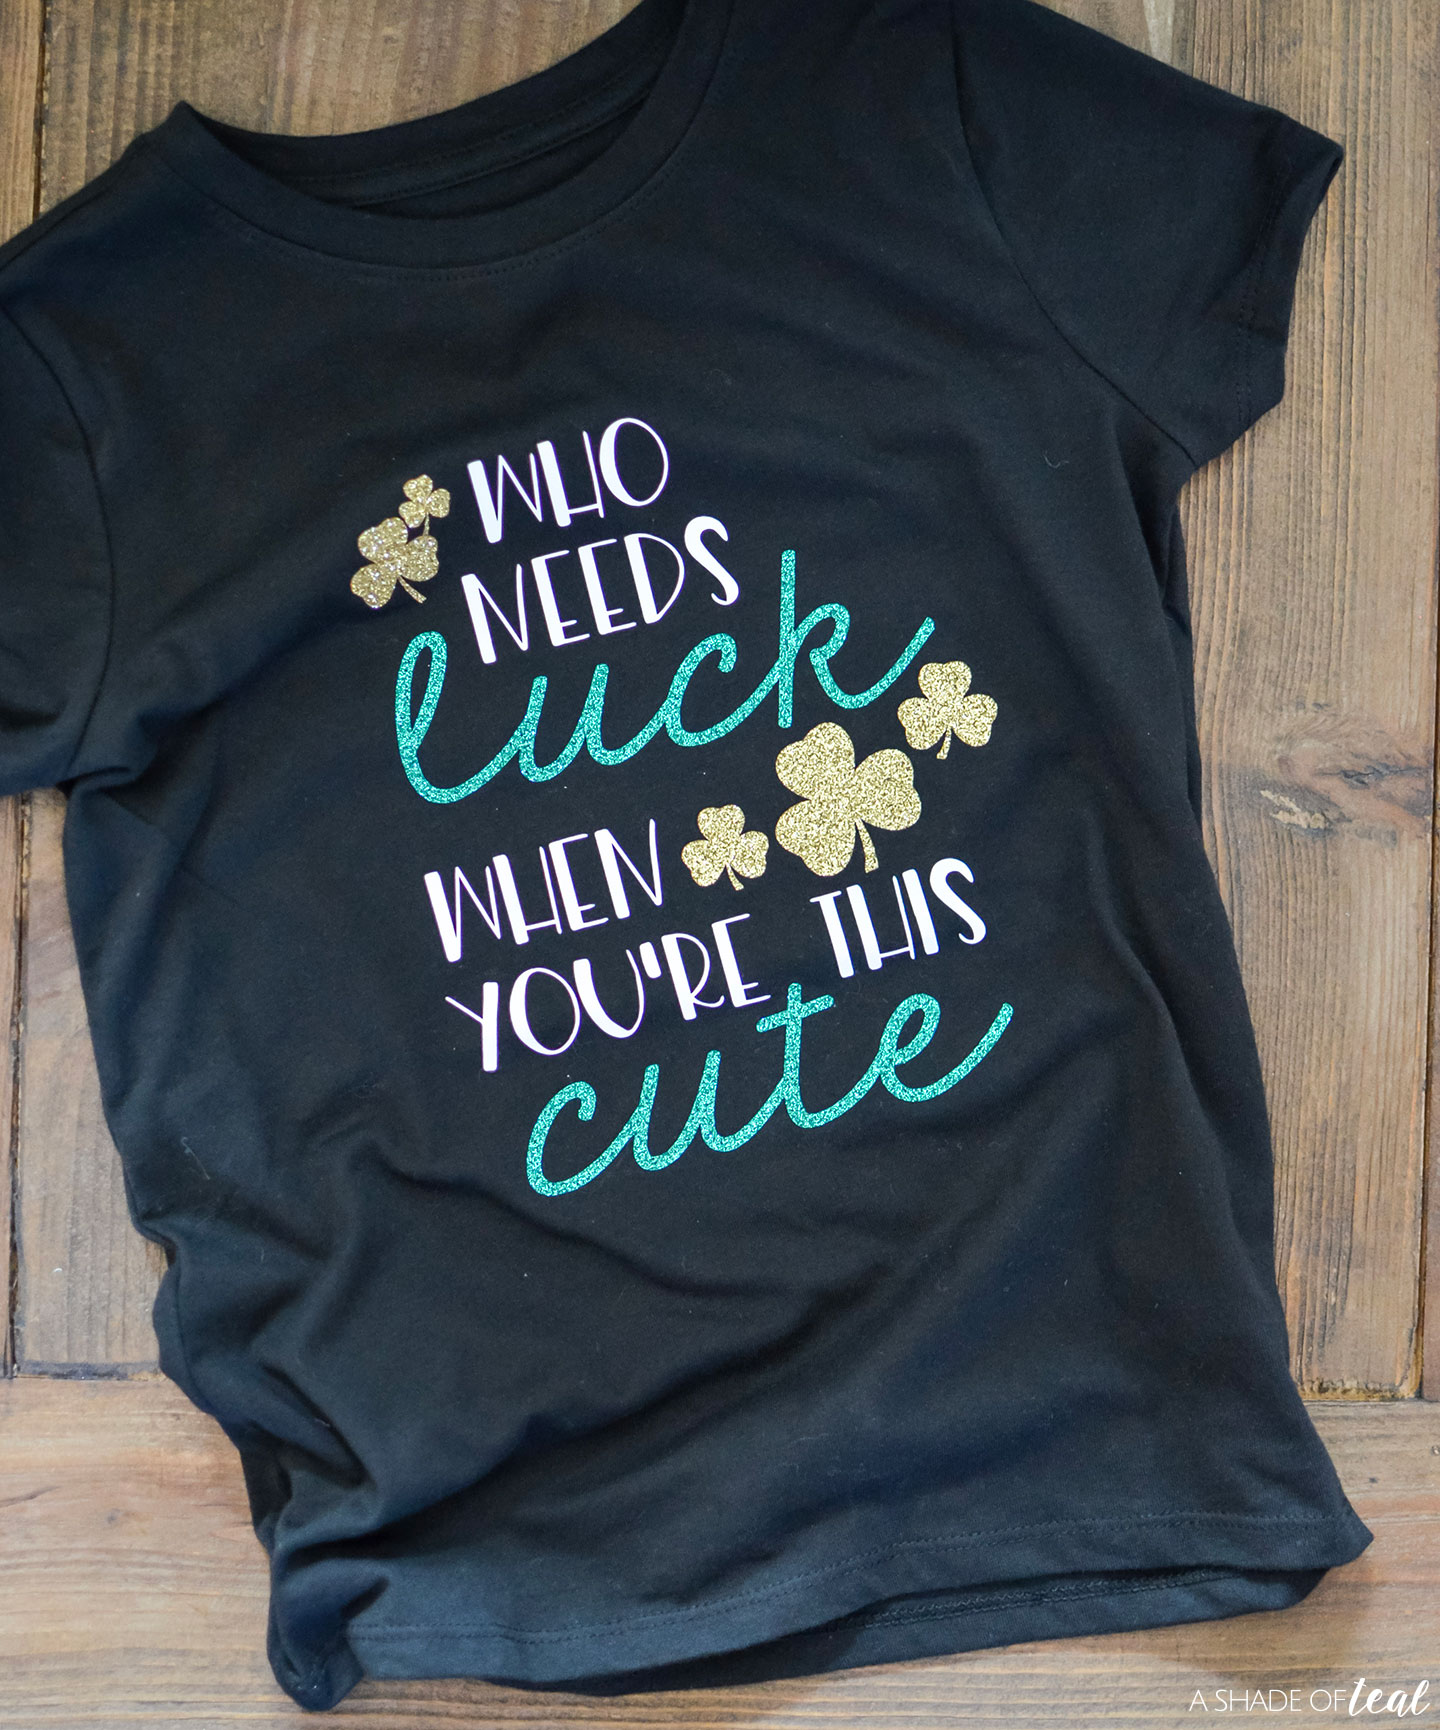
Here’s the after.
There you have it! My daughter loves it and wants to wear it every week! Don’t forget to grab the art in my ETSY shop below, it comes in SVG, PNG, EPS, and JPG.
>>> Who Needs Luck Art Here <<<
Stay tuned for more St Patrick’s Day ideas or check out more of my Cricut inspiration and projects here.
Don’t have Cricut product yet? Shop here!
Happy crafting, enjoy!








qrwnl0
gfc5as
01kfds
9sv9ok