This is a sponsored post written by me on behalf of Cricut. All opinions are 100% mine.
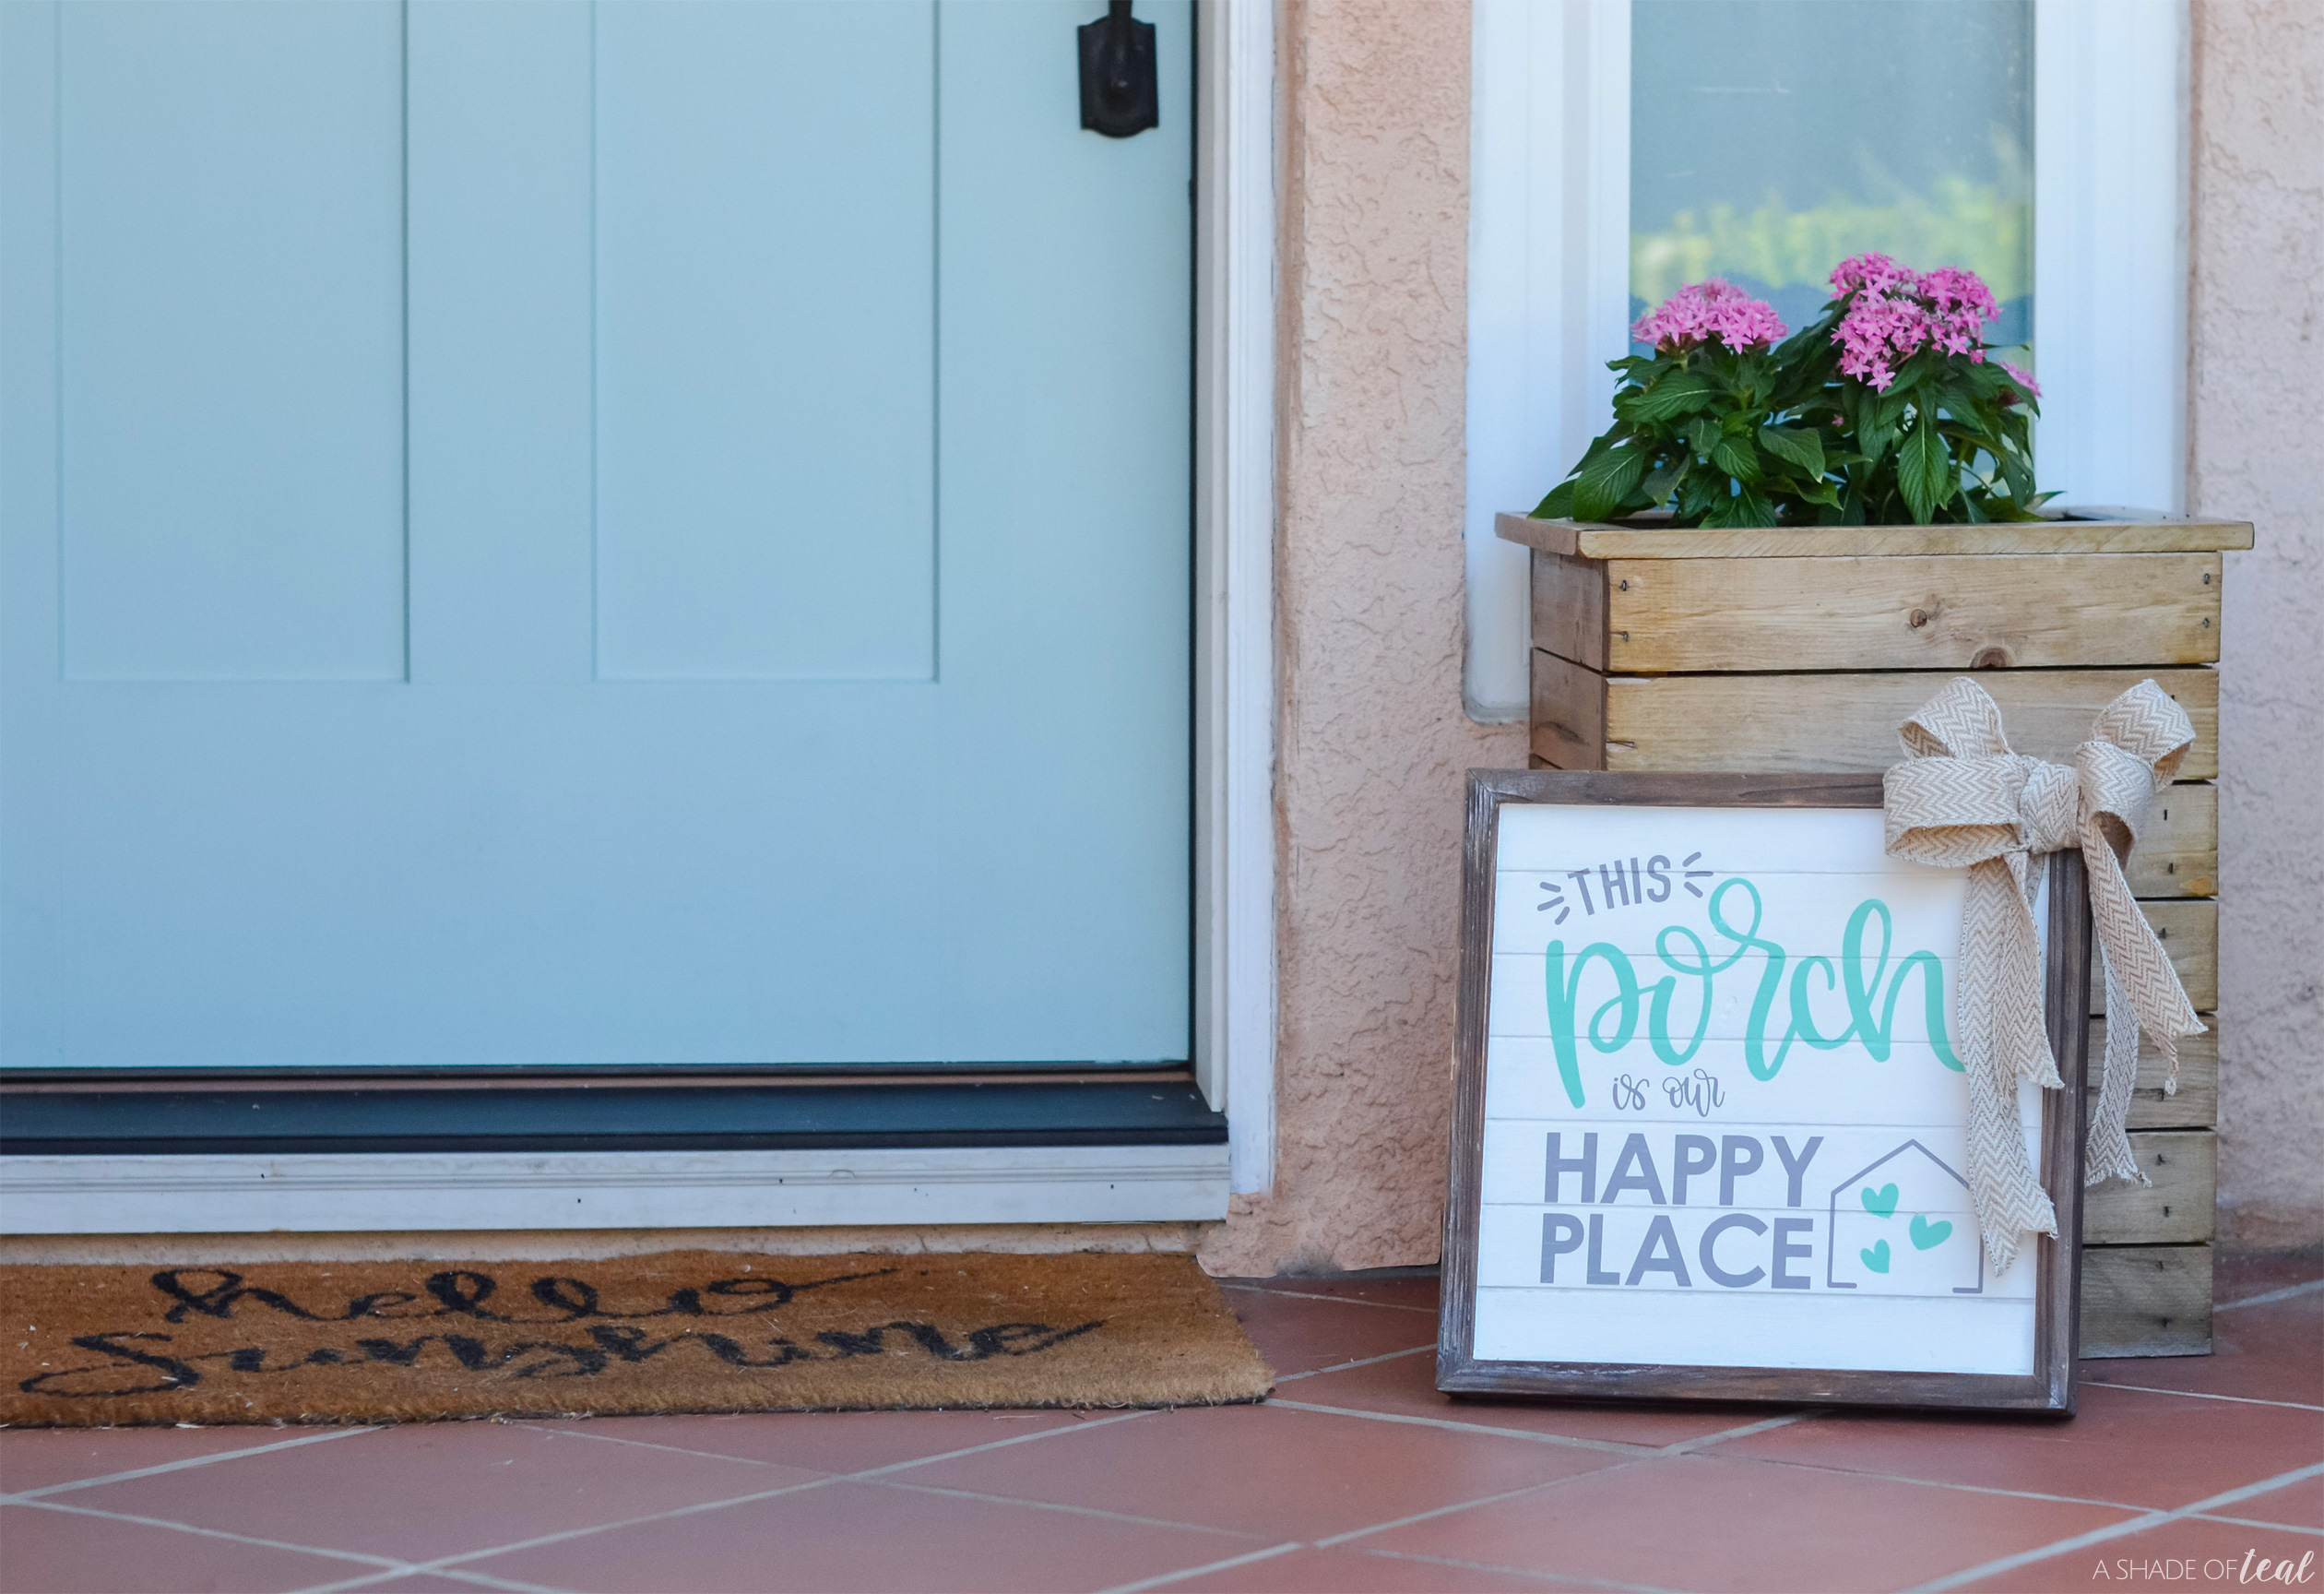
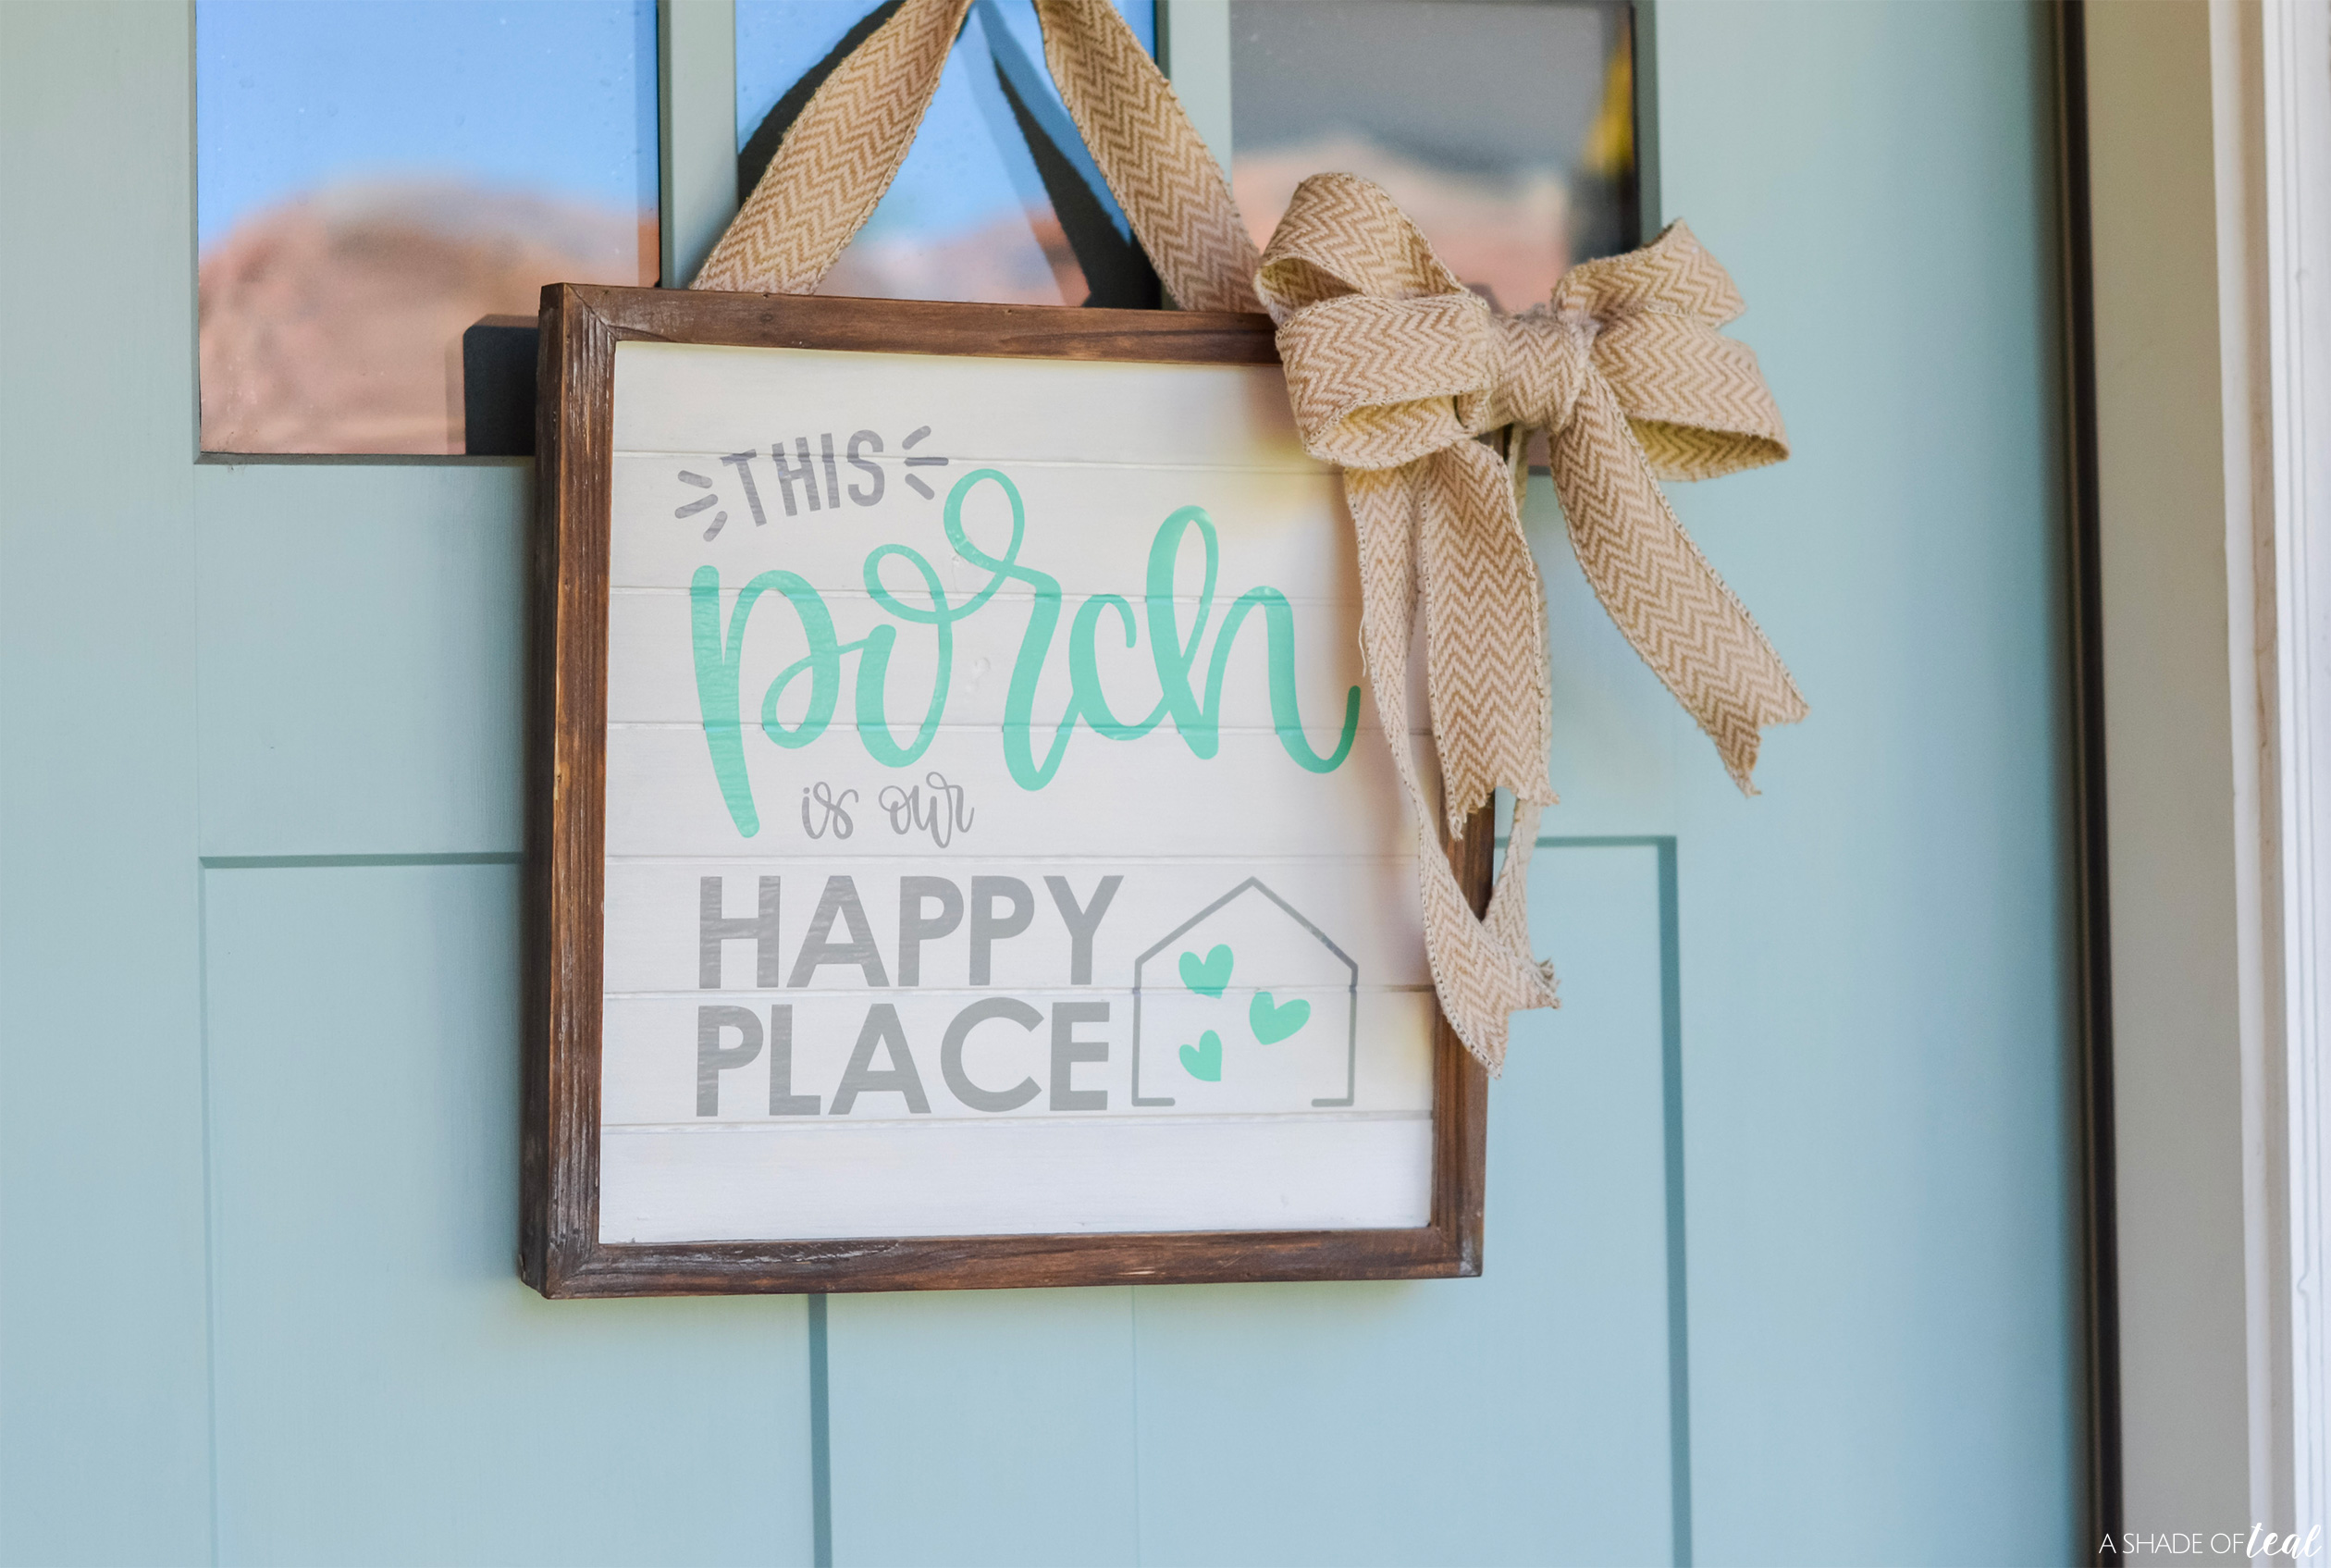
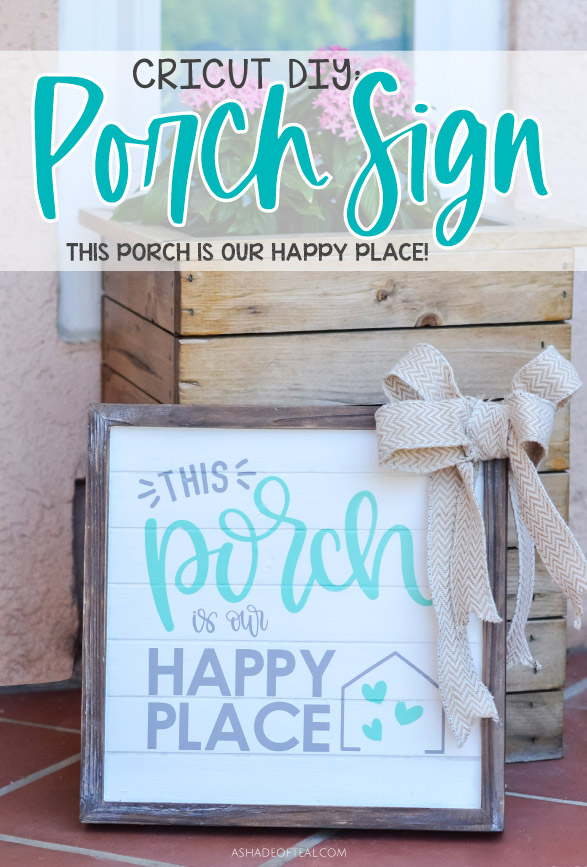
Looking for a fun and easy Home Improvement project this summer? Why not give your Porch a little personality with this simple Cricut DIY: This Porch is Our Happy Place sign!
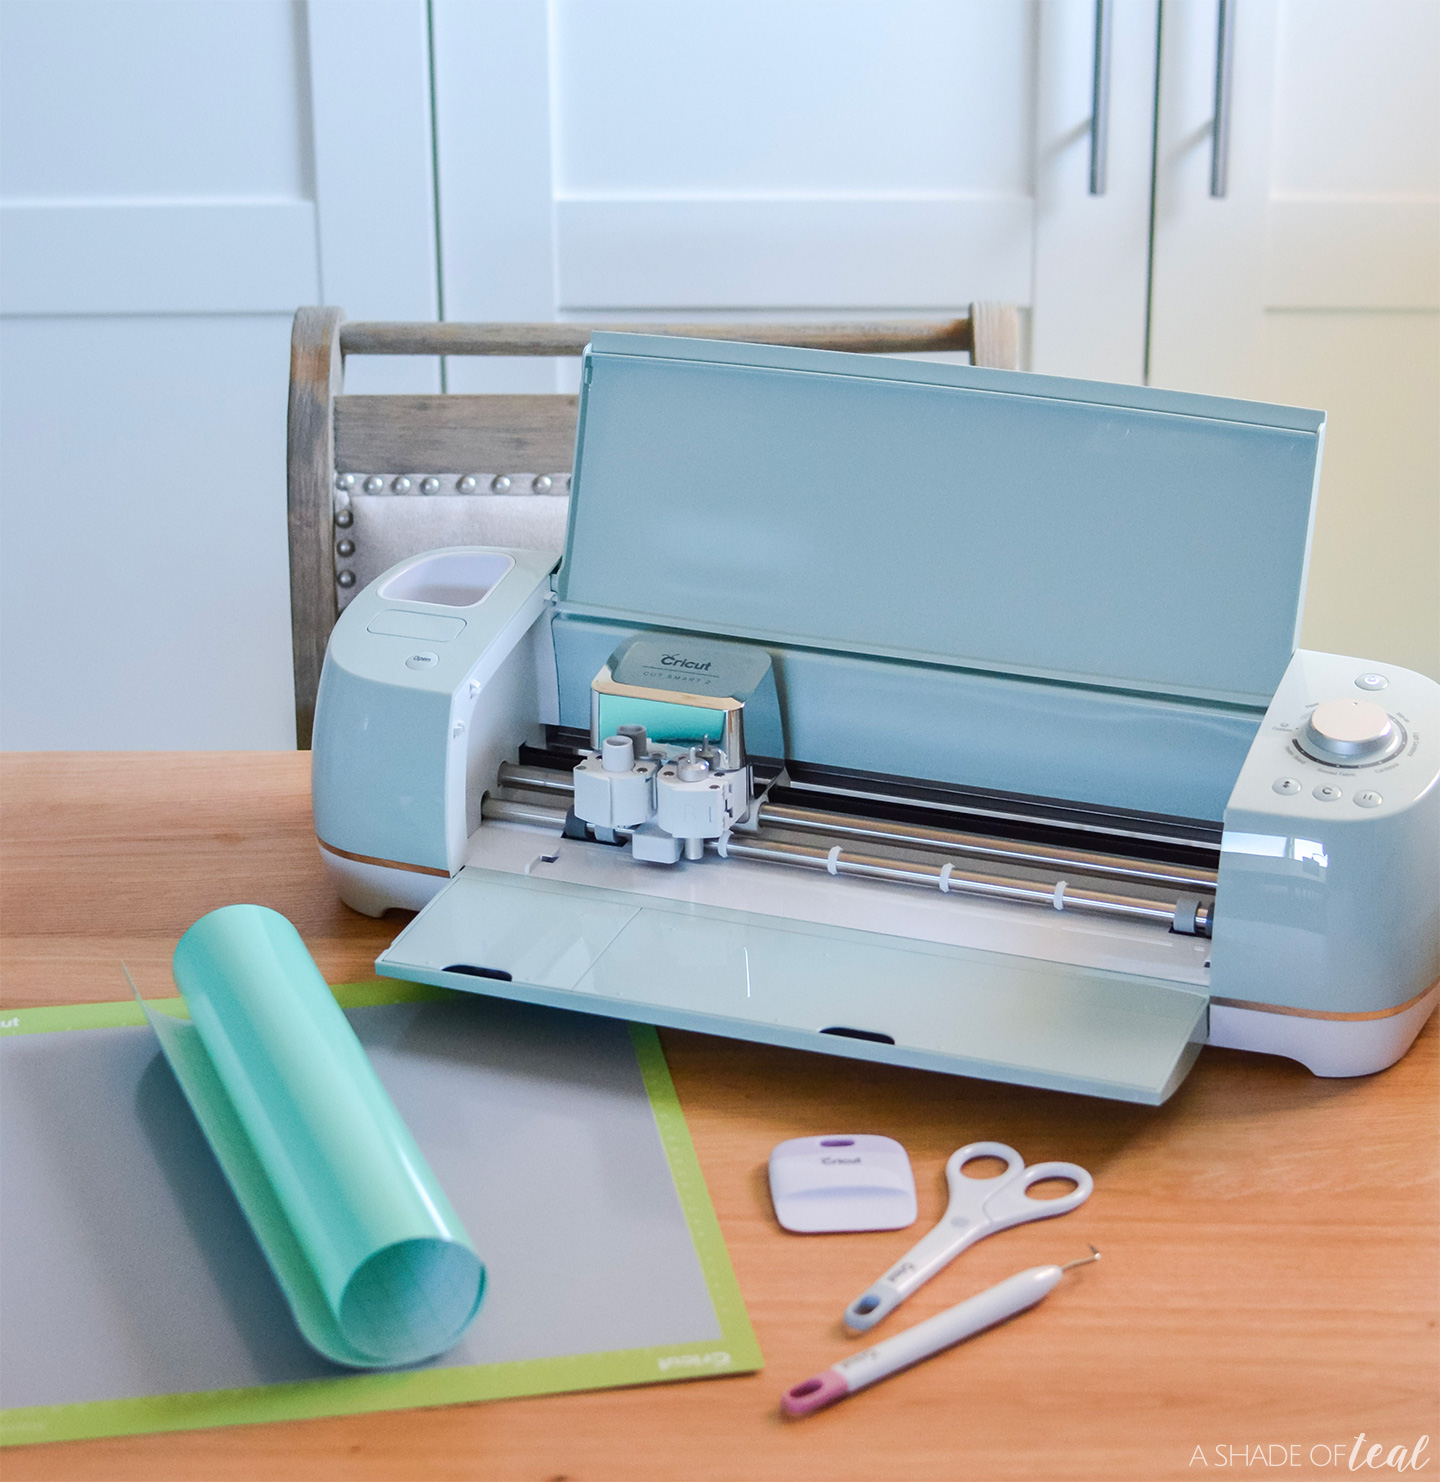
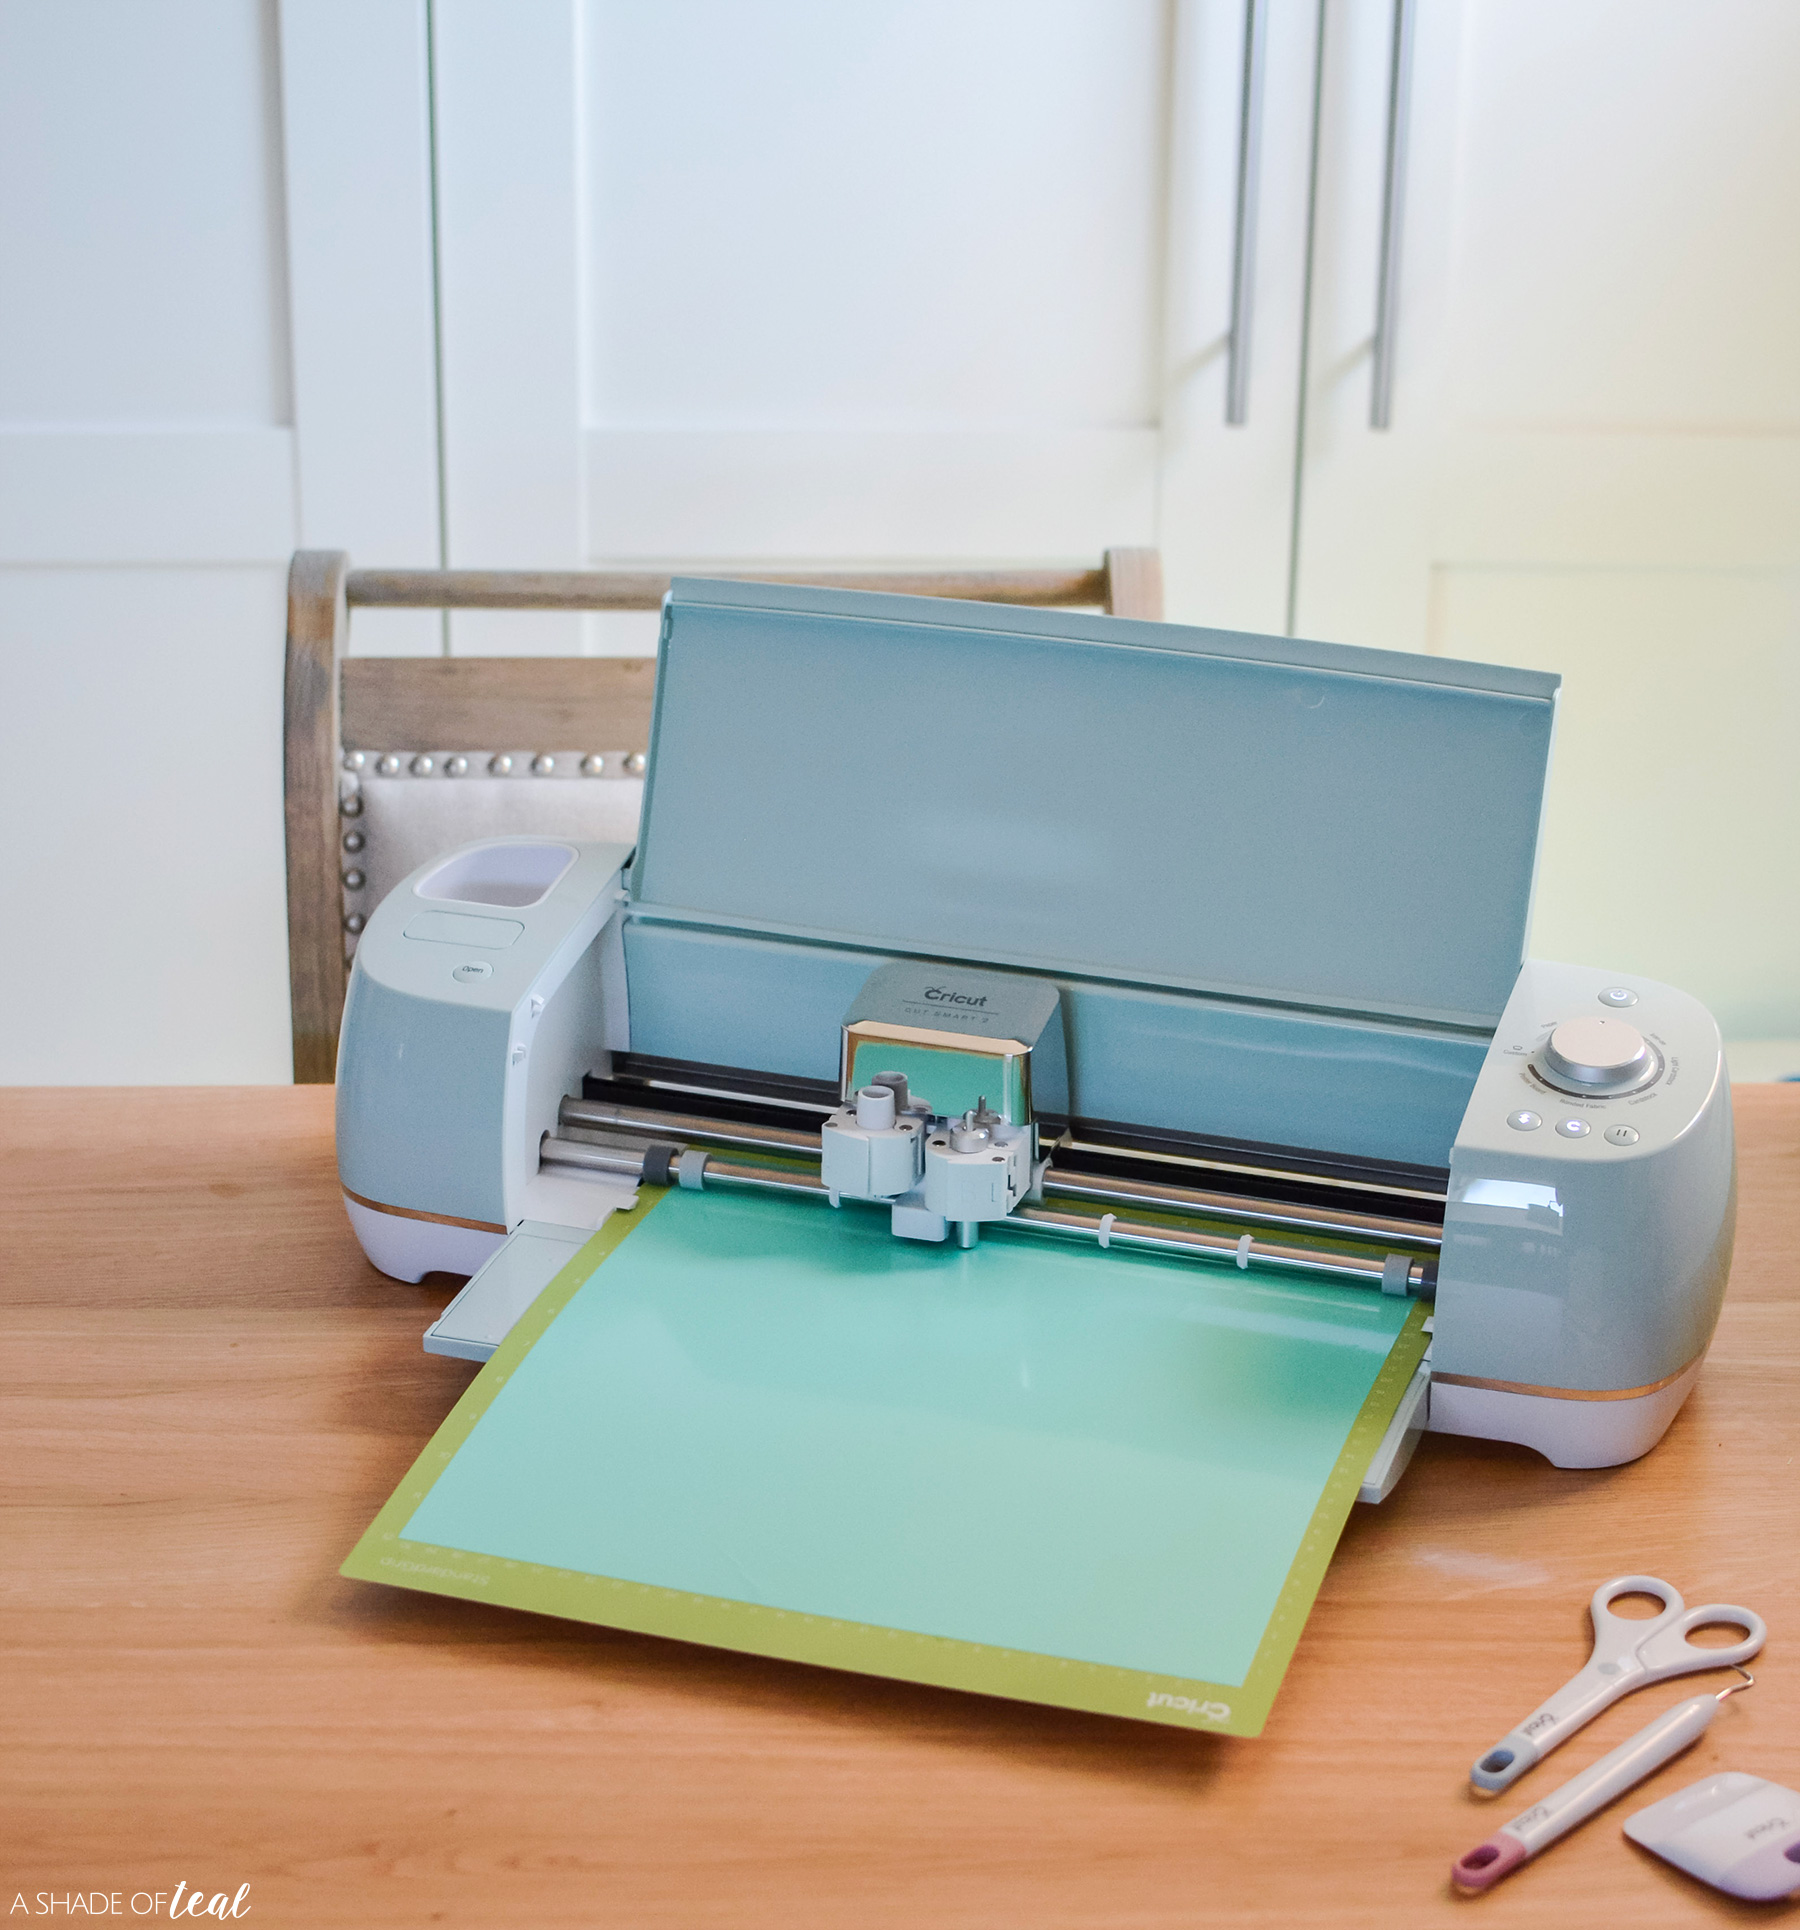
Lately I’ve been working on countless projects around my home and I always love a fun craft and DIY project, pretty much any excuse to pull out my Cricut Explore Air 2! If you don’t have a Cricut machine yet then you need to get one. The value you get for the investment is tenfold’s.
For starters, it has a variety of materials that it can cut. It can also be used to draw as well as score using a Scoring Stylus. Cricut Explore Air 2 can fit into every facet of your life.
Wondering what you can cut? Well, it accurately cuts 100 materials, including everything from iron-on, vinyl, paper, card stock, printable sticker paper to specialty materials like glitter paper, cork, birch, canvas, faux leather, foil, and bonded fabric. The Cricut Explore Air 2 truly has many possibilities to create with, from personal gifting, to personalization, to home décor. Once you start making, you’ll see it’s well worth the investment.
Want to know how to make This Porch is Our Happy Place sign? Here’s how:
Cricut DIY Sign:
This Porch is Our Happy Place
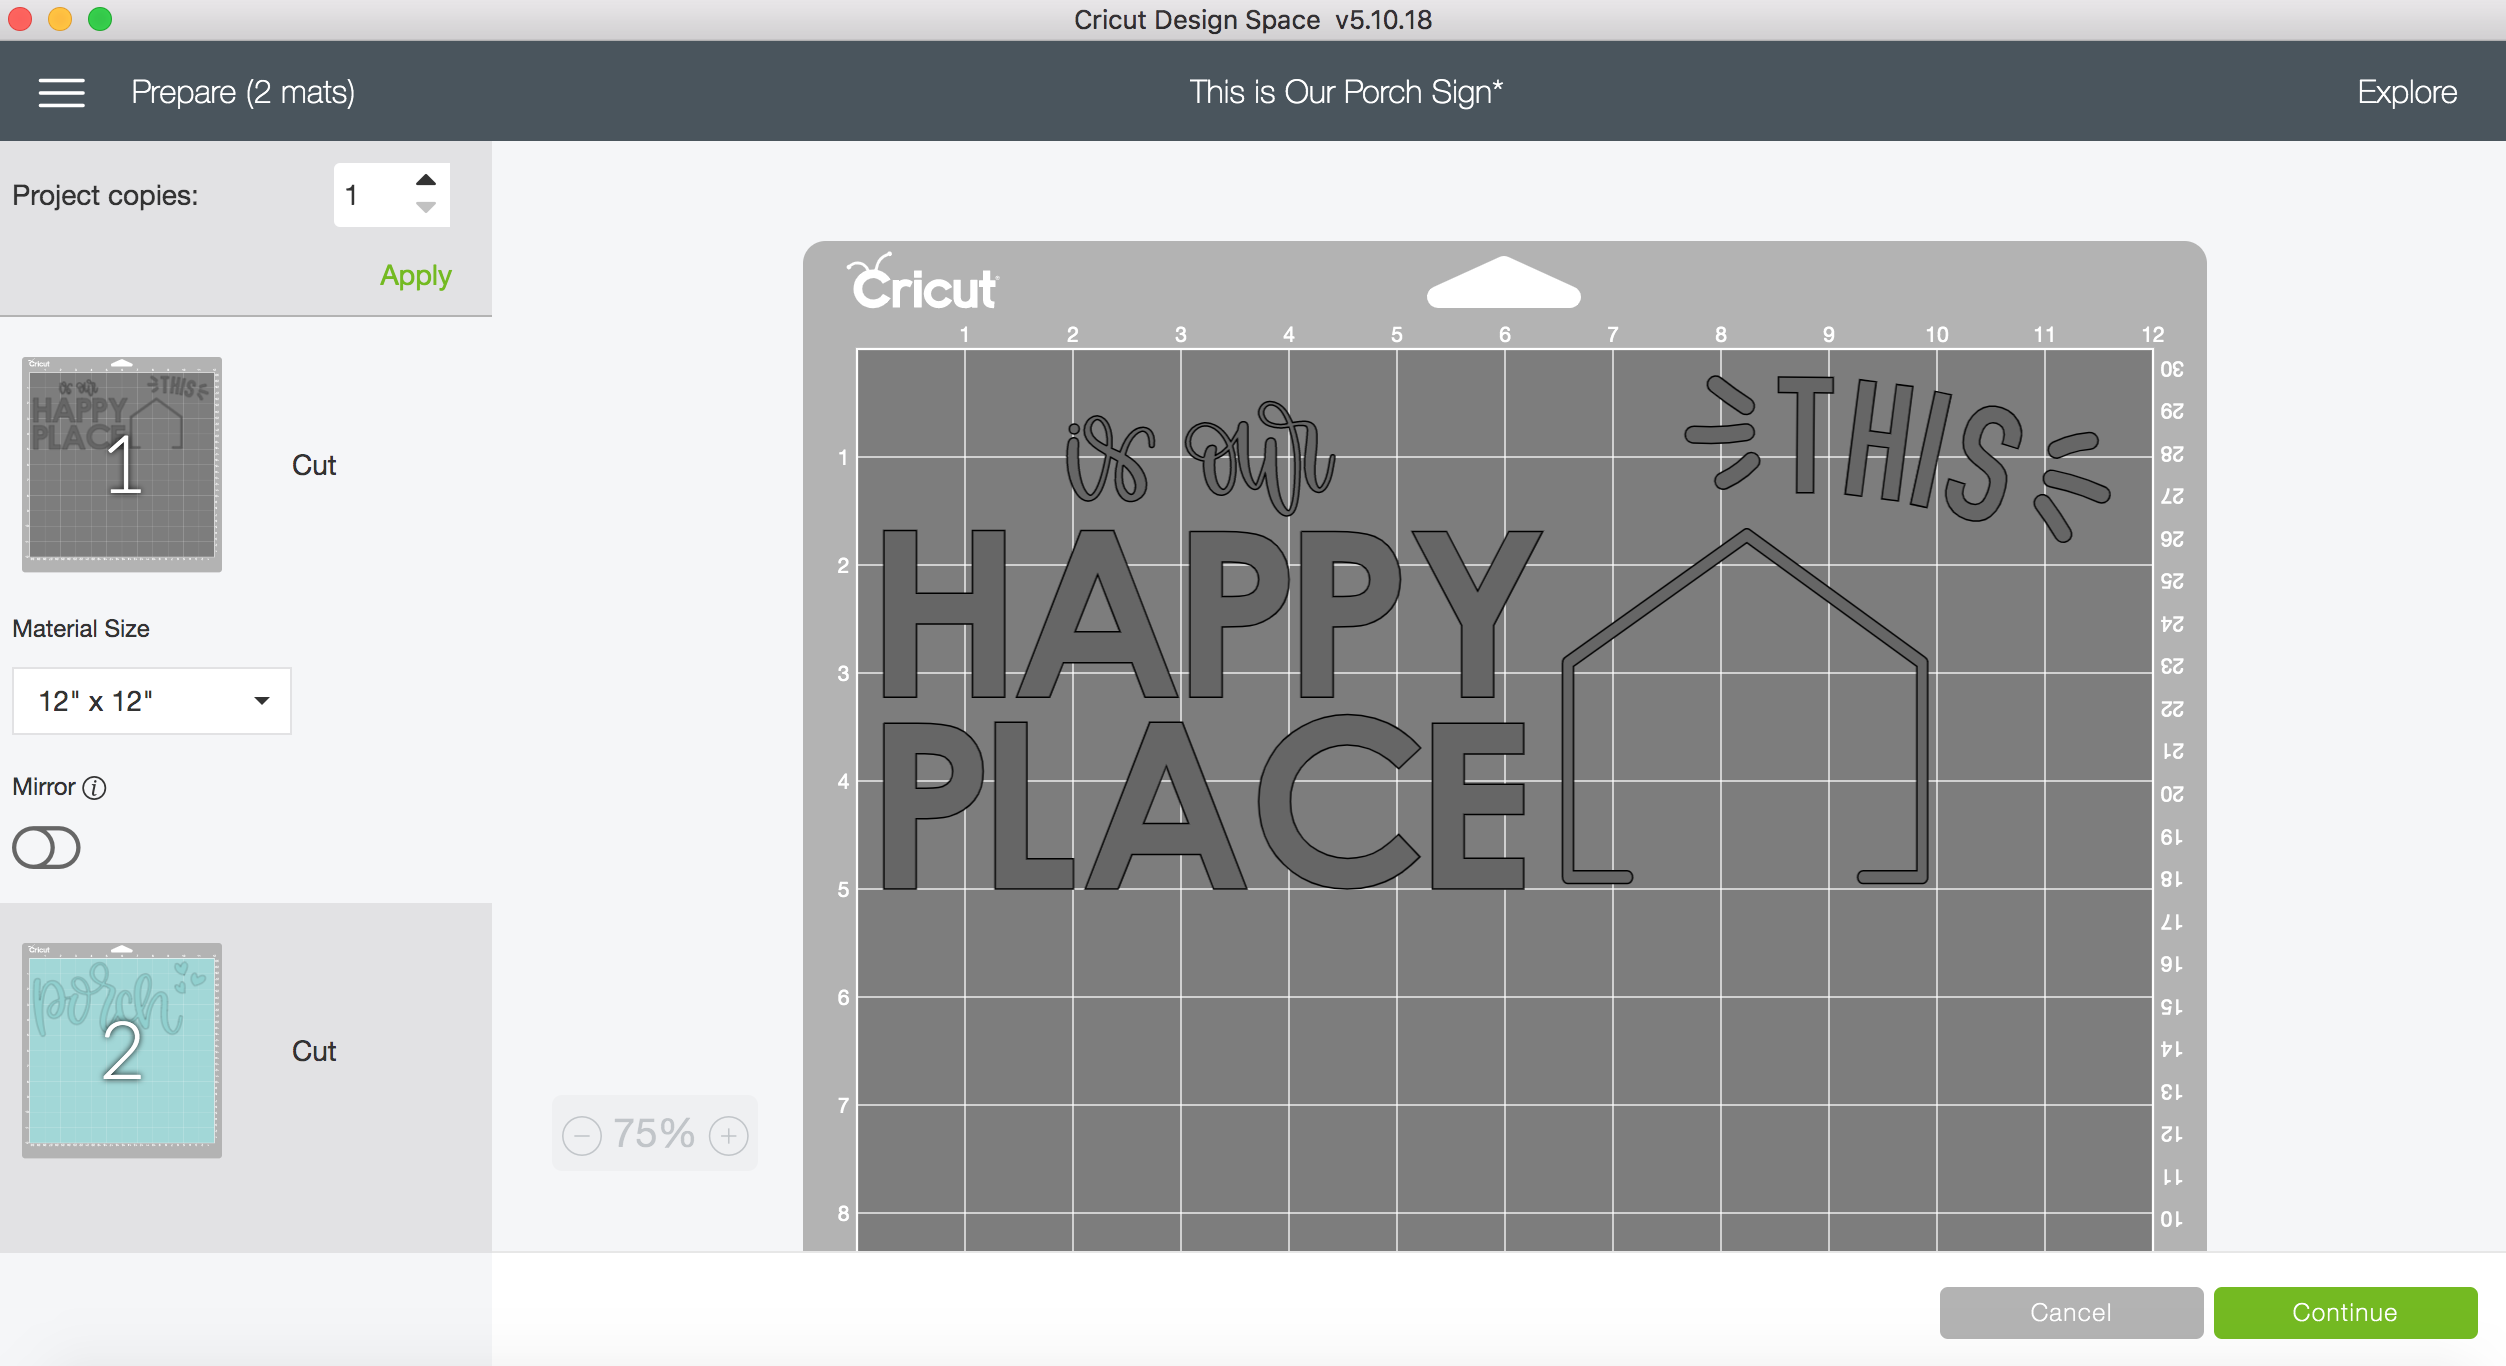
To get started you’ll need to open up this project within Cricut Design Space. You can find that here. I also highly recommend signing up for Cricut Access if you haven’t already. You get access to tons of graphics and art elements to create your own designs. Check out Cricut Access HERE.
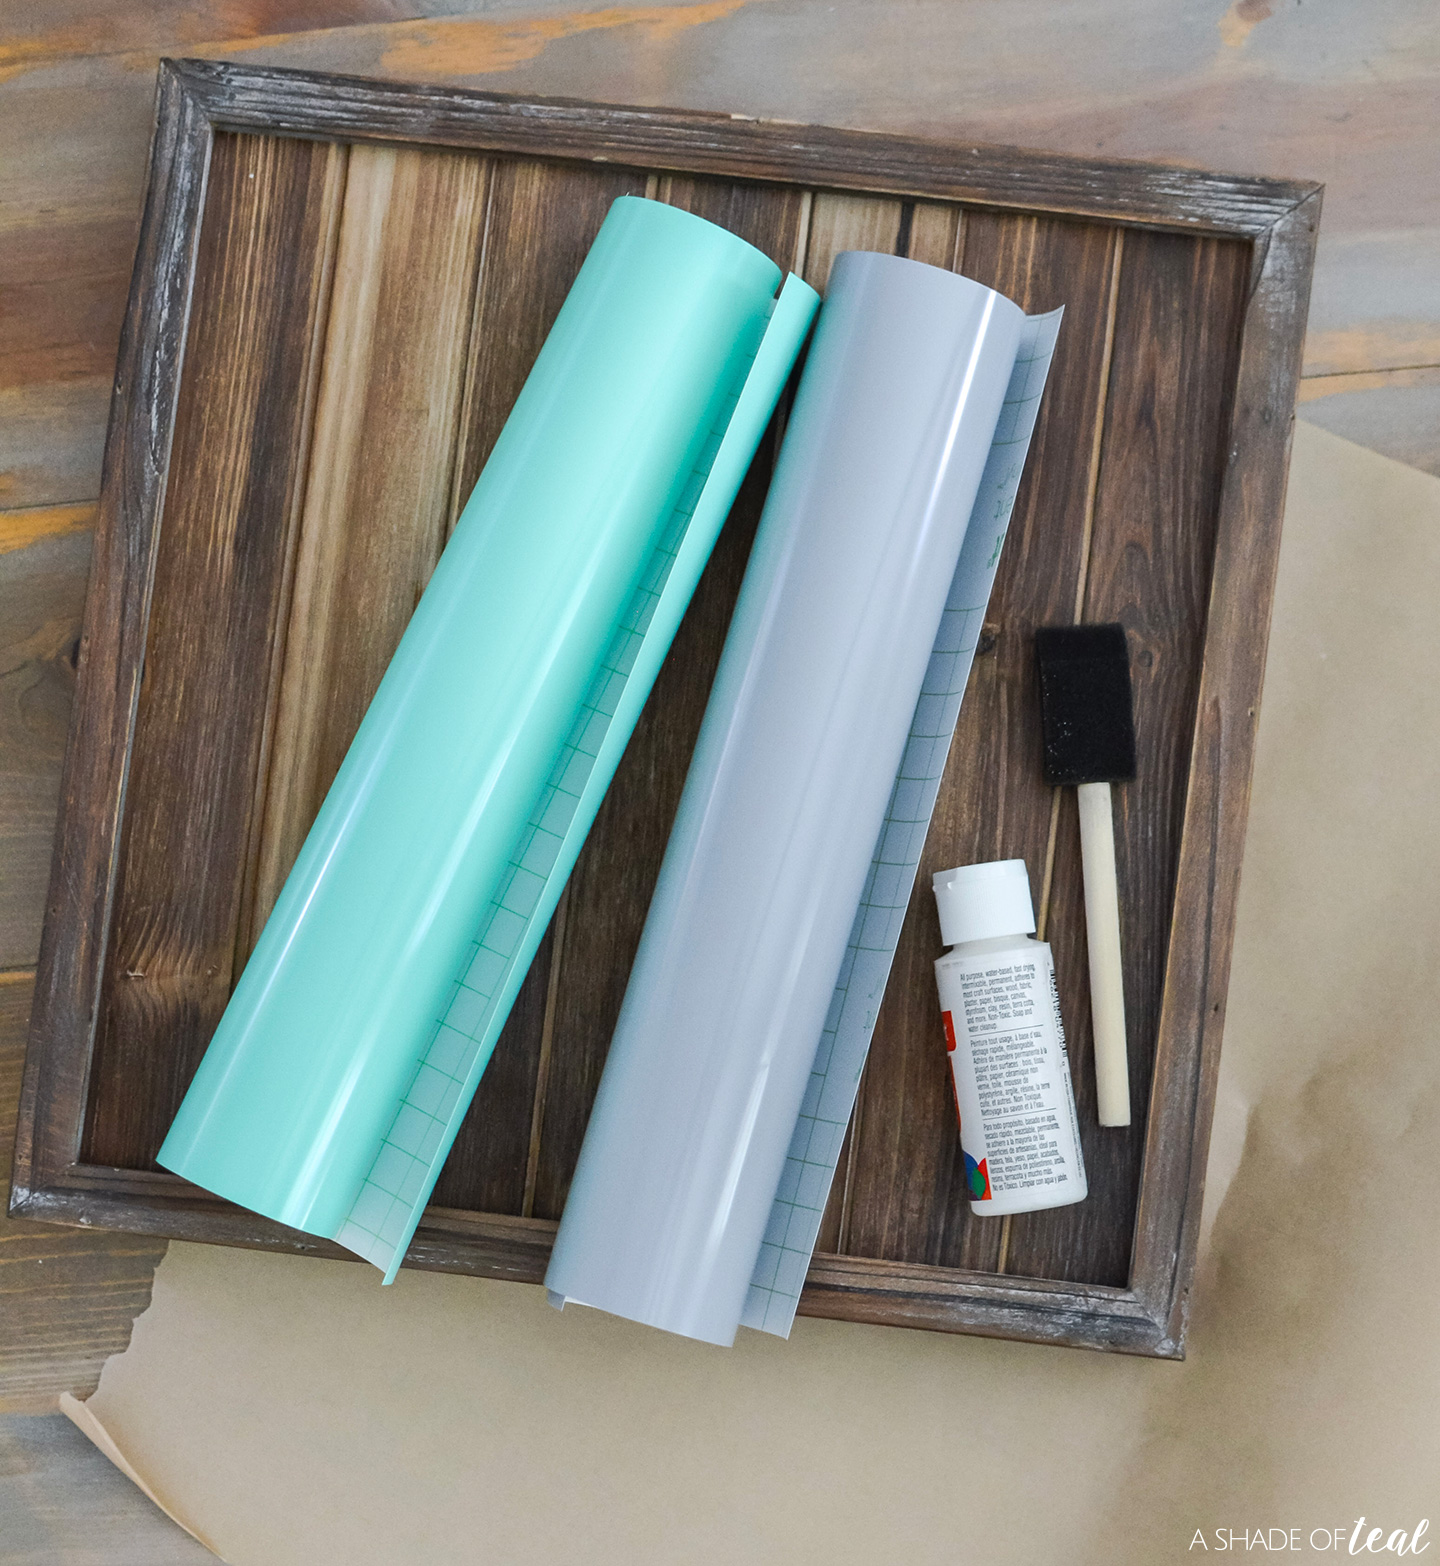
Materials Needed:
- Cricut Explore Air 2!
- Permanent Vinyl, Light Gray & Mint
- Transfer Tape
- Essential Tool Set
- Pre-made wood sign
- White paint
- Paintbrush
- This Porch is Our Happy Place Art
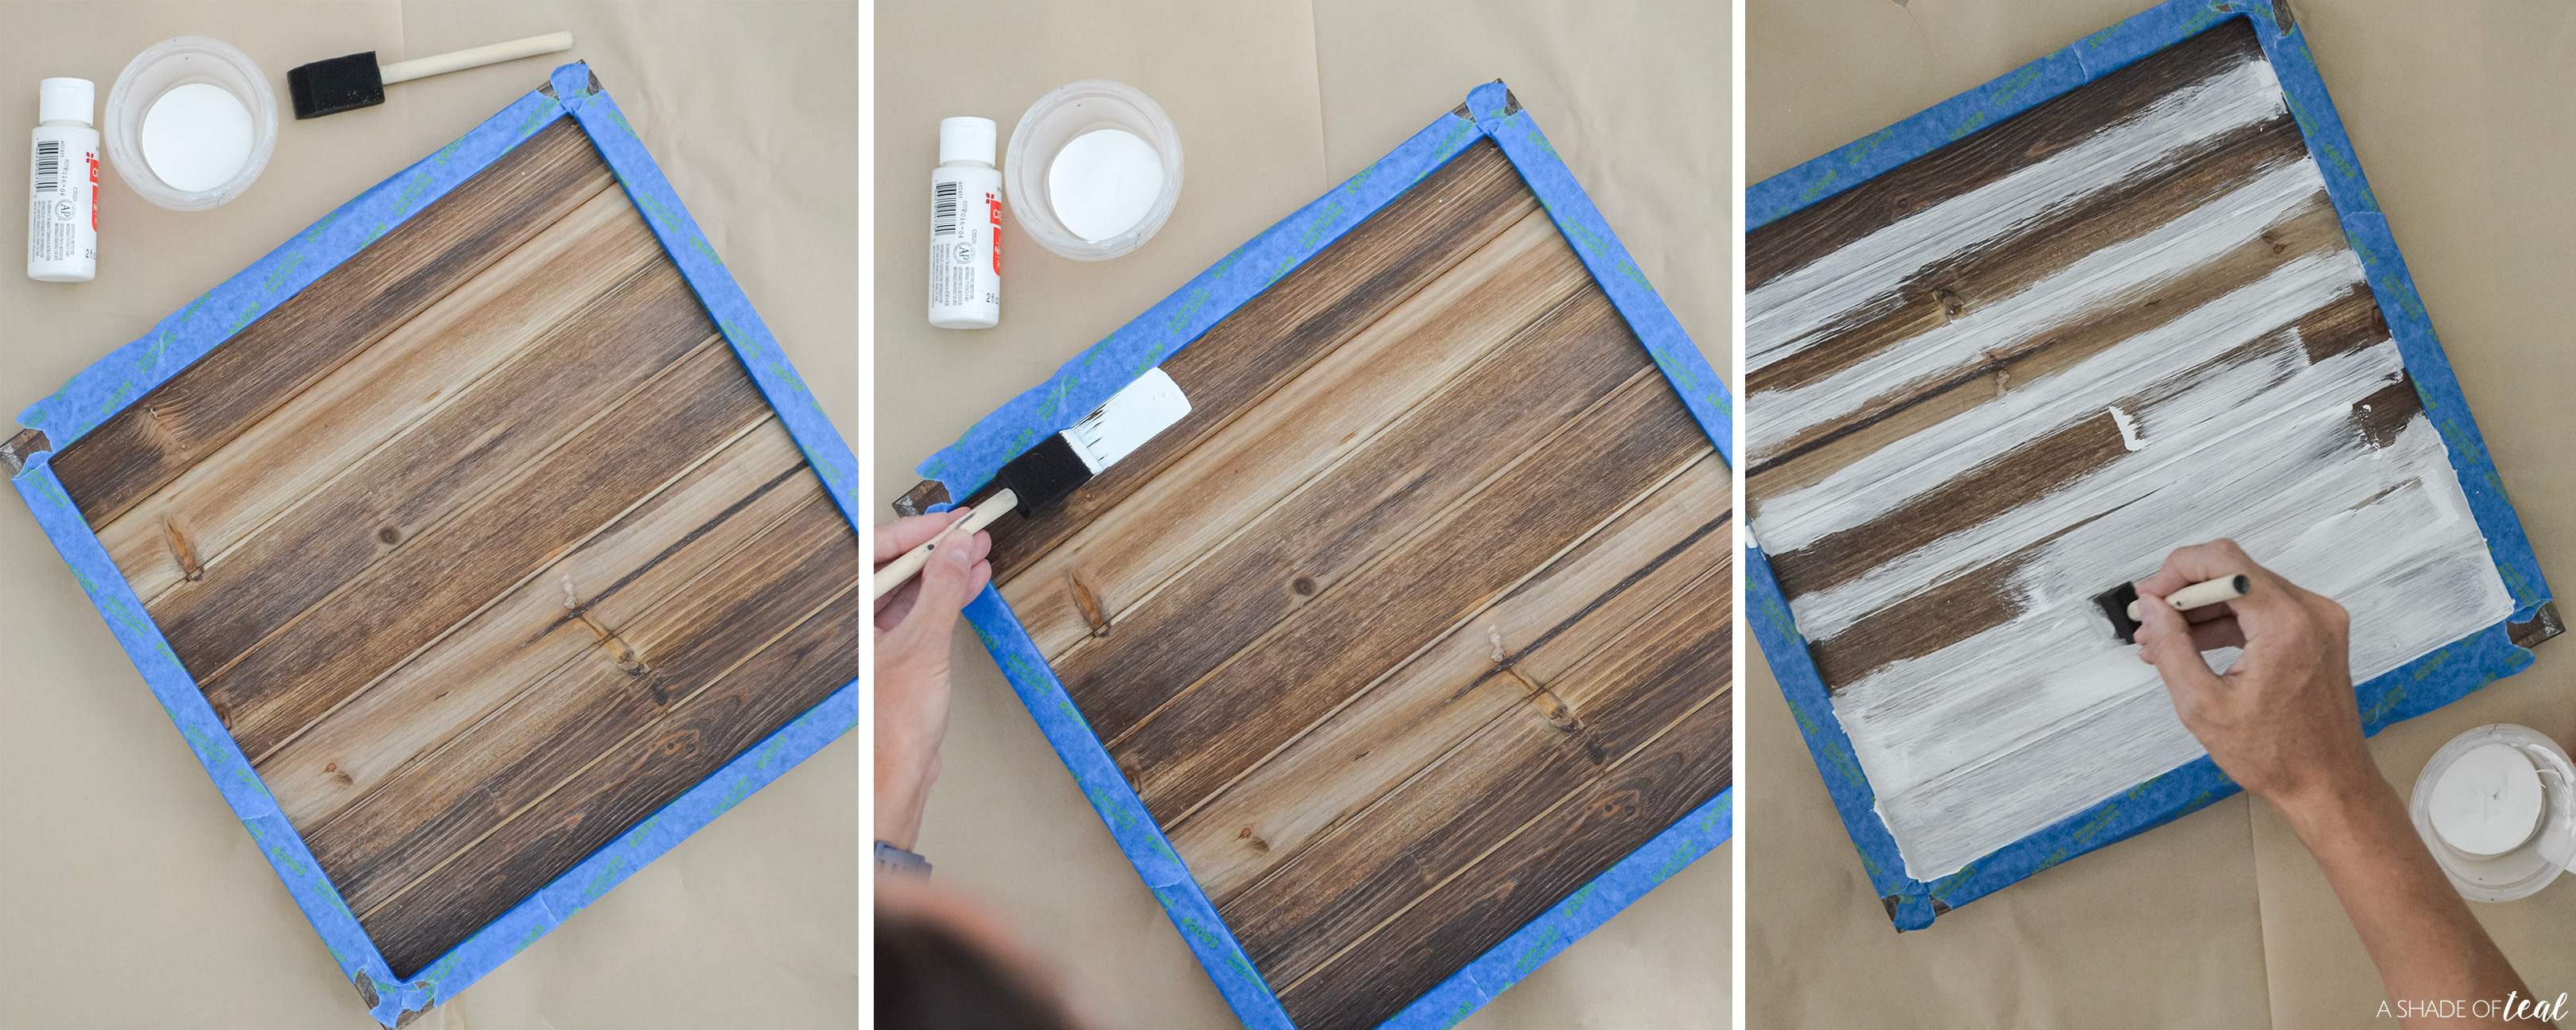
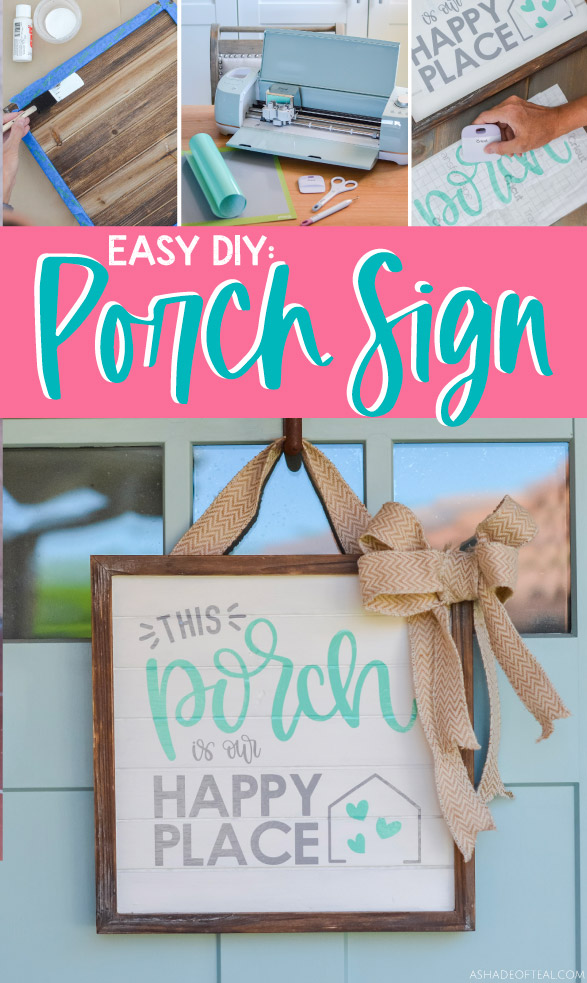
Step 1 || I prepared my sign by taping off the frame and painting the shiplap portion of my sign white which is 12″x12″.
Step 2 || Next, I prepared my Cricut Explore Air 2. What’s great is that it doesn’t take much to setup and get going. That means more time creating and crafting and less time on machine setup. Even better is that you can now use Cricut Design Space on desktop or mobile. So you can design and make from anywhere.
Step 3 || Prepare your Vinyl onto a Mat. Make sure to set the machine to the Vinyl setting and then follow the prompts within Design Space by clicking “Make It”. Start cutting both Vinyl colors. I used permanent Vinyl in Light Gray & Mint.
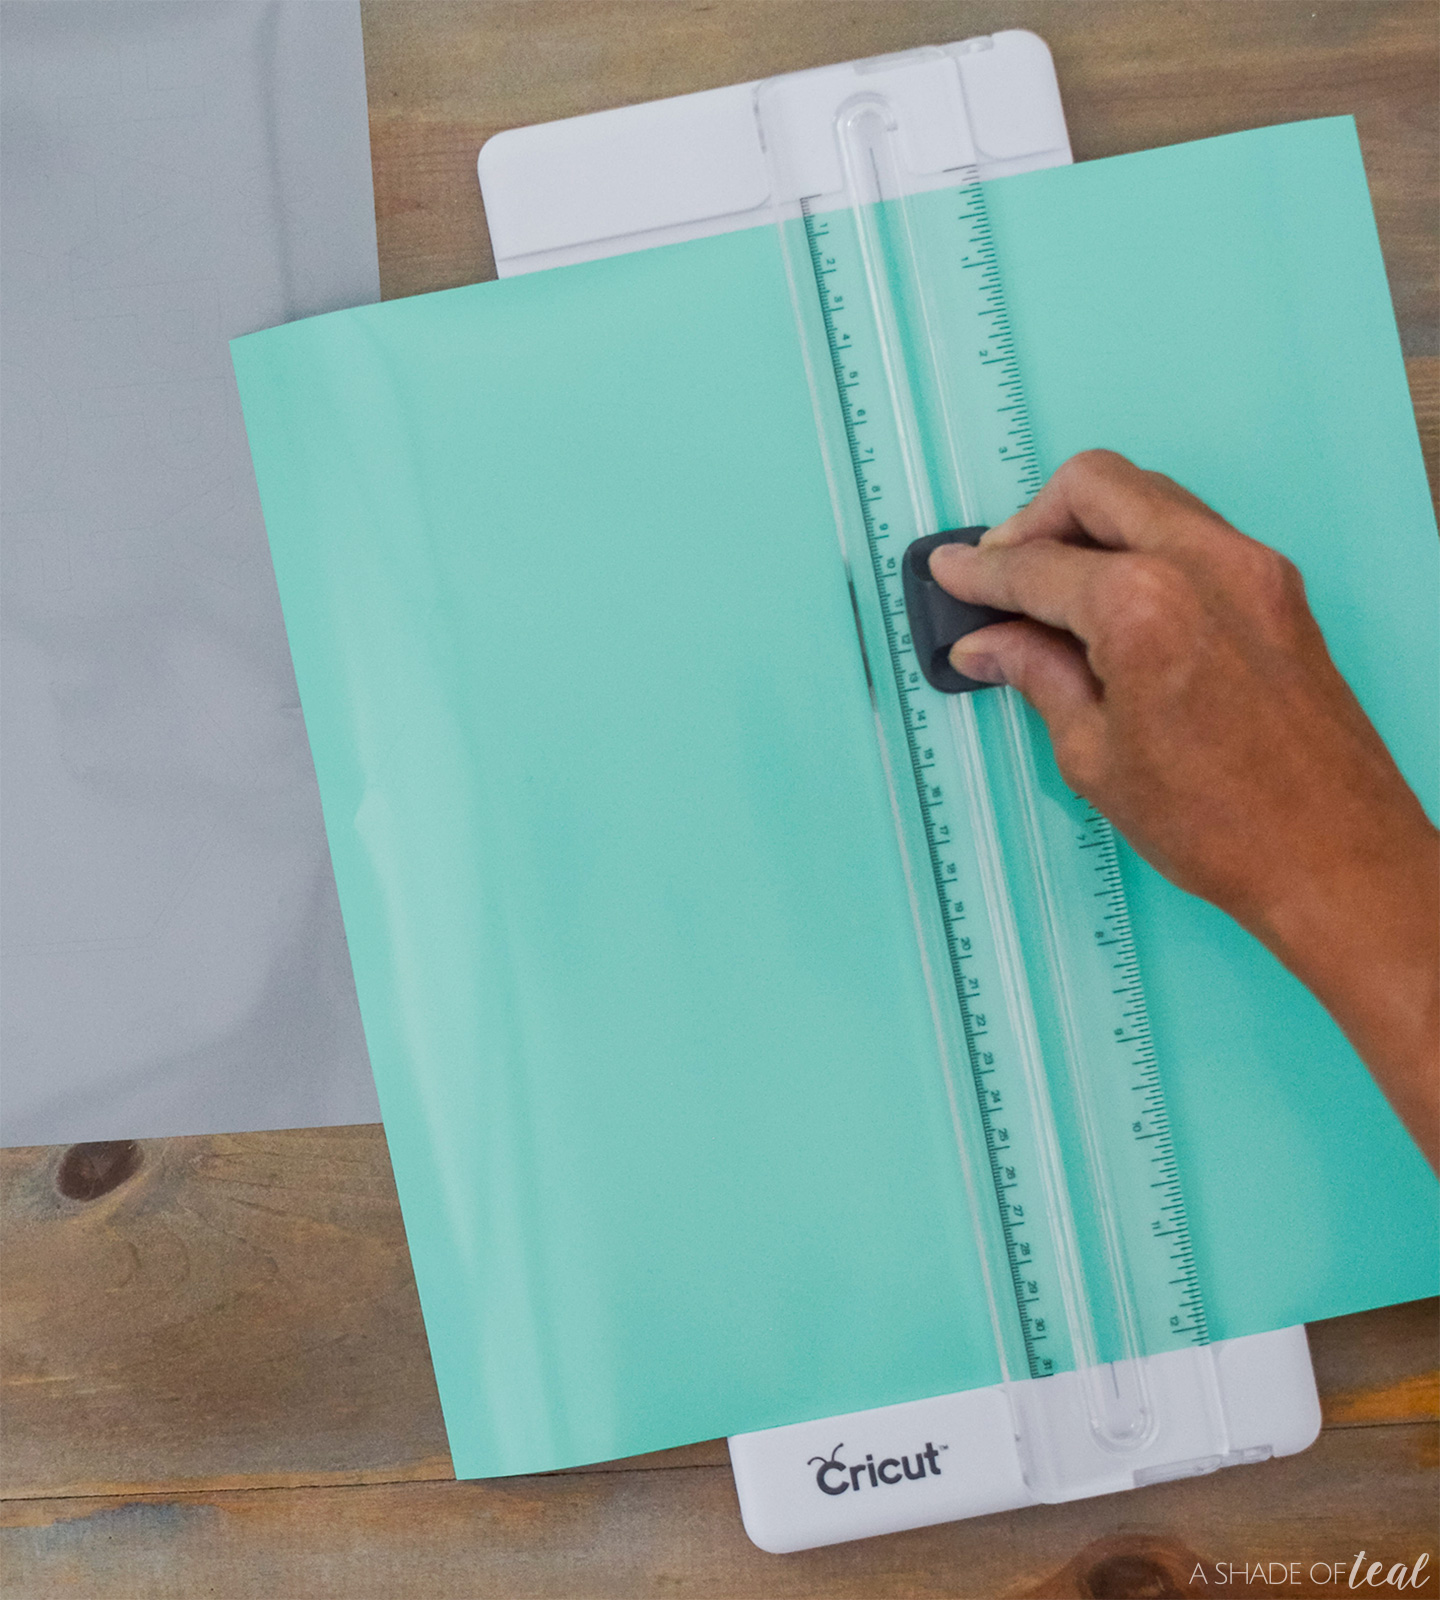
Step 4 || After everything is cut on the Cricut Explore Air 2, then you can trim down the Vinyl with a Portable Trimmer.
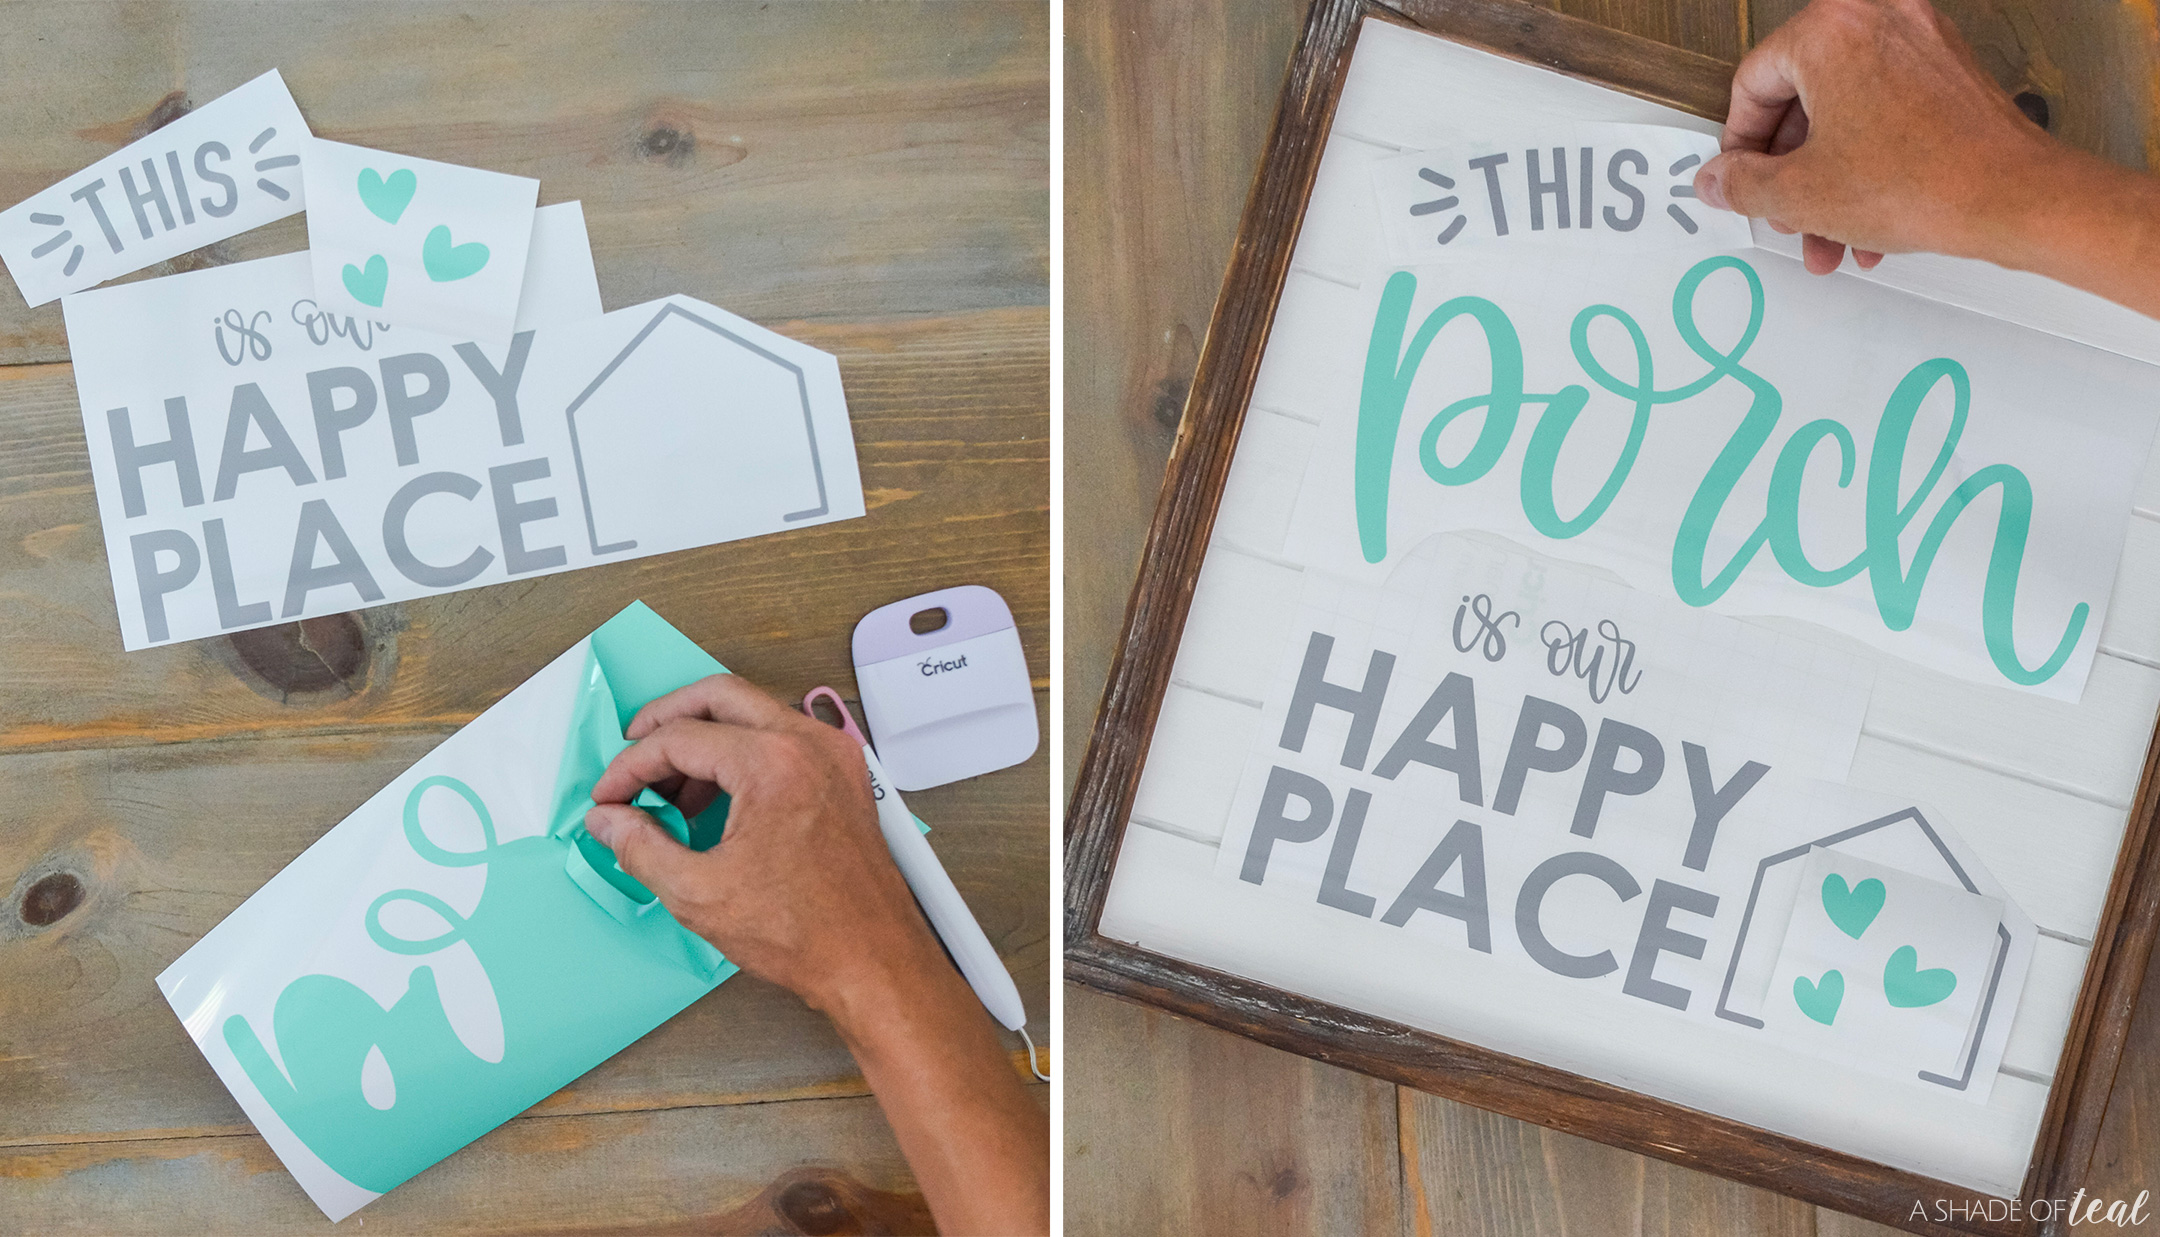
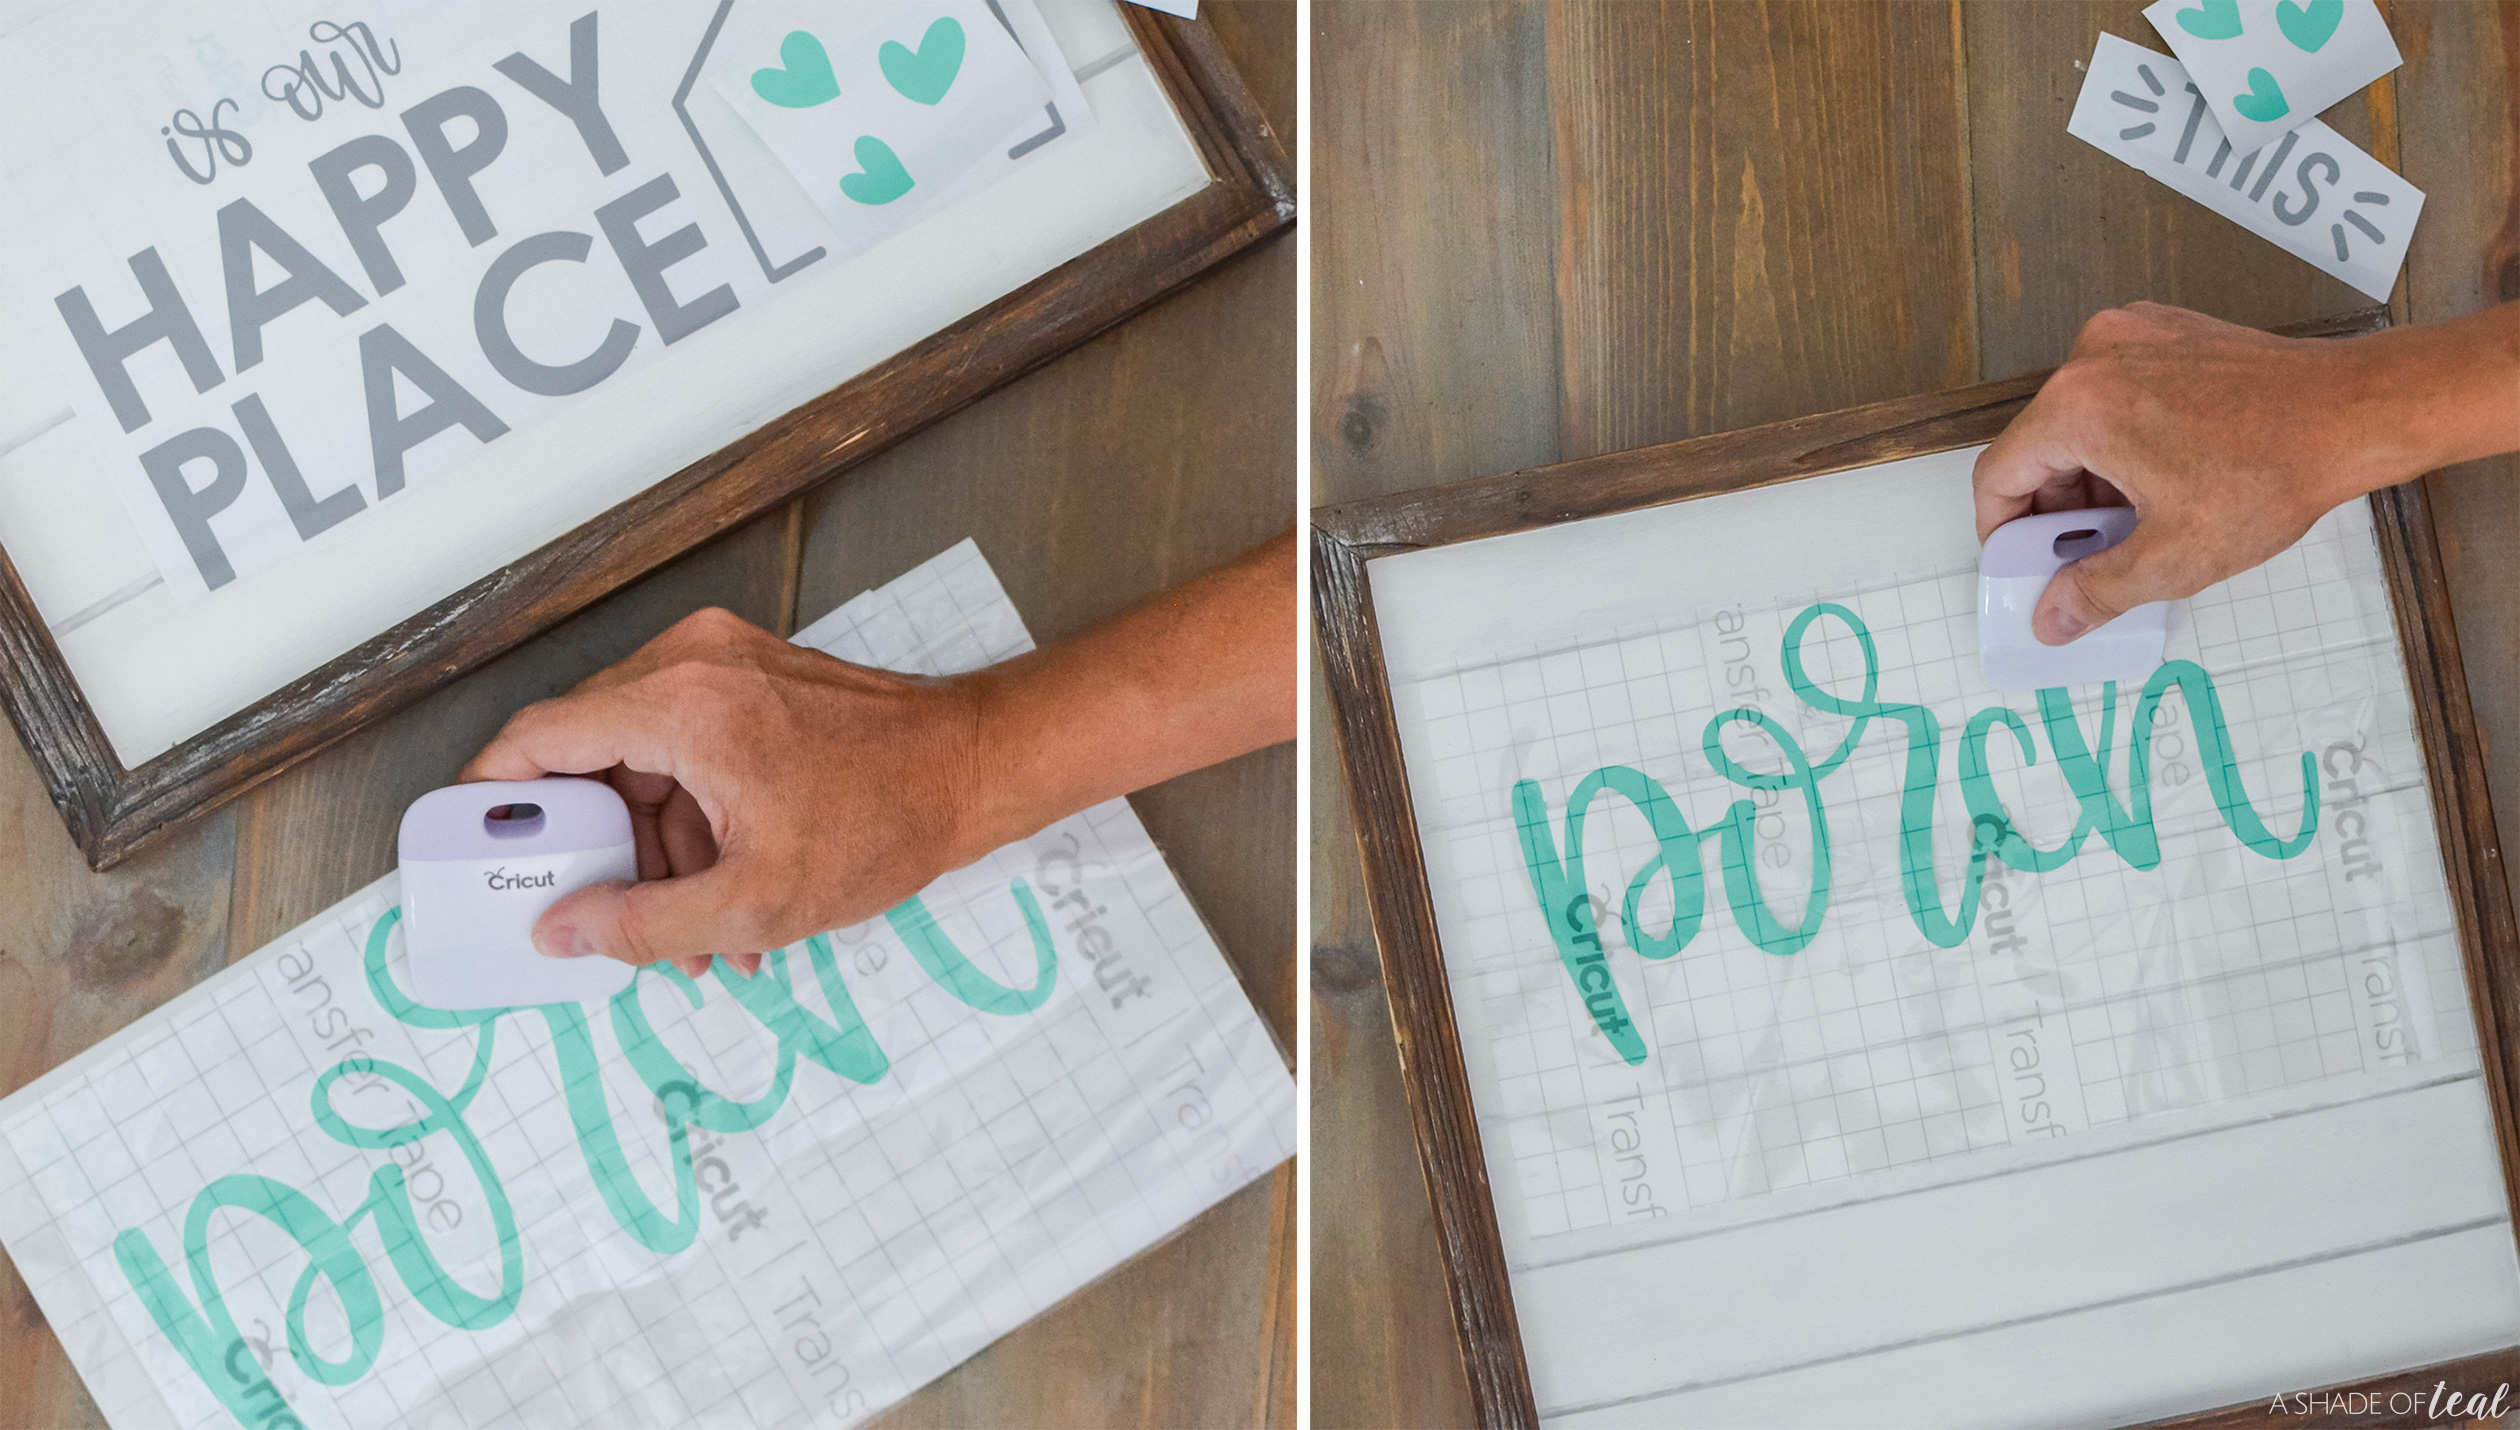
Step 5 || Next, Weed out the designs with your tools. Then you can arrange them in position to make sure it all fits accordingly.
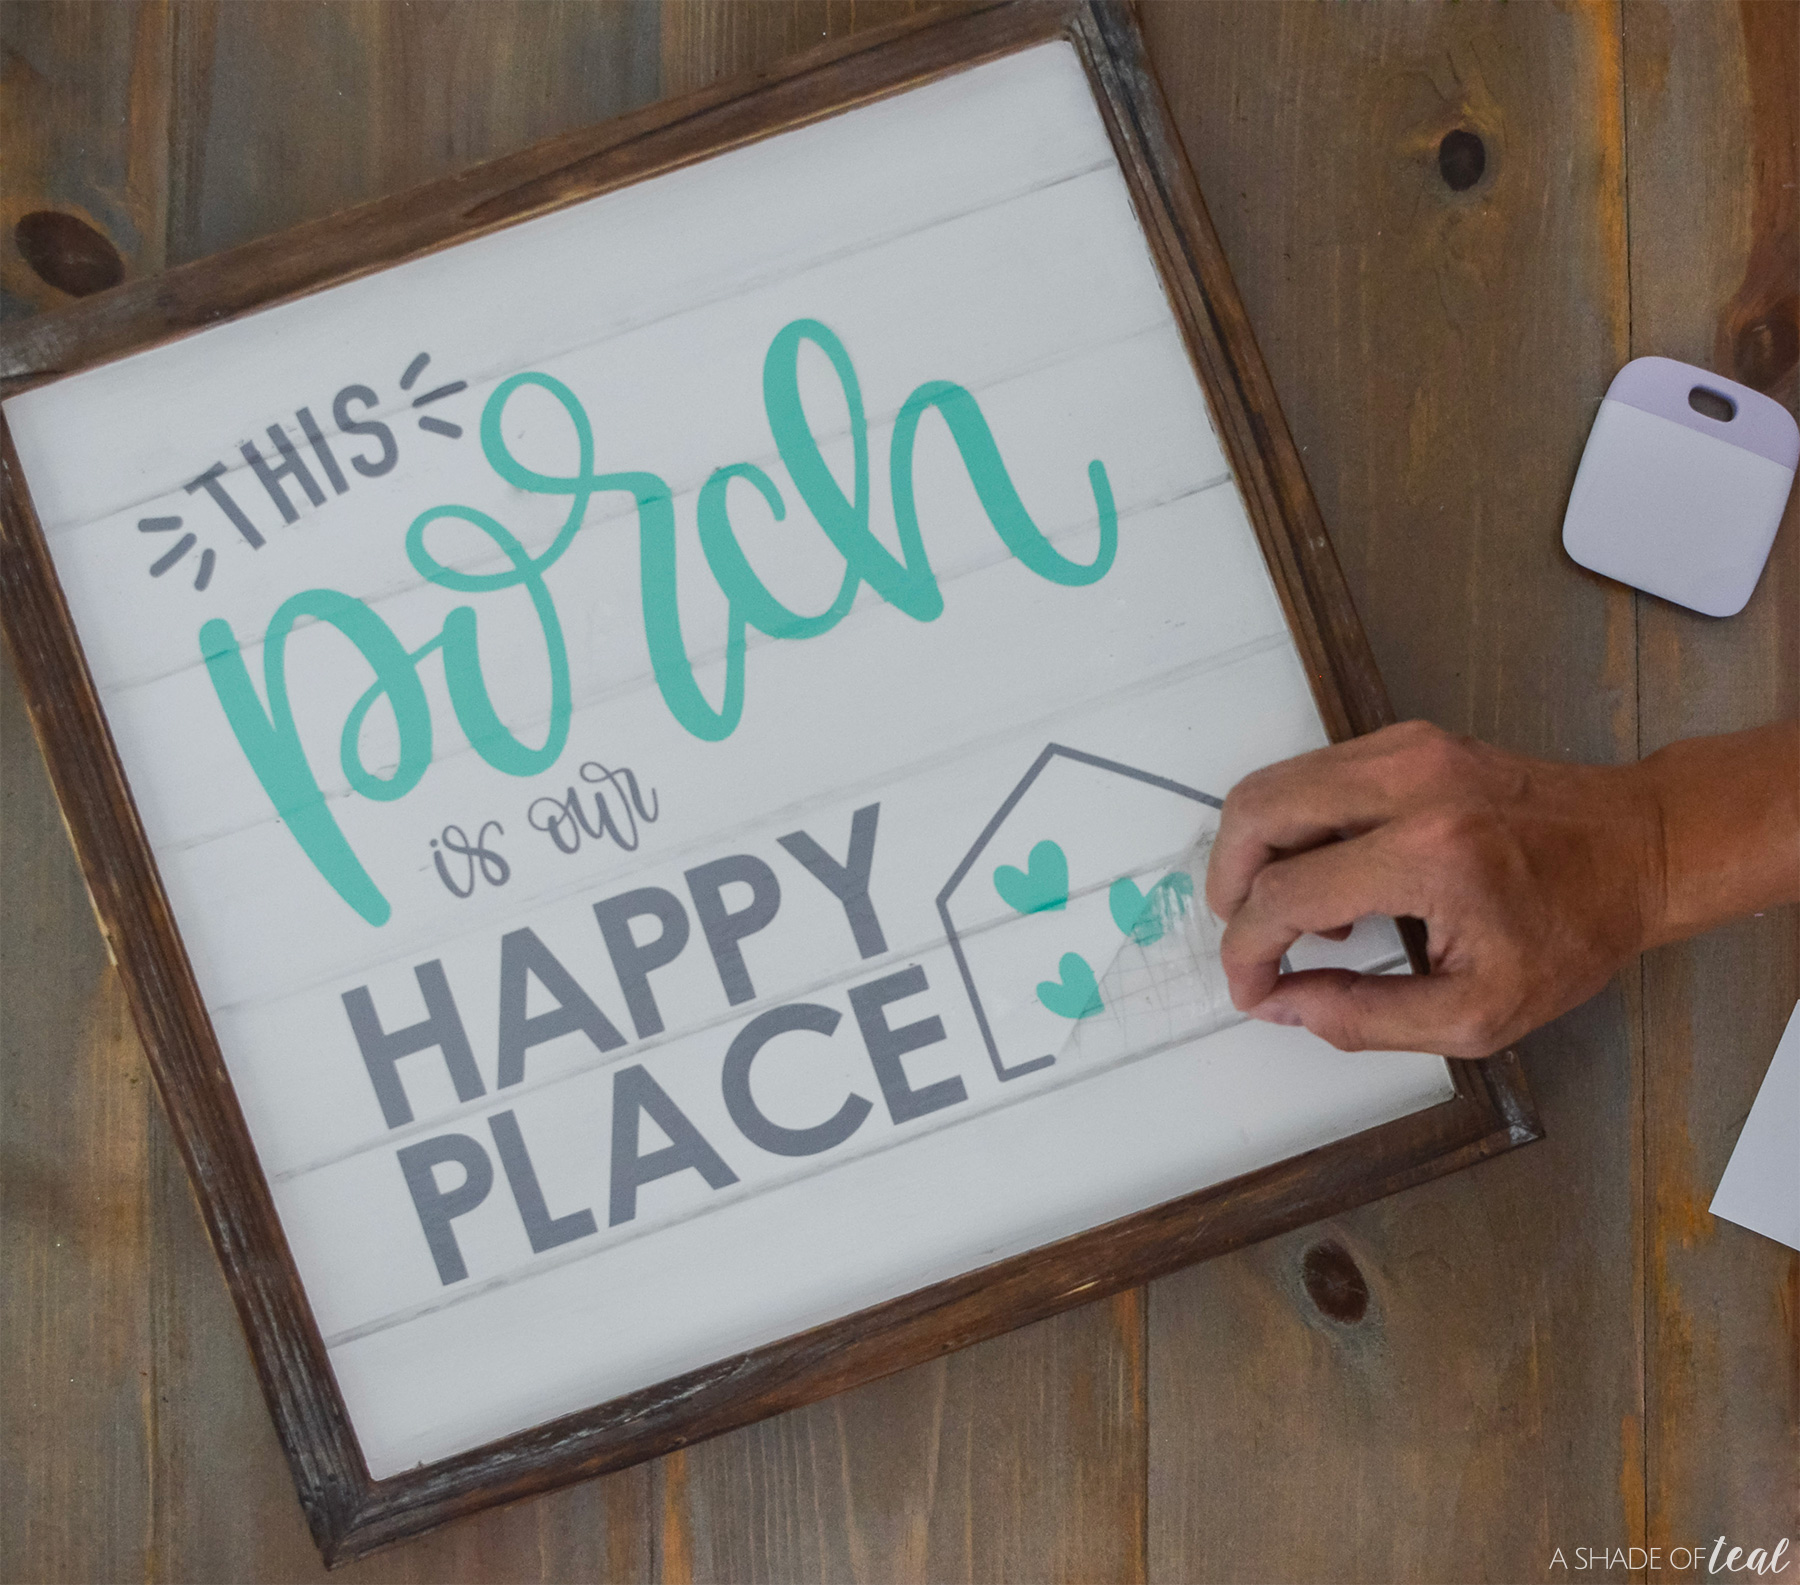
Step 6 || Transfer your Vinyl to Transfer Paper and apply to the sign.
Step 7 || Finally, make sure all the Vinyl is evenly applied and you’re done.
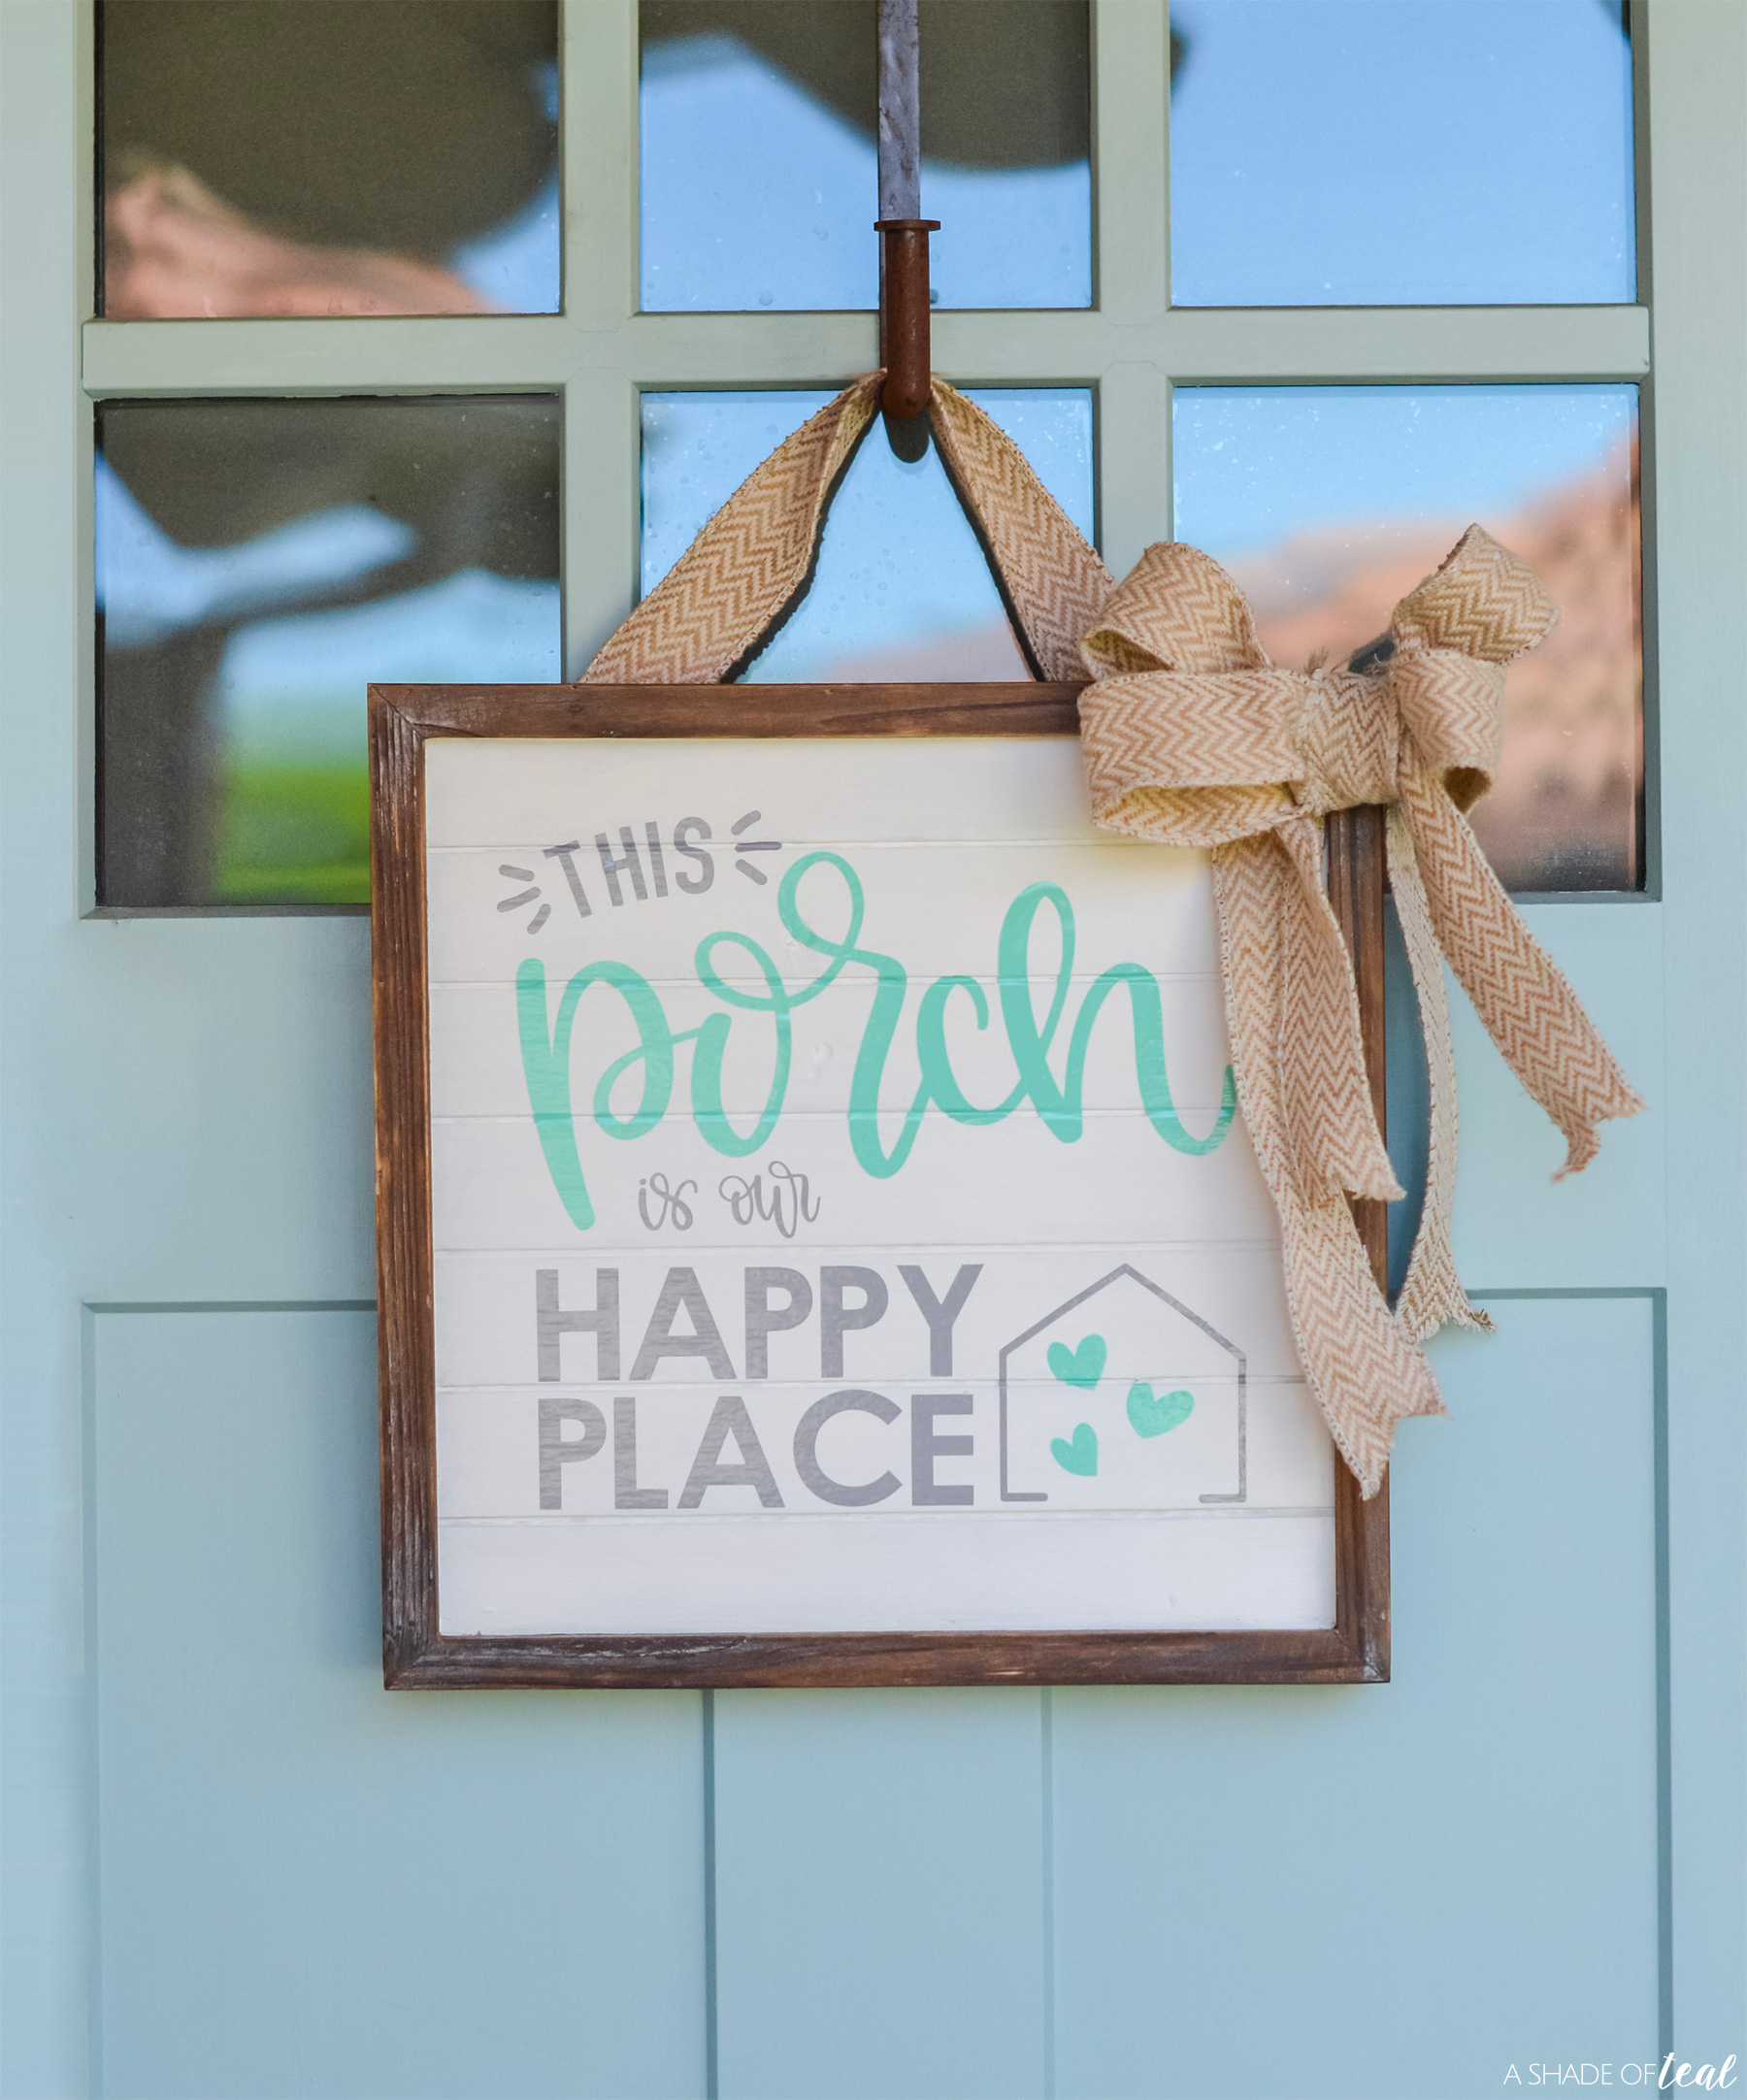
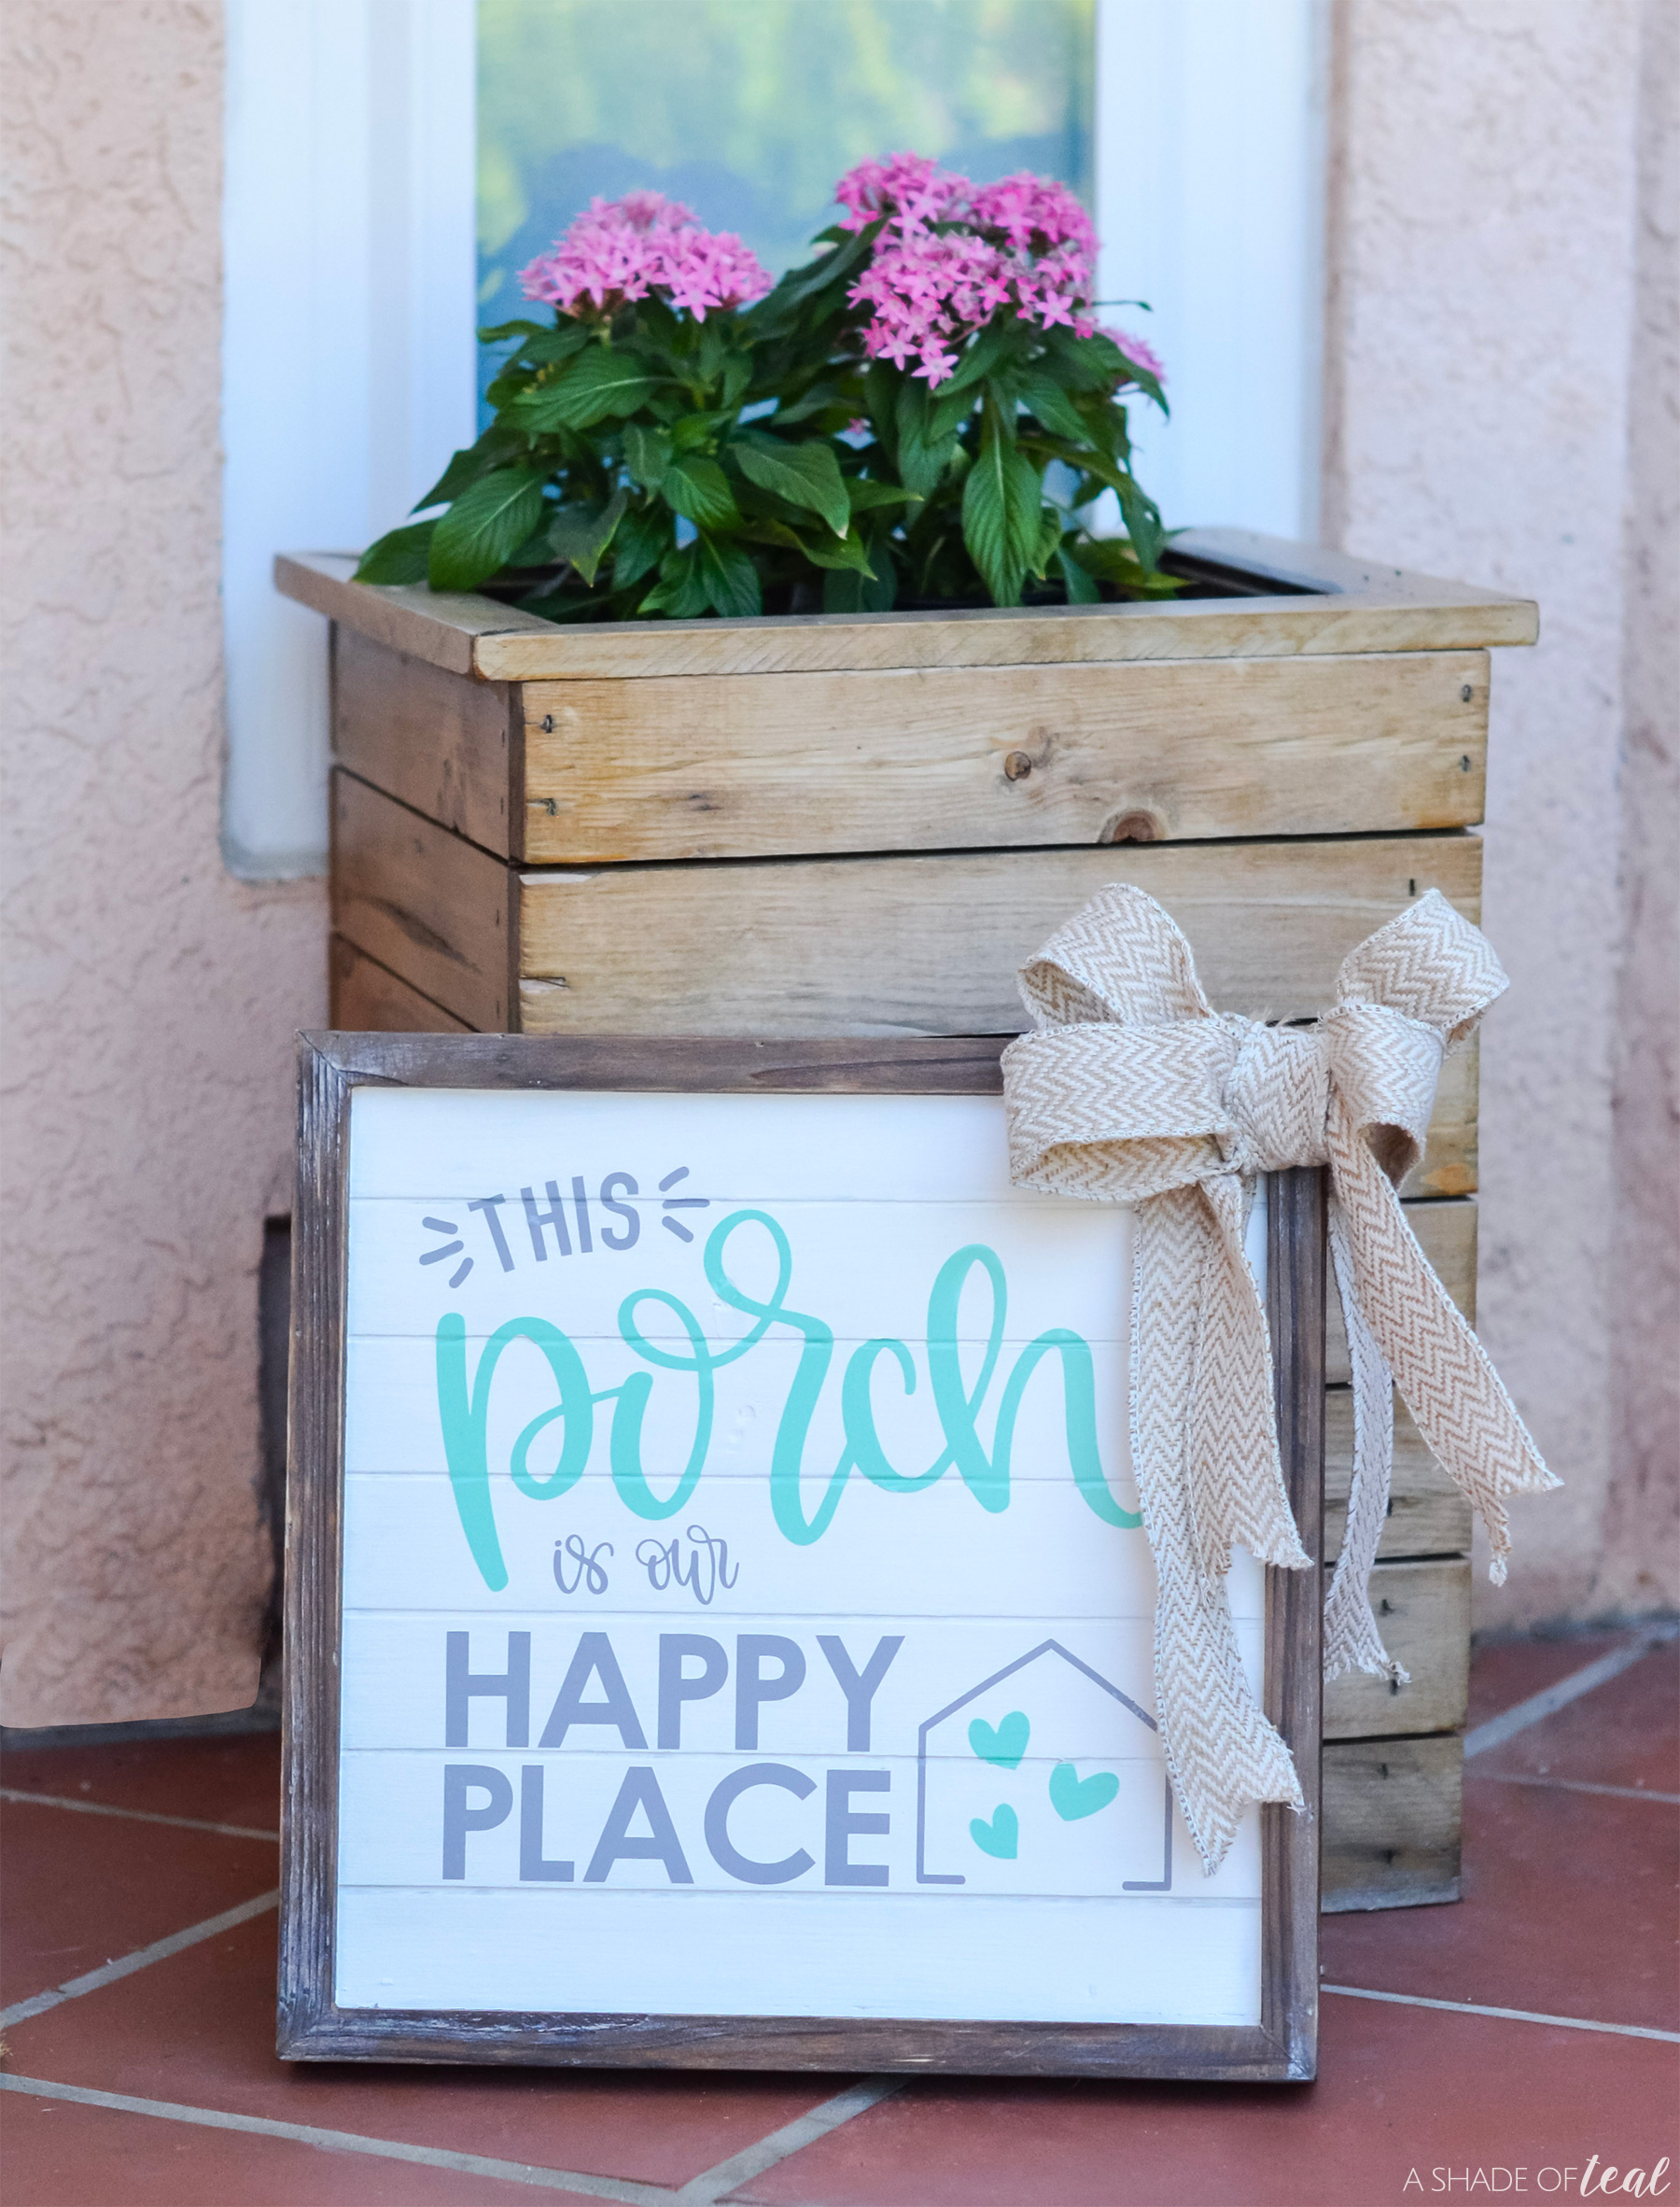
I also added burlap to hang the sign from as well as a burlap bow. This simple sign is a great addition to my front porch. It’s also a great weekend craft to tackle this summer. Here’s more of the after.
Make sure to stay tuned for more simple craft projects that you can make with supplies you already have on hand. And check out more of my Cricut inspiration and projects here.
Don’t have Cricut product yet? Shop here!
Ready to start crafting? Bring a little personality to your porch this summer with this sign. Make sure to head on over to the Cricut blog for more inspiration, as well as weekly home renovation project inspiration and tutorials.
Happy crafting, enjoy!




Hi dear, I’m Doris from Kimibear! We’ve read your blog and we love your content very much, it’s amazing! Our company mainly sell baby and kids clothes. The best quality, the most innovative design, the most suitable style. We strive to make the best clothes for every baby. After careful consideration, We want to cooperate with you, this is our website, https://www.kimibear.com/ if you are interested, please feel free to contact us, we are always here! Have s nice day!
5dy0mj
pro99o