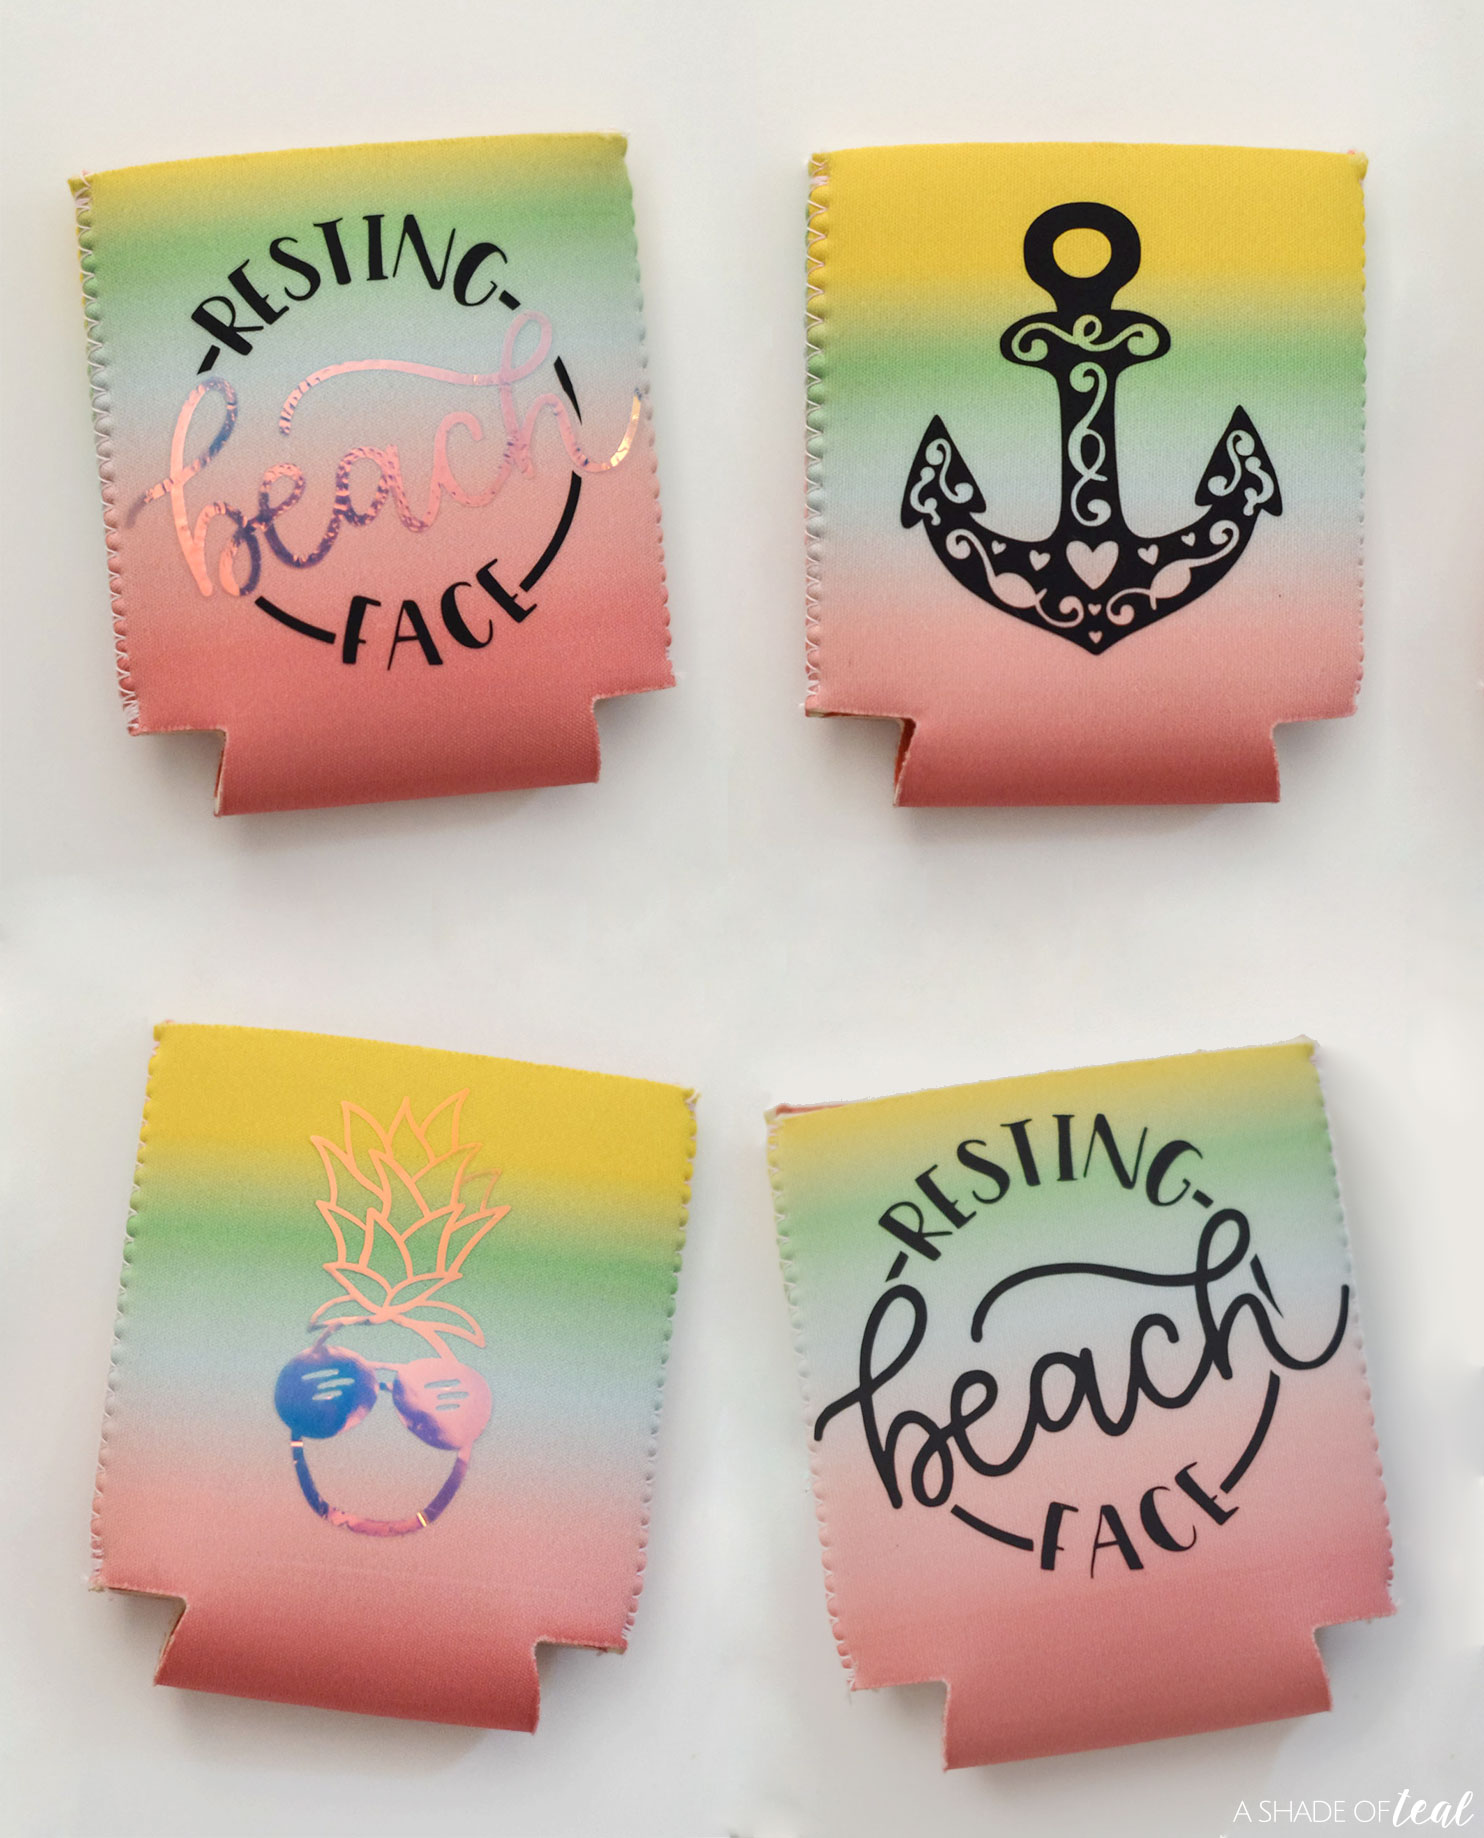
Anytime I can get out my EasyPress Mini and customize something I’m all about it! These custom Koozies are probably one of the easiest projects to make with your Cricut machine. It’s also a great starter project when first working with Iron-On and a heat press. Read on to follow these simple steps to turn a basic koozie to a custom design in no time.
(This post may include affiliate links. If you buy something I receive a small commission of your purchase. Thanks for supporting A Shade of Teal! I only share products I truly love!)
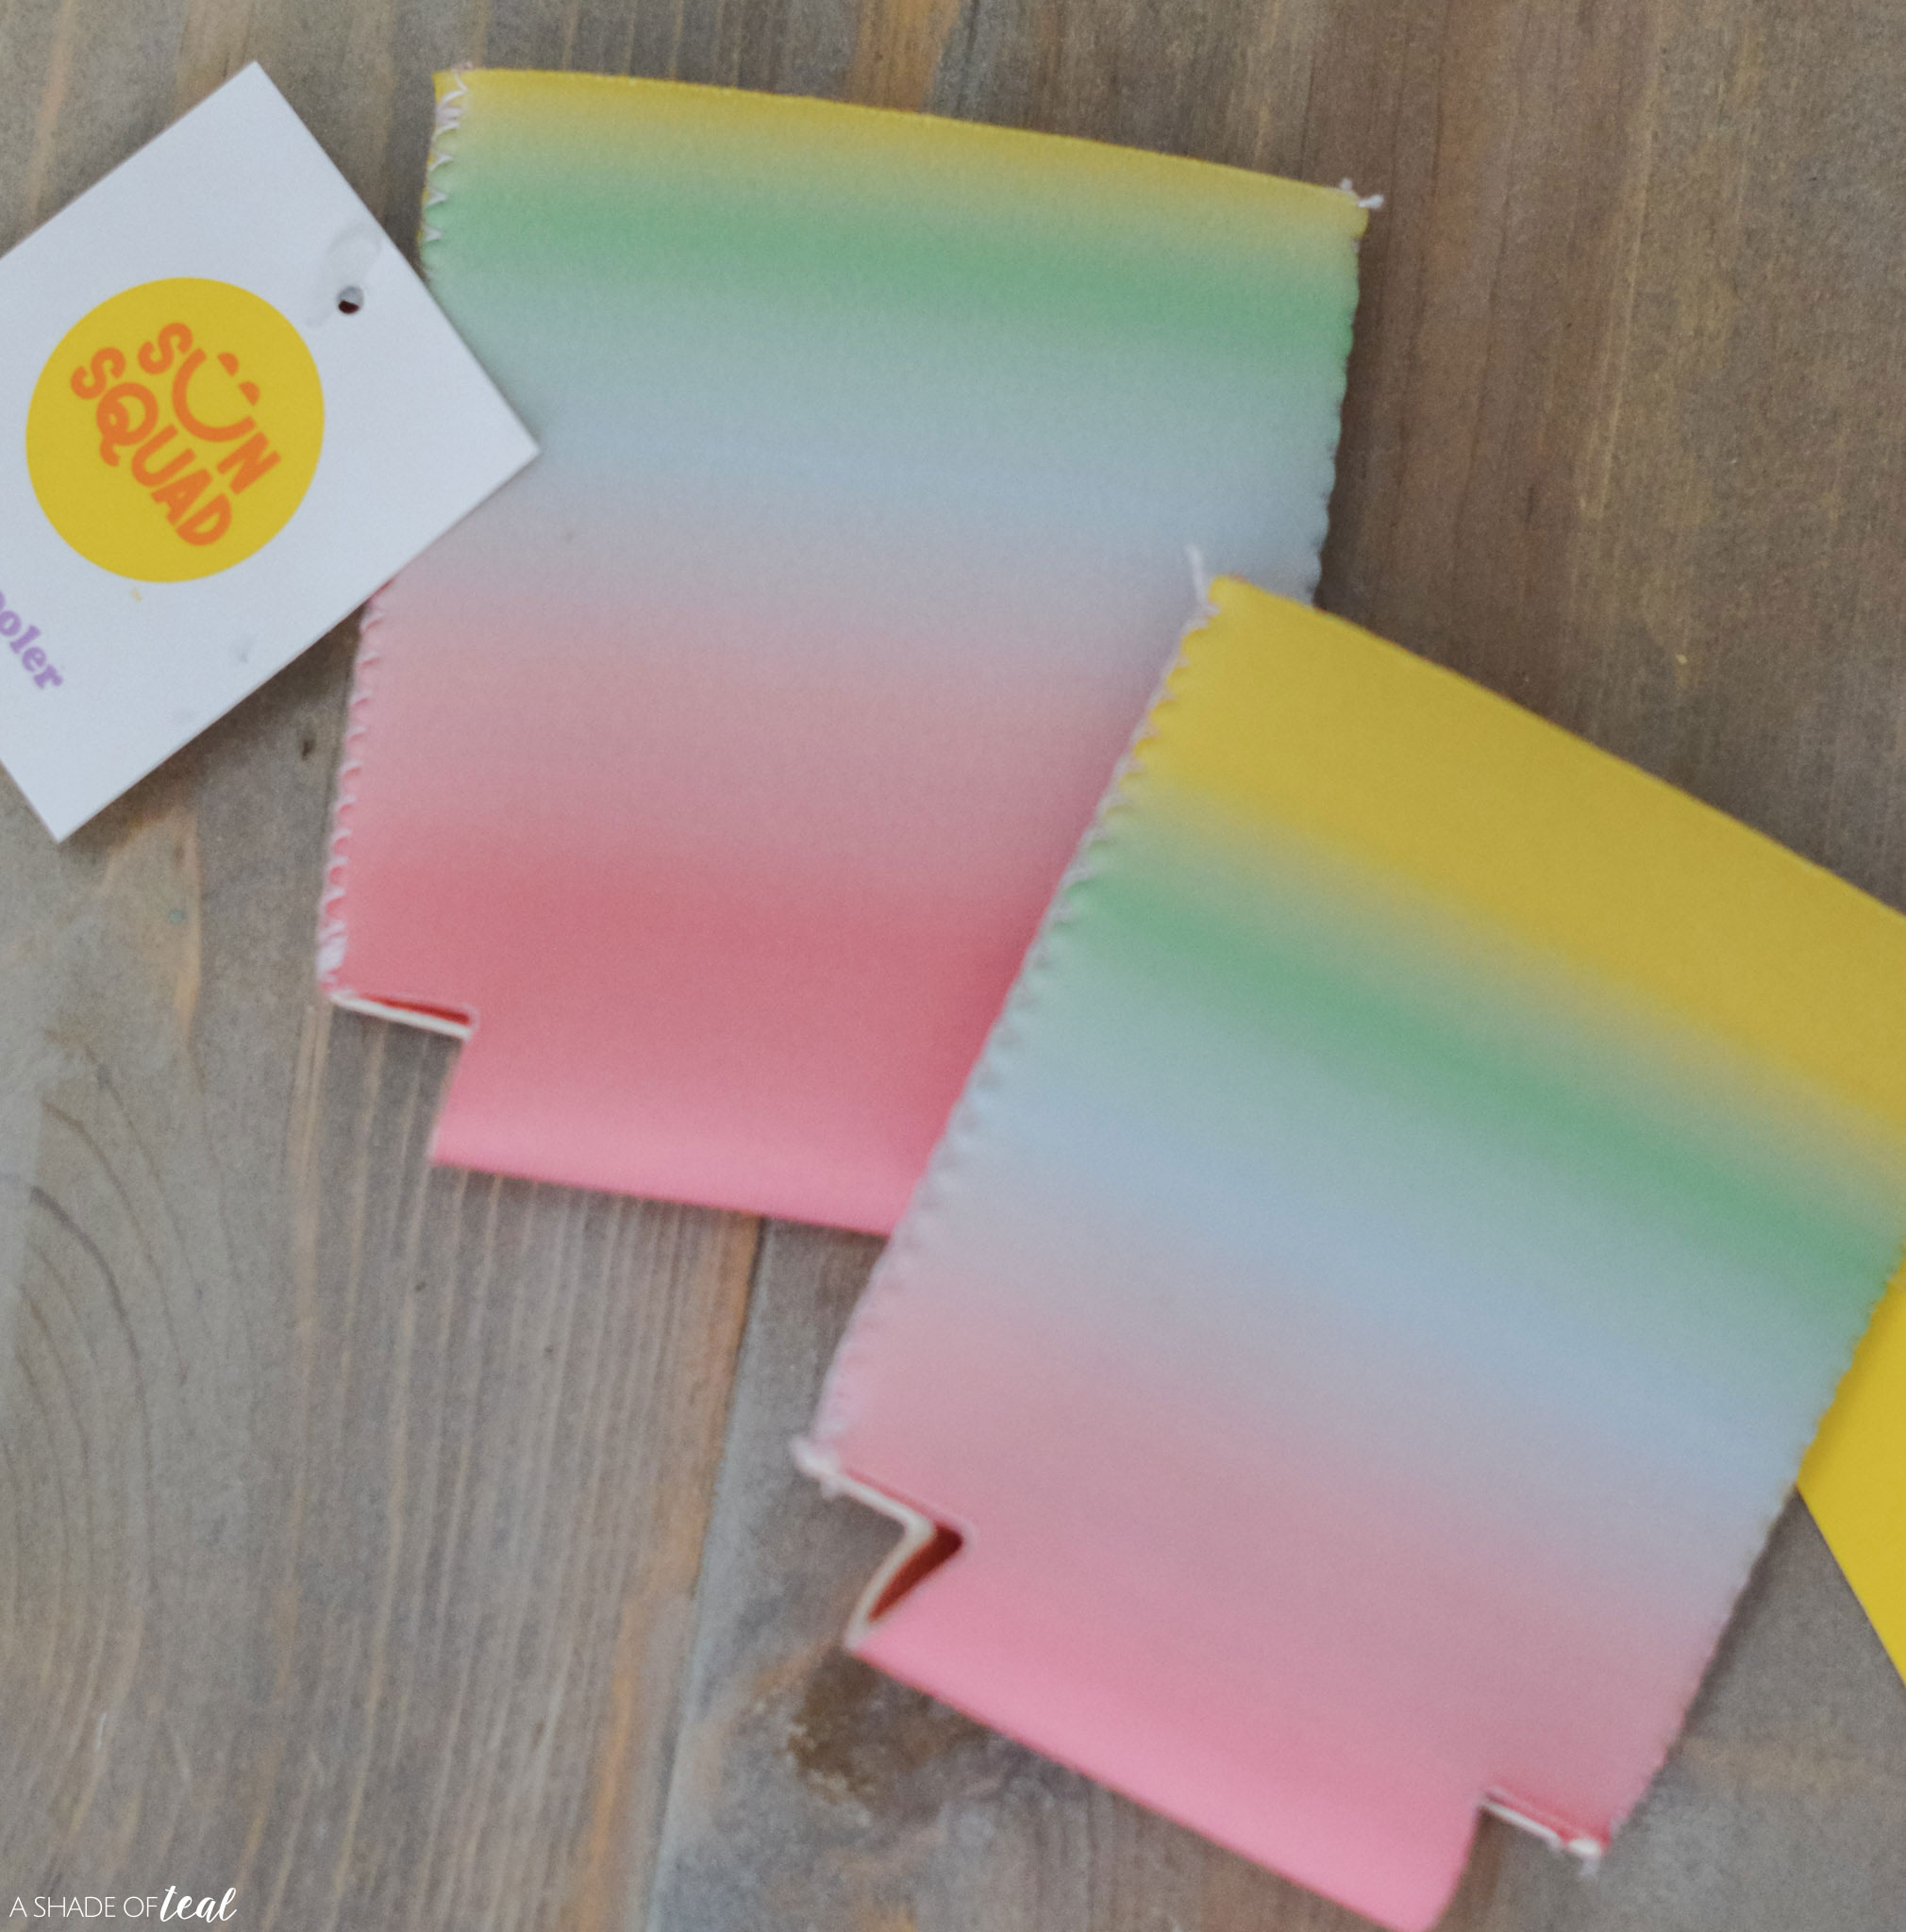
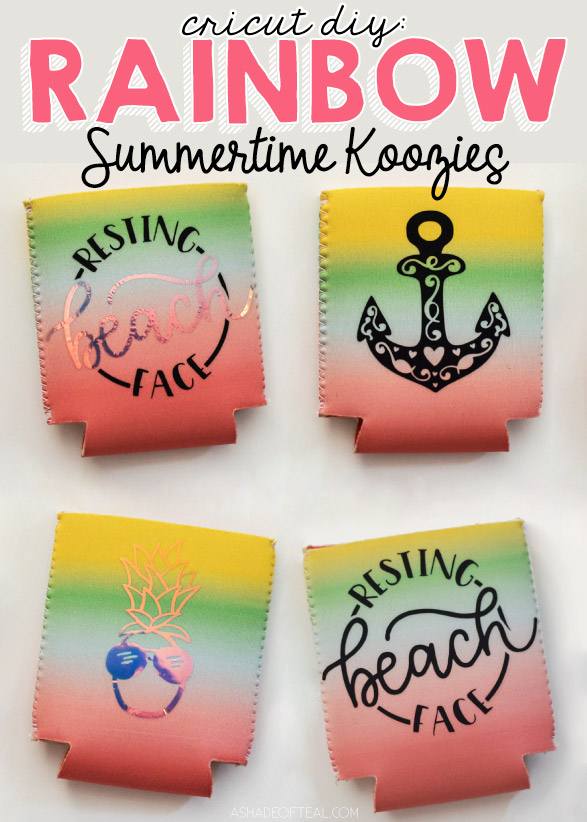
I found these Ombre Rainbow colored koozies at Target in their Summer section, and since their seasonal sections are constantly changing you might have better luck finding similar options at Amazon here. But when I saw them I knew they were perfect to customize with my new Cricut Maker 3.
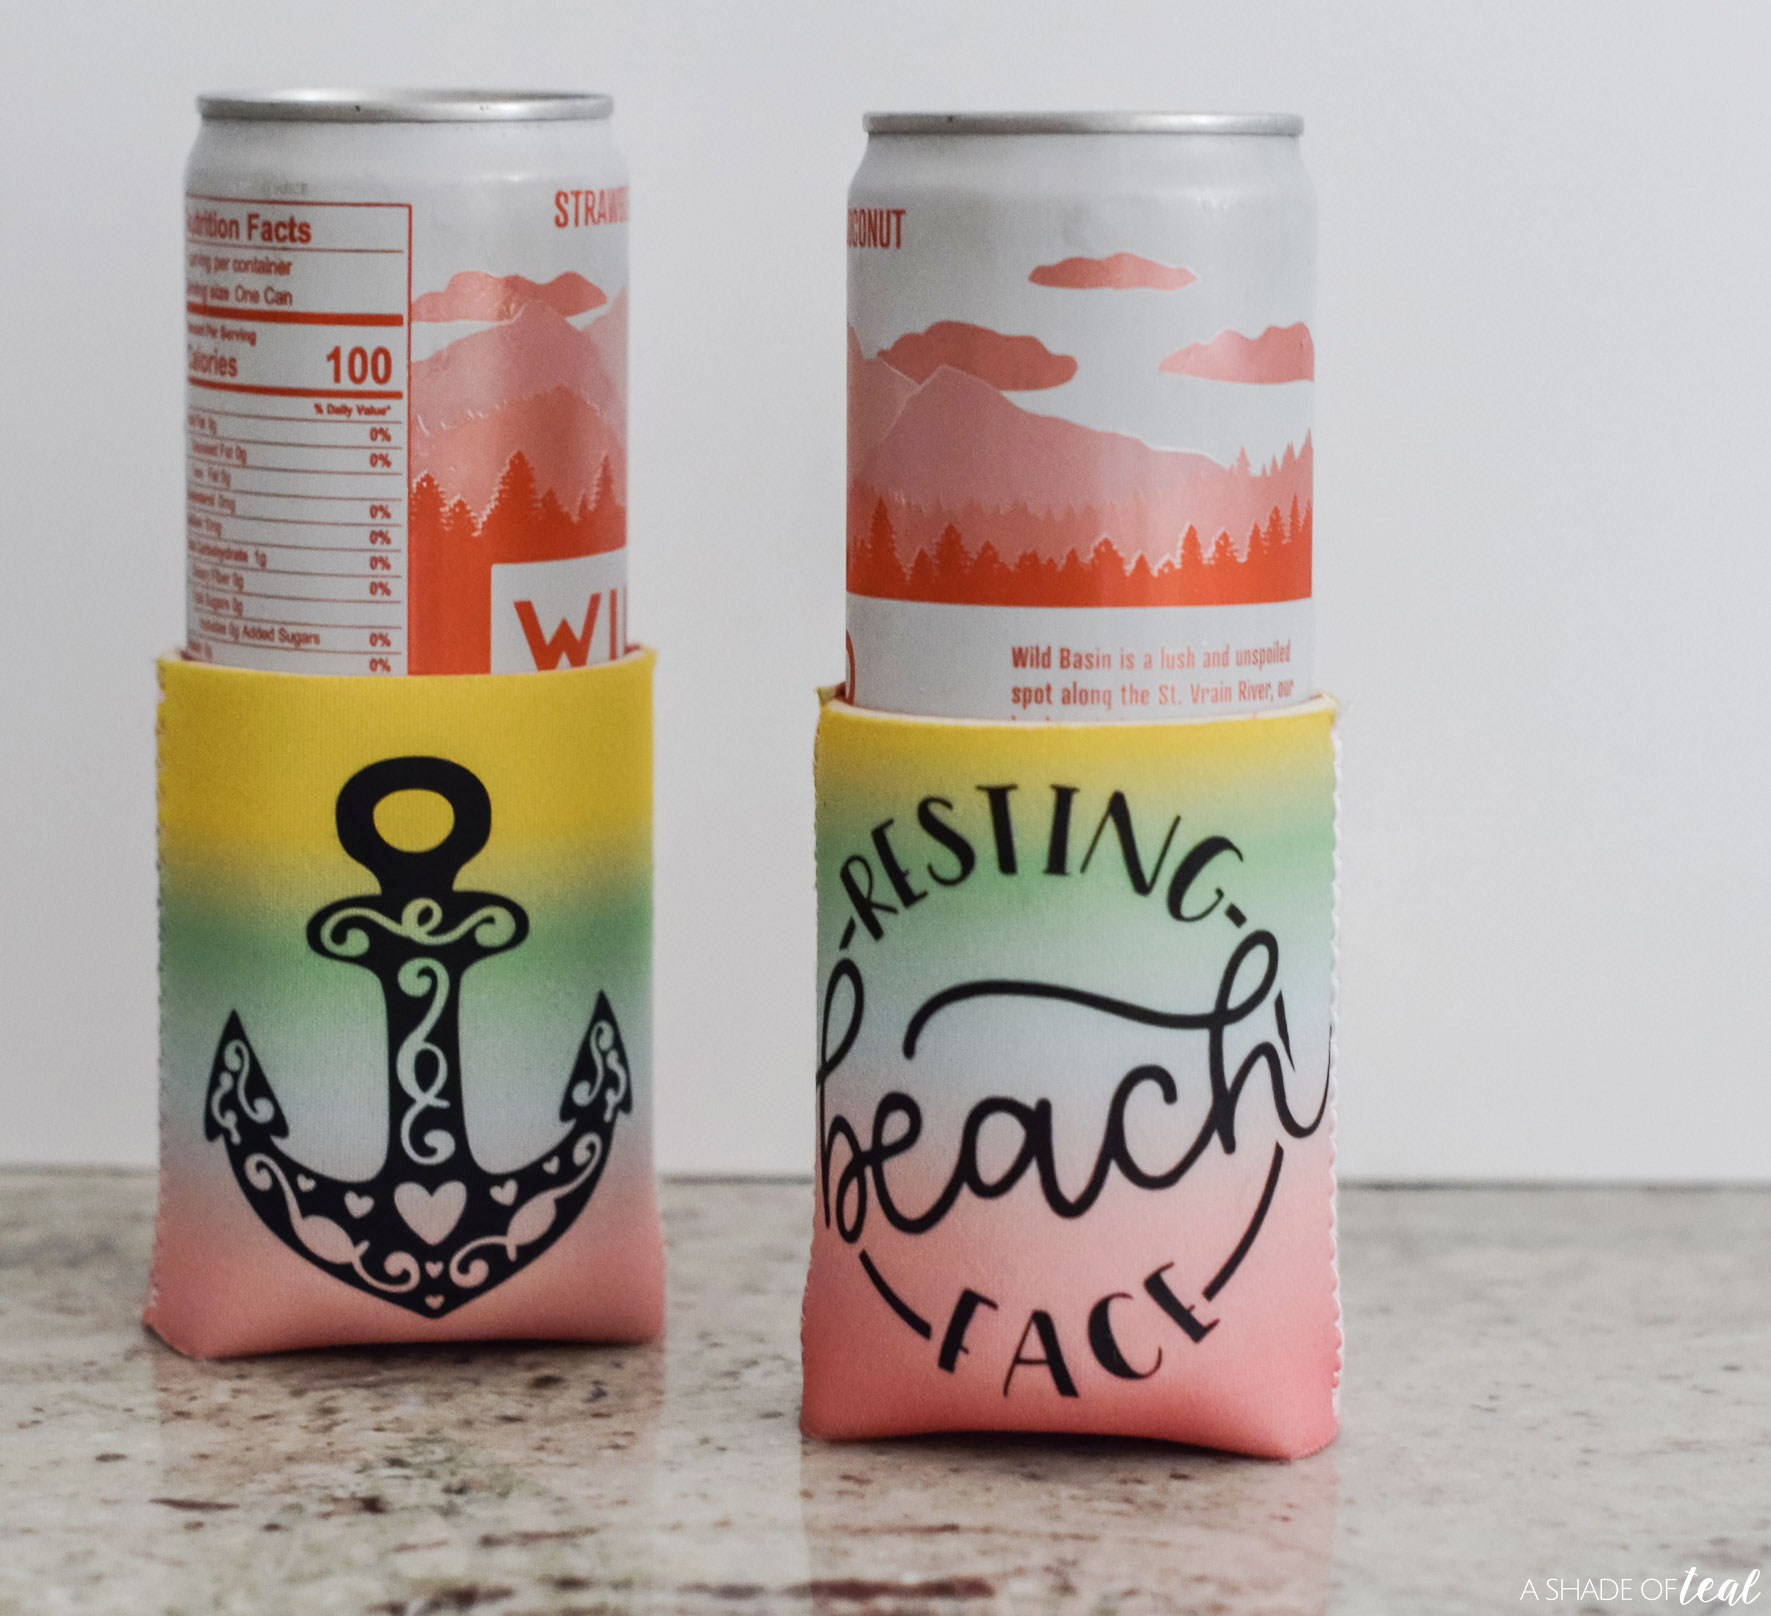
These particular koozies are actually meant for the tall slim cans. So if you grab the art below make sure to properly measure which size koozie you have. Here’s how to quickly made these custom koozies.
Materials Needed:
- Koozie Art
- Rainbow Ombre Koozies. Again, I found mine at Target but here’s a similar option.
- Holographic Iron-on or Everyday Iron-on
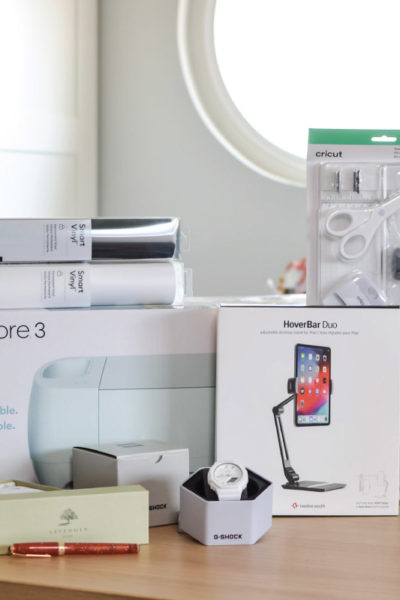
- EasyPress Mini
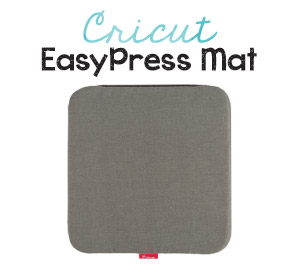
- Cricut EasyPress Mat
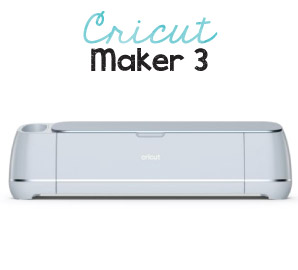
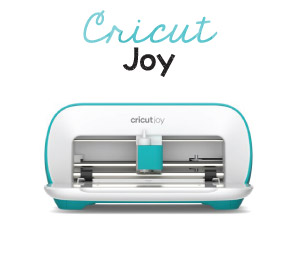
- Cricut Maker 3 or Cricut Explore Air 2 or Cricut Joy
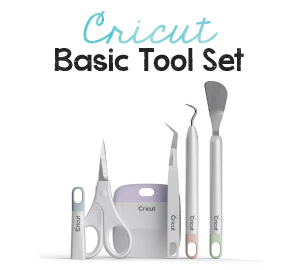
- Essential Tool Set
Shop:
Here’s How to make Custom Rainbow Koozies!
Step 1 || Prep the koozie by removing all labels, stickers, etc… Then take a lint roller and remove any excess lint.
Step 2 || Grab the art in Cricut Design Space HERE.
Don‘t have Cricut Access? If you haven’t already signed up for Cricut Access, I suggest you do. You get access to tons of graphics and art elements to create your own designs. Check out Cricut Access HERE.
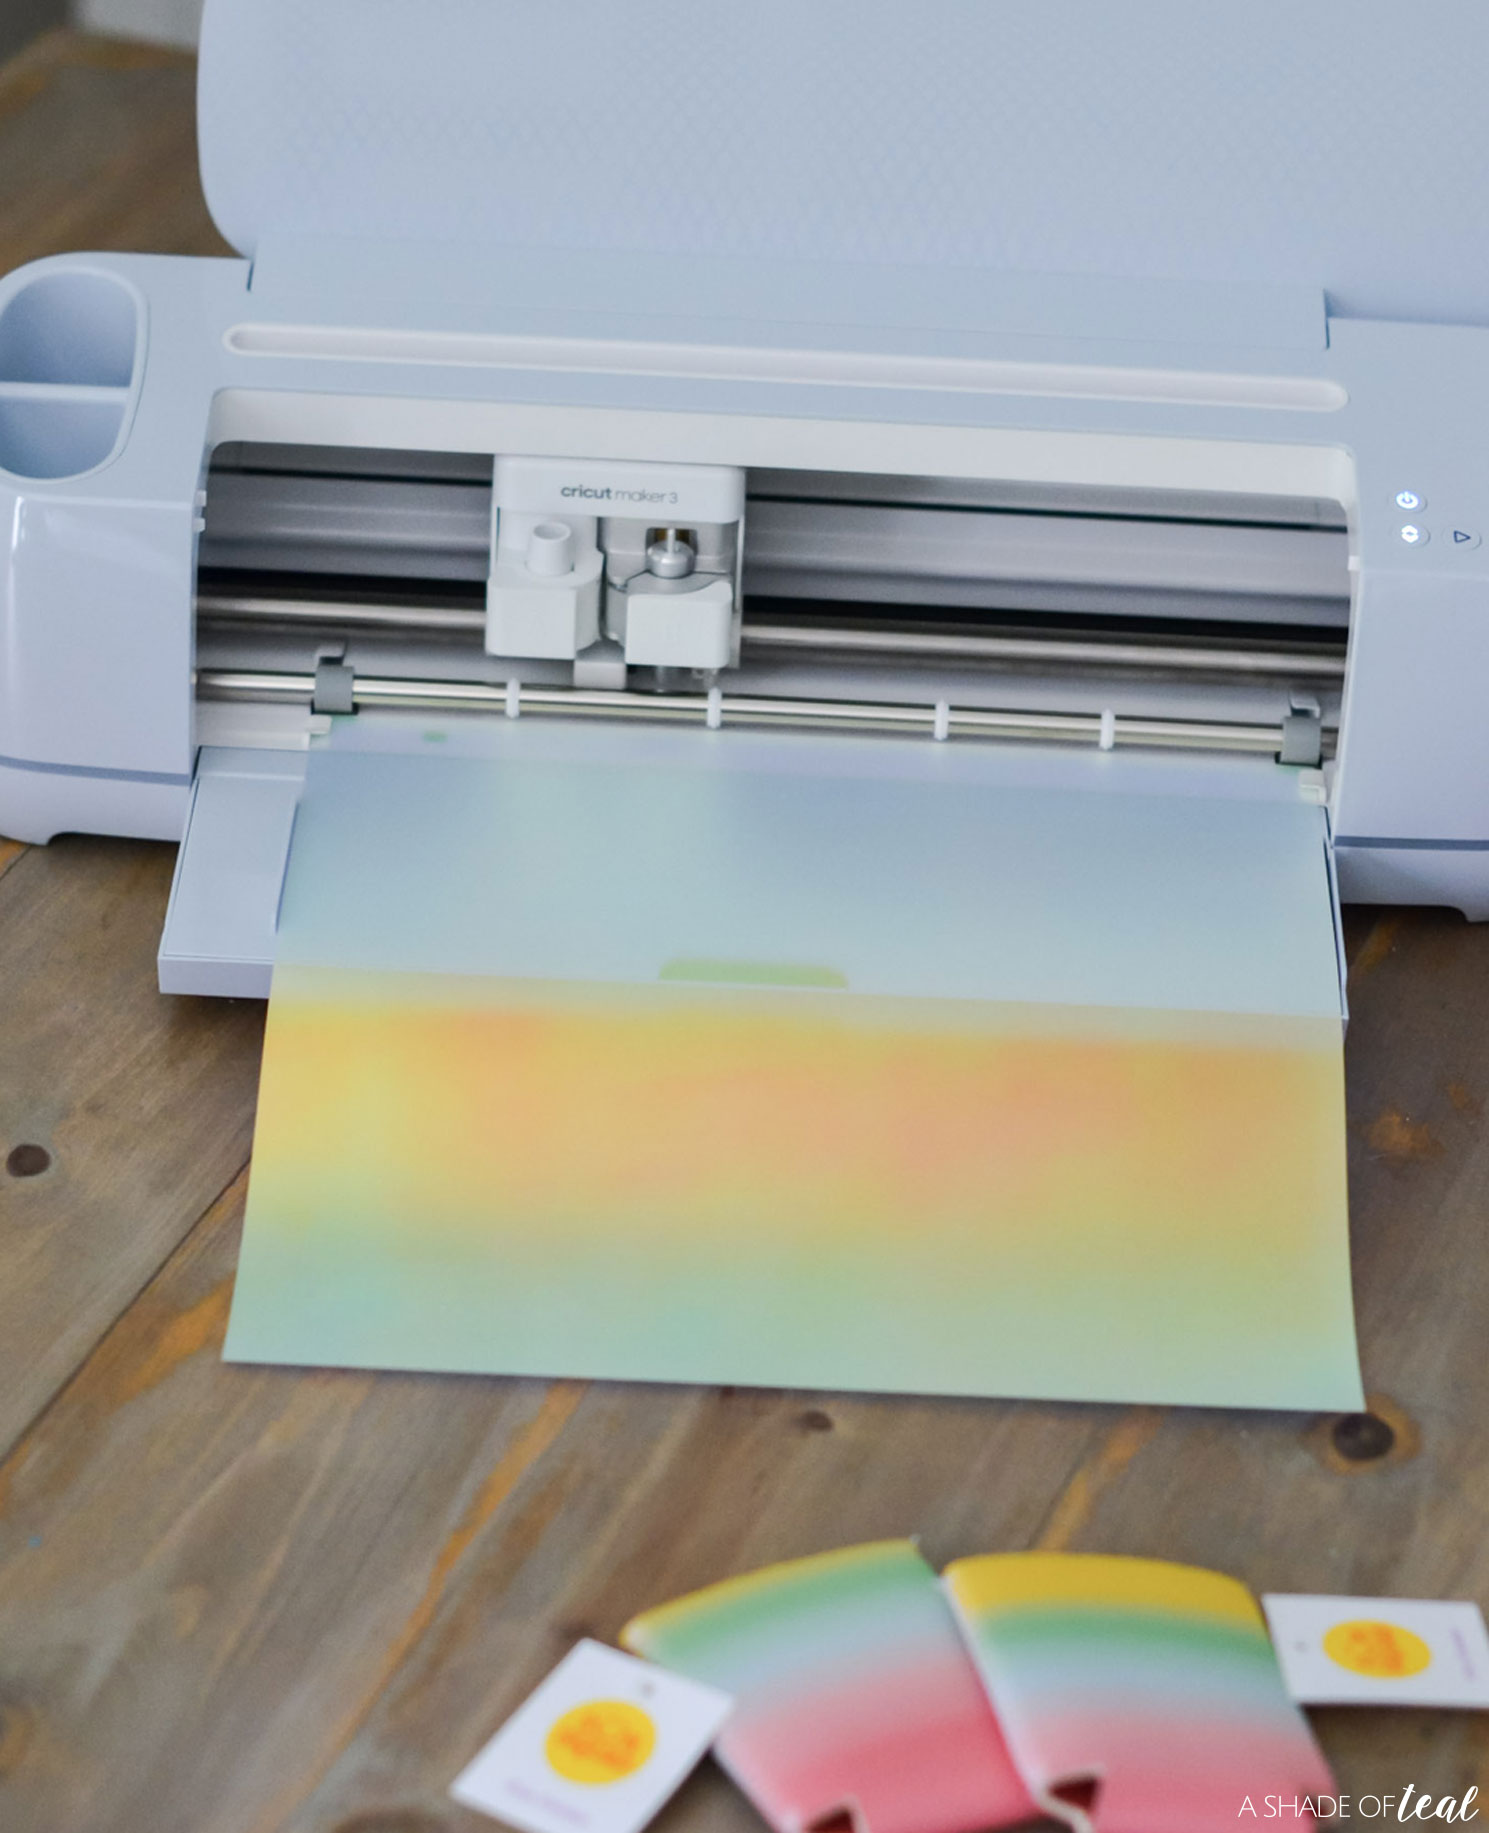
Step 3 || Setup the art to fit the size of koozie you have. Then follow the prompts on Design Space to start cutting the Iron-on. Don’t forget to set the Mirror option
Step 4 || Then cut and weed the Iron-on vinyl.
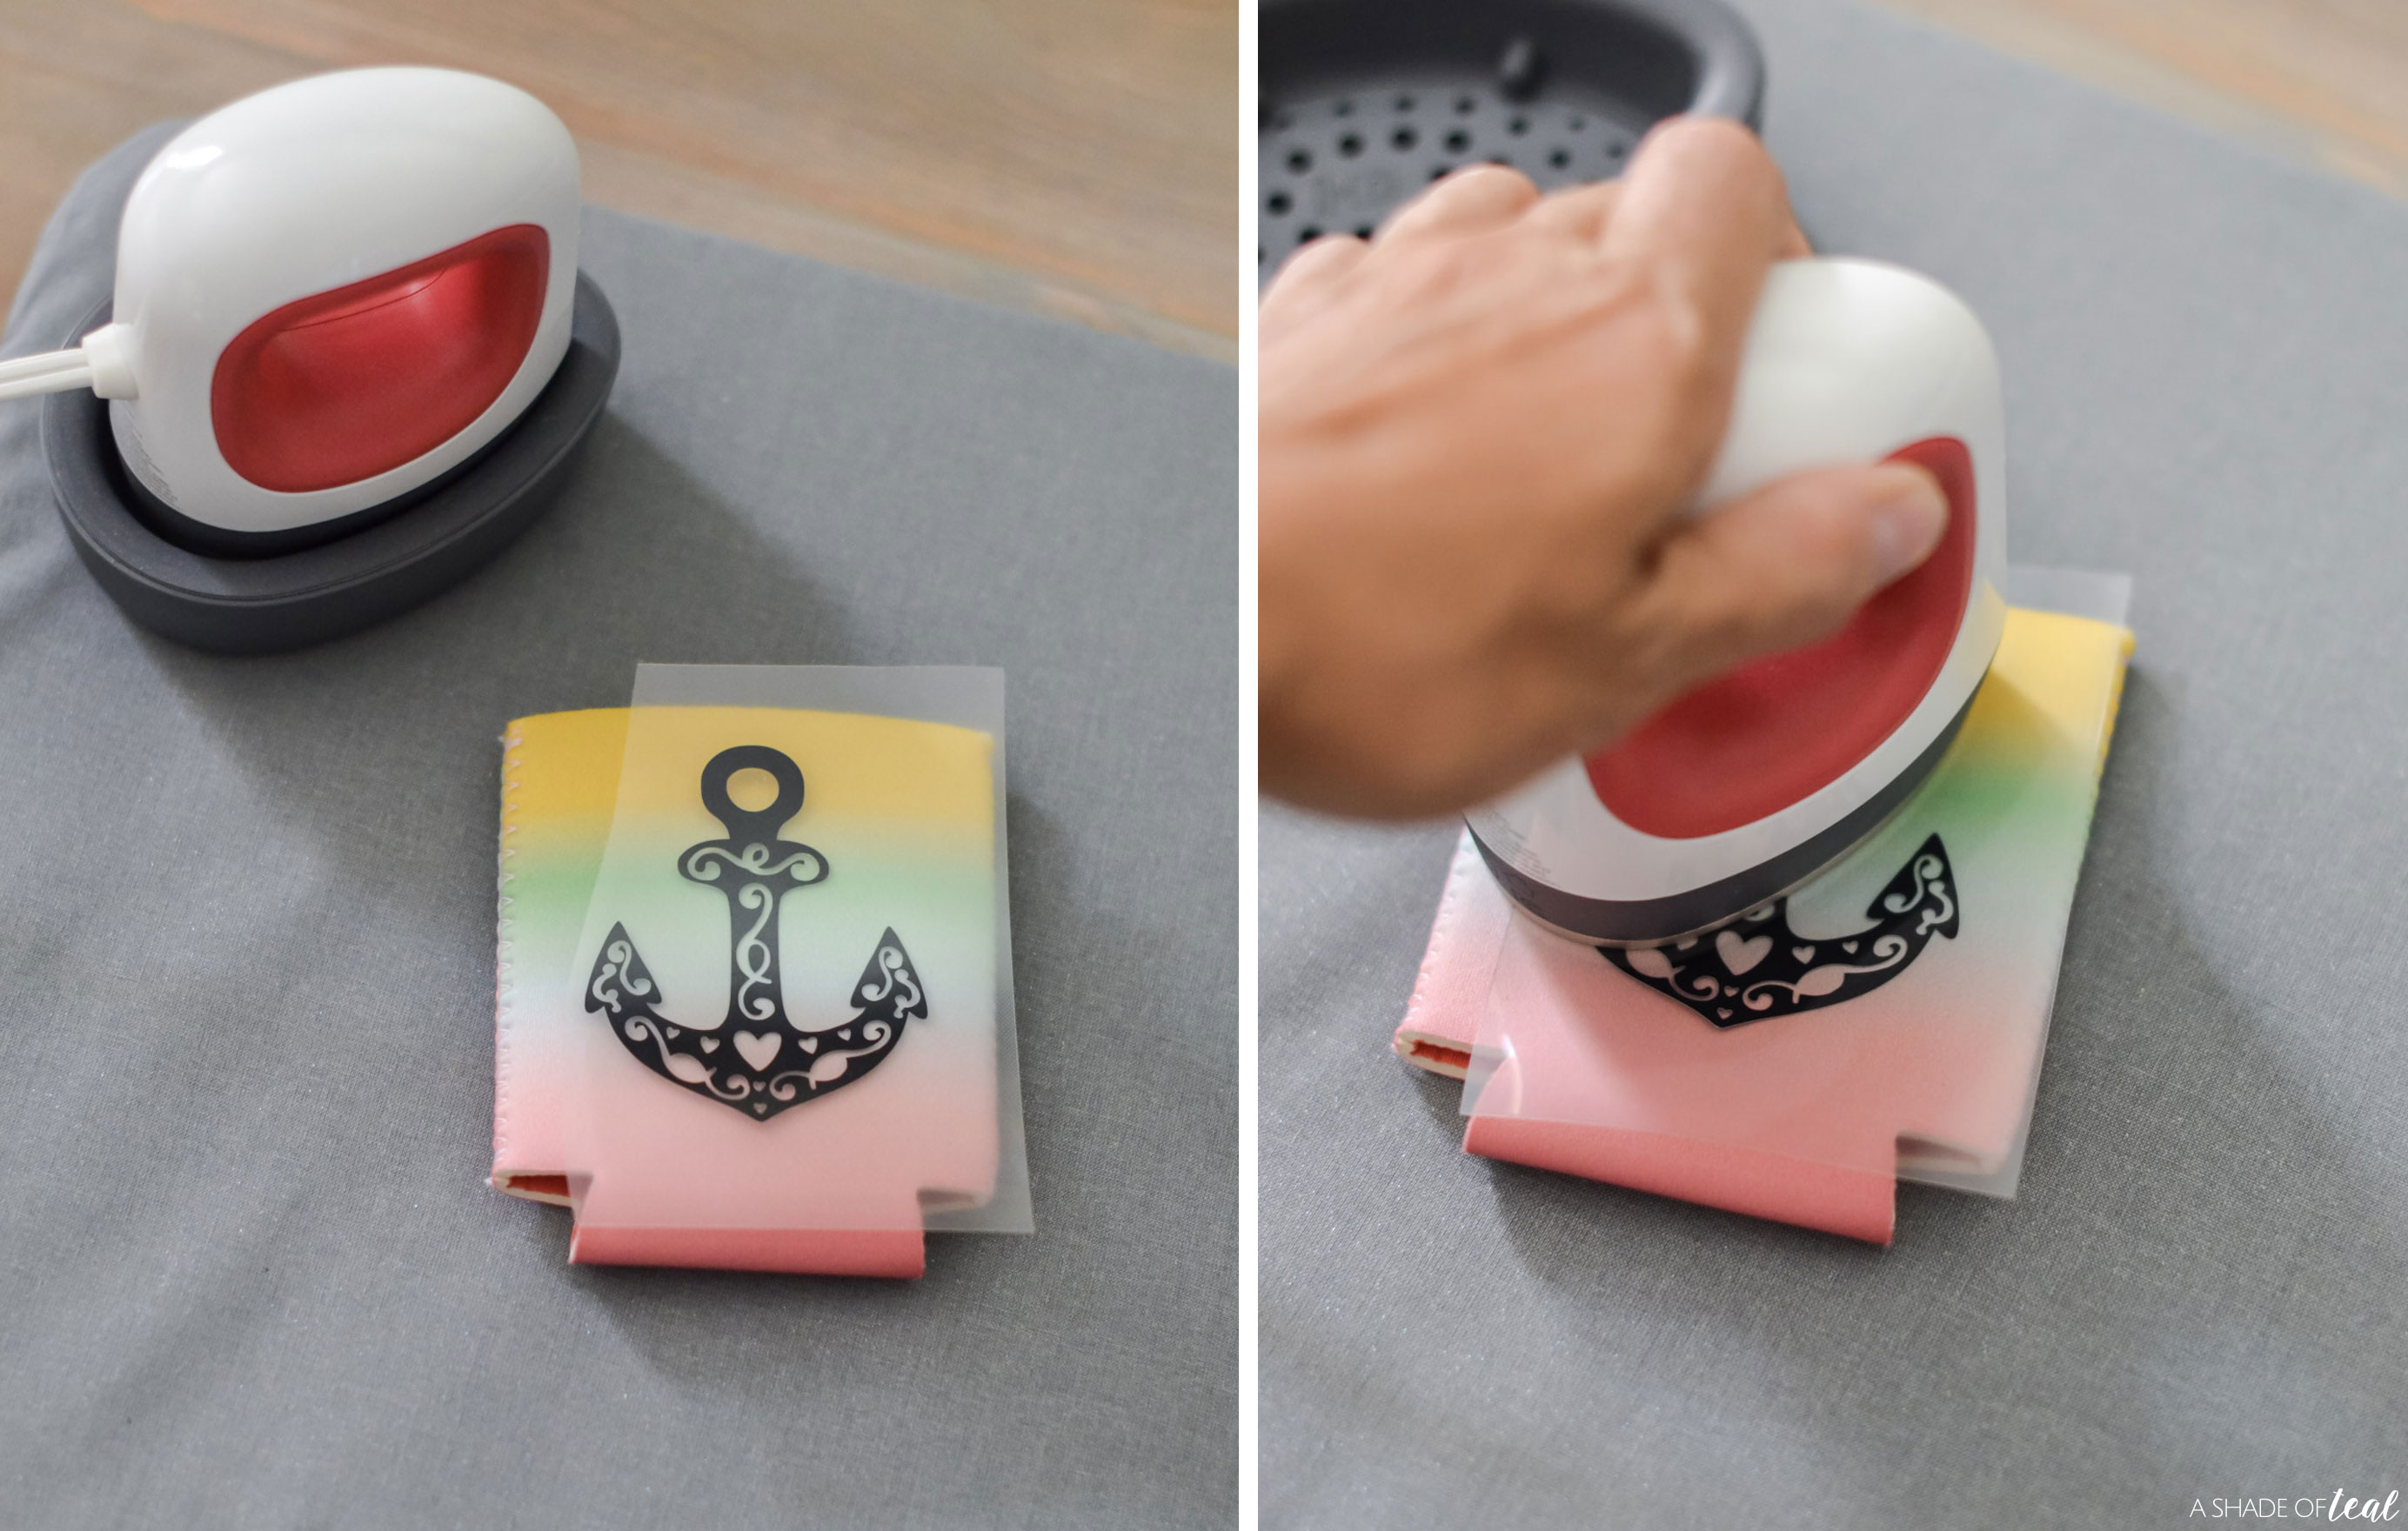
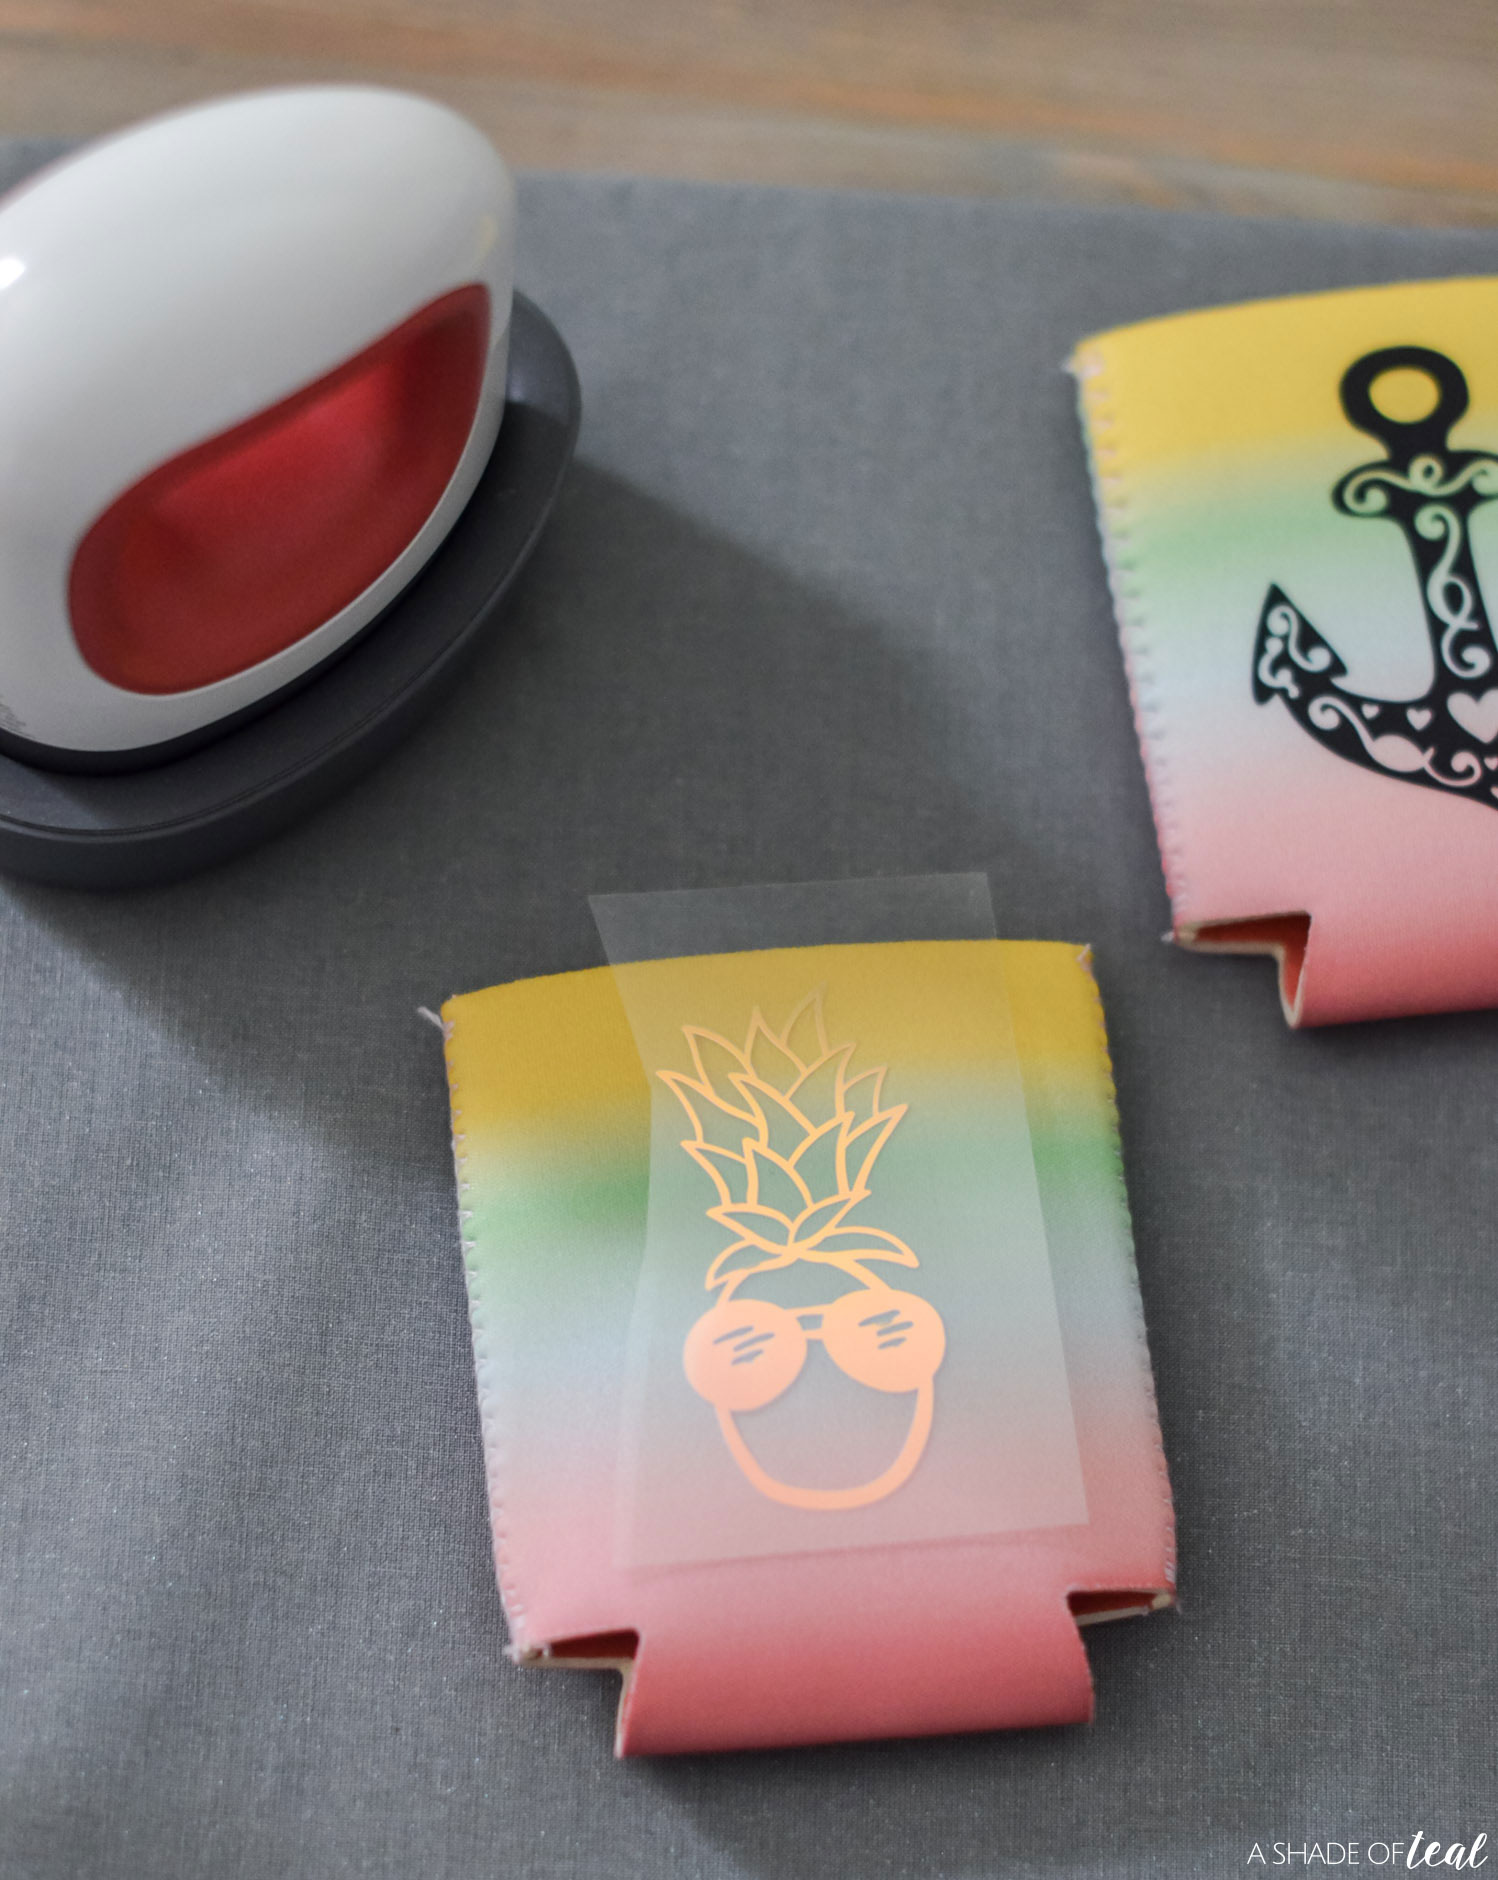
Step 5 || Then using the EasyPress Mini, apply the designs to each koozie. You’ll want to double check the Cricut Heat Guide for the correct temperature setting to use, as well as how long to press.
Step 6 || Once cooled, gently remove the backing. Repeat the steps for the remaining koozies.
Here’s the after!
Make sure to stay tuned for more simple craft projects that you can using your Cricut, and check out more of my Cricut inspiration and projects here.
Don’t have Cricut product yet? Shop here!
Happy crafting, enjoy!





pgc2w4