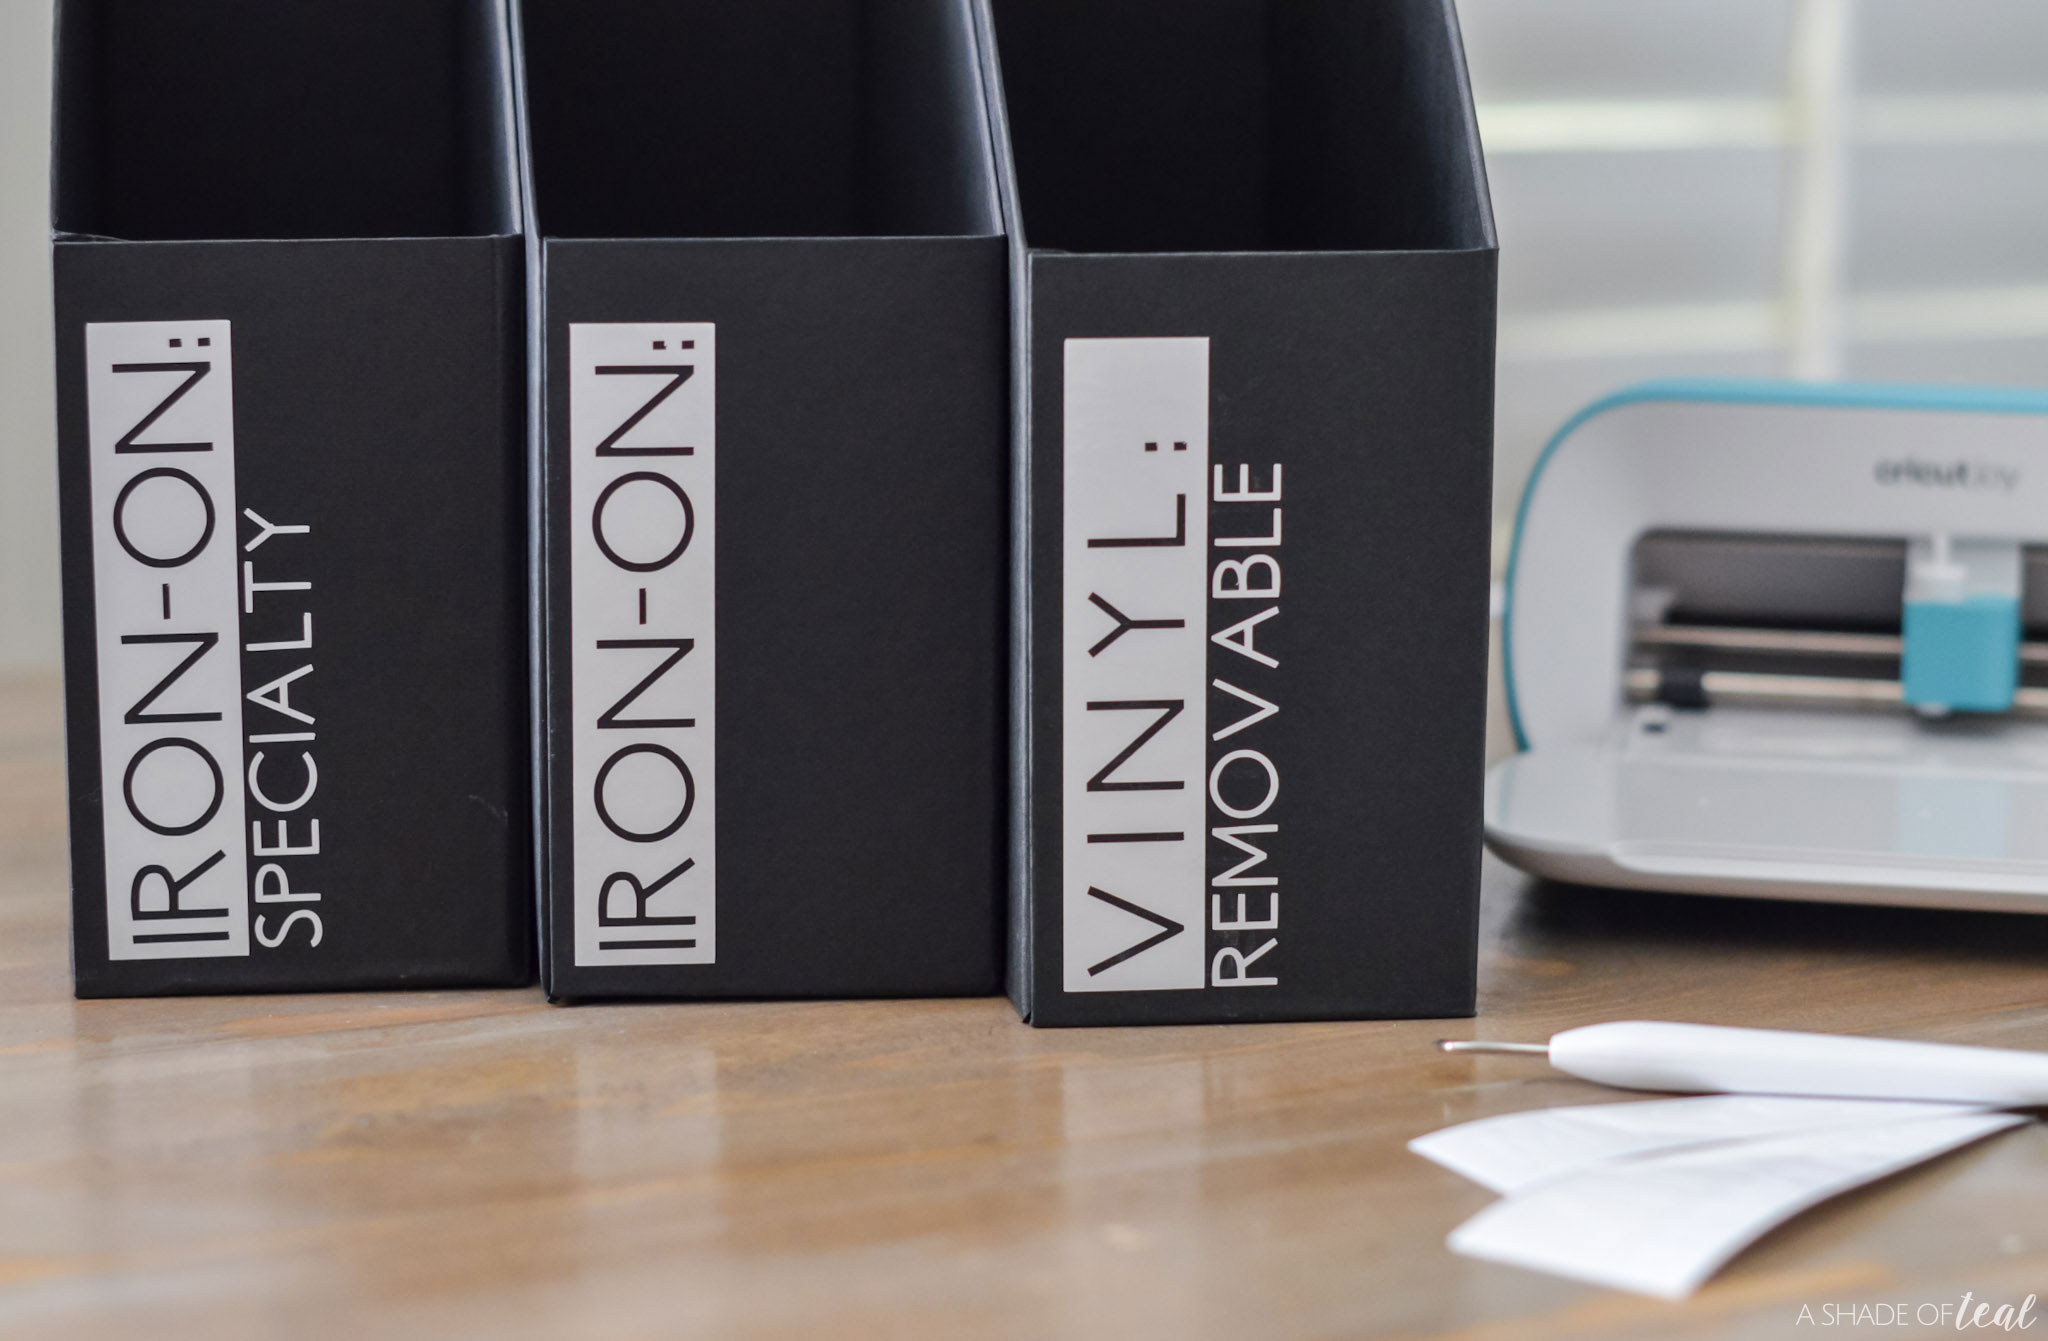
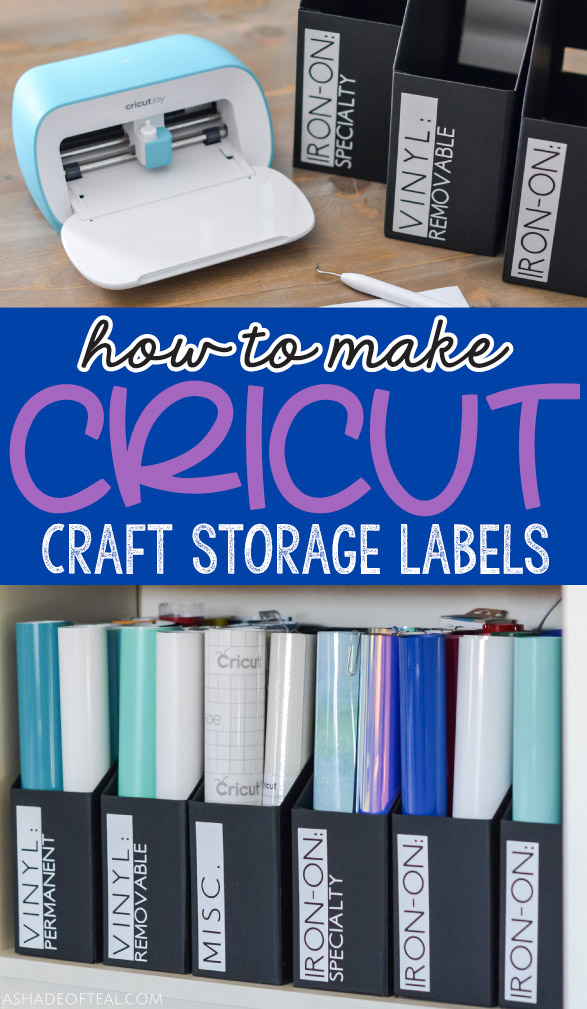
One of my favorite everyday uses for my Cricut machines is to make labels. I’ve pretty much labeled everything, from my kids school supplies, water bottles, sports gear, to kitchen storage labels. My latest project has been creating custom Cricut Craft Storage Labels for all the different types of Vinyl.
(This post may include affiliate links. If you buy something I receive a small commission of your purchase. Thanks for supporting A Shade of Teal! I only share products I truly love!)
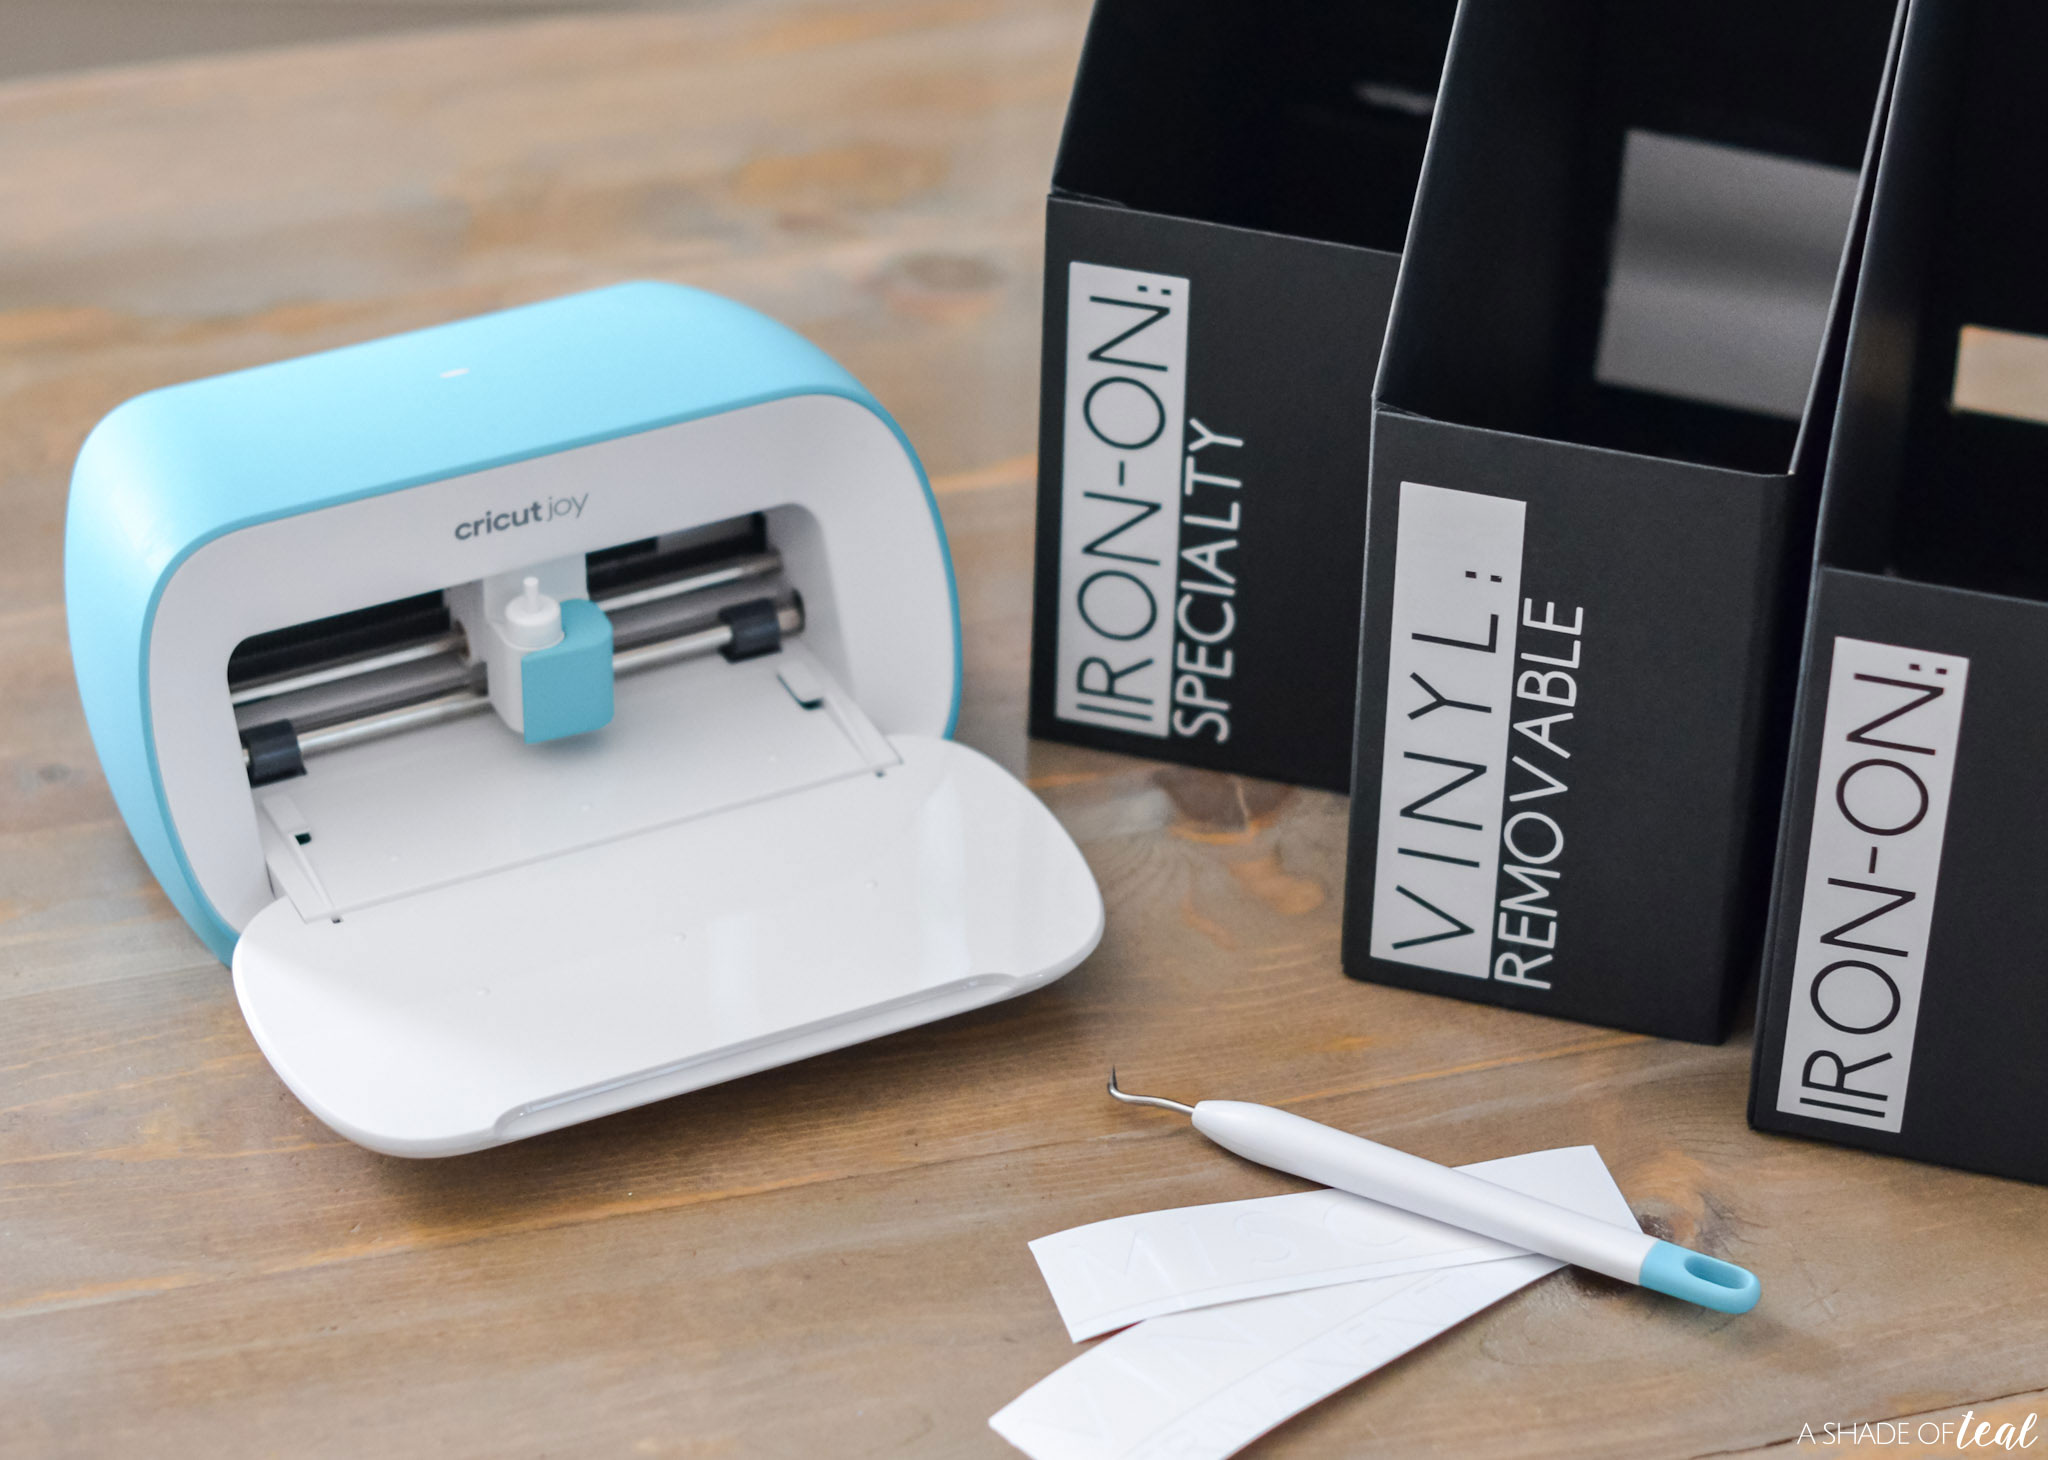
Making Storage Labels for all the different types of Cricut Vinyl has made organizing my supplies so so much easier. So want to make these Craft Storage Labels? Here’s what you’ll need.
Materials Needed:
- Magazine holders, mine are the Tjena from IKEA.
- Permanent Vinyl
- Transfer Tape
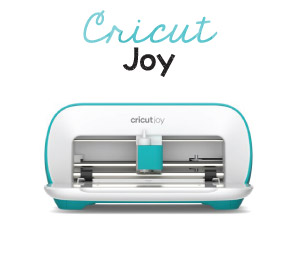
- Cricut Explore Air 2 or Cricut Joy
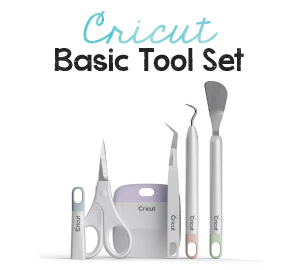
- Essential Tool Set
Shop:
Here’s How to make Cricut Craft Storage Labels!
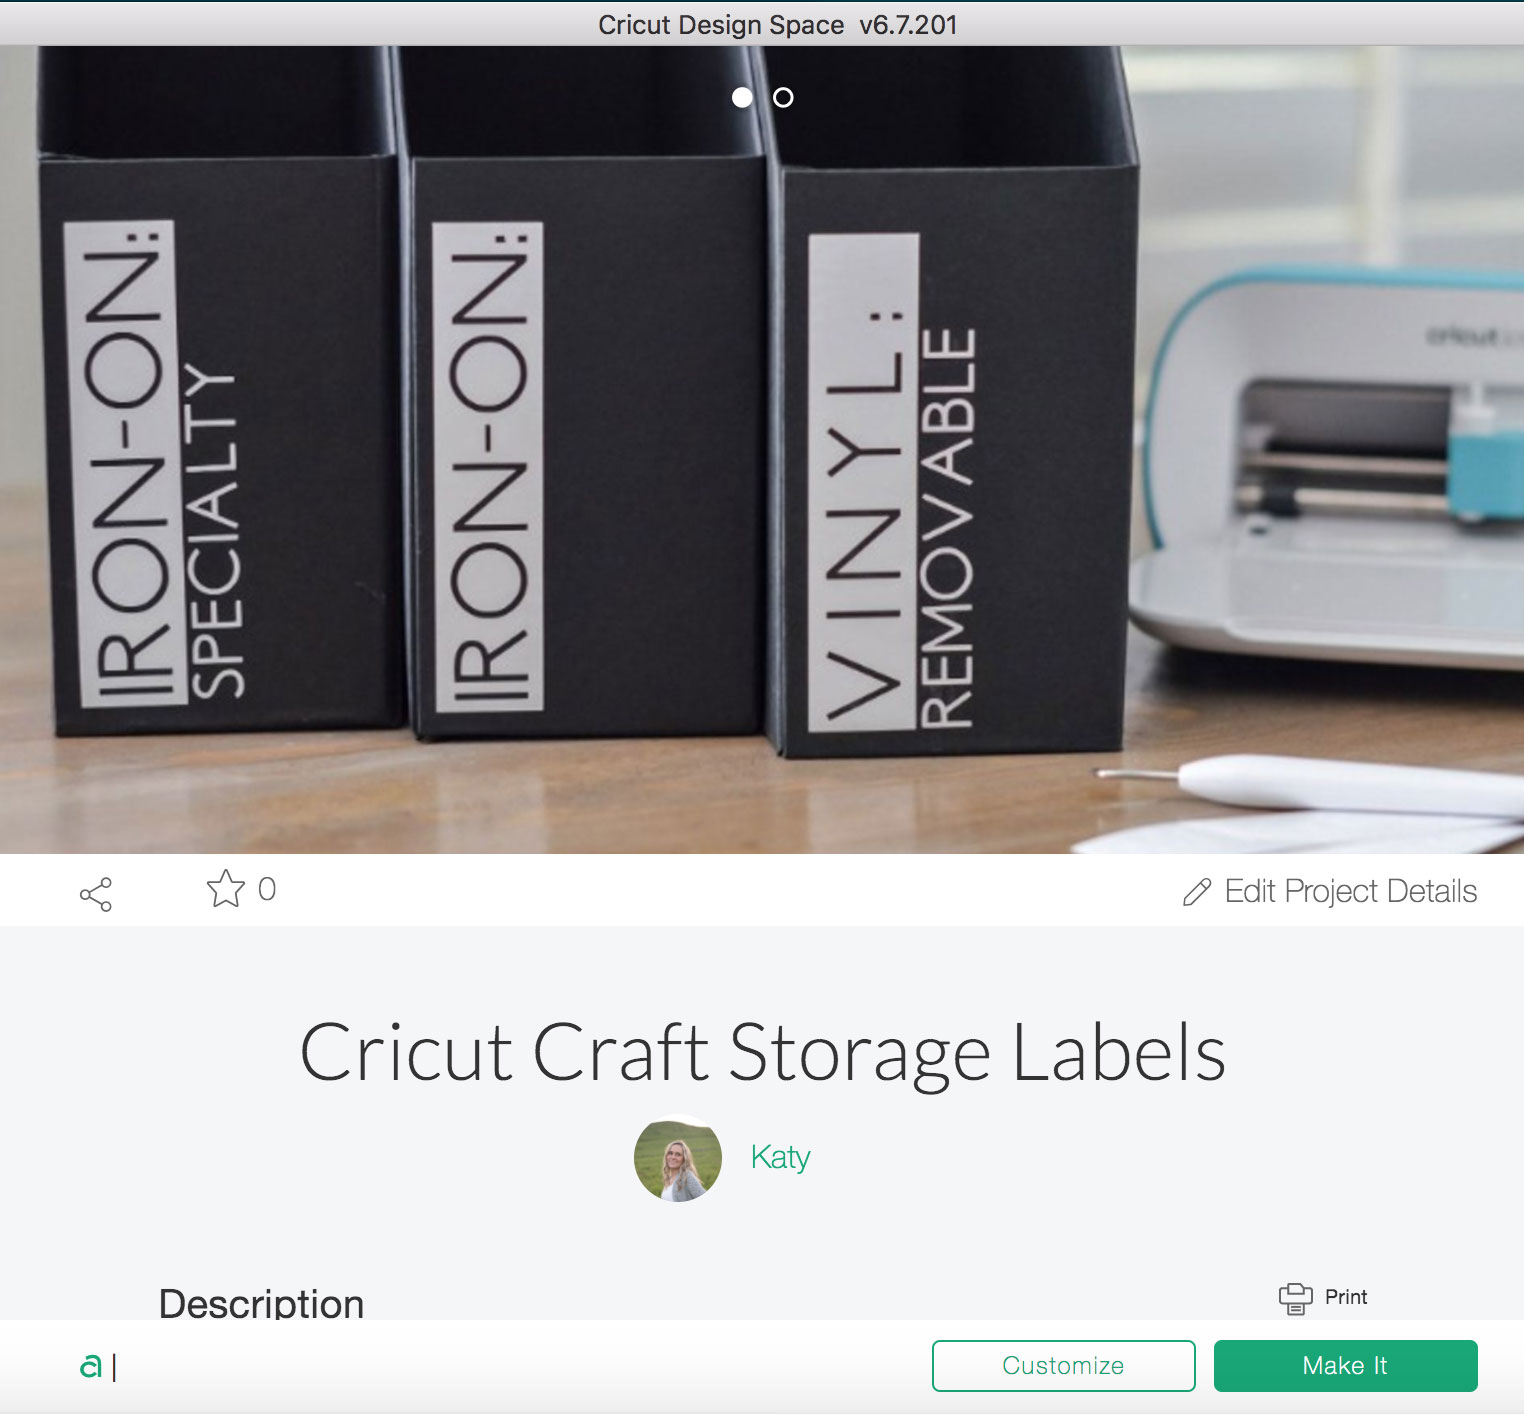
Step 1 || You can grab the art in Cricut Design Space HERE, some of it might require you to either purchase it or have Cricut Access.
Don’t have Cricut Access? If you haven’t already signed up for Cricut Access, I suggest you do. You get access to tons of graphics and art elements to create your own designs. Check out Cricut Access HERE.
Step 2 || Follow the prompts on Design Space to start cutting each label. It’s currently setup to fit the “IKEA Tjena Magazine File Organizer” so if you use a different magazine holder make sure to size accordingly.
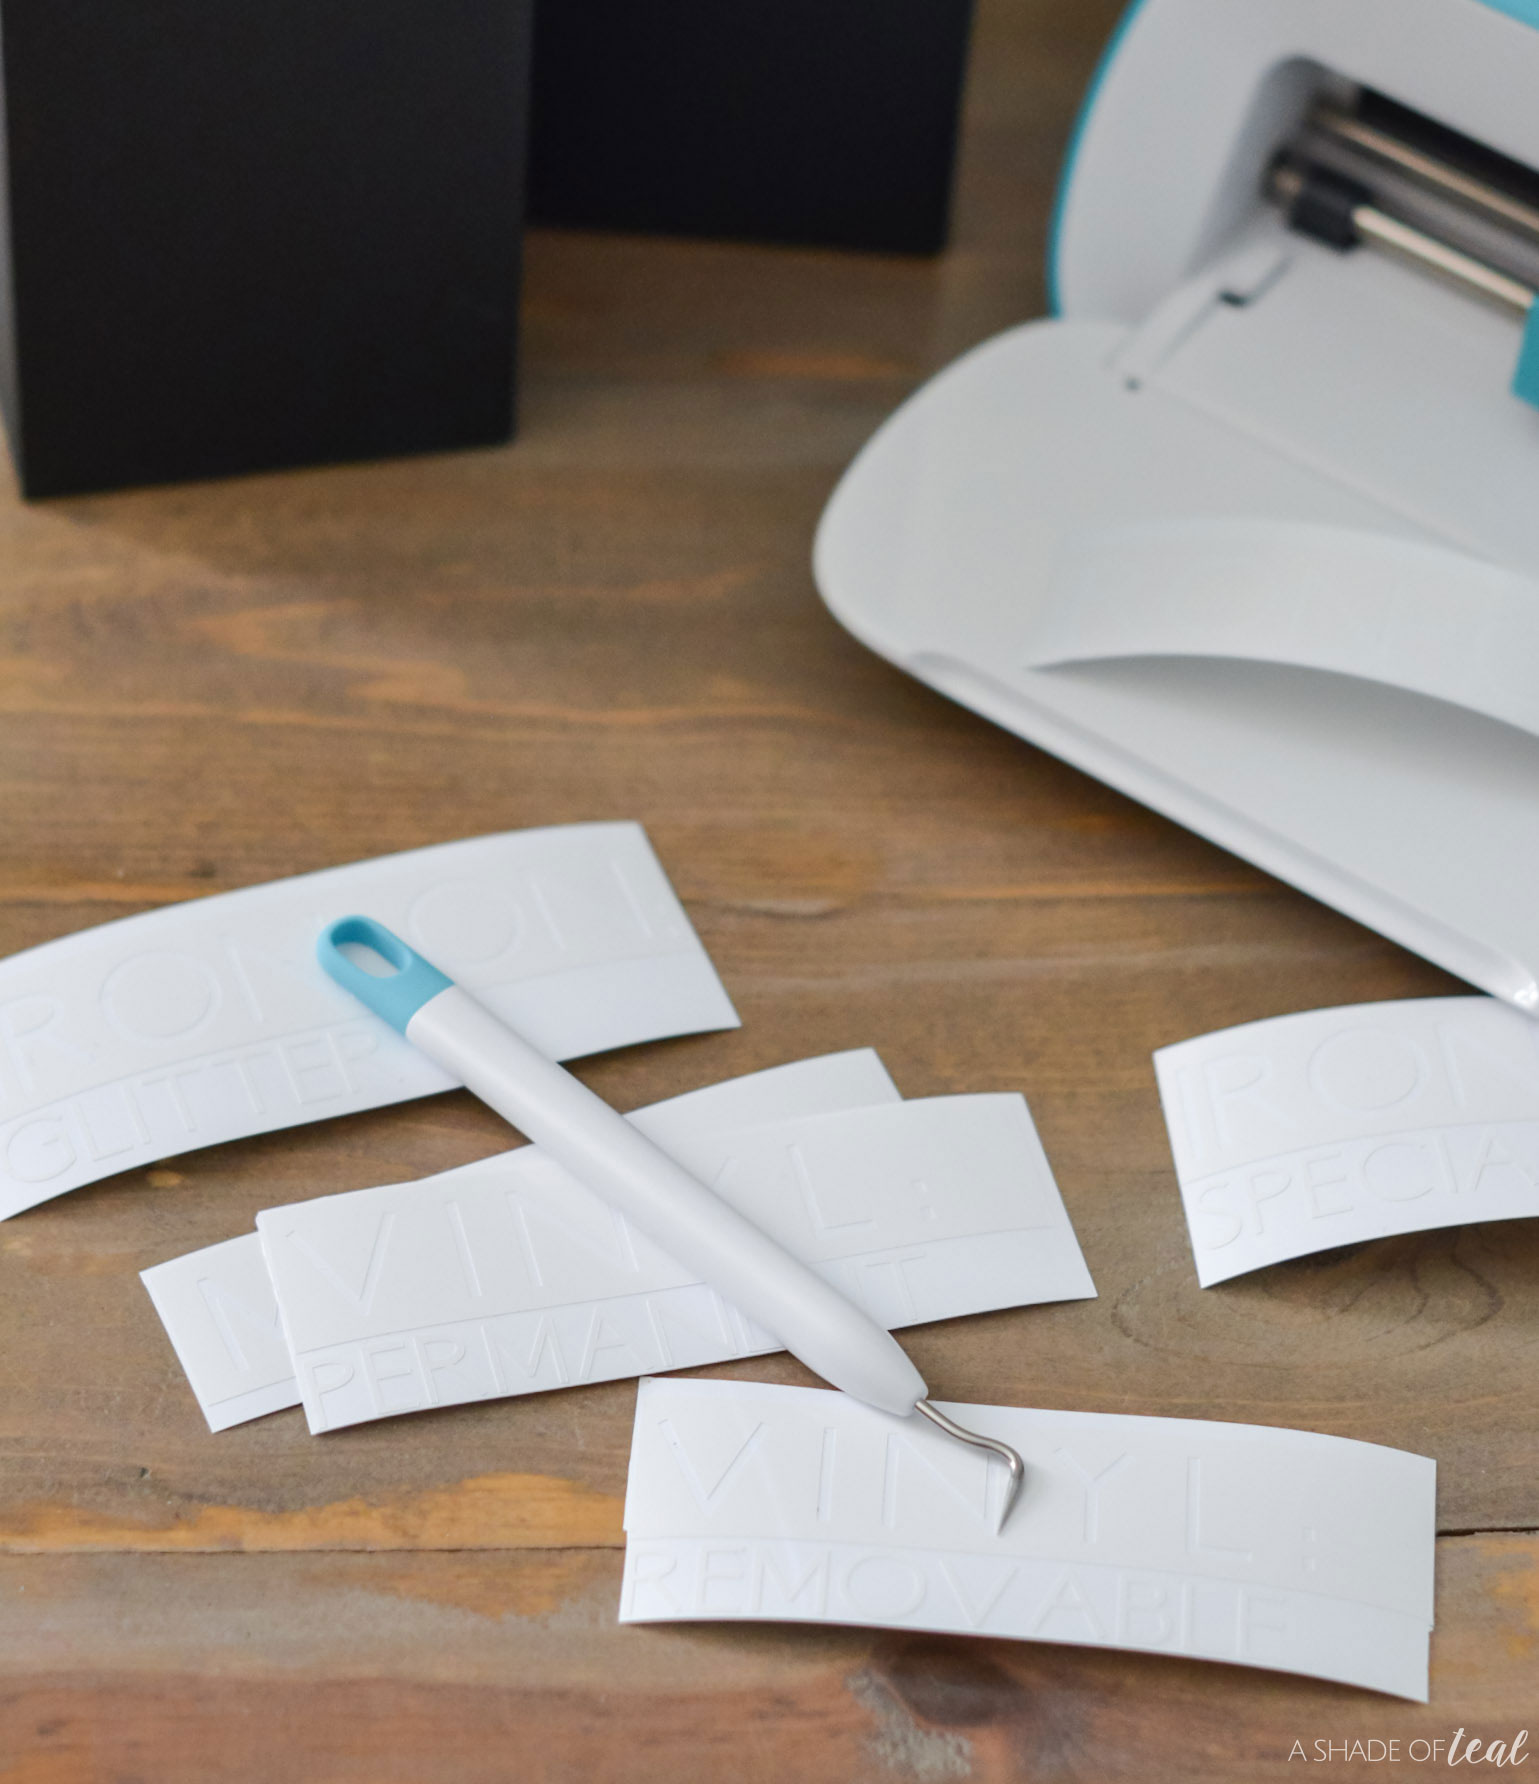
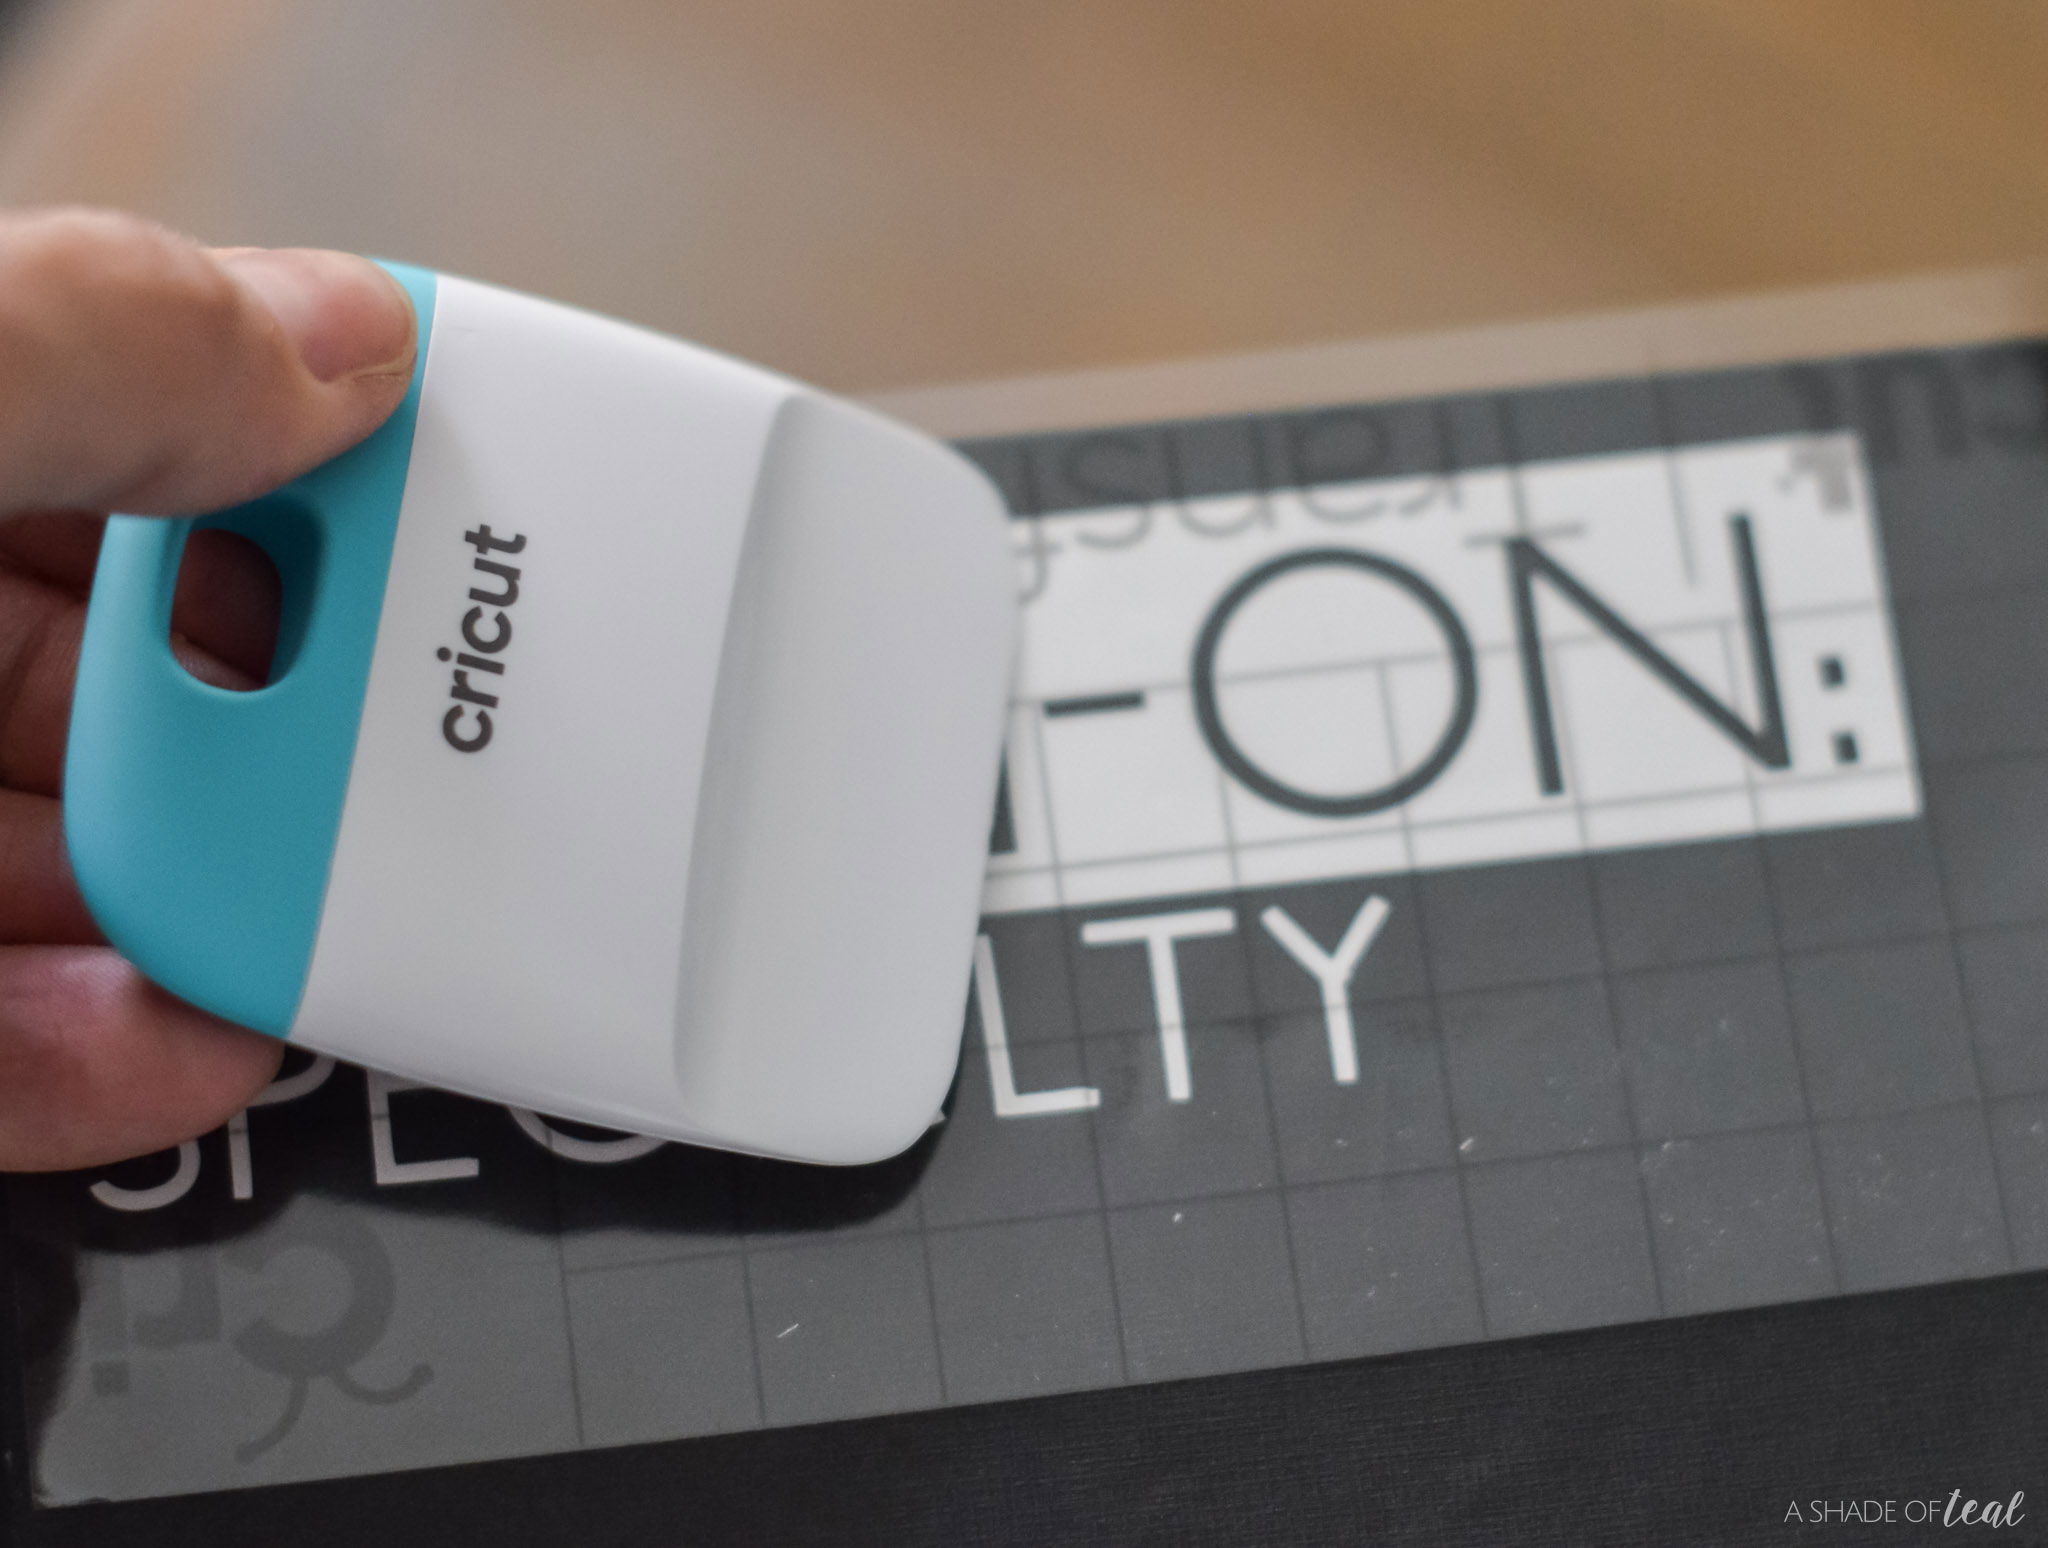
Step 3 || Next, cut and weed the vinyl.
Step 4 || Next, transfer your Vinyl with Transfer Paper and apply to each magazine holder.
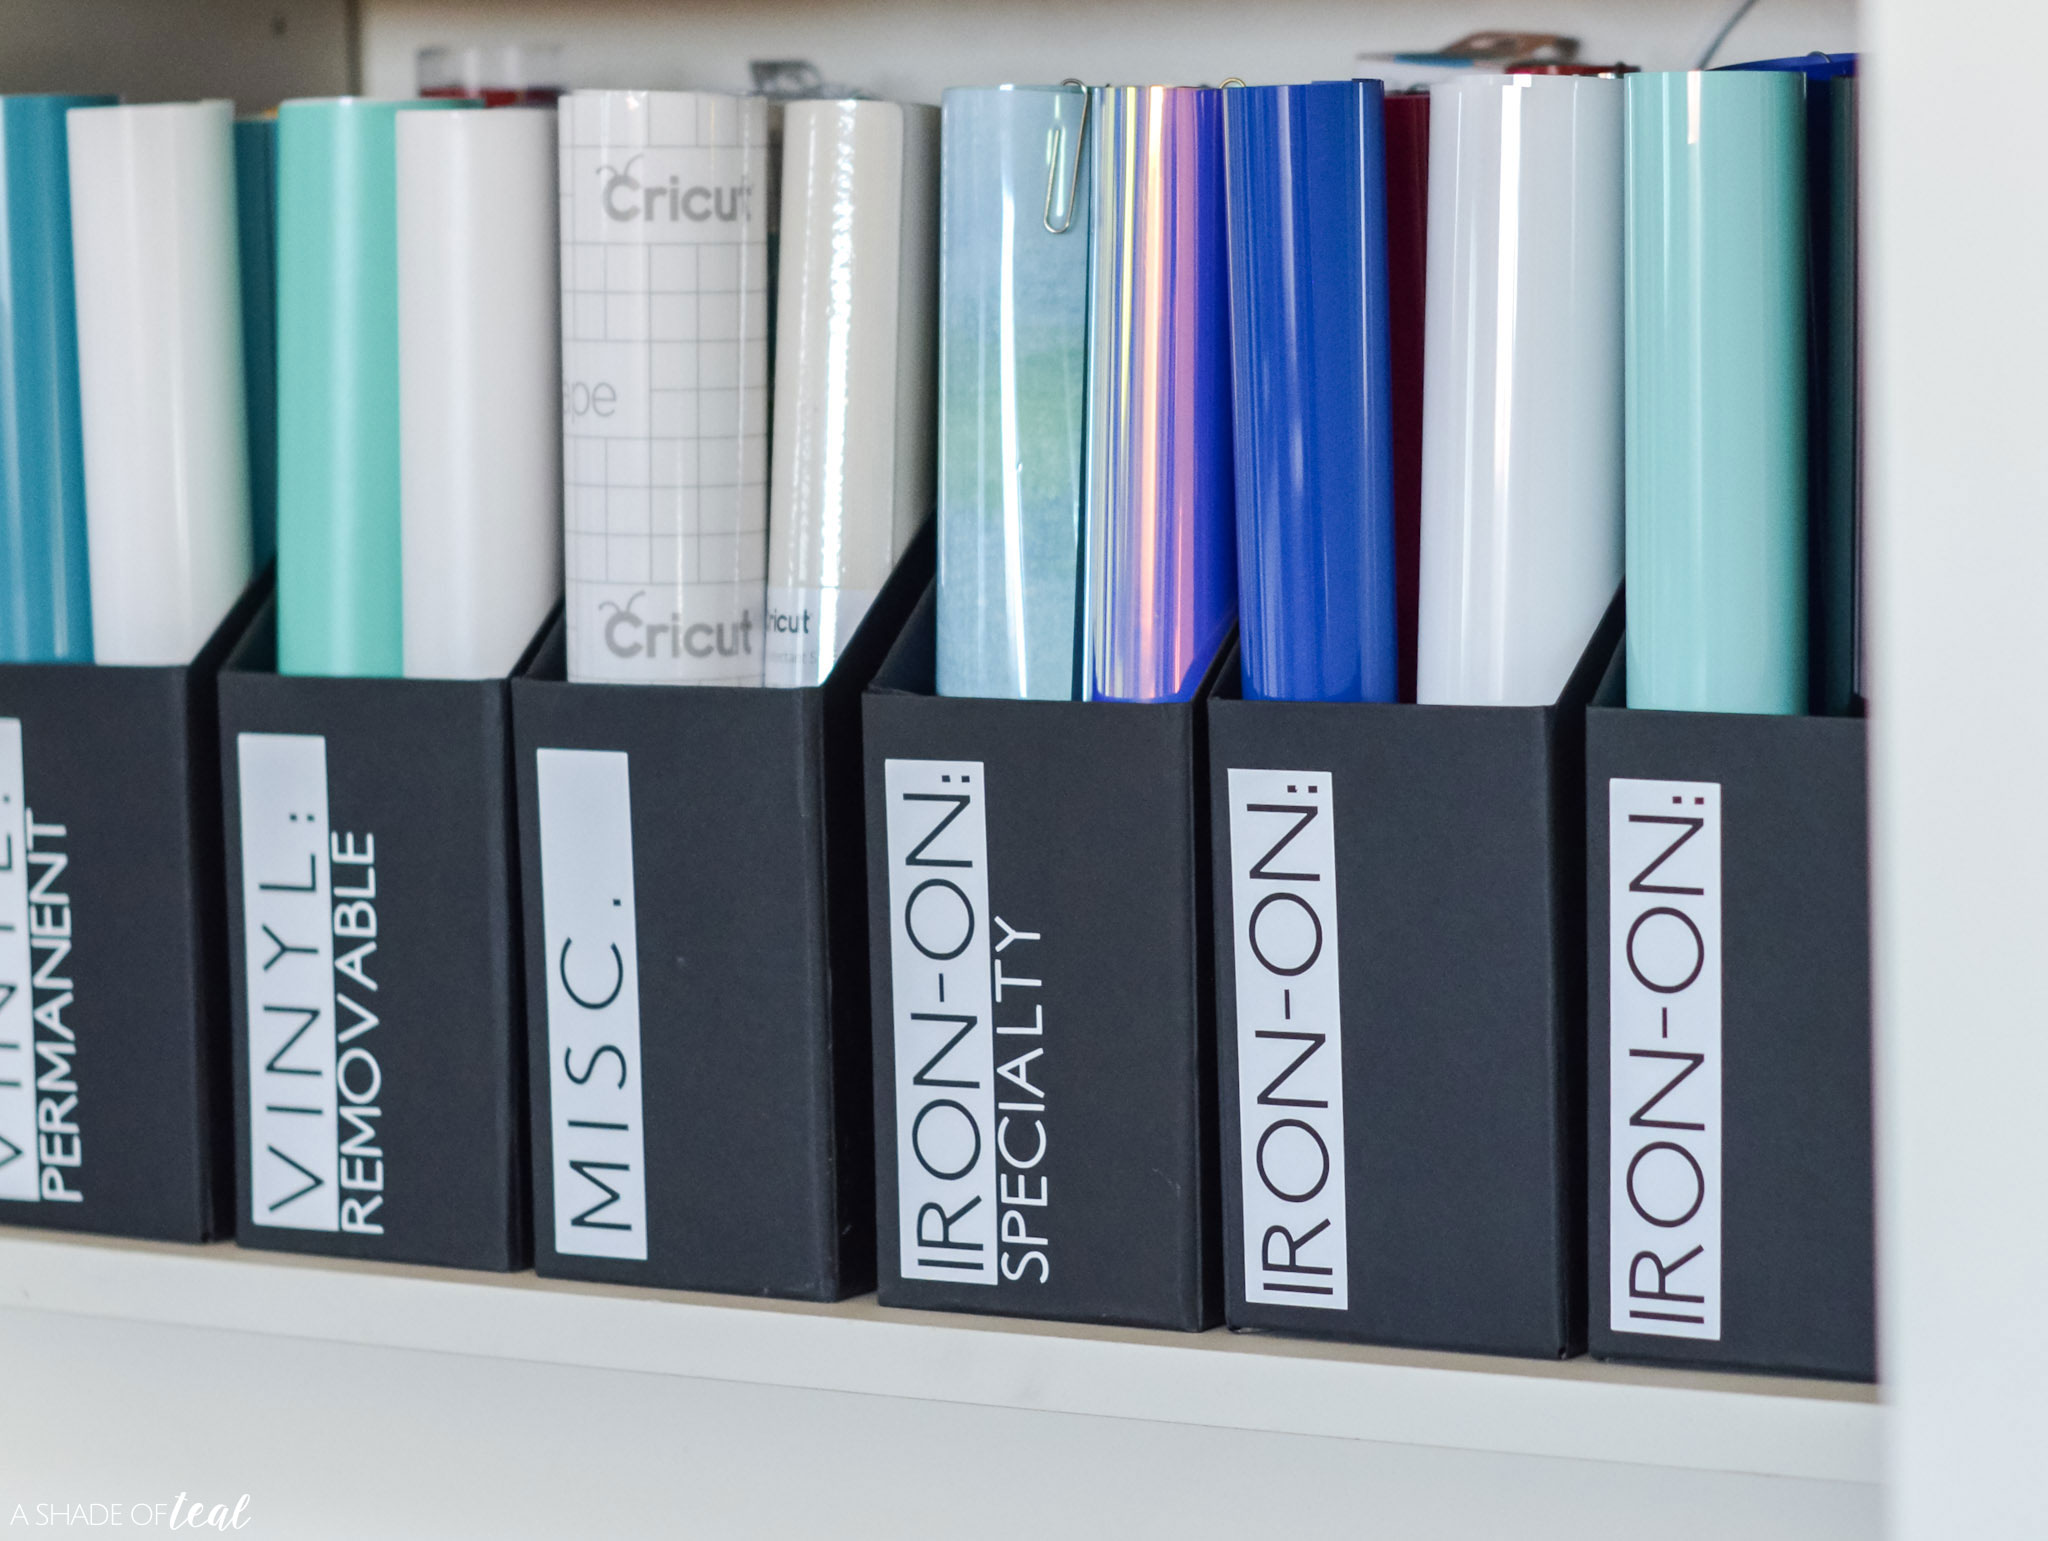
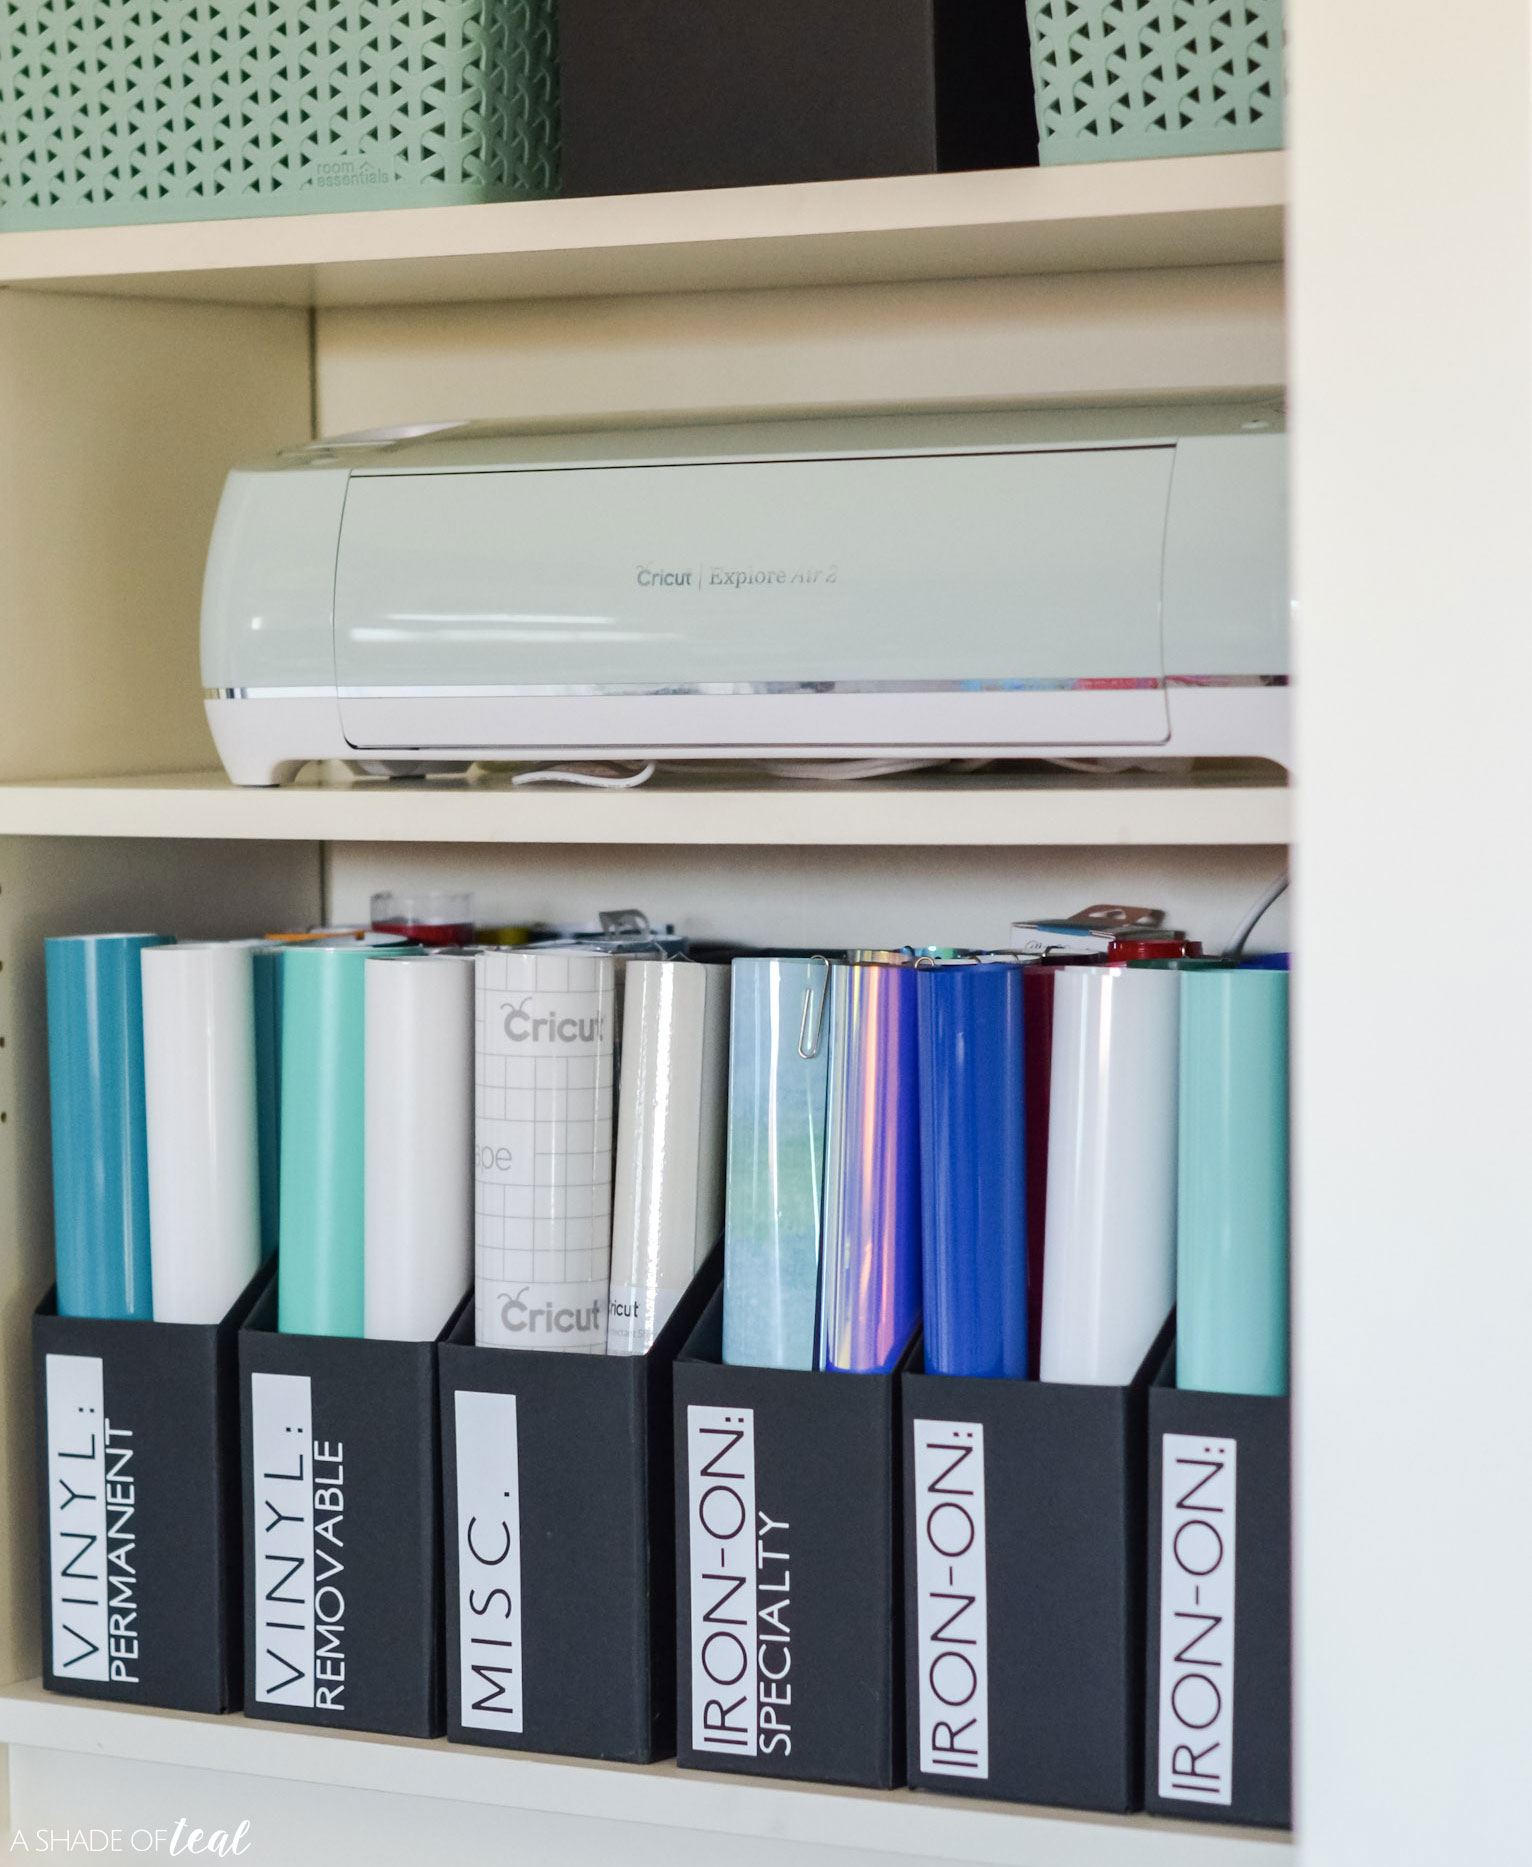
Step 5 || Finally, sort and add back all your Cricut materials. I’ve separated mine by removable, permanent, Iron-On, and miscellaneous materials. Of course you can edit the labels to create whatever else you need.
Here’s the after.
Make sure to stay tuned for more simple craft projects that you can using your Cricut, and check out more of my Cricut inspiration and projects here.
Don’t have Cricut product yet? Shop here!
Happy crafting, enjoy!





Leave a Reply