This is a sponsored conversation written by me on behalf of Cricut. The opinions and text are all mine.
HAVE A NEW CRICUT EXPLORE AIR 2 AND DON’T KNOW WHERE TO BEGIN? THEN YOU NEED TO CHECK OUT THIS TUTORIAL FOR A SIMPLE AND EASY VINYL PROJECT.
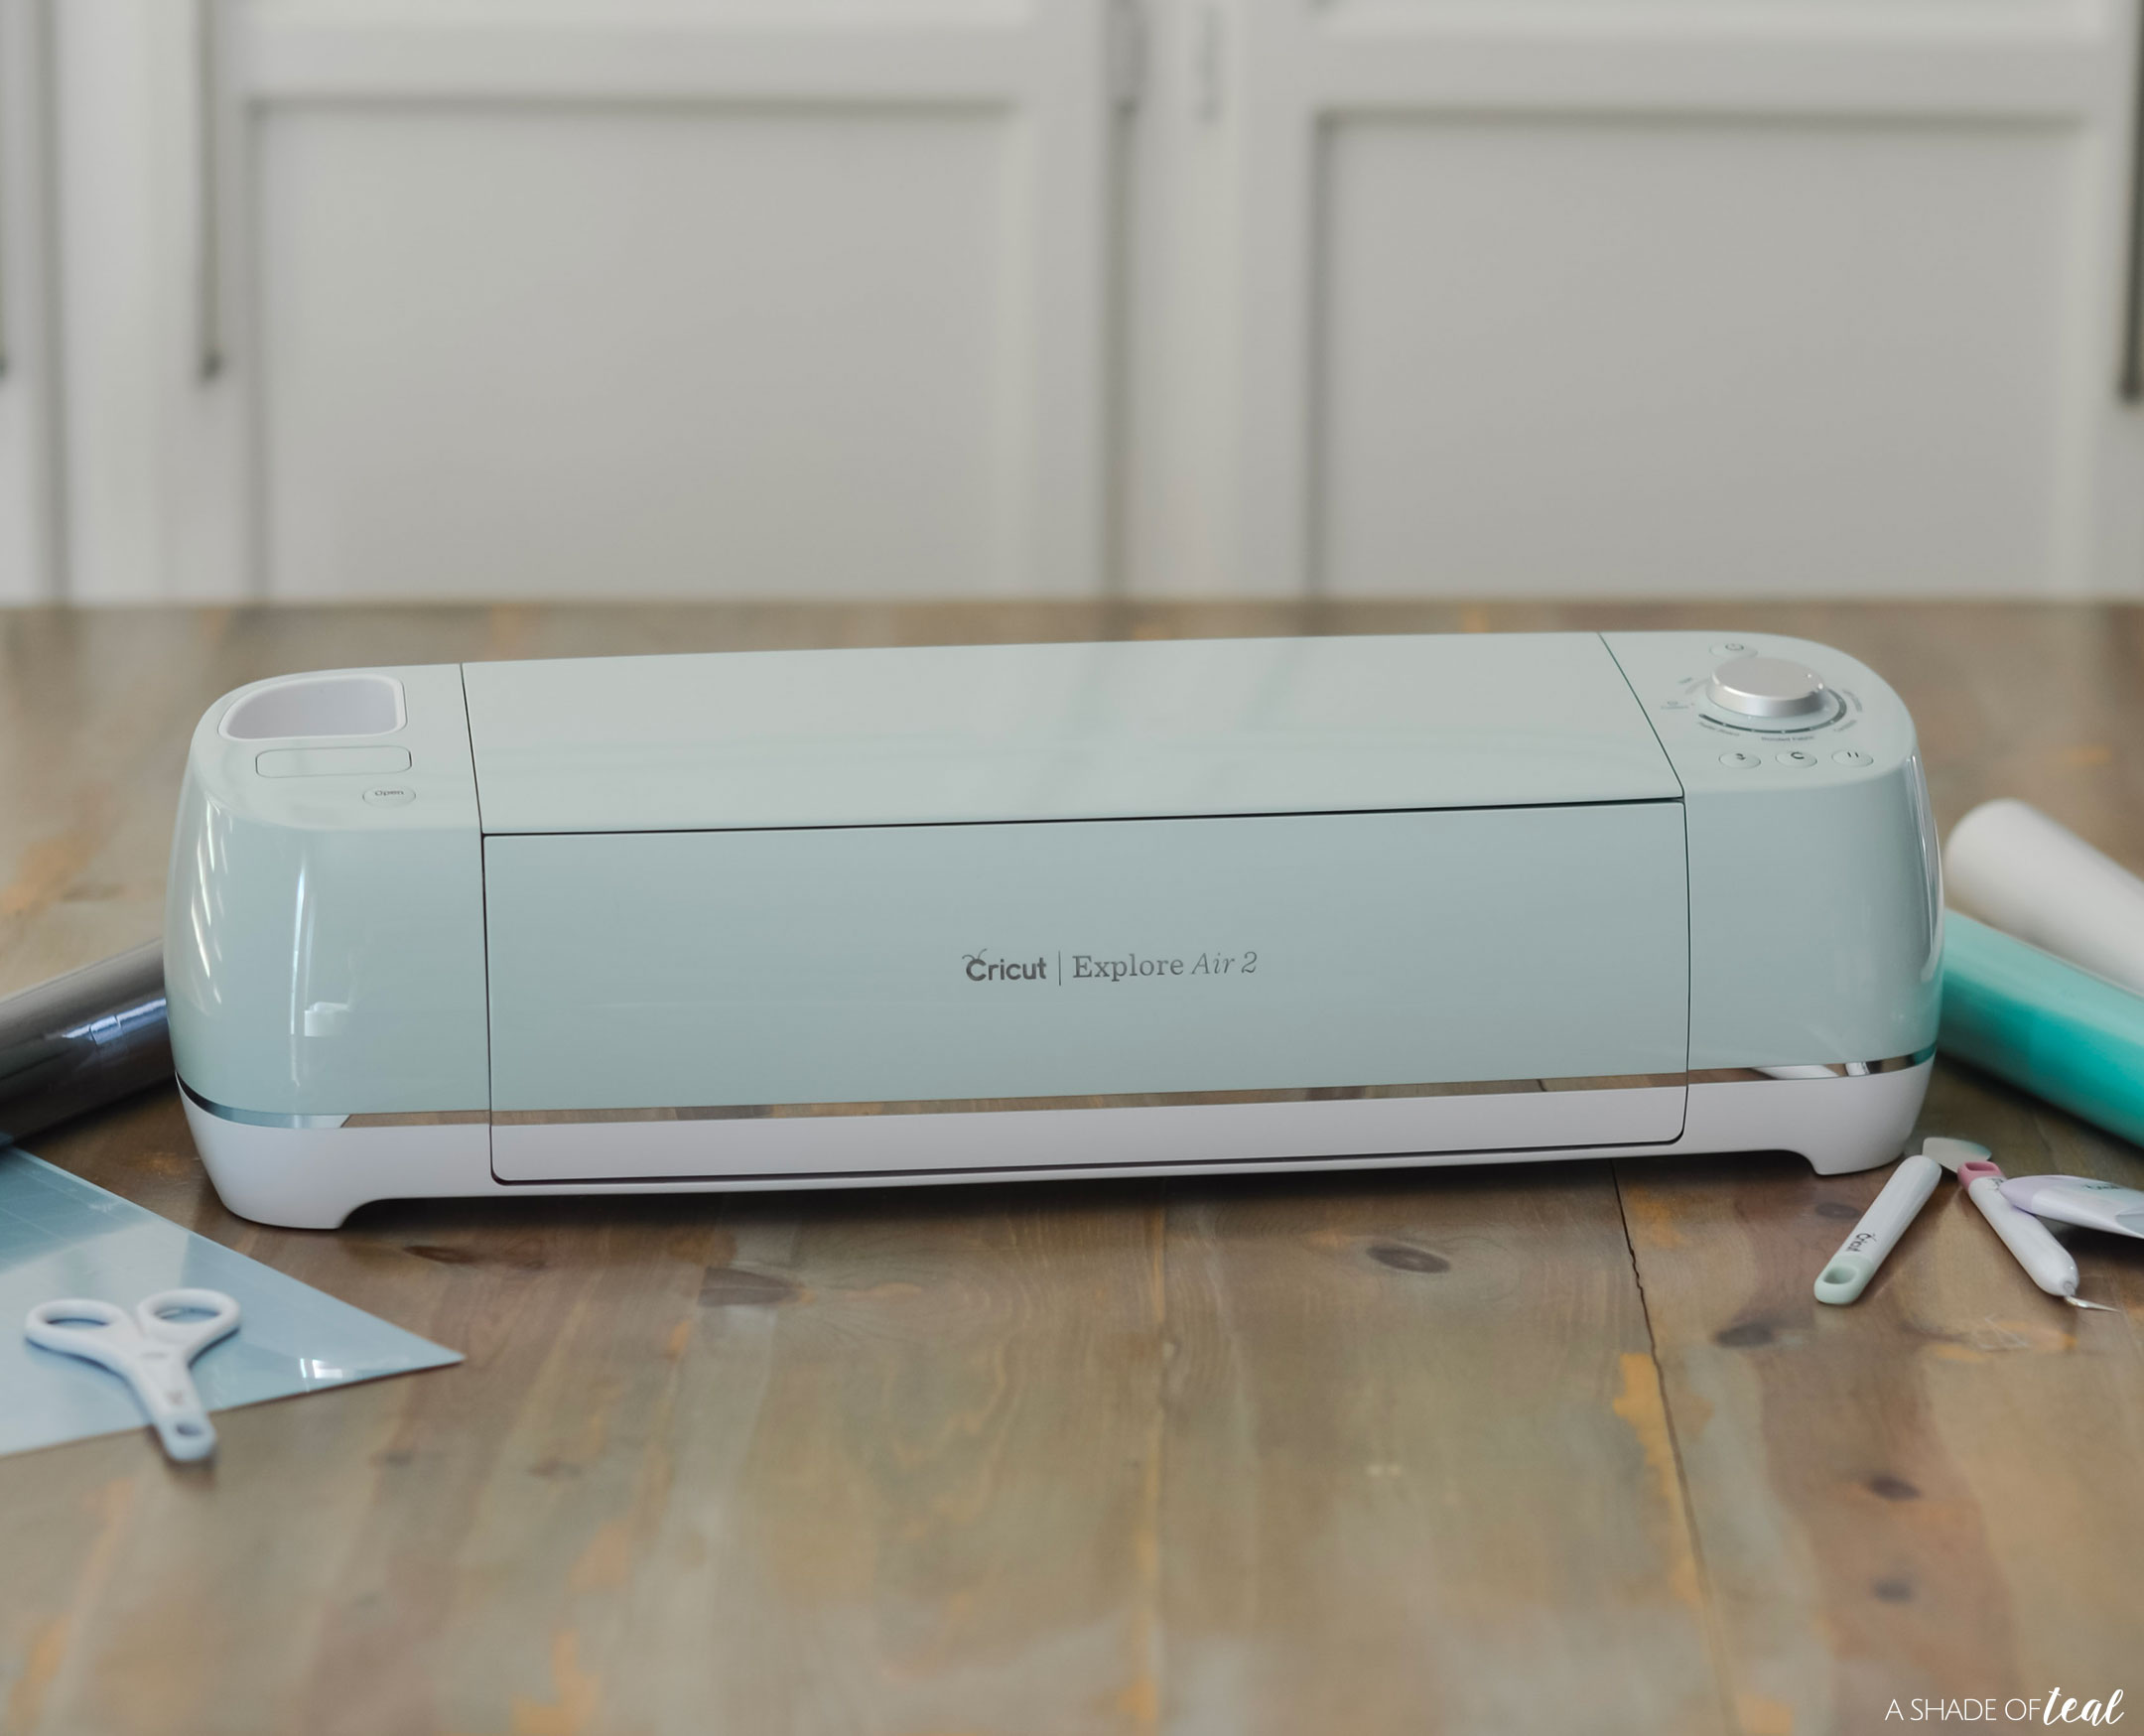
I’m fairly new to Cricut and from the moment I opened up my Cricut Explore Air 2 box I was so excited and ready to use it. But then comes the fear… “how do I even use this?” I had so many ideas in my head, but I had no idea where to start. With endless possibilities I decided to get over my beginners fear and make something simple using Vinyl.
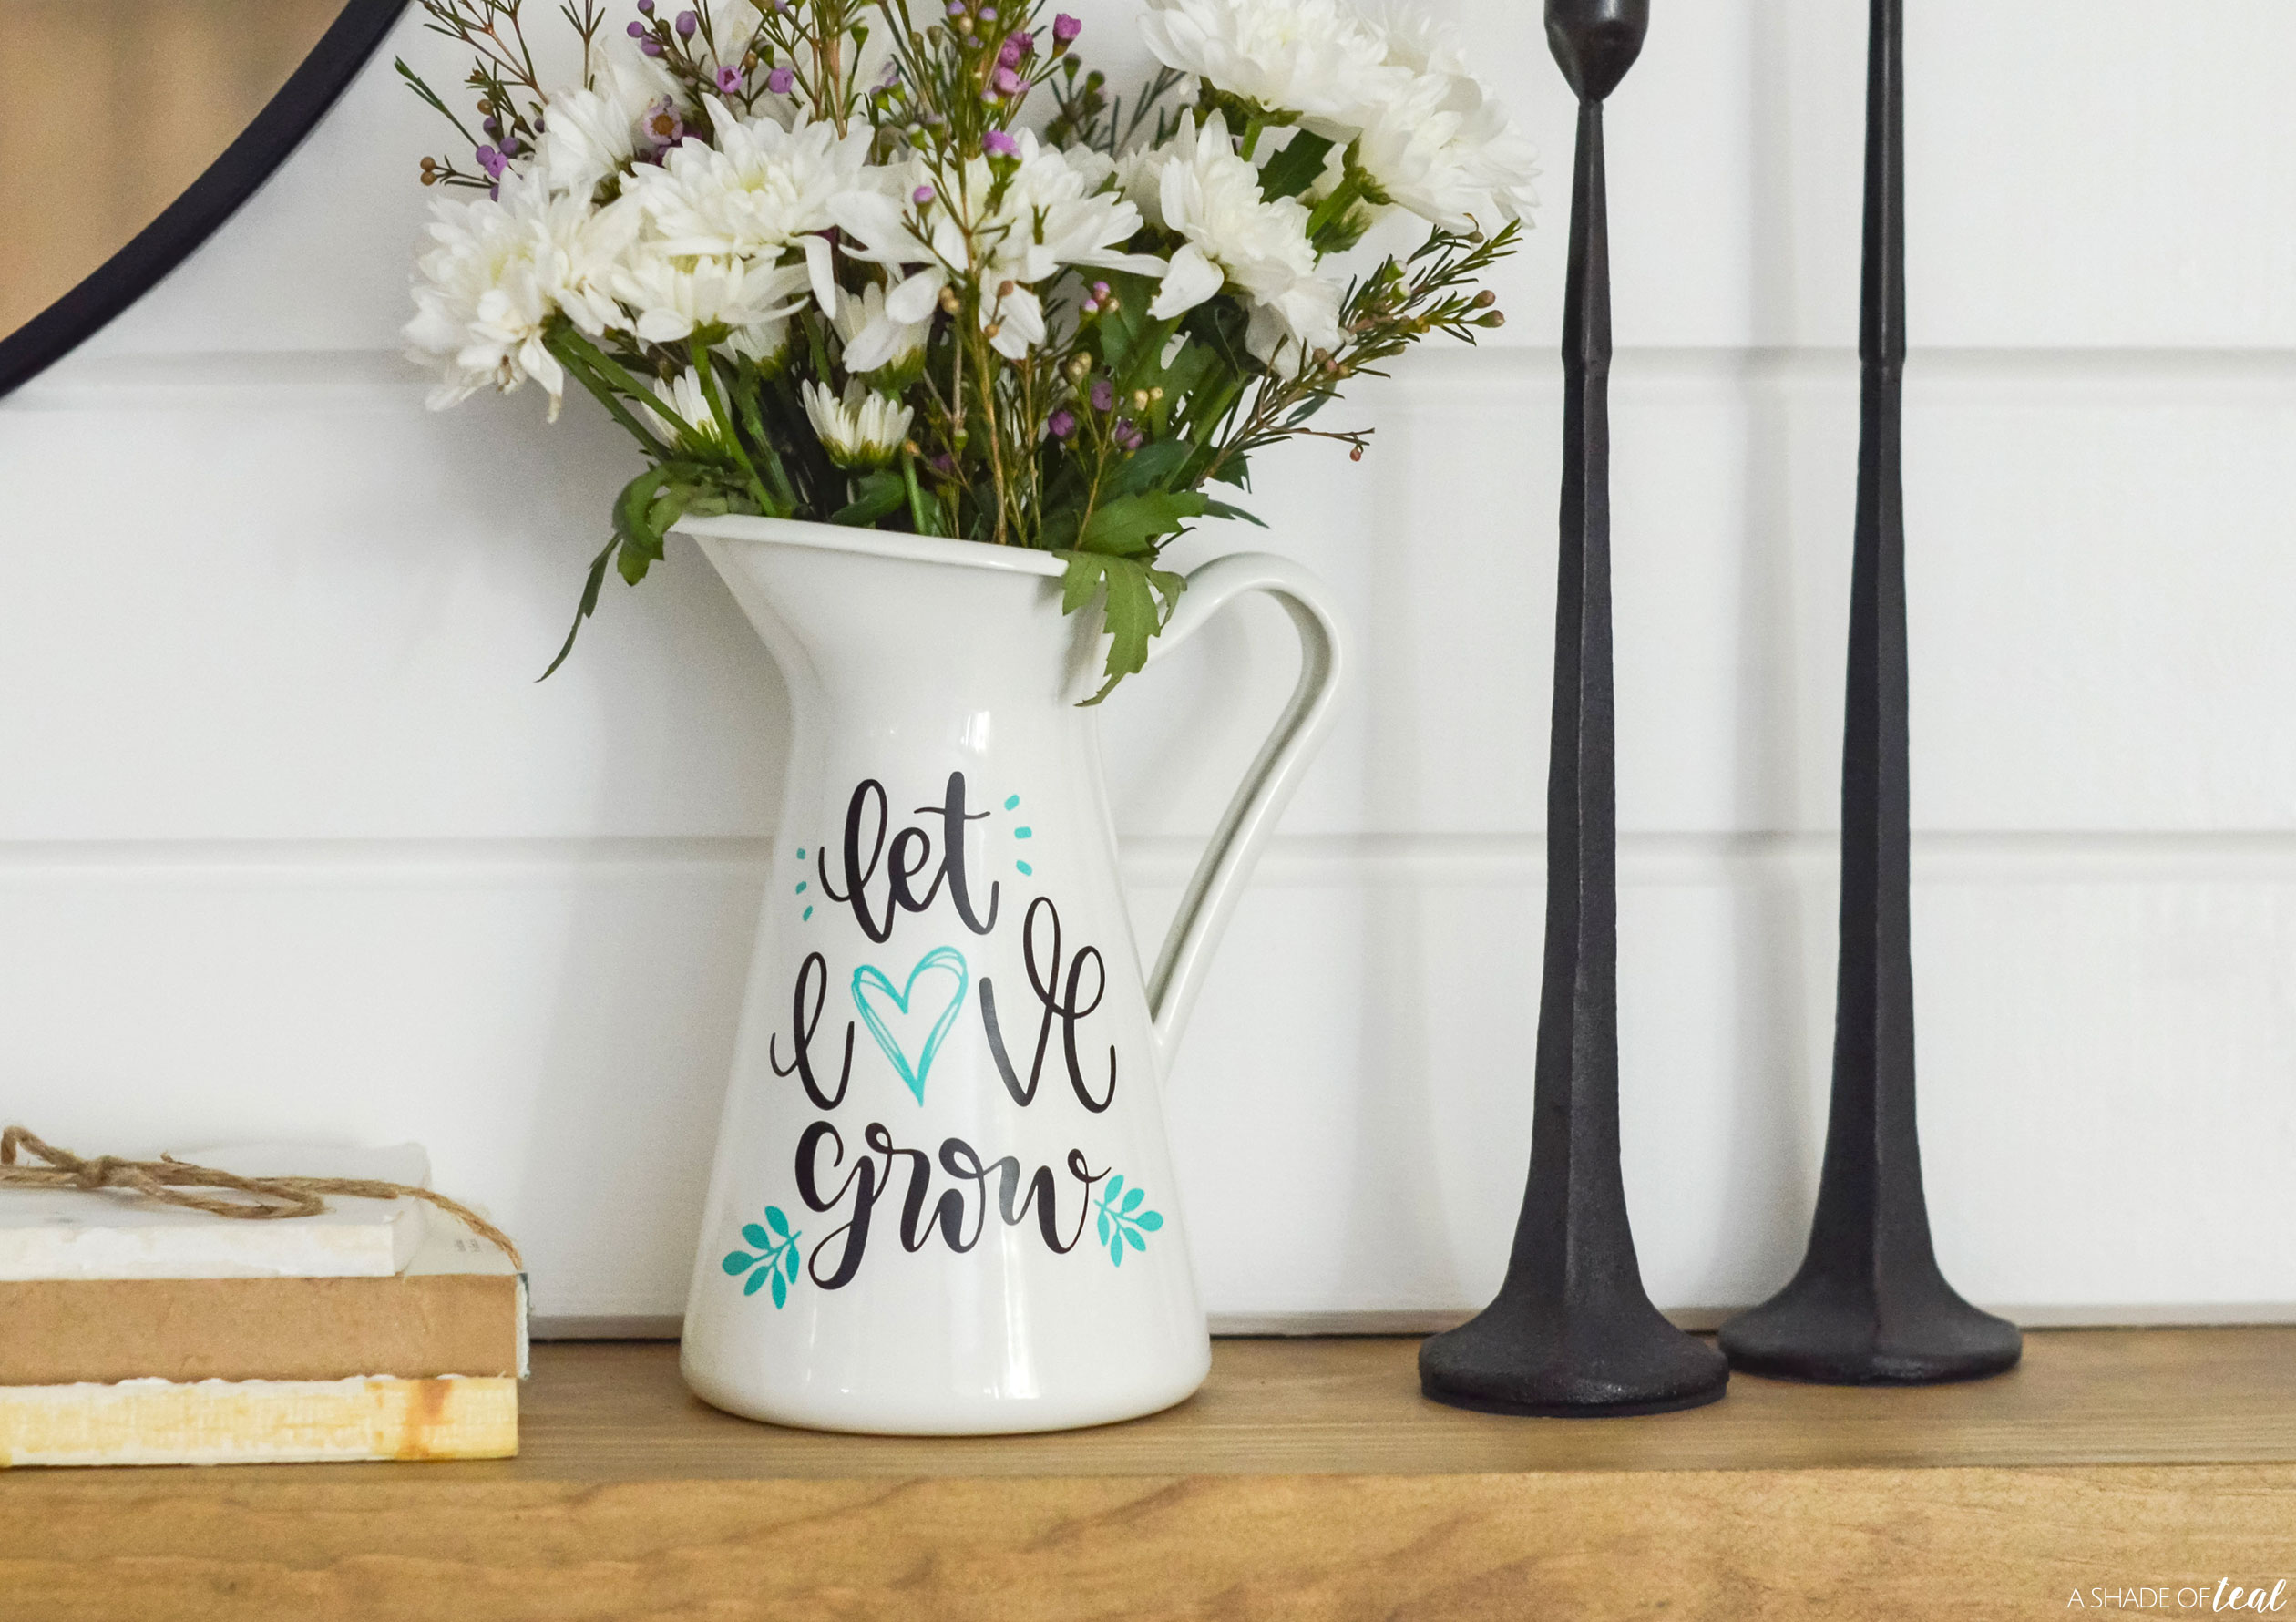
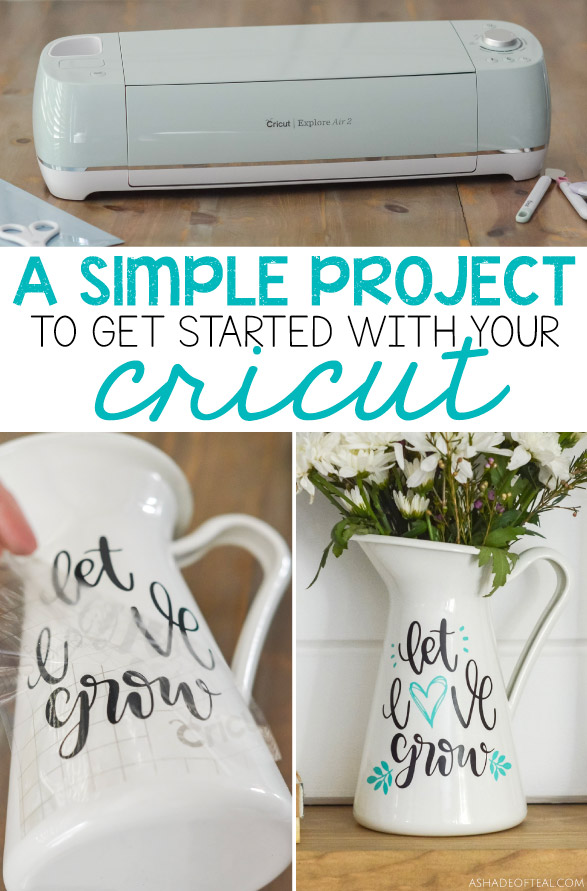
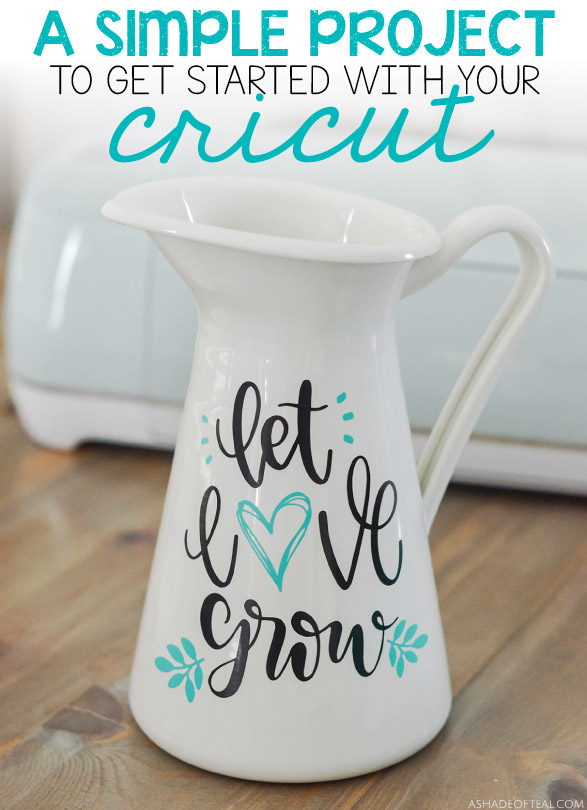
So, if you’re like me and don’t know where to begin, then I have the perfect Simple Project to get you started with your Cricut. Make this Let Love Grow Vase!
This vase is so simple to make as a first project, and it helps you get comfortable using the Cricut Explore Air 2 along with Design Space. I know that was my goal with my first project. I wanted simple, easy, and of course a cute project, something to feel proud that I made it!
So want to know how to make this Let Love Grow Vase? Here’s what you’ll need.
Materials Needed:
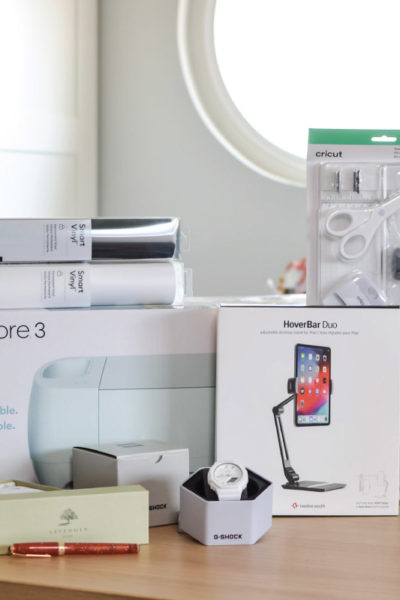
- Cricut Explore Air 2
- Let Love Grow Art
- Black Vinyl
- Aqua/Teal Vinyl
- Transfer Tape
- Metal White Pitcher Vase
- Essential Tool Set
Here’s How to Make this Let Love Grow Vase!
To get started you’ll need to setup your Cricut Explore Air 2 along with download Design Space. Then you’ll need to open this project within Design Space.
>>> Open Let Love Grow Vase Project Here <<<
Next, follow the prompts within Design Space.
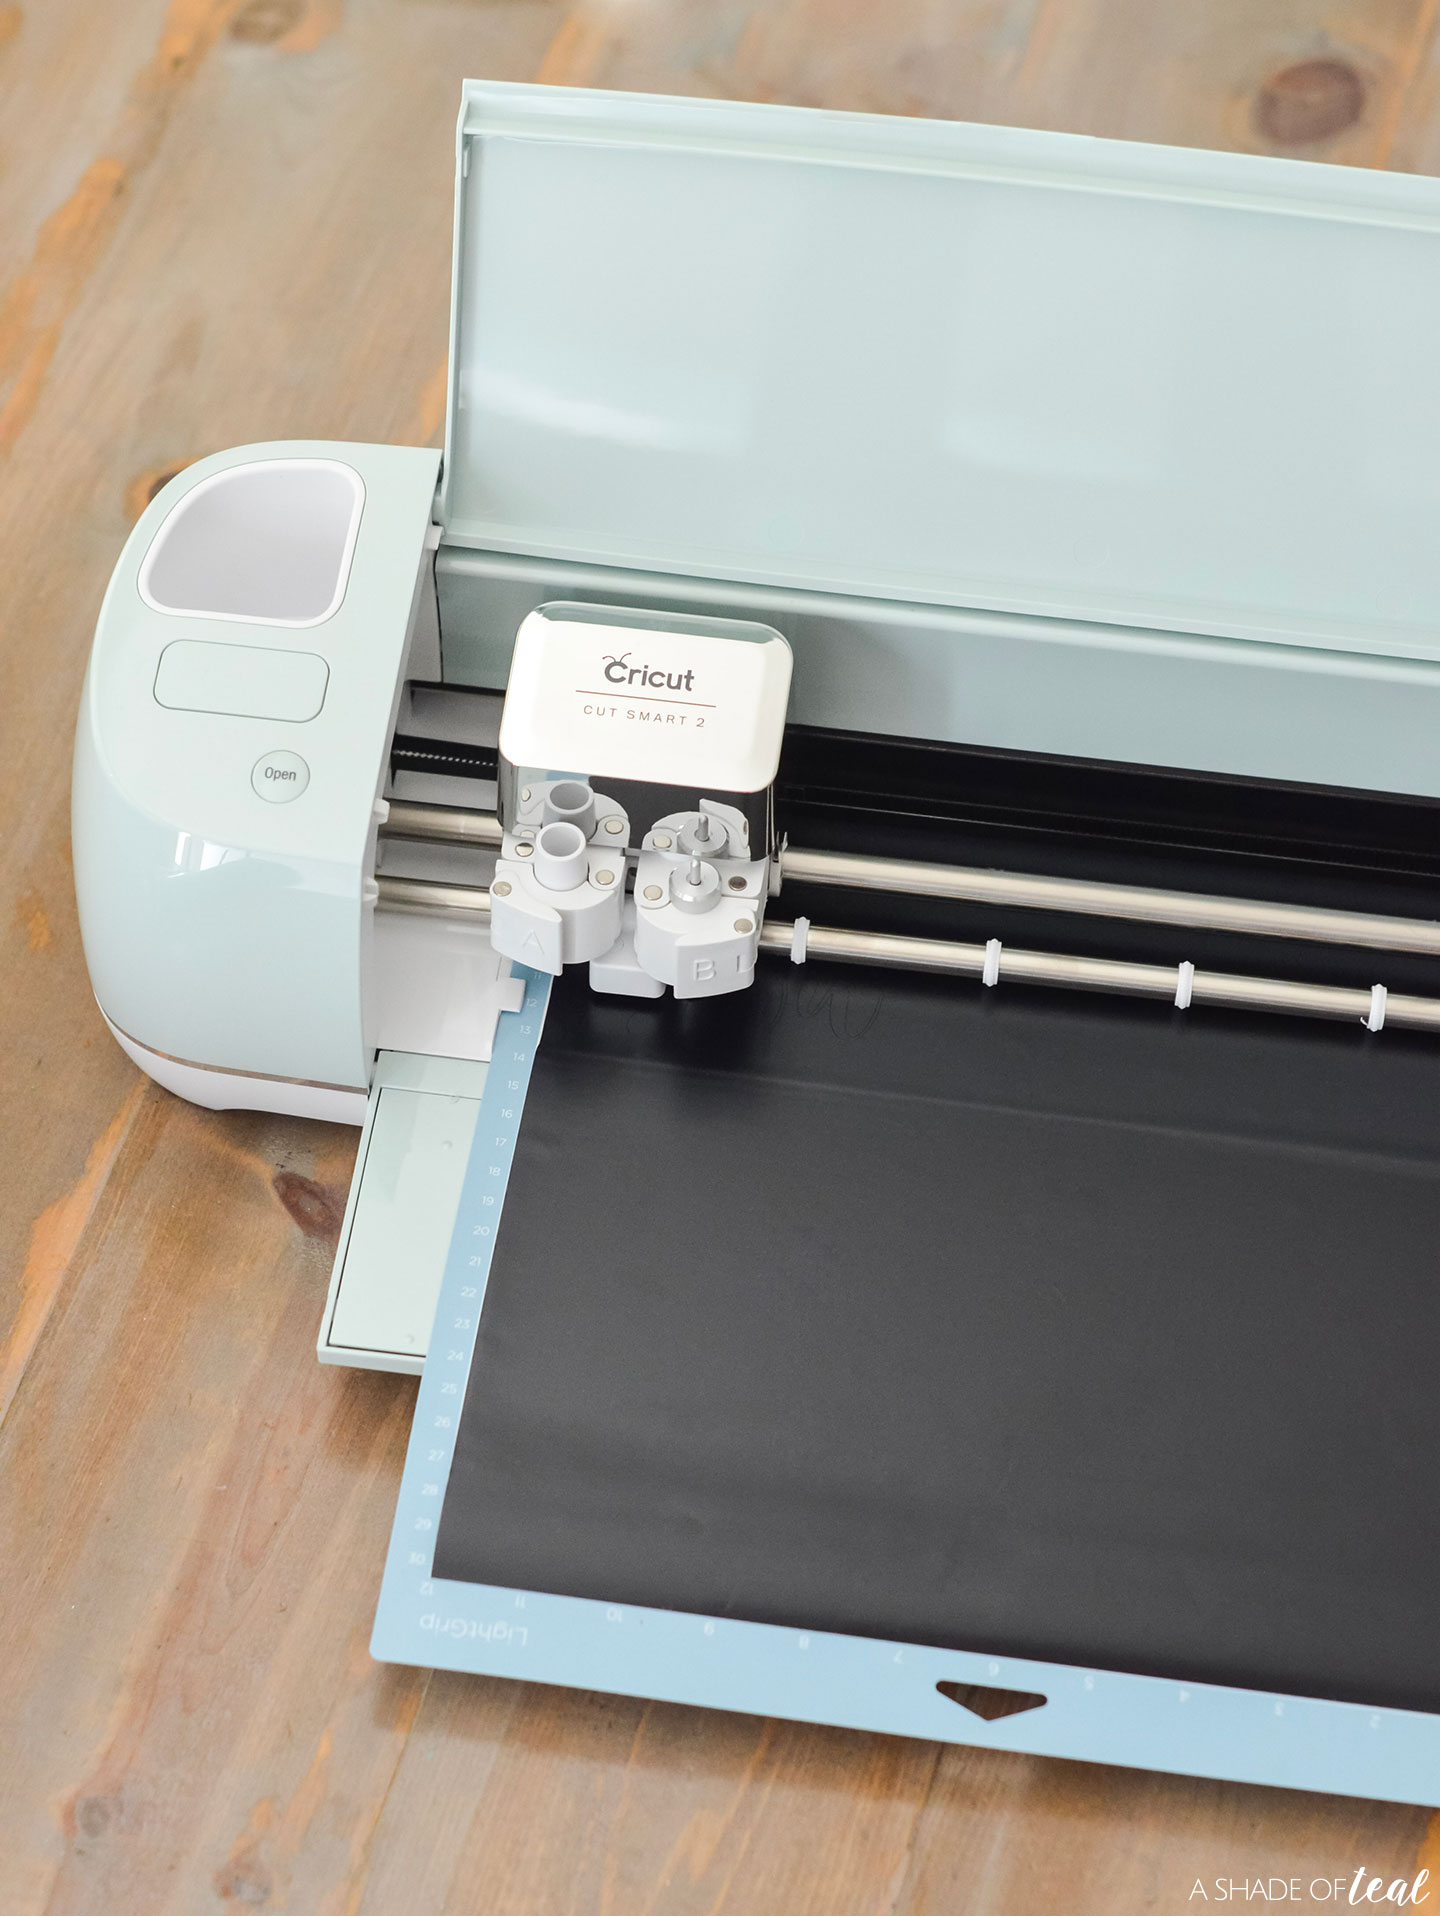
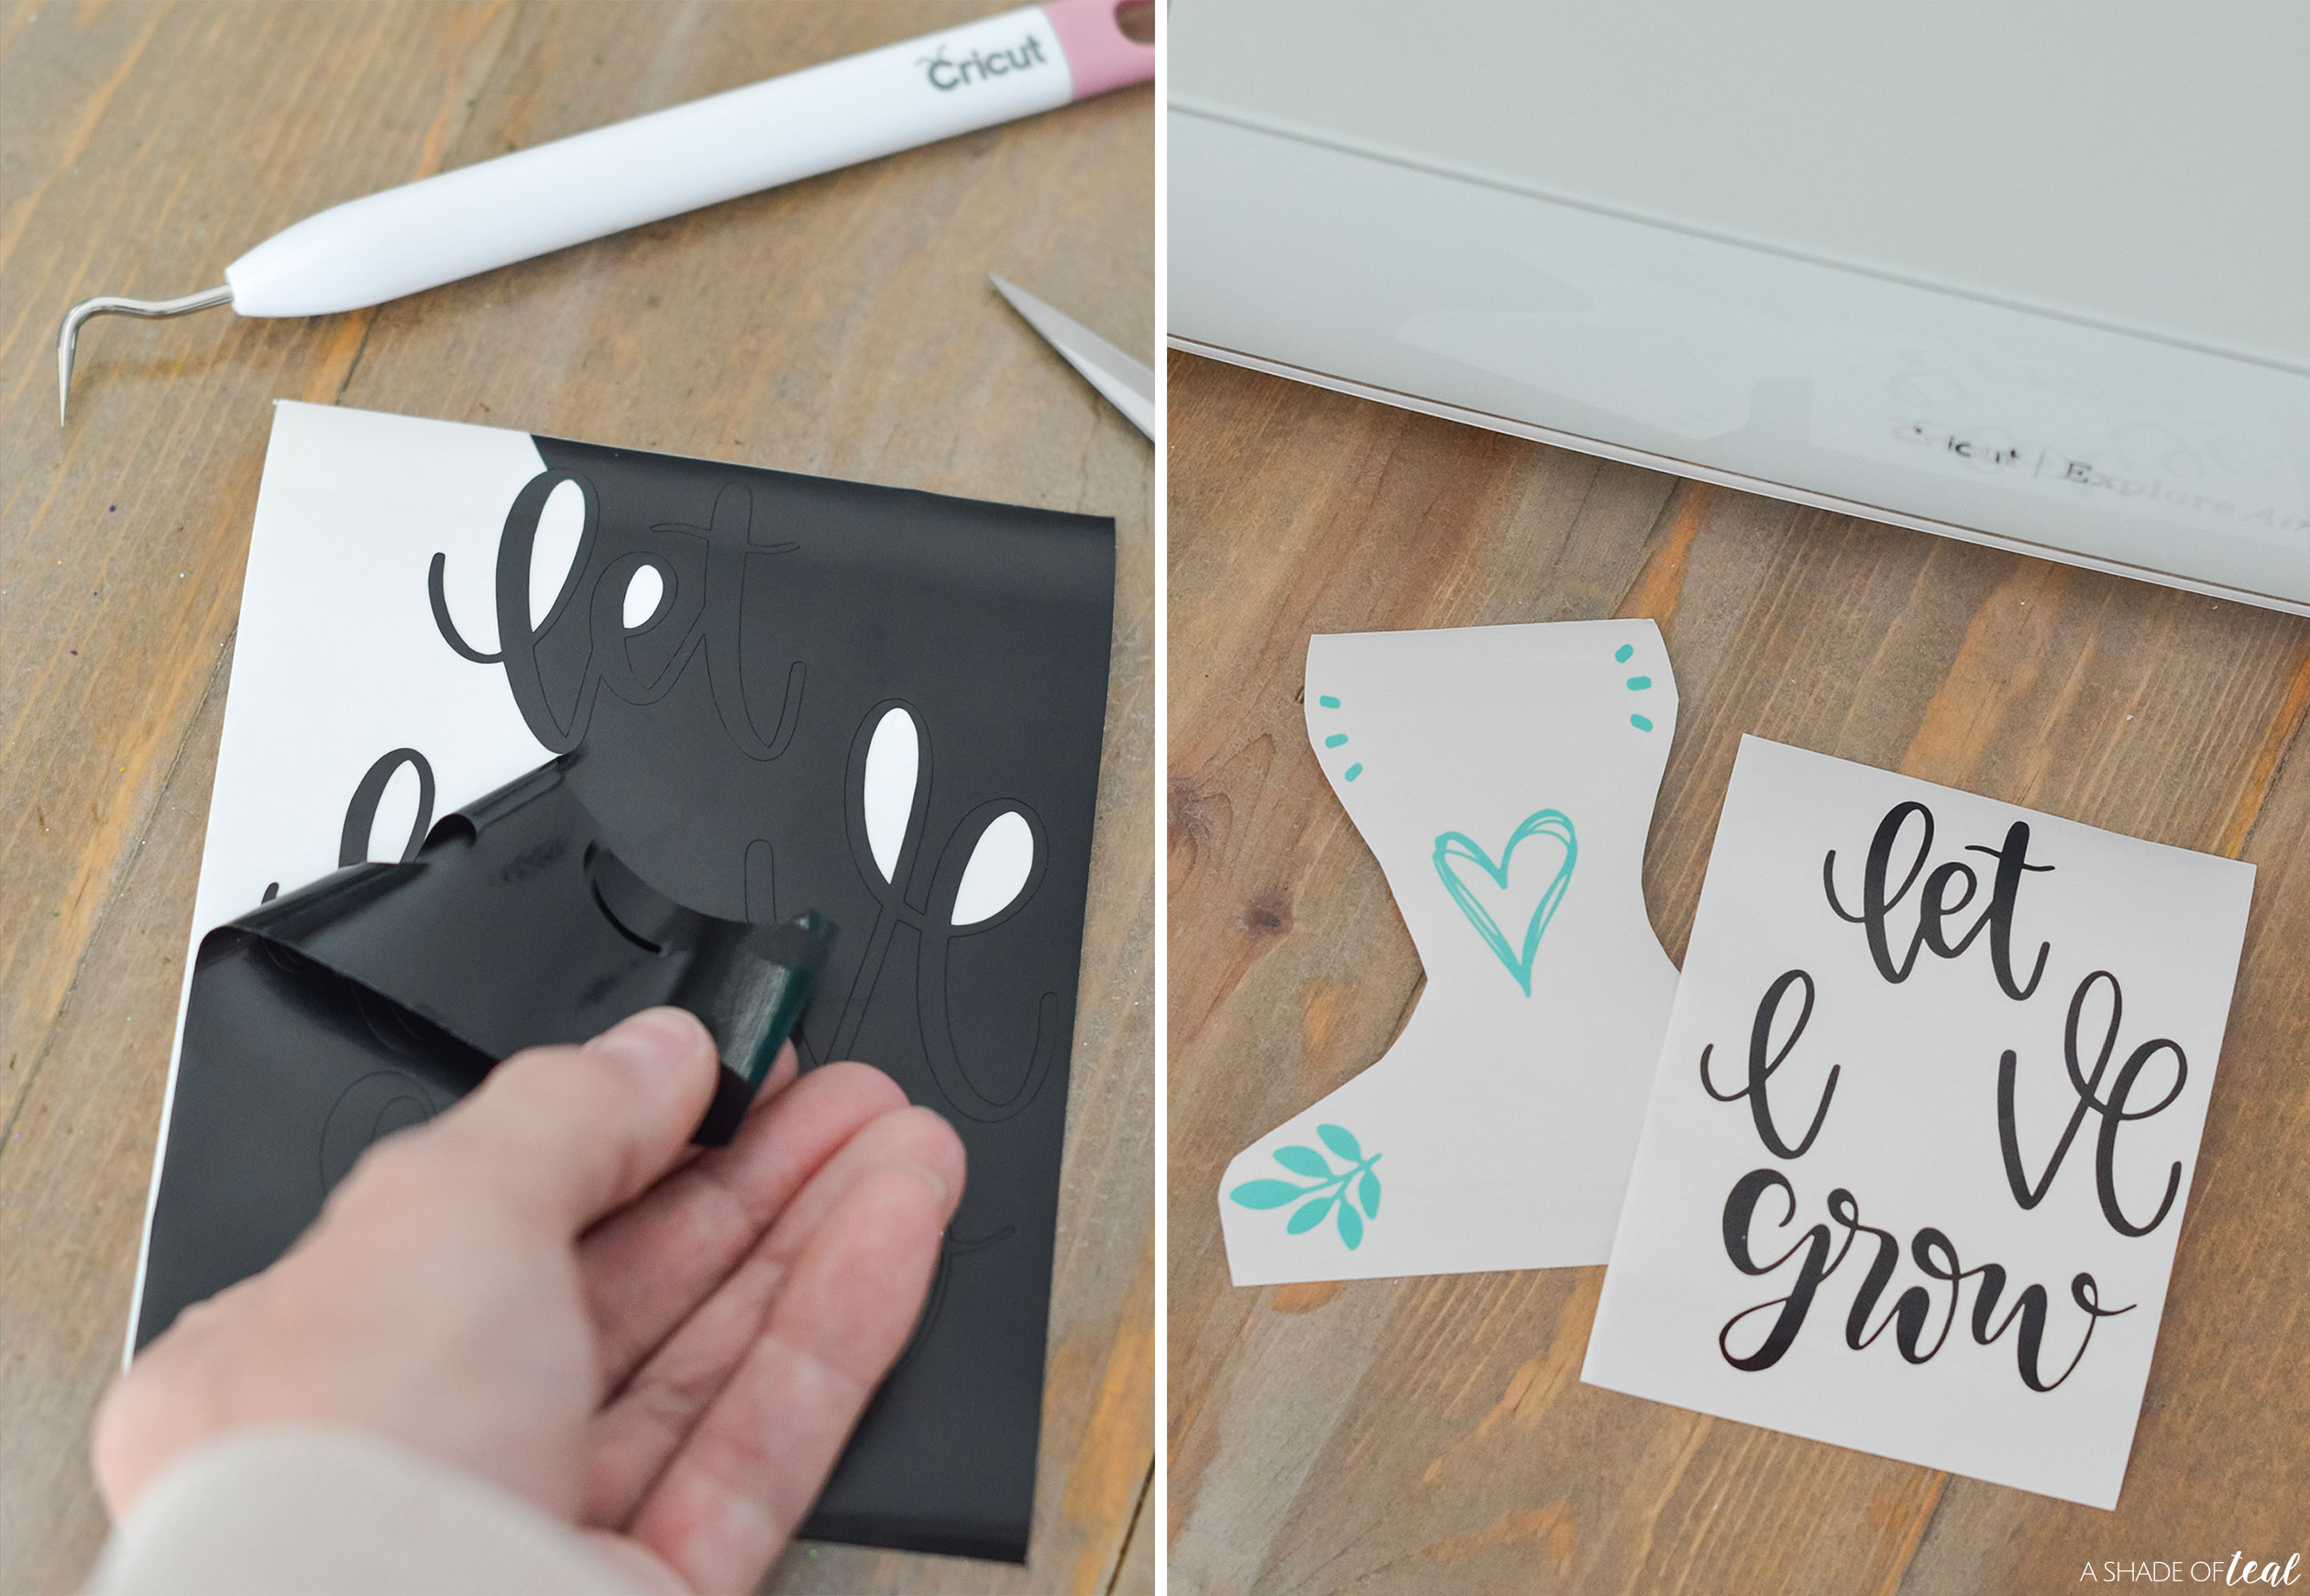
Step 1 || Add a sheet of black vinyl to your mat. Then load it into the machine and cut.
Step 2 || Repeat the same steps with the teal sheet of vinyl.
Step 3 || Trim the Vinyl down. Then start weeding. I like to weed out the inner pieces, then do the surrounding area. But you can do it either way.
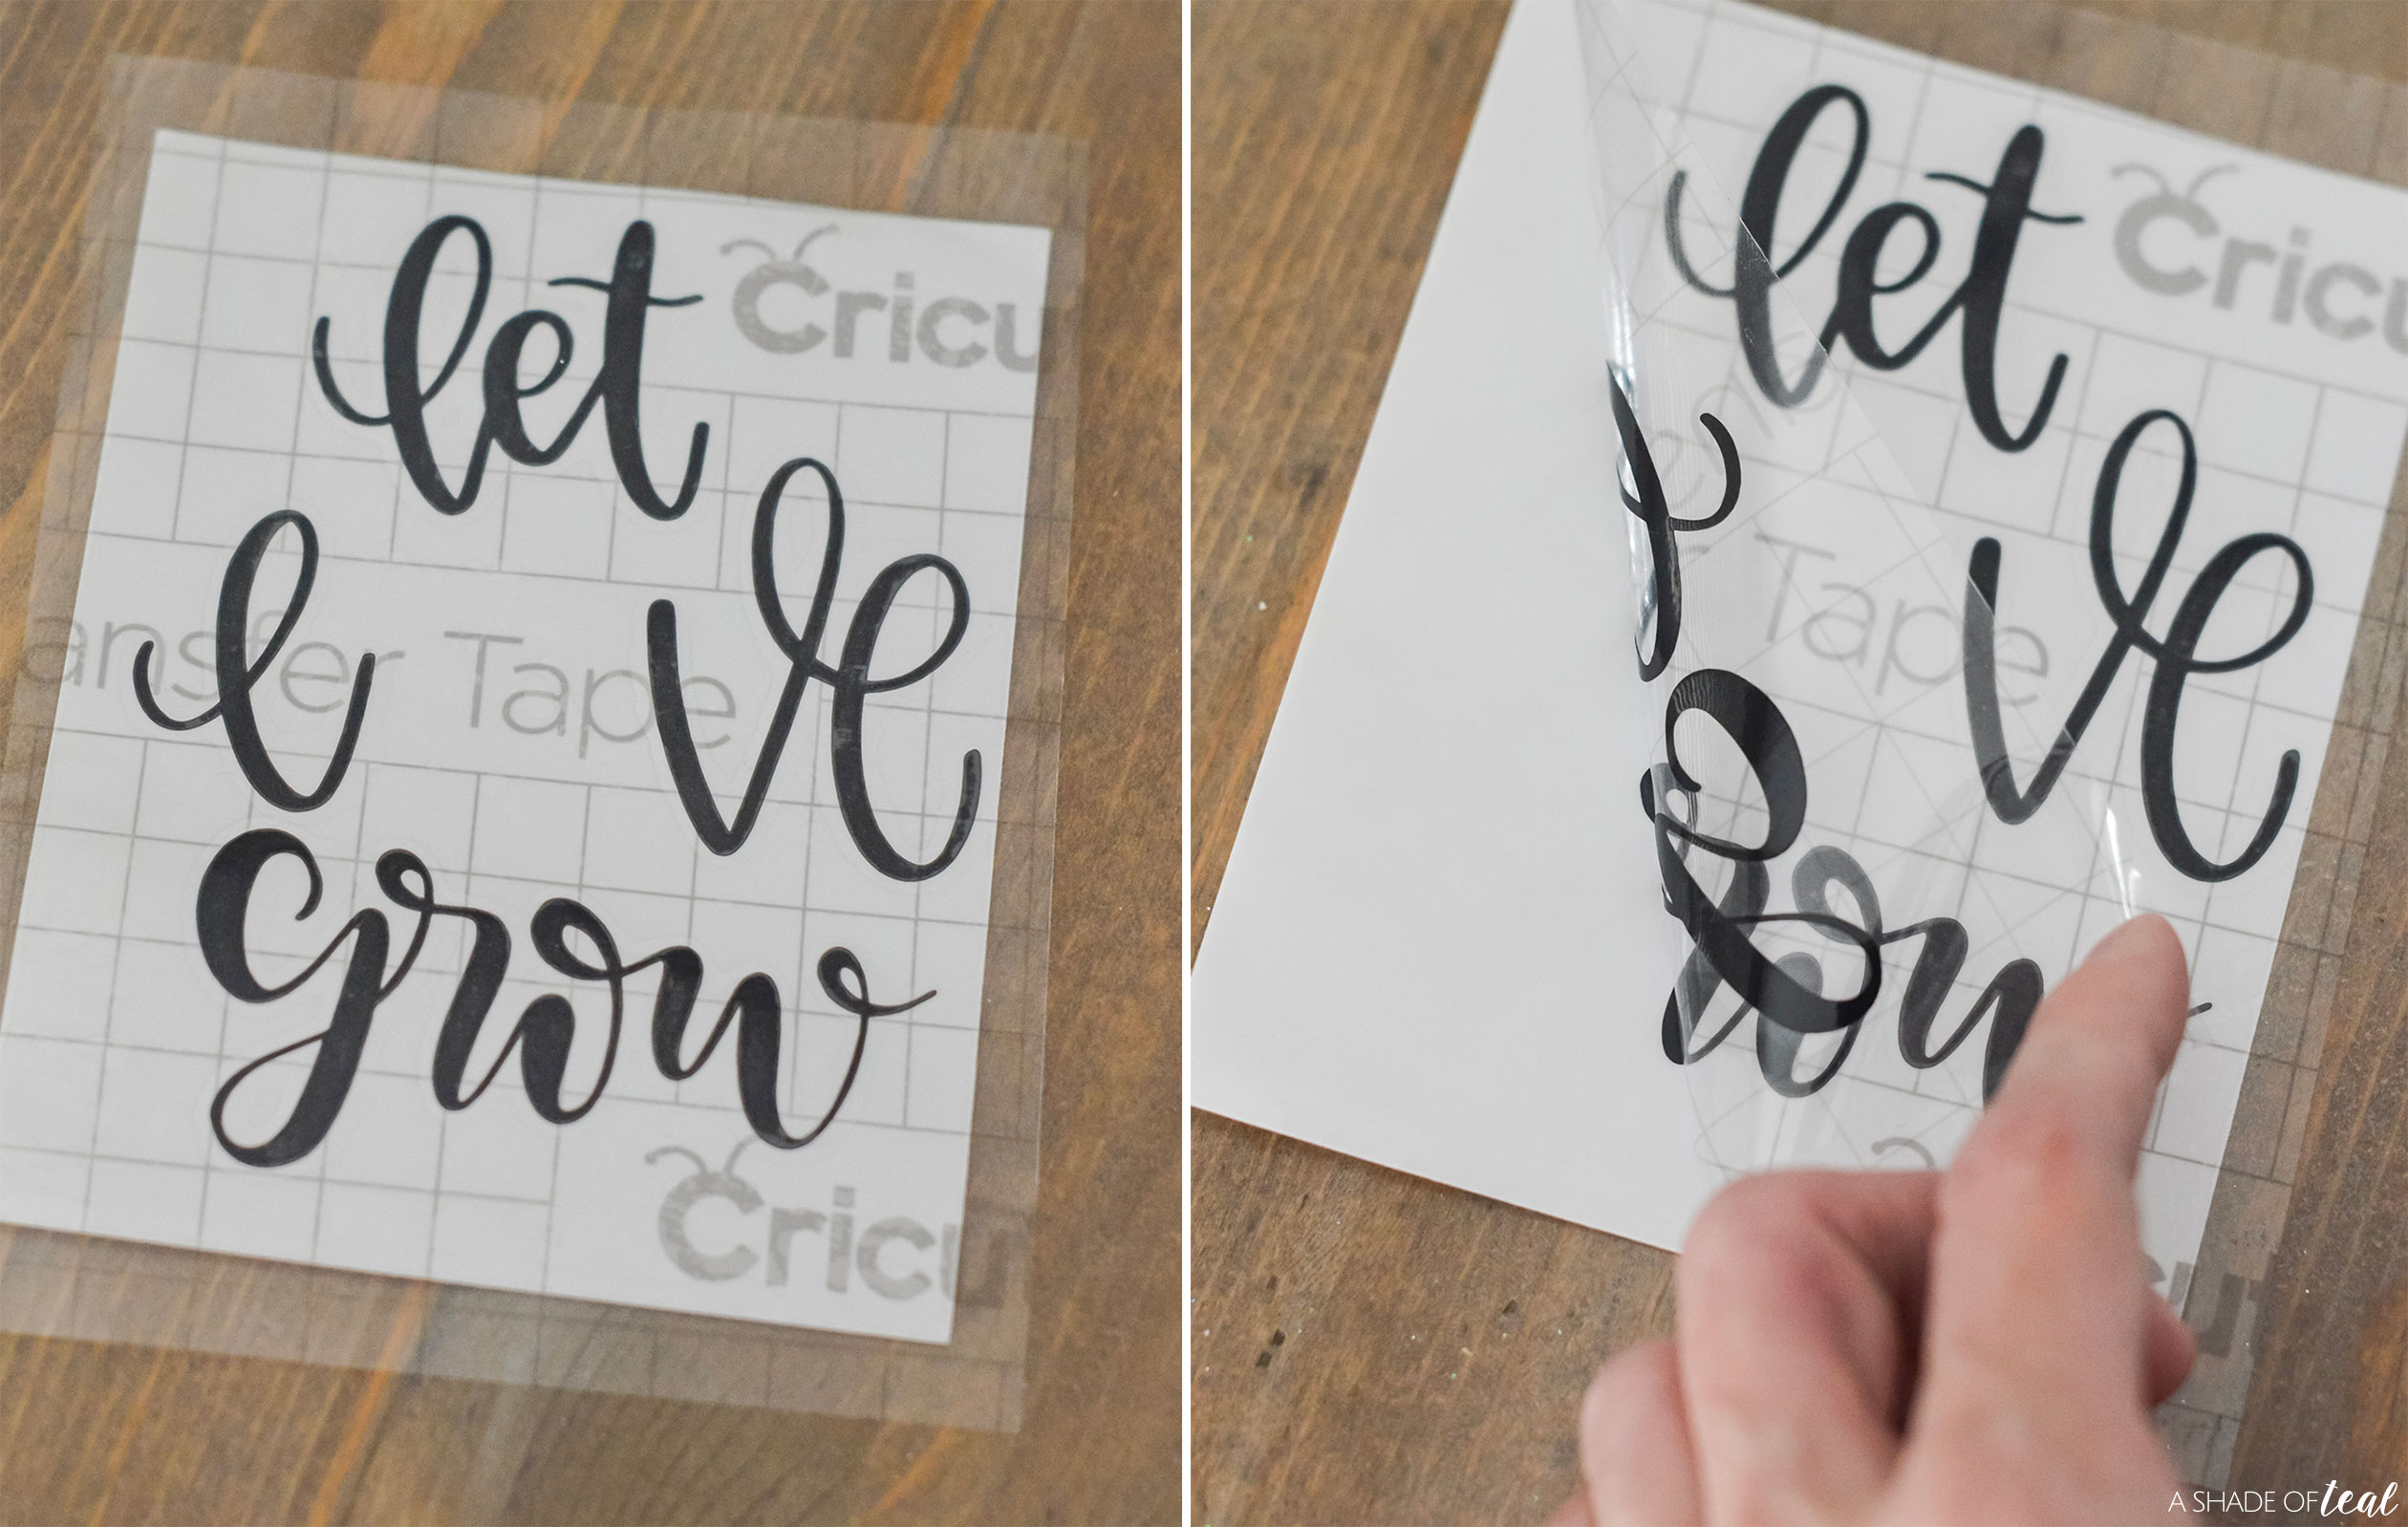
Step 4 || Next, cut a piece of transfer tape to match the size of your vinyl. You can re-use transfer tape till it loses it stickiness, so keep that in mind once your done. Next, apply the Tranfer tape to the black vinyl cutout. Use the scraper tool to really press the transfer tape to the vinyl.
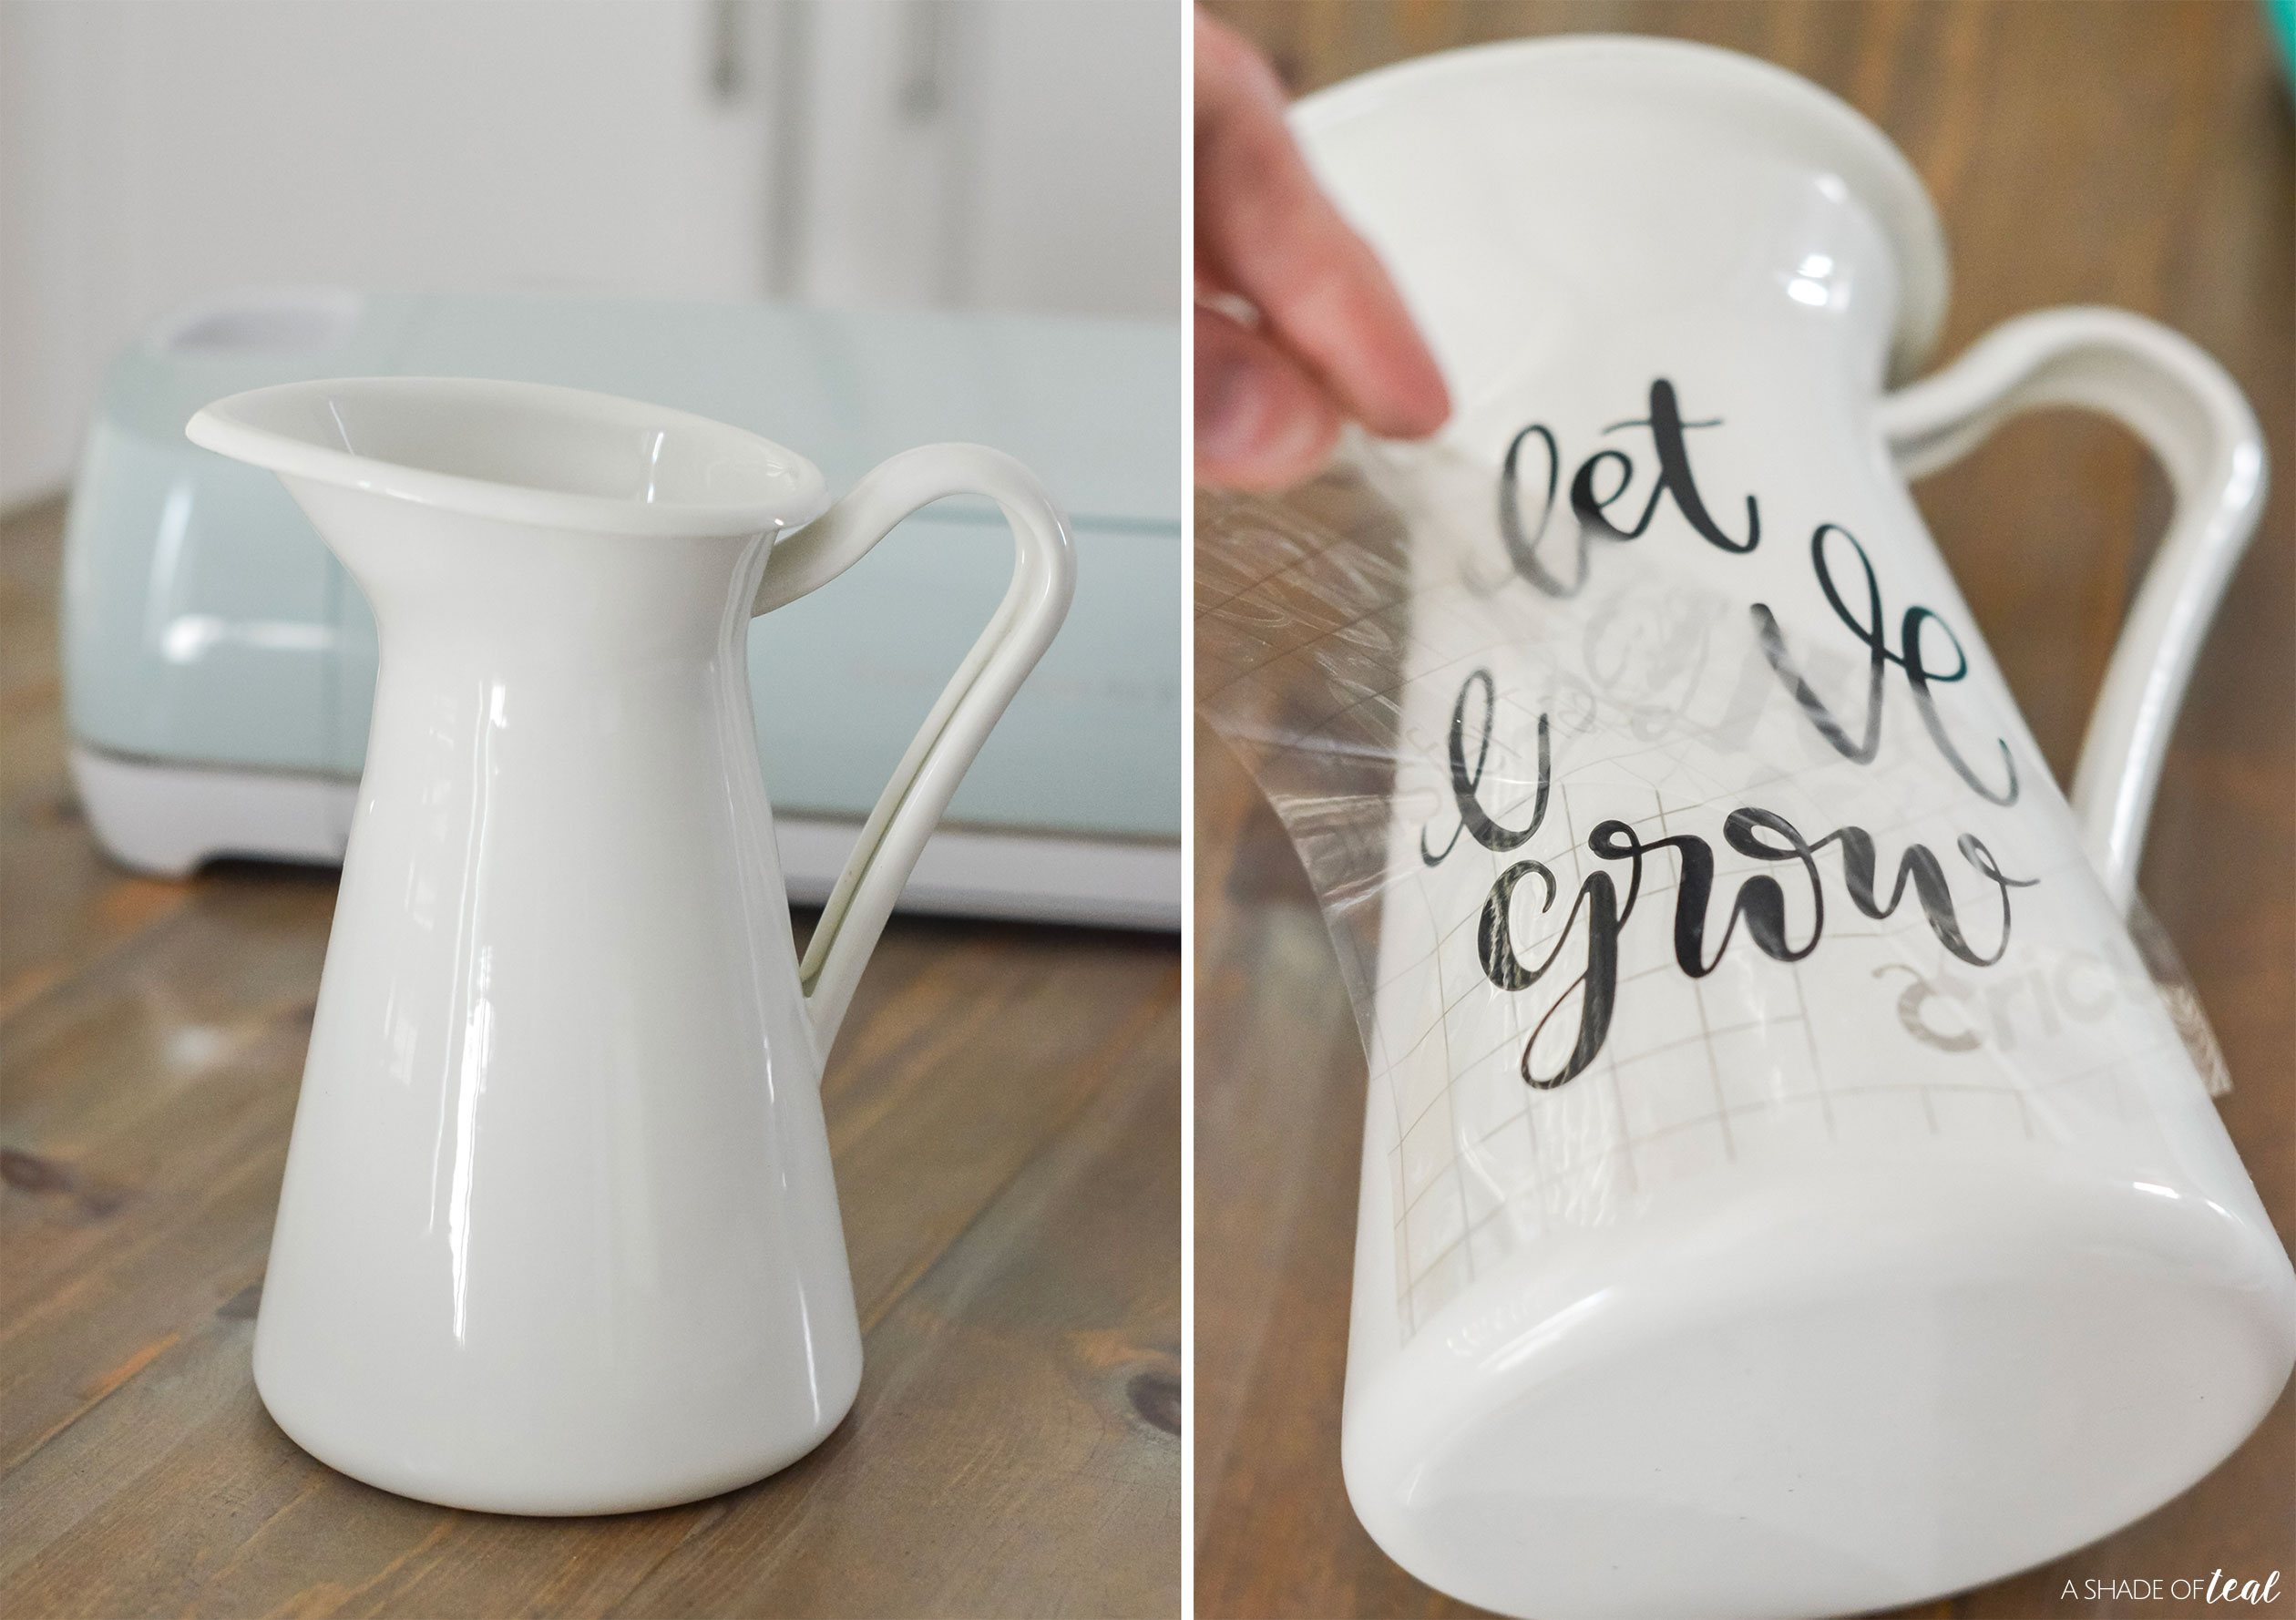
Step 5 || Now, make sure to clean and dry your vase surface.
Step 6 || Then peel the vinyl off of the backing and place it on the pitcher. Use the scraper again to make sure it fully transfers. Then you can start slowly peeling the transfer tape off.
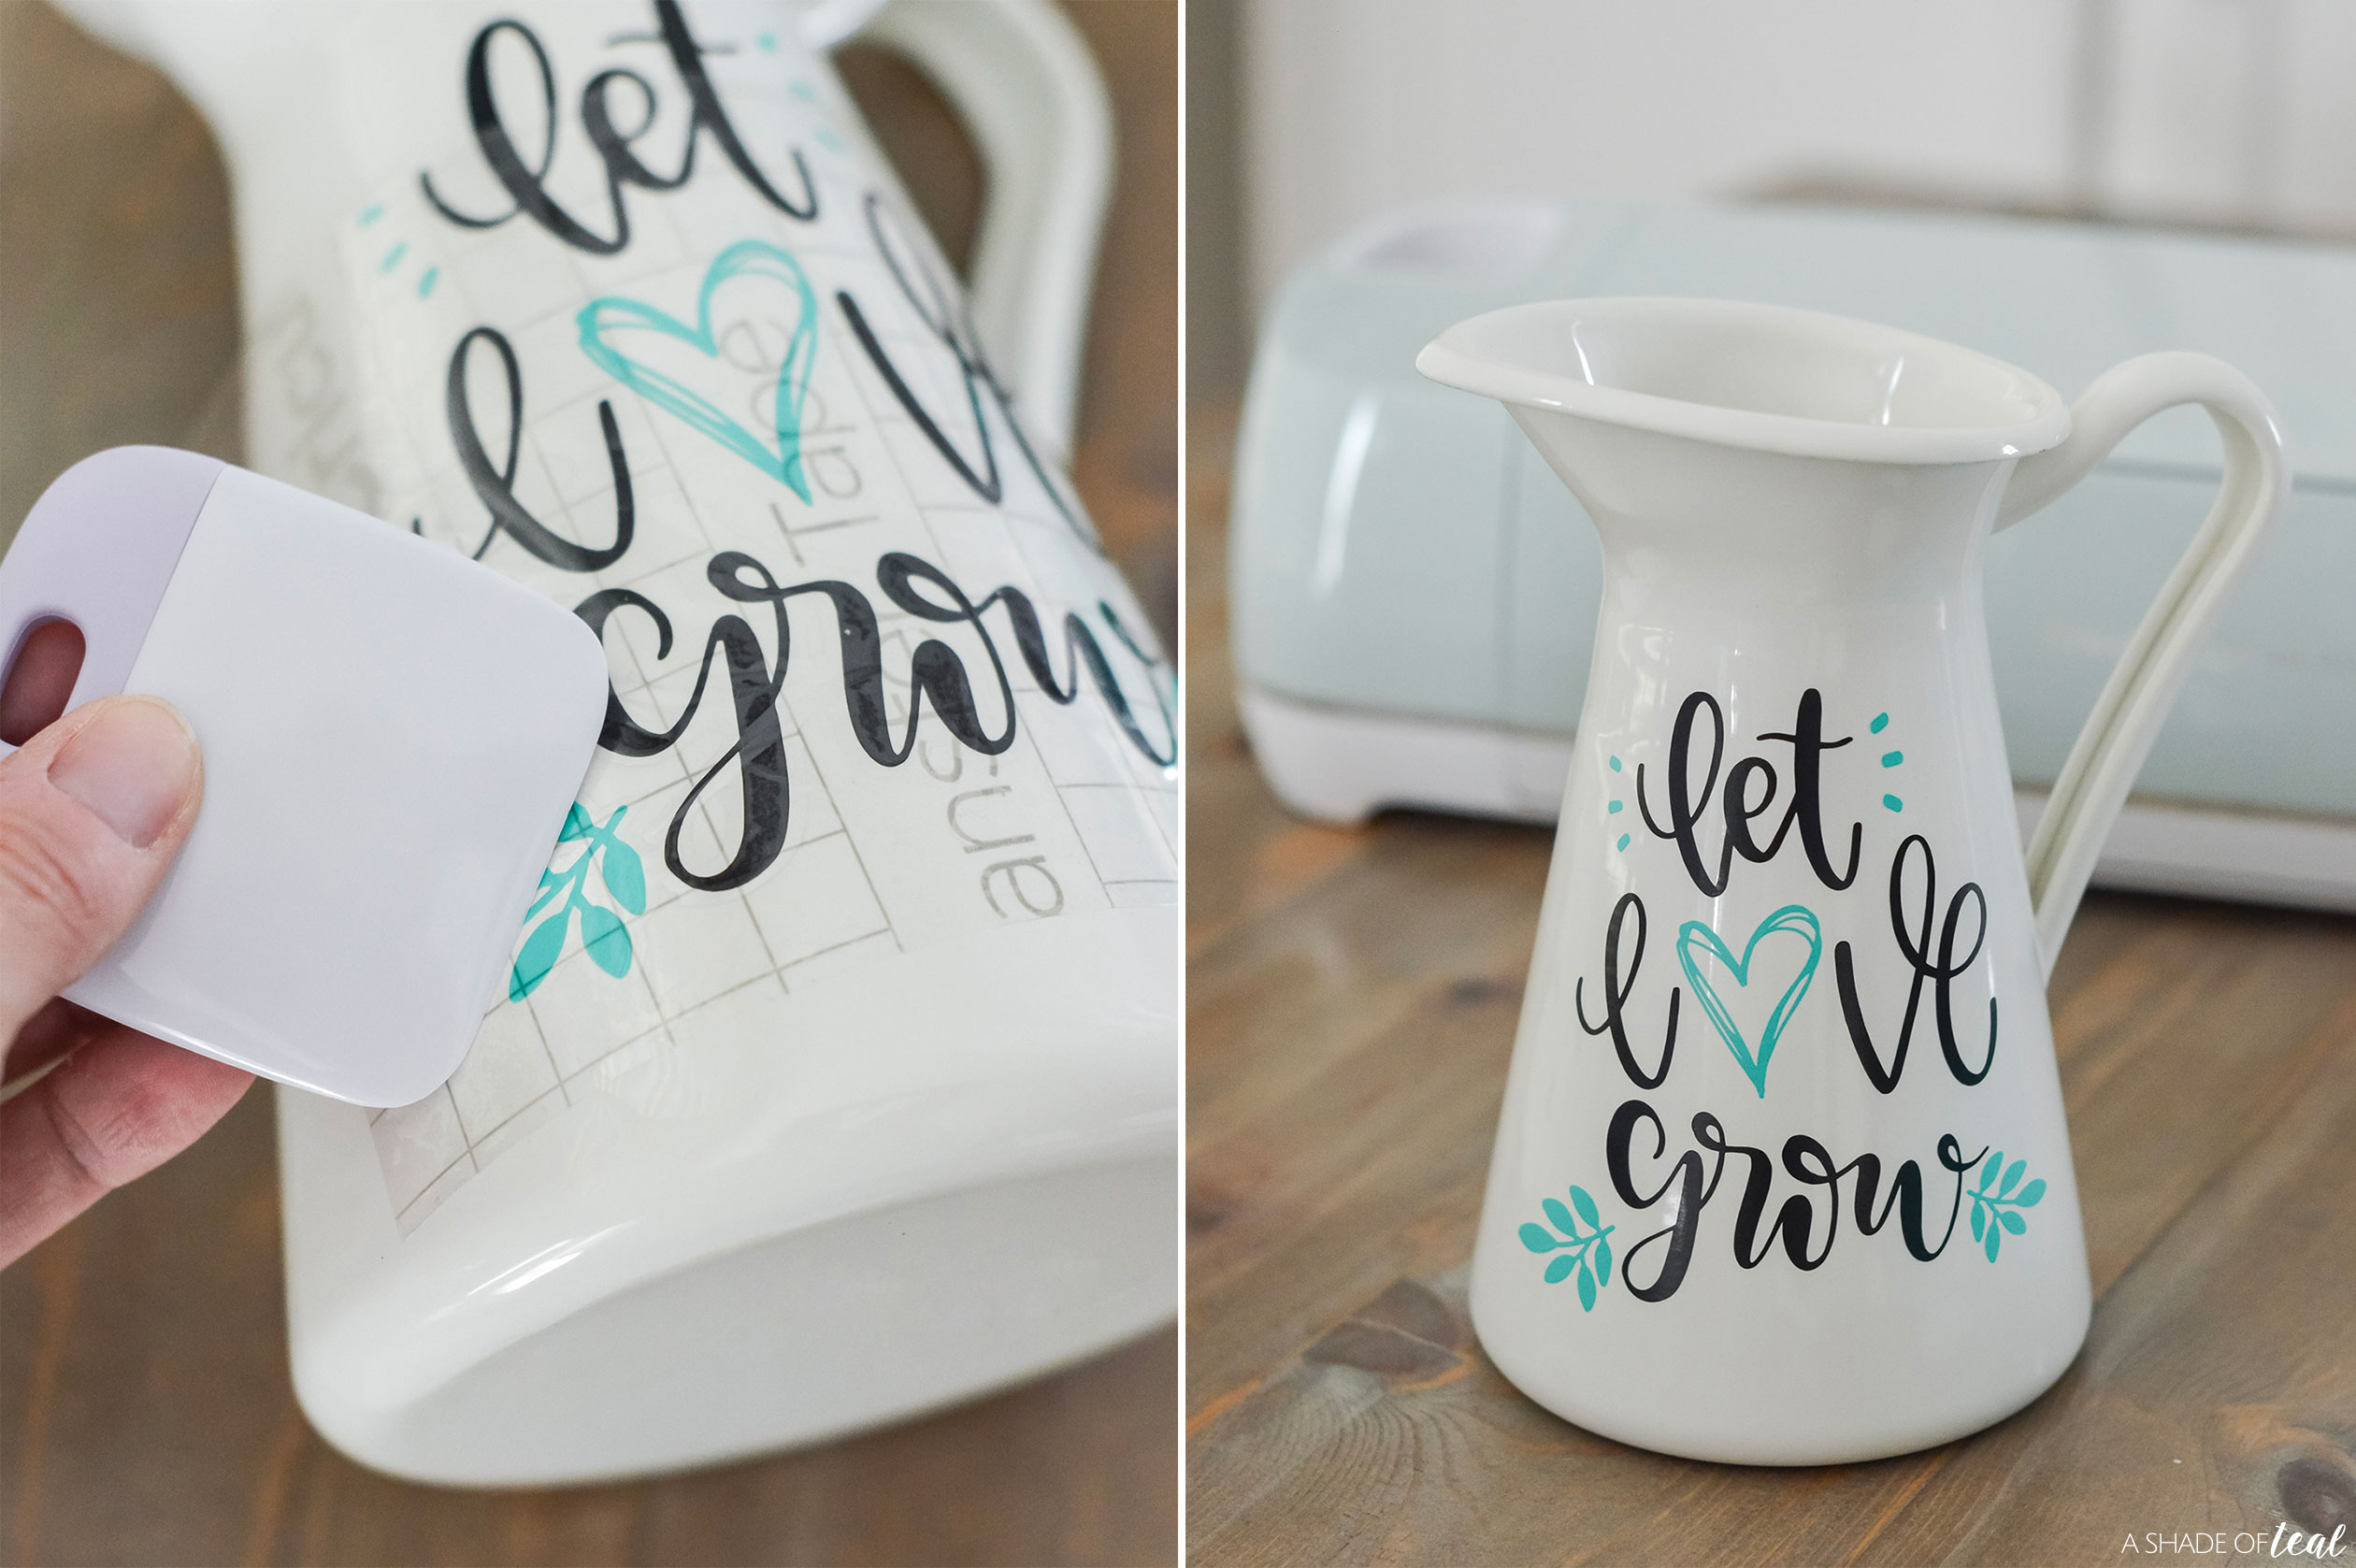
Step 7 || Repeat the same steps with the Teal vinyl. You might find it easier to do each art piece separately for the teal. But for ease, the project was setup to transfer all at one time.
Step 8 || Use the scraper to secure everything down, peel the transfer tape, and you’re done!
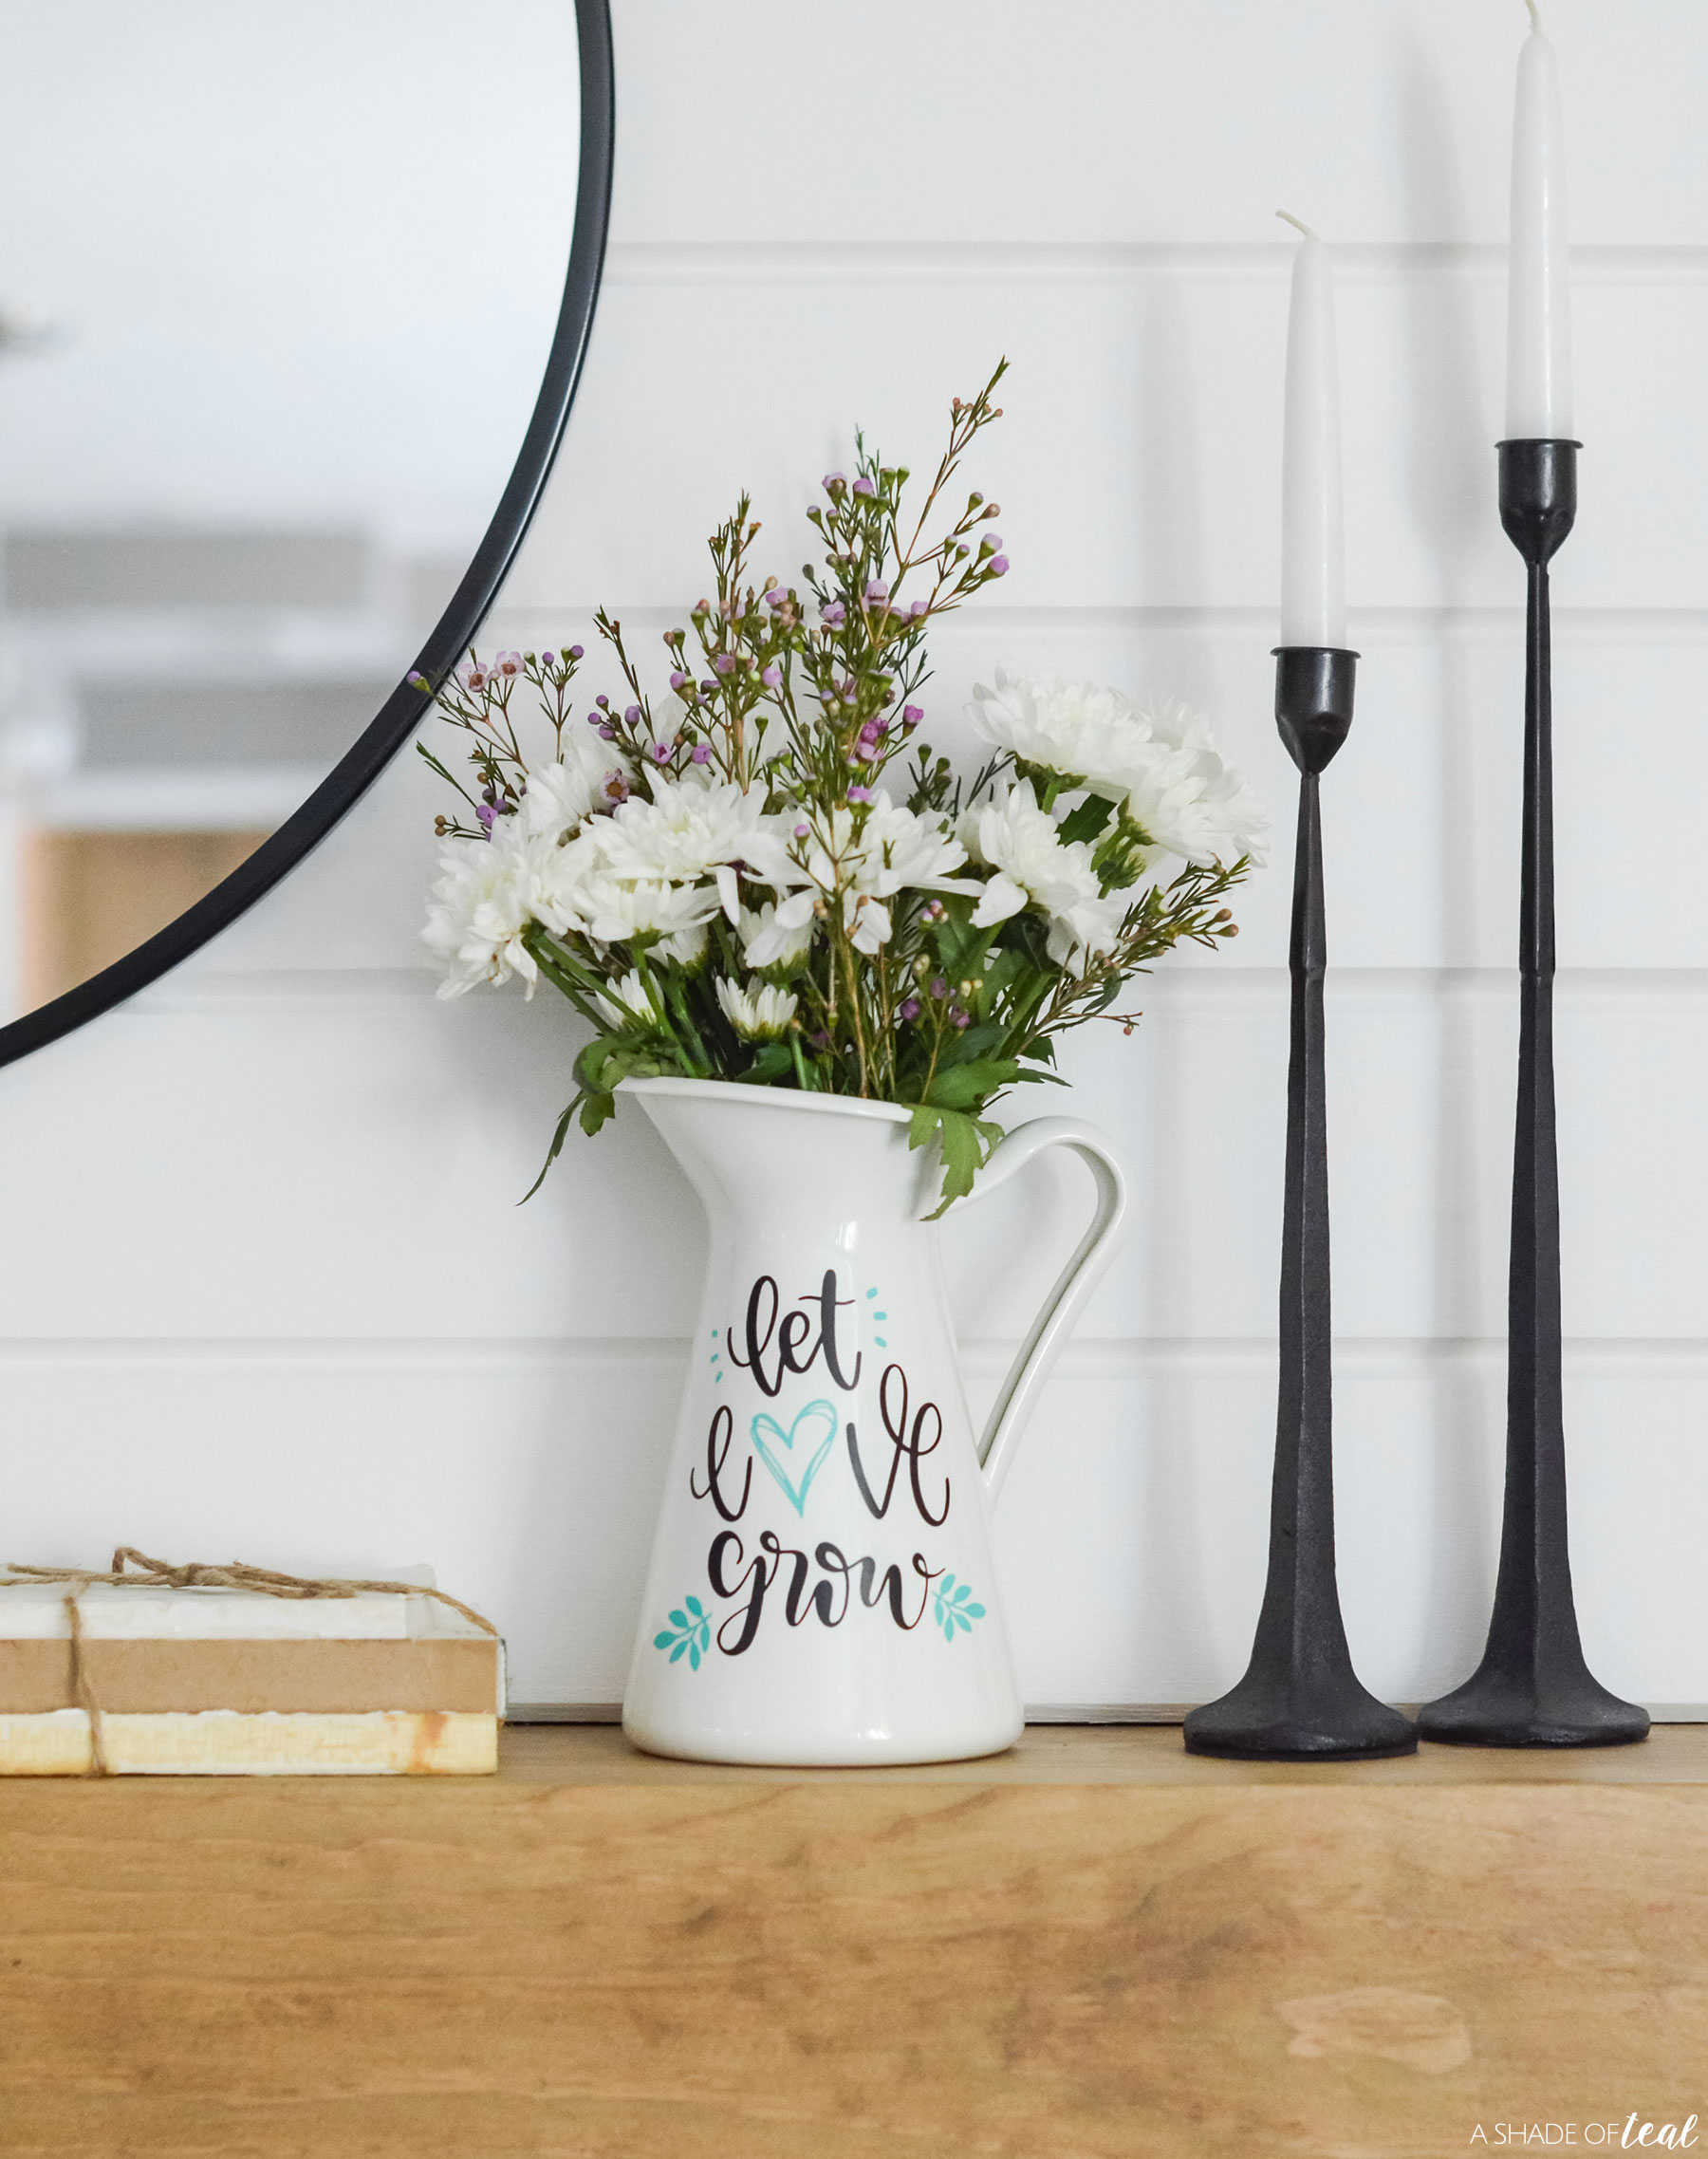
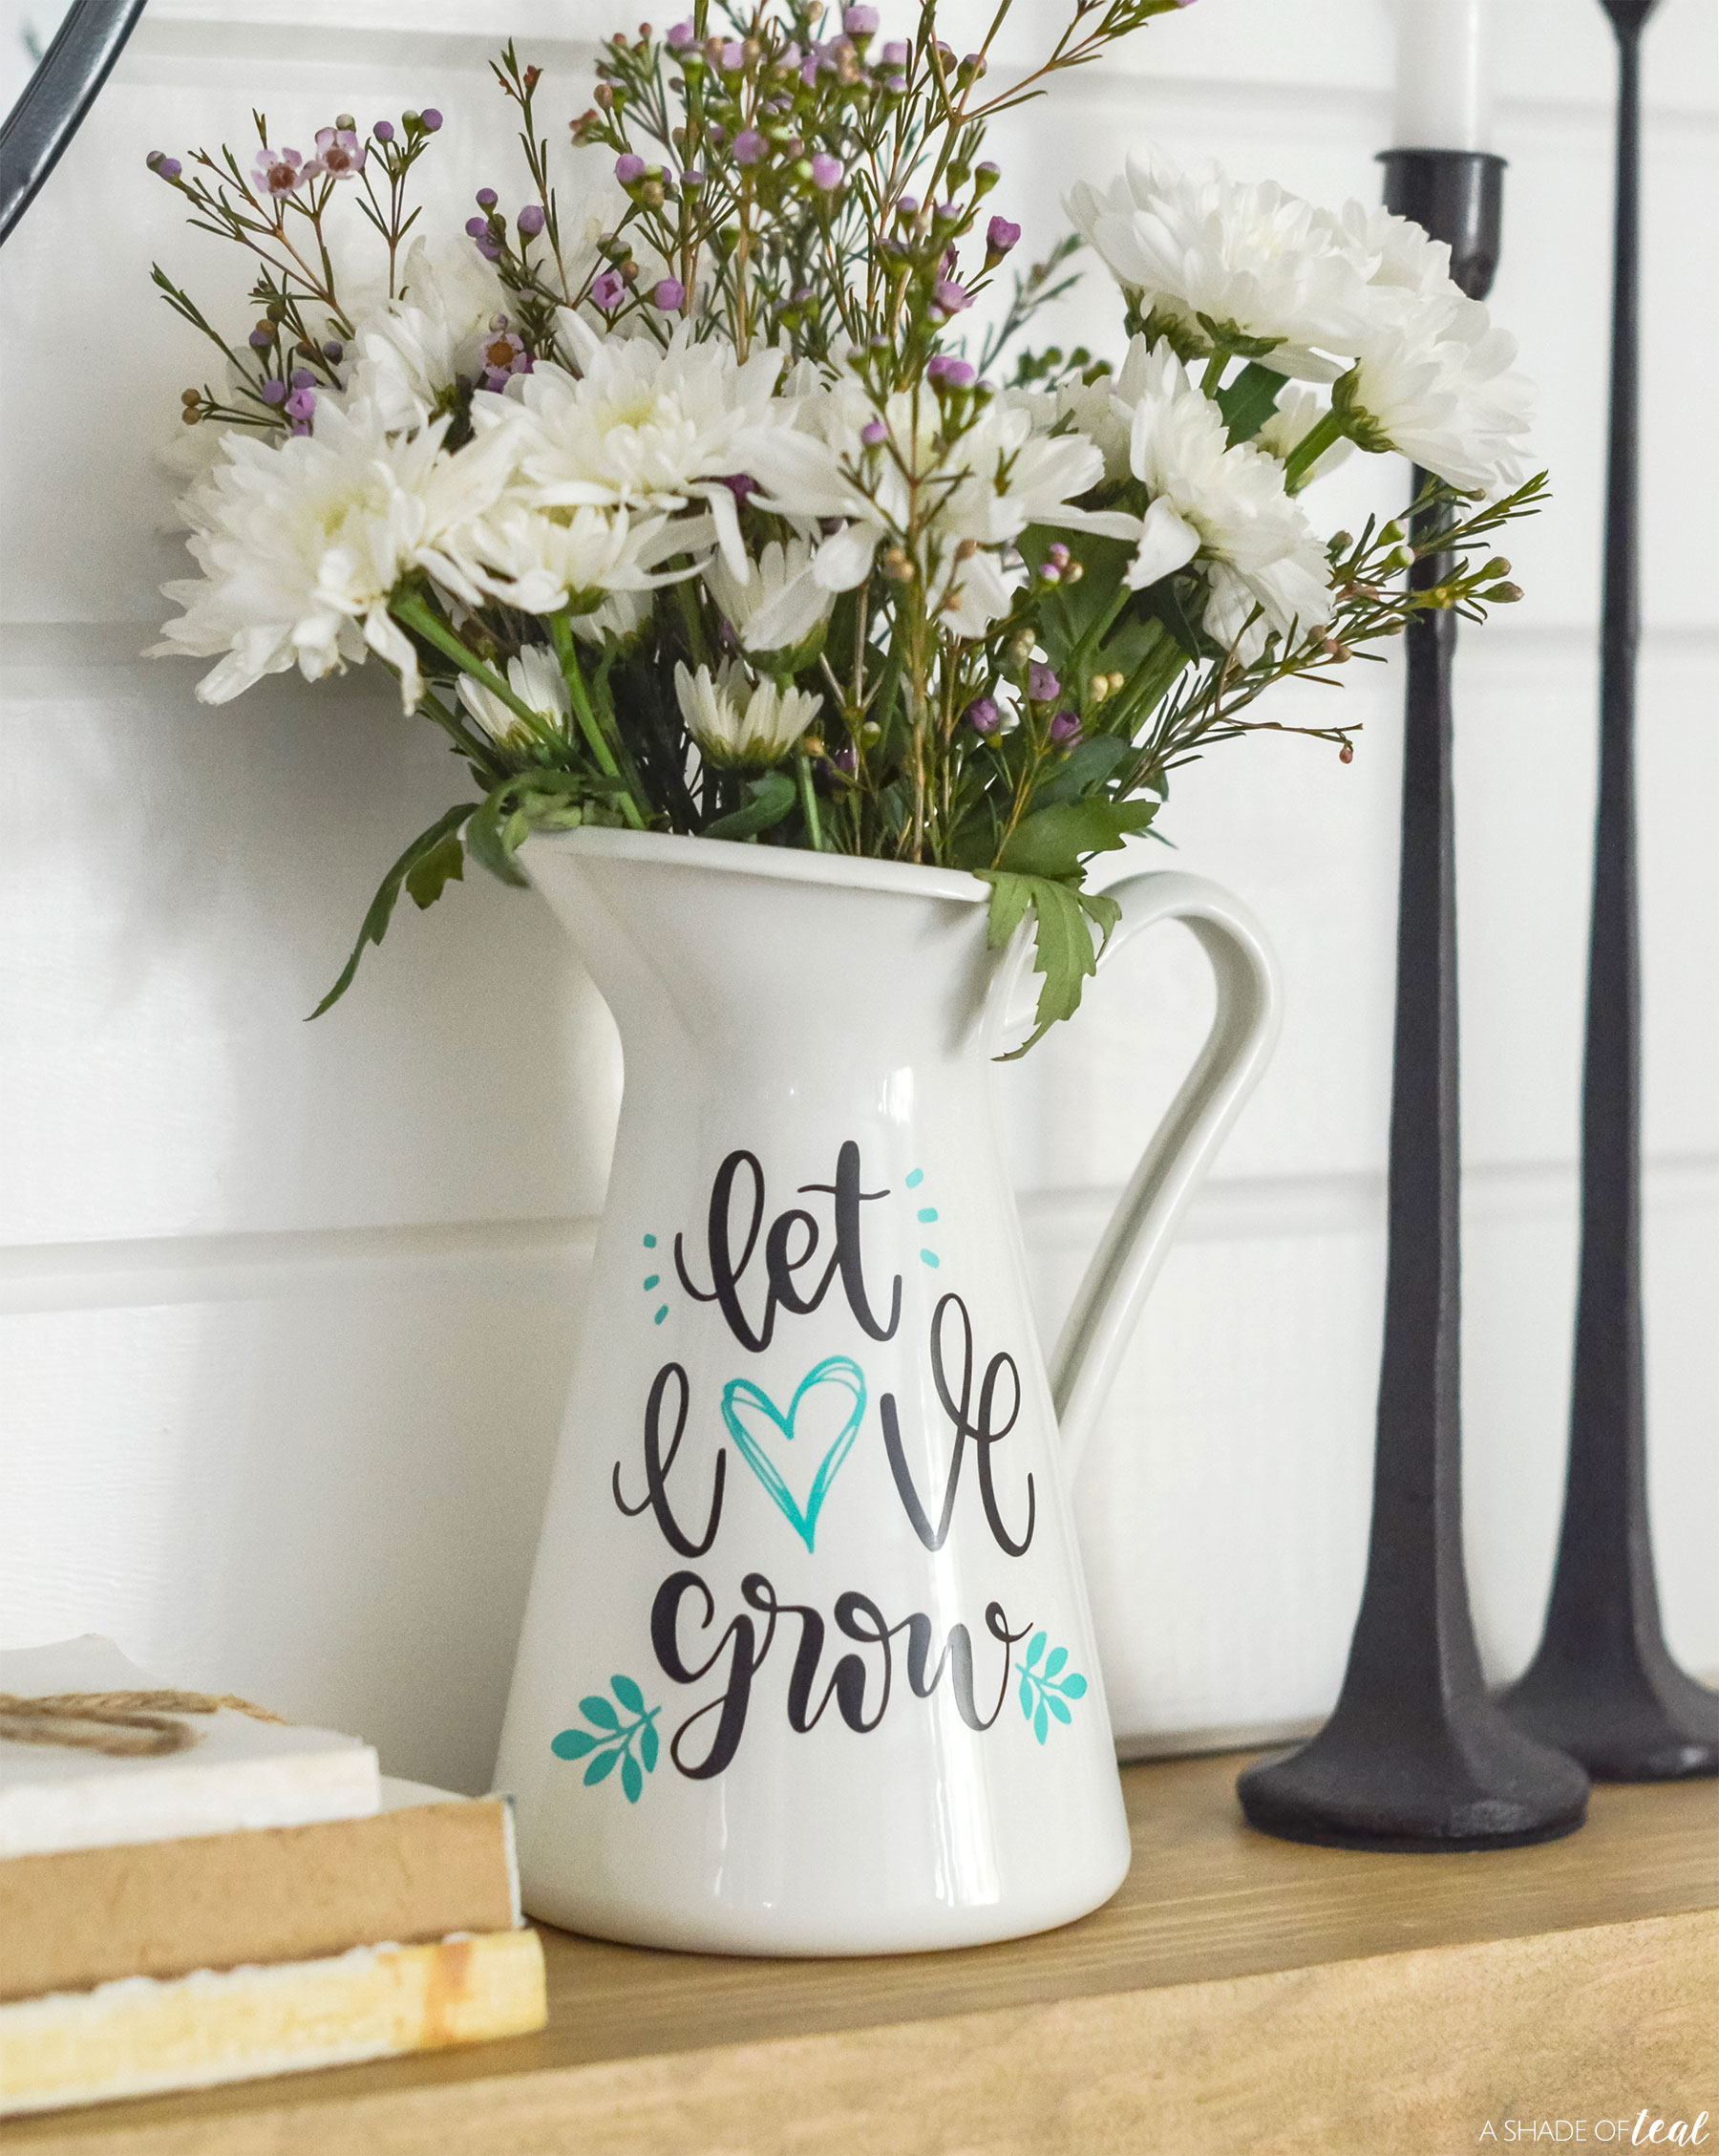
Isn’t it too cute!? This project is pretty simple, especially for a first time project. It’s perfect to get the feel of how to print vinyl, weed, layer, use transfer tape, and more. Everything you need to better understand as you become a Cricut crafter!
Here’s more of the after!
Don’t have a Cricut Explore Air 2 yet? Shop here!
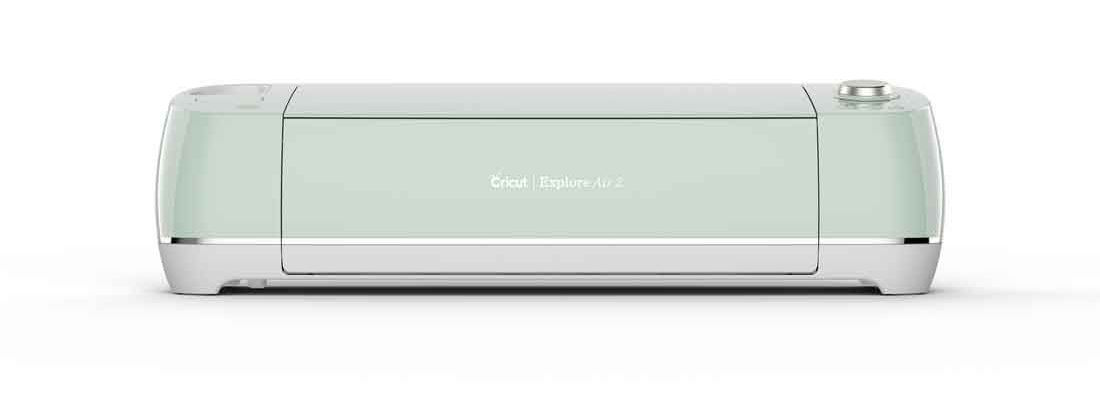 I hope you found this project easy to follow, and hopefully you’re on your way to being comfortable with your new Cricut Explore Air 2! Enjoy!
Comments submitted may be displayed on other websites owned by the sponsoring brand.



2rfl8t